Hey there, eco-conscious friend! Ever looked at your kitchen scraps and yard waste and thought, “There’s gotta be a better way than the trash bin”? You’re absolutely right! Composting is a fantastic way to give your garden a super-boost and reduce landfill waste. If you’re a bit new to this, the idea of composting might seem a little… messy or complicated. But don’t you worry! We’re going to break down one of the simplest methods out there: static pile composting. It’s all about setting it up and letting nature do its thing. Ready to turn that waste into some black gold for your plants?
Static Pile Composting: Your Beginner’s Best Friend
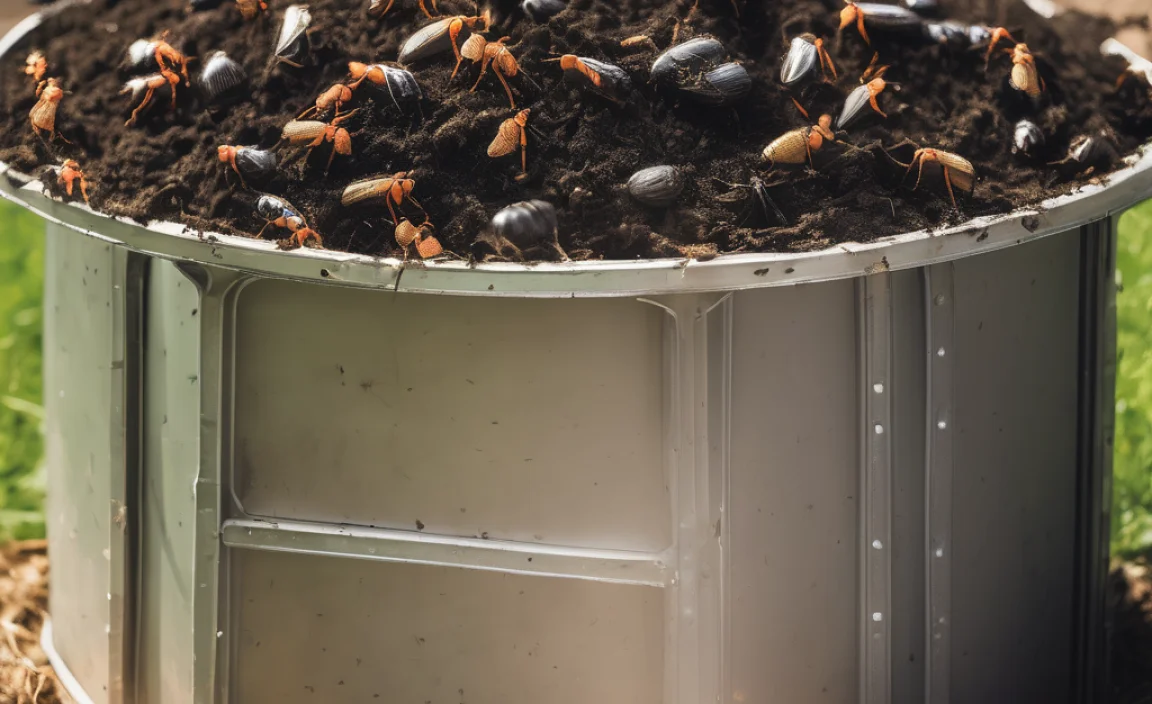
Static pile composting, sometimes called passive composting, is like the “set it and forget it” of the composting world. You build a pile, and then you mostly just wait for it to work its magic. Unlike other methods that require constant turning, this approach relies on the natural processes of decomposition. This makes it super beginner-friendly, especially if you’re short on time or don’t have a lot of space for fancy equipment. Plus, it’s a really effective way to handle larger volumes of organic material.
Why Static Pile Composting is Awesome
Think of static pile composting as a low-effort, high-reward system. It’s perfect for folks who want to compost but don’t have the time or energy for frequent turning. Let’s dive into why it’s such a great choice for many households and even small farms:
- Simplicity: It’s as straightforward as it sounds. Pile it up, and let nature handle the rest.
- Less Work: No need to stress about turning the pile regularly. This method is ideal for busy schedules.
- Efficiency: It can process large amounts of organic material effectively.
- Cost-Effective: You don’t need special bins or equipment to get started.
- Reduced Odor: When built correctly, a static pile produces very little odor.
What You’ll Need: The Bare Essentials
The beauty of static pile composting is its simplicity. You likely have most of what you need already, or can get it without breaking the bank. The goal is to create the right environment for those tiny decomposers (microbes and organisms) to do their work.
Location, Location, Location
Choosing the right spot is key! You want a place that’s:
- Accessible: Make sure you can easily get to it with materials and eventually with a wheelbarrow for harvesting.
- Well-Drained: Avoid areas that get waterlogged after rain. Soggy piles can become anaerobic and smelly.
- Partially Shaded: Full sun can dry out your pile too quickly, while deep shade might keep it too wet. A little bit of both is often ideal.
- Away from Structures: Give your pile some breathable space, and keep it a safe distance from your house or wooden fences.
Materials: Greens and Browns
This is the heart of composting – a good mix of “greens” and “browns.” Think of it like a balanced diet for your compost pile. The perfect ratio is crucial for healthy decomposition without foul smells. A good rule of thumb to aim for is roughly 2 parts browns to 1 part greens by volume.
“Greens” (Nitrogen-Rich Materials):
These are generally wet, soft materials that provide nitrogen, which helps the microbes multiply and heat up the pile.
- Fruit and vegetable scraps
- Coffee grounds and tea bags
- Grass clippings (in thin layers to prevent matting)
- Plant trimmings (avoid diseased plants)
- Manure from herbivores (cow, horse, rabbit, chicken – if aged)
“Browns” (Carbon-Rich Materials):
These are dry, woody materials that provide carbon, add bulk, and help with aeration, preventing the pile from becoming too dense and slimy.
- Dried leaves
- Straw or hay
- Shredded newspaper or cardboard (avoid glossy paper and colored inks if possible)
- Wood chips or sawdust (use sparingly and ensure they are untreated)
- Twigs and small branches (chopped or shredded)
- Paper towels and napkins (unsoiled)
Optional, but Helpful Tools:
While you can compost with just your hands and a shovel, a few tools can make the process smoother:
- Pitchfork or Garden Fork: For moving materials and potentially fluffing the pile if needed.
- Shovel: To help move materials and fill your compost pile.
- Water Hose with Sprayer: To maintain moisture levels.
- Wheelbarrow: To transport materials to and from the pile.
Step-by-Step: Building Your Static Compost Pile
Building a static pile is a rewarding, hands-on process. It’s not complicated, and with a little planning, you’ll have a great compost system going in no time. Here’s how to get started:
Step 1: Lay the Foundation
Start by creating a base layer for your pile. This is important for drainage and aeration at the bottom. If you have larger, twiggy material, lay down a 4-6 inch layer of coarse browns like small branches or wood chips. This helps air circulate from underneath.
Step 2: Add Your Materials
Now, it’s time to start layering your greens and browns. Remember that ideal ratio of about 2 parts browns to 1 part greens. You don’t need to be perfectly precise, but aim for a good balance. Start with a layer of browns, then add a layer of greens, then more browns. Chop up larger items to help them break down faster.
Tip: If you’re adding a lot of nitrogen-rich “greens” like kitchen scraps or fresh grass clippings, always cover them with a layer of “browns” (like dried leaves or shredded cardboard). This is crucial for preventing odors and keeping pests away.
Step 3: Layering for Success
Continue alternating layers of greens and browns. You can make your pile as wide as needed, but aim for a minimum size of about 3 feet x 3 feet x 3 feet (1 cubic yard). This size is large enough to generate and retain heat, which is important for fast decomposition, but not so large that it’s unmanageable.
Think of it like building a lasagna. You’re creating moist, nitrogen-rich layers (the meat sauce) and dry, carbon-rich layers (the pasta and cheese).
Step 4: Moisture is Key
As you build your pile, keep an eye on moisture. Your compost pile should feel like a wrung-out sponge – damp, but not dripping wet. If your materials are dry, lightly water each layer as you add it. If you’re adding very wet materials (like fresh grass clippings or lots of fruit scraps), you might not need to add much water initially. You can always add more later if it seems dry.
Step 5: Let It Be (Mostly!)
Once your pile is built, you can mostly leave it alone. This is the “static” part! The microorganisms inside will start to break down the materials. In a well-built static pile, the core can reach temperatures of 130-160°F (55-70°C). This heat is great for killing weed seeds and pathogens. This hot phase might last for a few weeks to a few months, depending on the materials and conditions.
Step 6: The Waiting Game (and Occasional Check-in)
The decomposition process in a static pile can take anywhere from six months to two years, depending on the materials used, the size of the pile, and the climate. You don’t need to turn it. However, it’s a good idea to check the moisture level every few weeks or so. If it feels dry, give it a light watering. If it seems too wet and is smelling bad, you might need to add more dry “browns” to the surface.
Step 7: Harvesting Your Compost
Your compost is ready when it looks and smells like dark, crumbly soil. It should be loose, earthy, and have no recognizable food scraps or yard waste in it. You can harvest the compost from the bottom and sides of the pile as it matures. Any material that hasn’t fully broken down can be shoveled back onto a new, active pile.
Pro Tip: You can create a new static pile right next to your aging one. As the first pile finishes, you can start adding new materials to the second pile. This way, you always have a batch in progress and a batch maturing.
Static Pile Composting vs. Other Methods
It’s helpful to see how static pile composting stacks up against other popular methods. Each has its pros and cons, and the “best” method really depends on your needs and preferences.
| Composting Method | Best For | Pros | Cons | Effort Level |
|---|---|---|---|---|
| Static Pile Composting | Beginners, those with large volumes of material, busy individuals. | Simple, low effort, minimal equipment, processes large volumes. | Can take longer to mature (6 months – 2 years), requires space. | Low |
| Turning Compost (Hot Composting) | Those wanting compost quickly, large yards, active gardeners. | Fastest method (1-3 months), kills weed seeds effectively, excellent for large volumes. | Requires regular turning (weekly/bi-weekly), needs more attention and physical effort. | High |
| Tumbler Composting | Small yards, urban dwellers, those wanting contained composting. | Tidier, often faster than static piles, enclosed to deter pests. | Limited bin capacity, requires manual turning (can be difficult when full), initial purchase cost. | Medium |
| Worm Composting (Vermicomposting) | Kitchen scraps, small spaces, apartment dwellers. | Excellent for kitchen waste, produces nutrient-rich castings quickly, compact. | Cannot handle large volumes or yard waste, sensitive to temperature, requires specific types of worms. | Medium |
Troubleshooting Common Static Pile Issues
Even with the “set it and forget it” approach, you might run into a snag or two. Don’t fret! Most issues are easily fixable. Here’s how to tackle them:
Issue 1: The Smell Test (Bad Odors)
A common composting concern is that it will smell bad. If your static pile smells like ammonia or rotten eggs, it’s usually a sign of too much nitrogen (too many “greens”) or the pile is too wet and lacking air (anaerobic conditions). This is the most important thing to get right with static composting.
- Solution: Add more “brown” materials like dried leaves, shredded cardboard, or straw. This helps to absorb excess moisture and balance the carbon-to-nitrogen ratio. If the pile is compacted and soggy, try to gently break it up or add bulkier brown materials to improve airflow.
Issue 2: The Slow Down
If your pile isn’t heating up (if it’s a hot composting static pile) or just seems to be decomposing very slowly, it might be too dry, too small, or lacking nitrogen.
- Solution: Check the moisture. If it’s dry, water it thoroughly. Make sure your pile is at least 3x3x3 feet. If it’s small, add more materials. If you suspect a nitrogen imbalance, add some more “green” materials, like grass clippings or kitchen scraps, and cover with browns.
Issue 3: Unwanted Guests (Pests)
While a well-managed static pile usually deters pests, sometimes critters like rodents or flies might be attracted to exposed food scraps.
- Solution: Always bury kitchen scraps deep within the pile, and cover them with a thick layer of “browns.” Ensure your “greens” to “browns” ratio is balanced, as this helps to eliminate attractive odors. Avoid adding meat, dairy, or oily foods, as these are more likely to attract pests.
Issue 4: The Pile is Too Dry
A dry pile simply won’t decompose. The microbes need moisture to live and work. If your pile feels crumbly and dusty, it’s too dry.
- Solution: Water the pile thoroughly. You might need to poke holes into the pile with a fork or shovel to help the water penetrate evenly. Add water until it feels like a damp sponge. Consider adding some extra “green” materials, which are usually more moist, to help retain humidity.
Issue 5: The Pile is Too Wet
A soggy pile can become anaerobic, leading to foul odors and slow decomposition. This often happens if there’s too much “green” material or if the pile is located in an area that collects water.
- Solution: Add a generous amount of dry “brown” materials like straw, shredded paper, or wood chips. These materials will absorb excess moisture and improve aeration. If your location is prone to waterlogging, consider building your pile on a slightly raised platform of branches or wood.
The Environmental Benefits of Composting
Beyond just creating amazing soil for your garden, composting is a powerful act for the environment. You’re diverting waste from landfills, which reduces methane gas emissions – a potent greenhouse gas. Plus, you’re creating a natural soil amendment that reduces the need for synthetic fertilizers, which can harm water quality and soil health over time. It’s a win-win for your garden and for the planet!
According to the U.S. Environmental Protection Agency (EPA), composting can significantly reduce the amount of waste sent to landfills. By turning organic waste into valuable compost, you’re contributing to a more sustainable lifestyle.
When is Your Static Pile Compost Ready?
Patience is a virtue when it comes to static pile composting! As mentioned, it can take anywhere from 6 months to 2 years. How do you know it’s ready? Look for:
- Appearance: It should be dark brown and crumbly, resembling rich soil. You shouldn’t be able to distinguish the original materials.
- Smell: It should have a pleasant, earthy aroma, like a forest floor. No sour or ammonia smells!
- Texture: It should be loose and friable, not dense or clumpy.
If you’re in a hurry, remember that turning might speed things up, but for true static composting, it’s about letting time and nature do their work. If some larger pieces remain, you can simply screen them out and add them back to your next active pile.
FAQ: Your Static Composting Questions Answered
Here are some common questions beginners have about static pile composting, answered simply and directly.
Q1: How big does my static compost pile need to be?
A1: For a static pile to properly generate heat and decompose effectively, it should ideally be at least 3 feet wide, 3 feet deep, and 3 feet tall (approximately 1 cubic yard). Smaller piles may not heat up enough, and larger piles can sometimes have aeration issues if not managed.
Q2: Can I compost absolutely everything in my kitchen?
A2: It’s best to avoid meat, bones, dairy products, and oily foods. These can attract pests, create strong odors, and decompose slowly. Focus on fruits, vegetables, coffee grounds, tea bags, and eggshells.
Q3: How often do I need to add water to my static pile?
A3: This depends on your climate and the materials you’re adding. Check the moisture level every few weeks. It should feel like a wrung-out sponge. If it’s dry, water it. If it’s consistently soggy, you might need to add more browns or improve drainage.
Q4: Will my static compost pile attract bugs and rodents?
A4: A well-managed static pile, with a good balance of greens and browns and by burying food scraps, typically doesn’t attract many pests. If you do notice activity, ensure you’re not adding prohibited items (meat, dairy, oils) and that food scraps are always covered with brown material.
Q5: What if my pile smells bad? What did I do wrong?
A5: A bad smell usually means it’s too wet, too dense, or has too much nitrogen (

I am passionate about home engineering. I specialize in designing, installing, and maintaining heating, ventilation, and air conditioning systems. My goal is to help people stay comfortable in their homes all year long.