Hey there, neighbors! Ever look at your yard waste and food scraps and think, “There’s got to be a better way than the landfill?” You’re right! Composting is fantastic, and static pile composting is a super-effective method. It might sound a bit technical, but think of it like building a really good compost lasagna. We’re going to break it down, step-by-step, so you can turn that “waste” into black gold for your garden. Get ready to transform your organic leftovers into something amazing!
Static Pile Composting Course: Your Easy-Peasy Guide
Are you ready to take your compost game to the next level? Static pile composting is a powerful way to break down a lot of organic material quickly and efficiently. Don’t let the name “static” fool you – while the pile itself doesn’t get turned like other methods, there’s a lot of active science happening inside to create nutrient-rich compost. This guide is designed for beginners, making it simple to understand and implement. We’ll cover what it is, why it’s great, how to build your first pile, and what to expect. Let’s get composting!
What Exactly is Static Pile Composting?
Imagine building a big heap of organic materials – like leaves, grass clippings, and kitchen scraps – and just letting nature do its work. That’s basically static pile composting. Unlike other composting methods where you regularly turn the pile to introduce air, in a static pile, the air is usually managed through the way you build the pile itself, often with a core or chimney, and the right balance of materials. Microorganisms, like bacteria and fungi, are the unsung heroes here. They feast on the organic matter, generating heat that speeds up the decomposition process. This method is fantastic for larger amounts of material, making it popular for gardeners with a bit more space or those aiming to compost significant volumes.
Why Choose Static Pile Composting?
So, why pick static pile composting over, say, a tumbler or a regular bin? It boils down to a few key advantages:
- Volume: It’s excellent for processing large quantities of organic waste. If you have a big yard or a community garden, this is your go-to method.
- Efficiency: When done correctly, it can break down materials relatively quickly, often within months, thanks to the heat generated.
- Less Physical Effort (Relatively): While building the initial pile requires some effort, you typically don’t need to turn it often, saving you time and energy compared to frequent turning methods.
- Resource Creation: You end up with high-quality compost that’s packed with nutrients, perfect for improving soil health in your garden beds.
- Cost-Effective: You can build a static pile with minimal equipment, often using materials you already have.
The Science Behind the Heat: Thermophilic Composting
Static pile composting is a prime example of thermophilic composting. “Thermo” means heat, and “philic” means loving – so, heat-loving composting! This process relies on a specific range of temperatures (typically between 131°F and 160°F or 55°C to 70°C) to effectively break down organic matter and kill weed seeds and pathogens. These high temperatures are generated by the activity of mesophilic microbes, which thrive in warmer conditions. Having the right C:N ratio (carbon to nitrogen) and adequate moisture are crucial for these microbes to multiply and create the heat needed for rapid composting.
For more on the science and specific temperature ranges, you can check out resources from the U.S. Environmental Protection Agency (EPA), which offers great insights into composting best practices.
What You’ll Need: Tools and Materials
Getting started with static pile composting is simpler than you might think. You don’t need fancy gadgets, just a bit of space and the right ingredients. Here’s what to gather:
Essential Materials (The “Greens” and “Browns”)
The magic of composting lies in balancing “greens” (nitrogen-rich materials) and “browns” (carbon-rich materials). A good rule of thumb for static piles is a ratio of roughly 25-30 parts carbon to 1 part nitrogen by weight. In simpler terms, aim for a lot more browns than greens.
“Greens” (Nitrogen-Rich):
- Vegetable and fruit scraps
- Coffee grounds and tea bags
- Grass clippings (in thin layers to avoid matting)
- Plant trimmings (non-woody)
- Manure (from herbivores like cows, horses, chickens – avoid pet waste)
“Browns” (Carbon-Rich):
- Dry leaves
- Shredded newspaper and cardboard (avoid glossy or colored inks)
- Straw or hay
- Wood chips or sawdust (in moderation)
- Pine needles
- Twigs and small branches (chopped or shredded)
Building Your Pile: What You Might Need
- Space: A dedicated area, at least 3ft x 3ft x 3ft (1 cubic meter) is ideal for building heat.
- Pitchfork or Shovel: For moving and layering materials.
- Water Source: A hose or watering can to keep the pile moist.
- Thermometer (Optional but Recommended): A compost thermometer helps monitor the pile’s temperature.
- Tarpaulin or Cover (Optional): To help retain moisture and heat, and also to prevent the pile from getting too wet during heavy rain.
How to Build Your Static Compost Pile: A Step-by-Step Guide
Building a successful static pile is all about layering and structure. Let’s get your pile going!
Step 1: Choose Your Location
Find a spot in your yard that’s level, well-drained, and has easy access for adding materials. It doesn’t need to be fancy, just practical. Partial shade can help prevent it from drying out too quickly in the summer.
Step 2: Build Your Base Layer (The Foundation)
Start with a layer of coarse brown materials, like small twigs or wood chips (about 4-6 inches thick). This layer helps with aeration from the bottom up, preventing the pile from becoming a soggy mess.
Step 3: Layer Your Greens and Browns
This is where the composting magic really begins. Alternate layers of greens and browns, much like making a lasagna. Remember our goal: more browns than greens. Aim for layers that are a few inches thick each.
- Add a layer of brown material.
- Add a layer of green material.
- Optionally, add a sprinkle of finished compost or garden soil to introduce beneficial microbes.
- Add another layer of brown material.
- Continue layering, keeping the “browns” dominant.
Pro Tip: Chop or shred larger materials before adding them. This increases the surface area, allowing microbes to work faster and helping the pile break down more efficiently.
Step 4: Consider a Chimney (Optional but Beneficial)
For larger piles, adding a central “chimney” can really help with aeration. This can be as simple as using a large-diameter perforated pipe standing upright in the center of the pile as you build it. You can then fill this pipe with straw or other porous brown material. This creates a pathway for air to move up through the pile, aiding decomposition. You can also create a core using compacted straw laid in a criss-cross or tube pattern.
Step 5: Add Moisture
As you build your layers, lightly water each one. The goal is for the pile to be as moist as a wrung-out sponge. It shouldn’t be dripping wet, but definitely not dry. If you’re adding a lot of dry brown material, you’ll need to add more water.
Step 6: Insulate and Cover (Optional)
Once your pile is built (aim for at least 3ft x 3ft x 3ft to ensure it heats up), you can cover it with a tarpaulin or a thick layer of straw. This helps trap heat and moisture, creating a perfect environment for thermophilic microbes to get to work. It also helps protect the pile from excessive rain or drying winds.
Monitoring Your Static Pile
Though it’s called “static,” you still need to keep an eye on your compost pile.
Temperature Check
If you have a compost thermometer, poke it into the center of the pile regularly (every few days for the first couple of weeks, then less often). You want to see those temperatures climb into the 130-160°F range. If the pile isn’t heating up, it might be too dry, have too few greens, or be too small.
Moisture Check
Periodically, grab a handful of material from the center of the pile. Give it a squeeze. If water runs freely, it’s too wet. If it crumbles into dust, it’s too dry. Adjust as needed by adding more browns if too wet, or water if too dry. You might need to uncover it briefly to let excess moisture escape.
What to Do if it’s Not Heating Up
Don’t worry if your first pile doesn’t reach super-hot temperatures immediately. If it seems sluggish, consider these fixes:
- Too Dry: Add water and mix gently if possible.
- Too Wet: Add more dry brown materials and consider poking ventilation holes.
- Lack of Nitrogen (Greens): Add more nitrogen-rich materials like kitchen scraps or grass clippings.
- Pile Too Small: For successful heating, the minimum size is usually around 3 feet in any dimension. Combine materials from multiple tasks if needed.
When is My Static Pile Compost Ready?
The waiting game is part of composting! Static pile compost can be ready anywhere from 4 months to a year or more, depending on the materials used, the size of the pile, and the environment. You’ll know it’s ready when:
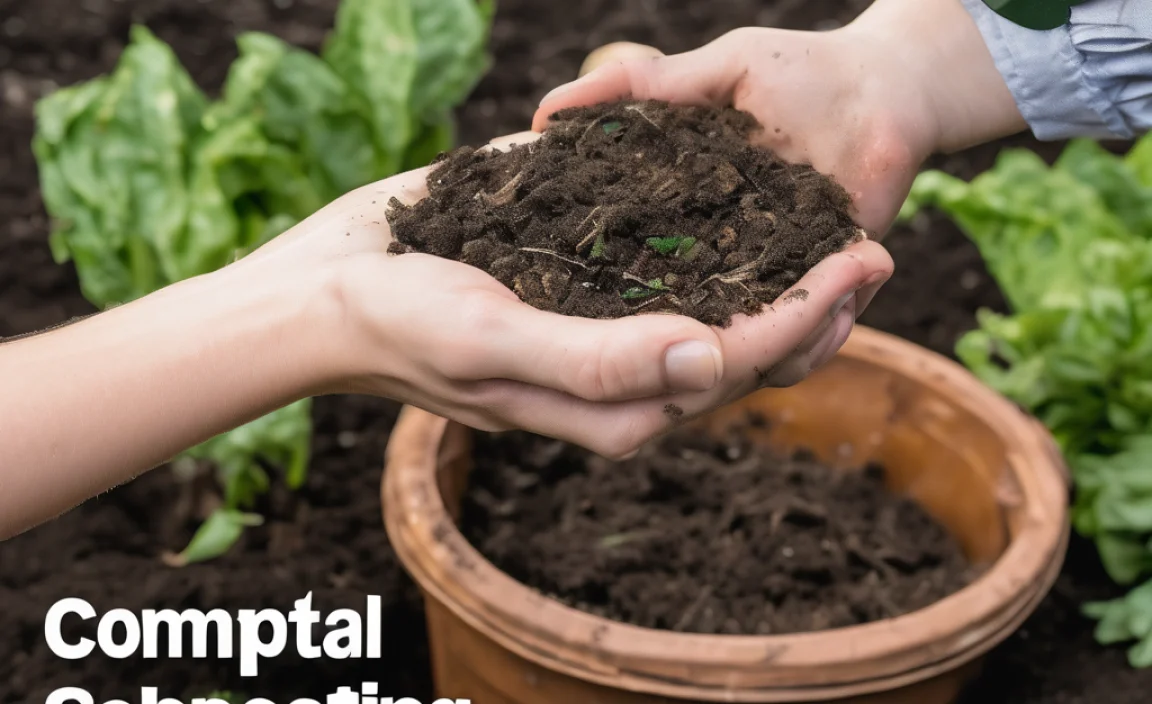
- It has a dark, crumbly texture, like rich soil.
- It has a pleasant, earthy smell, similar to a forest floor.
- The original materials are no longer recognizable.
- The temperature of the pile has cooled down to ambient levels.
Using Your Finished Compost
Congratulations! You’ve created your own Black Gold. Now, what can you do with it?
- Improve Garden Soil: Mix it into your vegetable beds and flower gardens to add nutrients, improve drainage, and boost soil structure.
- Top Dressing: Spread a layer around trees and shrubs.
- Potting Mix: Mix with other ingredients for a fantastic homemade potting soil for containers.
- Lawn Care: Spread a thin layer over your lawn in the spring or fall.
Troubleshooting Common Static Pile Issues
Even with the best intentions, you might run into a few hiccups. Here are some common problems and how to fix them:
Problem: Your Pile Smells Bad (Like Rotten Eggs or Ammonia)
- Cause: Too much nitrogen (greens) and/or not enough air. This leads to anaerobic conditions (without oxygen).
- Solution: Add more carbon-rich brown materials (leaves, shredded cardboard). If possible, gently aerate the pile by poking holes with a pitchfork or adding a chimney if you didn’t initially. Ensure proper moisture levels – not too wet.
Problem: The Pile Isn’t Heating Up
See “What to Do if it’s Not Heating Up” section above for detailed solutions. In summary, it’s usually due to moisture, size, or the C:N ratio.
Problem: Pests are Attracted to the Pile
Rodents and other animals might be drawn to your compost, especially if you’re adding large amounts of food scraps. While static piles are less prone to this than open bins, it can happen.
- Solution: Bury food scraps deep within the pile, always covering them with a layer of brown material. Avoid adding meat, dairy, or oily foods, which are more attractive to pests. Ensure your pile is contained if necessary, though this can sometimes hinder aeration.
Problem: The Pile is Too Wet and Slimy
This often happens if the pile is exposed to too much rain or if there’s too much green material.
- Solution: Add a generous amount of dry brown materials and mix them in as best as you can. If you have a cover, use it to control moisture. You may need to poke aeration holes to help it dry out naturally.
Quick Comparison: Static Pile vs. Other Methods
To help you see where static pile composting fits in, here’s a quick look at how it stacks up against other common methods:
| Feature | Static Pile Composting | Tumbler Composting | Open Bin/Hot Composting (Frequent Turning) | Worm Composting (Vermicomposting) |
|---|---|---|---|---|
| Volume Capacity | High | Low to Medium | Medium to High | Low |
| Speed of Composting | Medium to Fast (if heated) | Fast | Fast | Slow |
| Effort (Turning) | Low (initial build, minimal turning) | Low (tumbling is easy) | High (frequent turning needed) | Low (managing worms) |
| Space Required | Medium to Large | Small | Medium | Small |
| Ease for Beginners | Moderate (requires understanding ratios) | Easy | Moderate | Moderate (managing live creatures) |
| Cost to Start | Low | Medium to High | Low to Medium | Medium |
| Pathogen/Weed Seed Kill | Good (if reaches thermophilic temps) | Good | Very Good | Poor |
As you can see, each method has its strengths. Static pile composting offers a great balance for those with a bit of space looking for an efficient way to handle larger volumes of organic material without constant hands-on effort.
Conclusion: Your Composting Journey Begins Now!
And there you have it! Static pile composting doesn’t have to be intimidating. By understanding the balance of greens and browns, managing moisture, and giving your pile the right conditions, you’re well on your way to creating nutrient-rich compost right in your own backyard. It’s a rewarding process that benefits your garden and the environment, turning everyday discards into something truly valuable.
Remember, composting is a journey, and every pile is a learning experience. Don’t be discouraged if your first attempt isn’t perfect. Keep experimenting, observe your pile, and enjoy the process. Happy composting, everyone!
Frequently Asked Questions (FAQ)
How big does a static pile need to be to generate heat?
For effective thermophilic composting (heat-generating), your static pile should ideally be at least 3 feet wide, 3 feet deep, and 3 feet tall (approximately 1 cubic meter). This minimum size helps the pile retain enough heat produced by the microbial activity.
Can I compost pet waste in a static pile?
It’s generally not recommended to compost pet waste (from dogs and cats) in a home compost system, including static piles. These waste products can contain pathogens that may not be reliably killed by home composting temperatures. For manure, stick to waste from herbivores like horses, cows, or chickens.
My pile is hot, but it smells. What’s wrong?
A hot, smelly pile usually means it’s too wet and/or has too much nitrogen (greens). The strong smell, often like ammonia or rotten eggs, indicates anaerobic decomposition is happening. Try adding more carbon-rich brown materials and gently aerating the pile to introduce oxygen.
How often should I check the temperature and moisture?
When you first build the pile, check temperature and moisture daily for the first week or so. Once it’s actively heating, you can check every few days. As the pile cools down and matures, checks can become less frequent, perhaps weekly.
Can I add woody materials like branches to a static pile?
Yes, but it’s best to chop or shred them into smaller pieces. Larger woody materials will break down very slowly. Including some at the base can help with aeration, and shredded woody bits can add valuable carbon if balanced with enough greens. For very large logs, they are better suited for different decomposition methods or are best chipped.
What is the ideal C:N ratio for static pile composting?
The ideal carbon-to-nitrogen (C:N) ratio for efficient composting is often cited as around 25:1 to 30:1 by weight. This means for every pound of nitrogen-rich “green” material, you need roughly 25 to 30 pounds of carbon-rich “brown” material. This is why static piles tend to have a larger volume of browns than greens.

I am passionate about home engineering. I specialize in designing, installing, and maintaining heating, ventilation, and air conditioning systems. My goal is to help people stay comfortable in their homes all year long.


