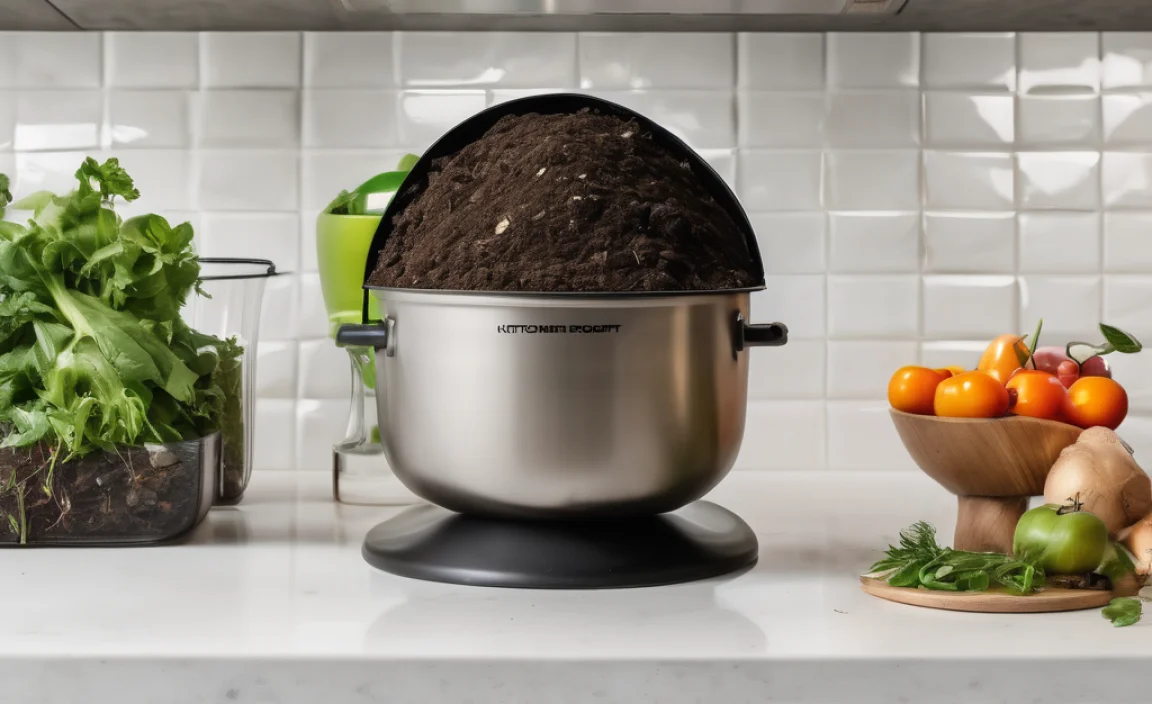
Ever notice a less-than-pleasant smell wafting from your compost pile? You’re not alone! Pigeon, a common but sometimes startling issue when you’re trying to create nutrient-rich soil. But don’t worry, a stinky compost pile doesn’t mean compost failure. It usually just means your pile needs a little adjustment. This guide will walk you through exactly why your static pile composting might smell and how to fix it, so you can get back to making black gold for your garden without any whiffy surprises.
Taming the Trickiest Smells: Your Guide to Static Pile Composting Odor Solutions
Hey there, fellow garden pals and DIY enthusiasts! Troy D Harn here from TopChooser, ready to tackle a topic that can make even the most enthusiastic composter pause: that sometimes… pungent smell emanating from a composting pile. If you’re aiming to turn kitchen scraps and yard waste into fantastic fertilizer, but a strong odor is throwing you off, I’ve got your back. We’ll break down why composting smells happen and, more importantly, how to stop them. Think of this as your friendly, no-fuss guide to a sweet-smelling compost success story.
Why Does My Compost Pile Smell? The Science Behind the Stench
Understanding why your compost pile smells is the first step to fixing it. Composting is a natural process driven by tiny organisms – bacteria, fungi, and even larger critters like worms. When these work their magic, they break down organic matter. The key to a healthy, odor-free pile is ensuring these microbes have exactly what they need to do their job efficiently and aerobically (with oxygen!). When things go wrong, which often leads to unpleasant smells, it’s usually because the process has become anaerobic (without enough oxygen).
Here’s a quick look at what usually causes those unwelcome odors:
- Too Much Moisture: A waterlogged pile suffocates the aerobic microbes, creating an anaerobic environment. This leads to the production of foul-smelling gases.
- Lack of Airflow: Without oxygen, anaerobic bacteria take over. These are the main culprits behind rotten egg (hydrogen sulfide) and ammonia smells.
- An Imbalance of “Greens” and “Browns”: “Greens” (like food scraps and grass clippings) are nitrogen-rich, while “browns” (like dry leaves and cardboard) are carbon-rich. Too many greens without enough browns can lead to a nitrogen-heavy, smelly, and soggy mess.
- Composting the Wrong Things: Some items, like meat, dairy, and oily foods, can attract pests and create really foul odors while they decompose, or even fail to decompose properly.
Understanding the “Green” and “Brown” Balance: The C:N Ratio
This is probably the most crucial concept for beginner composters. Think of your compost pile needing a balanced diet, just like you do! Your compost ingredients are broadly categorized into two types:
- Greens (Nitrogen-Rich): These materials are typically moist and quick to break down. They provide the nitrogen that microbes need for growth and reproduction. Examples include:
- Fruit and vegetable scraps
- Grass clippings
- Coffee grounds and tea bags
- Plant trimmings (fresh)
- Browns (Carbon-Rich): These materials are usually dry and take longer to break down. They provide the energy source for the microbes and help with aeration. Examples include:
- Dry leaves
- Shredded newspaper and cardboard (non-glossy)
- Straw and hay
- Wood chips and sawdust
- Eggshells (though they break down slowly)
The ideal ratio of carbon to nitrogen (C:N) for effective composting is generally considered to be around 25-30 parts carbon to 1 part nitrogen by weight. For beginners, it’s easier to think in volume: aim for roughly two to three times more brown materials than green materials in your mix. If your pile smells like ammonia, you likely have too many greens. If it smells sour or rotten, you might have too much moisture or not enough air, often exacerbated by a green-heavy mix.
Common Smells and Their Culprits
Different smells often point to different problems. Knowing what you’re smelling can help you diagnose the issue quickly.
| Smell Type | Likely Cause | Solution Approach |
|---|---|---|
| Rotten Egg (Sulfurous) | Anaerobic decomposition due to lack of oxygen and/or too much moisture. Often happens when there are too many wet, dense materials packed together. | Turn the pile to introduce air. Add more brown materials (like dry leaves or shredded cardboard) to absorb moisture and improve aeration. |
| Ammonia | Too much nitrogen (too many “greens”) without enough carbon (“browns”) to balance it. | Add a thick layer of carbon-rich brown materials to absorb the excess nitrogen and balance the compost mix. |
| Sour/Vinegary | Anaerobic conditions, often related to too much moisture and/or too many acidic “green” materials like citrus peels in a tightly packed pile. | Turn the pile thoroughly, add generous amounts of brown materials to absorb moisture and provide aeration, and avoid adding large quantities of acidic materials at once. |
| General “Rot” or Decay | This is natural, but if it’s overwhelming, it might indicate a problem with moisture or a lack of air. It can also happen as certain materials break down. | Ensure good aeration and an appropriate moisture level. If it’s just a normal decaying smell that’s not overpowering, it’s usually fine. |
Essential Solutions: How to Fix a Smelly Compost Pile
Now for the good stuff – how to banish those bad smells and get your compost working efficiently again. Most solutions involve adjusting the factors that keep your compost pile healthy: air, moisture, and the right mix of materials.
Solution 1: Aerate, Aerate, Aerate!
This is your number one weapon against anaerobic conditions and the smells they produce. A well-aerated pile allows oxygen to reach all the decomposition microbes. Without oxygen, the less pleasant anaerobic microbes take over.
How to do it:
- Turn the Pile: This is the most effective method. Use a garden fork, a pitchfork, or a compost aerator tool to mix the materials thoroughly. Aim to move material from the outside to the inside and vice-versa. This action breaks up compacted areas and incorporates air.
- Frequency: For a hot composting system (where you aim to reach high temperatures for faster decomposition), turn the pile every few days to a week. For a slower, passive system (cold composting), turning once every few weeks or even once a month is usually sufficient, but more often can help if smells arise.
- Compost Tumblers: If you’re using a compost tumbler, simply rotating it does a great job of aerating.
Pro Tip: If your pile is very large and compacted, it might be tough to turn. Break it down into smaller sections or focus on the most compacted areas first.
Solution 2: Get Your Moisture Level Right
Your compost pile should be as damp as a wrung-out sponge – moist but not soaking wet. Too much water squeezes out the air pockets, leading to the anaerobic “rotten egg” smell.
How to do it:
- Check Regularly: Grab a handful of material from the center of the pile. If water streams out, it’s too wet. If it feels dry and crumbly, it’s too dry.
- If Too Wet:
- Add Browns: This is your primary solution. Dry, carbon-rich materials like shredded newspaper, cardboard, straw, or dry leaves act like sponges, absorbing excess moisture and improving airflow. Add a thick layer and mix it in well.
- Expose to Air: Turning the pile also helps excess moisture evaporate.
- Covering (Sometimes): While you want air to circulate, during prolonged heavy rain, you might temporarily cover the pile to prevent it from becoming waterlogged. Use a tarp or boards, but ensure it’s not airtight to allow for some airflow.
- If Too Dry:
- Add Water: If the pile is too dry, decomposition slows down significantly. Sprinkle water onto the pile as you turn it.
- Add “Greens”: Moist “green” materials like kitchen scraps can also help increase moisture. Ensure they’re mixed in well so they don’t mat together and create anaerobic pockets.
For more on managing moisture, the U.S. Environmental Protection Agency (EPA) offers excellent, straightforward advice on home composting, including managing moisture levels.
Solution 3: Balance Your Greens and Browns
As we discussed, an imbalanced C:N ratio is a common cause of odor. Too many greens lead to a nitrogen-rich, potentially soggy, and smelly pile. Too many browns can slow down decomposition.
How to do it:
- Identify the Imbalance:
- Ammonia smell? You likely have too many greens.
- Sour/rotten smell? Likely too wet, not enough air, and often a “green” imbalance is contributing.
- Add the Missing Component:
- Too many greens: Add a generous amount of brown materials. Shredded leaves, straw, cardboard, or wood chips are great. Aim for a layer at least a few inches thick and mix it in thoroughly.
- Too many browns (pile is slow or smells stale): While less common for odor issues, if your pile isn’t breaking down and smells a bit stale, you might simply need more “greens” or a bit more moisture. Add some fresh grass clippings, kitchen scraps, or coffee grounds.
- Mix Well: Whenever you add materials, ensure they are mixed into the existing pile to distribute the nutrients and improve airflow.
Solution 4: What NOT to Compost
Some materials simply aren’t suitable for standard home composting, especially if you’re concerned about odors and pests. These items can break down anaerobically, attract unwanted animals, or carry pathogens.
Avoid adding these to your static pile:
- Meat, fish, and bones
- Dairy products (cheese, yogurt, milk)
- Oily foods and grease
- Diseased plants
- Weeds that have gone to seed (unless you are confident your pile gets hot enough to kill them)
- Pet waste from carnivorous animals (dog or cat feces)
- Chemically treated wood or yard waste
By sticking to the basics – kitchen scraps (excluding those listed above), yard waste, coffee grounds, tea bags, and shredded paper – you’ll significantly reduce the risk of odor and pest problems. If you happen to accidentally add something you shouldn’t have, try to dig it out or bury it deeply within the pile and then turn it well.
Solution 5: Layering and Aeration Techniques
How you build your pile matters! Proper layering helps ensure good airflow and moisture distribution from the start.
Build it Right:
- Start with a Base: Begin with a layer of coarse brown material, like twigs or wood chips (about 4-6 inches deep). This allows air to enter from the bottom and helps with drainage.
- Alternate Layers: Add alternating layers of greens and browns. A good rule of thumb is a layer of greens (about 2-4 inches) followed by a thicker layer of browns (about 4-6 inches).
- Moisten as You Go: Lightly water each layer as you build your pile.
- End with Browns: Always finish with a top layer of brown material. This acts as a cap, helping to deter pests and reduce odors by preventing direct exposure of food scraps.
Aeration Tools: If turning is too much work, consider a compost aerator tool. These long, often corkscrew-like tools are designed to be plunged into the pile and twisted, creating air channels throughout the compost. Resources from universities like University of New Hampshire Extension offer practical guidance on composing techniques, including the benefits of aeration.
Solution 6: Faster Composting Methods for Odor Control
If you’re really struggling with persistent odors or want compost faster, you might consider methods that promote faster decomposition and more consistent aerobic conditions.
- Hot Composting: This method involves carefully balancing greens and browns, maintaining optimal moisture, and turning the pile frequently (every 2-7 days). This high-activity decomposition process can reach temperatures of 130-160°F (54-71°C), which kills weed seeds and pathogens, and the rapid microbial activity can outcompete odor-producing microbes if managed correctly.
- Compost Tumblers: These enclosed bins are often easier to manage for aeration and moisture. They also keep pests out, which can contribute to odors from attracted rodents or insects. Tumblers are great for smaller yards or for those who don’t want a large open pile.
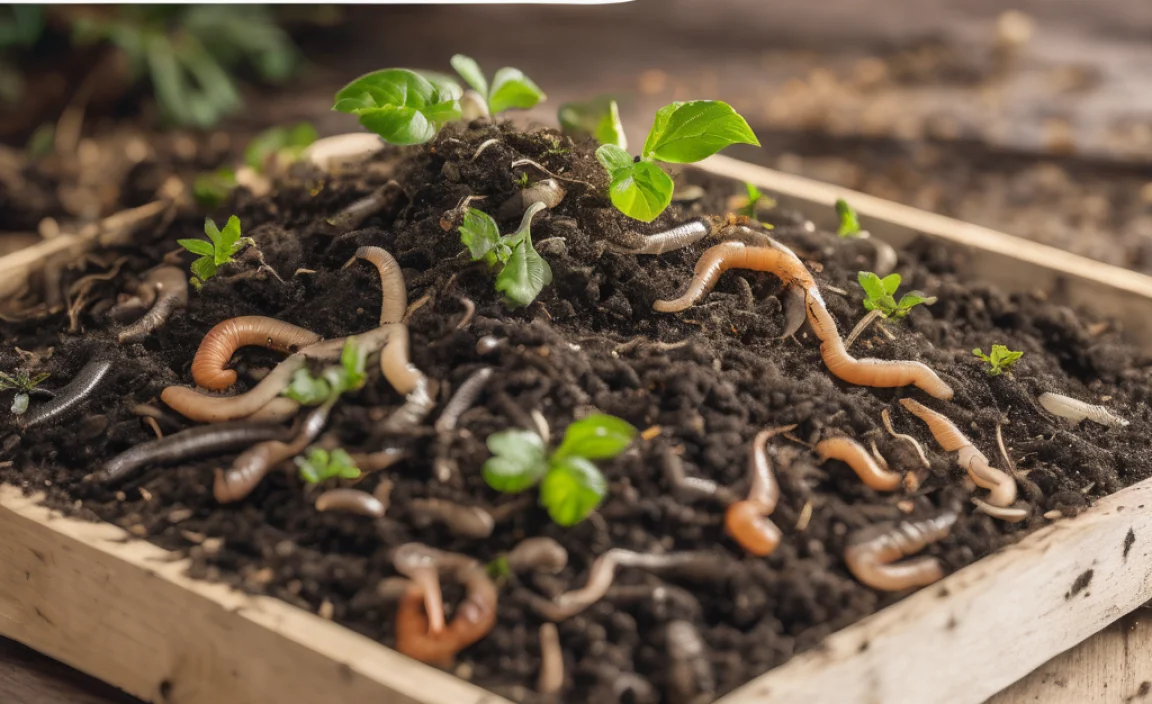
- Worm Composting (Vermicomposting): While not a “static pile,” vermicomposting uses specific species of worms (like red wigglers) to break down food scraps. It’s highly efficient for kitchen waste and typically produces very little odor if maintained correctly.
Tools to Help You Combat Compost Odors
You don’t need a lot of fancy equipment, but a few basic tools can make managing your compost pile and its odors much easier.
| Tool | Purpose | Why it Helps with Odor |
|---|---|---|
| Garden Fork/Pitchfork | Turning and aerating the compost pile. | Essential for introducing oxygen and mixing materials, which is the primary solution for anaerobic odors. |
| Compost Aerator Tool | Creating air channels in larger or denser piles. | A less labor-intensive way to aerate than full turning, it helps keep oxygen flowing and prevents pockets of anaerobic activity. |
| Shovel | Moving materials, especially browns, to add to the pile. | Useful for measuring and adding brown materials to absorb excess moisture and balance the mix. |
| Watering Can/Hose with Sprayer | Adding moisture to dry piles. | Ensures the decomposition process doesn’t stall due to dryness, which can sometimes lead to unpleasant, stale odors if components aren’t breaking down. |
| Gloves | Hygienic handling of compost materials. | While not directly for odor, hygienic handling ensures you’re comfortable and motivated to manage your pile correctly, which indirectly prevents odors. |
When to Call It Quits (Temporarily!)
Sometimes, despite your best efforts, a pile can become too far gone with a truly offensive smell. If your pile is a slimy, stinky mess, and adding browns and turning isn’t helping quickly, it might be time to:
- Start Over: Spread out the offensive material thinly in a sunny spot to dry out and air out for a few days, then incorporate it into a new, well-balanced compost pile.
- Bury it: If it’s not too extreme, bury the offensive materials deep within the pile and add plenty of browns.
- Re-evaluate Your Method: Are you adding the right things? Is your moisture level consistently off? Sometimes a reset helps you re-learn the process with fresh eyes.
Remember, composting is a learning process! Even experienced gardeners have smelly compost days. The key is to identify the cause and make the necessary adjustments.
Frequently Asked Questions About Static Pile Composting Odor
Got more questions? We’ve got answers!
Q1: My compost smells like rotten eggs. What did I do wrong?
A1: A rotten egg smell (sulfur) usually means your pile is too wet and lacks oxygen (anaerobic conditions). The microbes working in these conditions produce gases like hydrogen sulfide. Your fix? Turn the pile thoroughly to introduce air, and add plenty of dry “brown” materials (like shredded cardboard, dry leaves, or straw) to absorb excess moisture and create air

I am passionate about home engineering. I specialize in designing, installing, and maintaining heating, ventilation, and air conditioning systems. My goal is to help people stay comfortable in their homes all year long.