“`html
Feeling like your compost pile is just … sitting there?
You’ve probably heard that compost piles need to get hot to work right. But what’s the magic number? And how on earth do you get your pile to that sweet spot? It can feel a bit confusing, like trying to crack a secret code for super soil. Don’t worry, I’ve got your back!
We’re going to break down precisely what temperature your static pile compost should reach and how to achieve it. Think of this as your friendly guide to making your compost work smarter, not just sit there longer.
Static Pile Composting Temperature: Your Guide to the “Goldilocks Zone”

Hey everyone, Troy D Harn here from TopChooser! Today, we’re diving into a topic that makes a big difference in how fast and effectively you turn your kitchen scraps and yard waste into amazing compost: temperature.
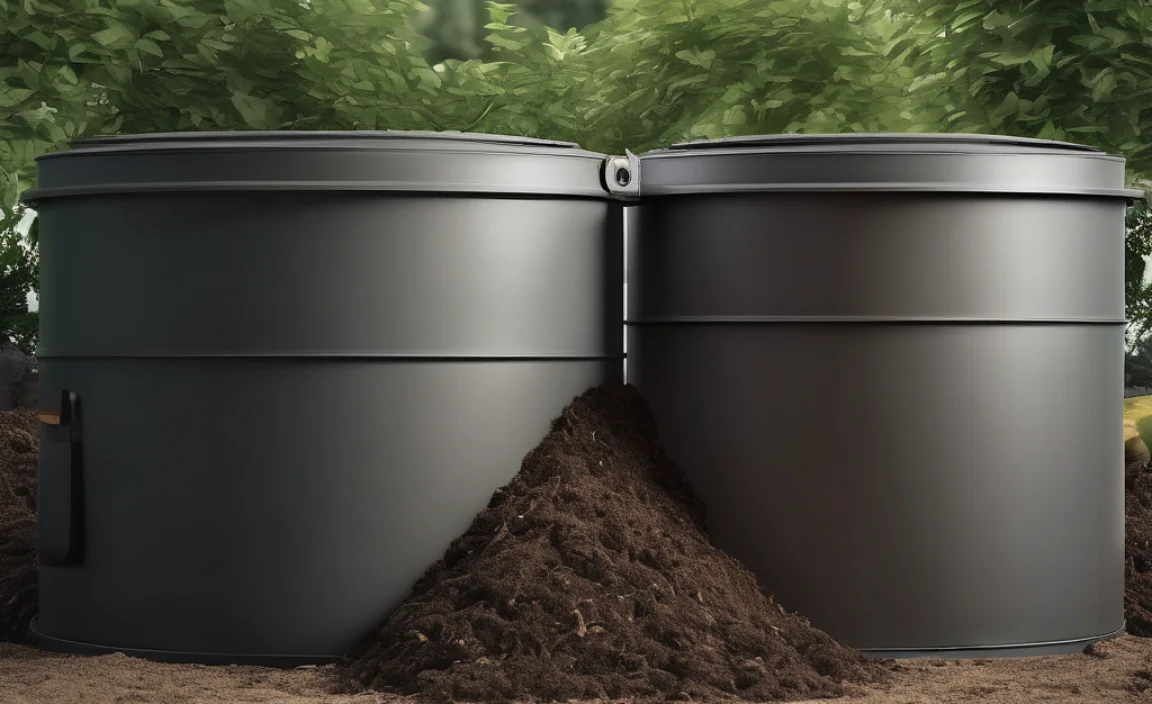
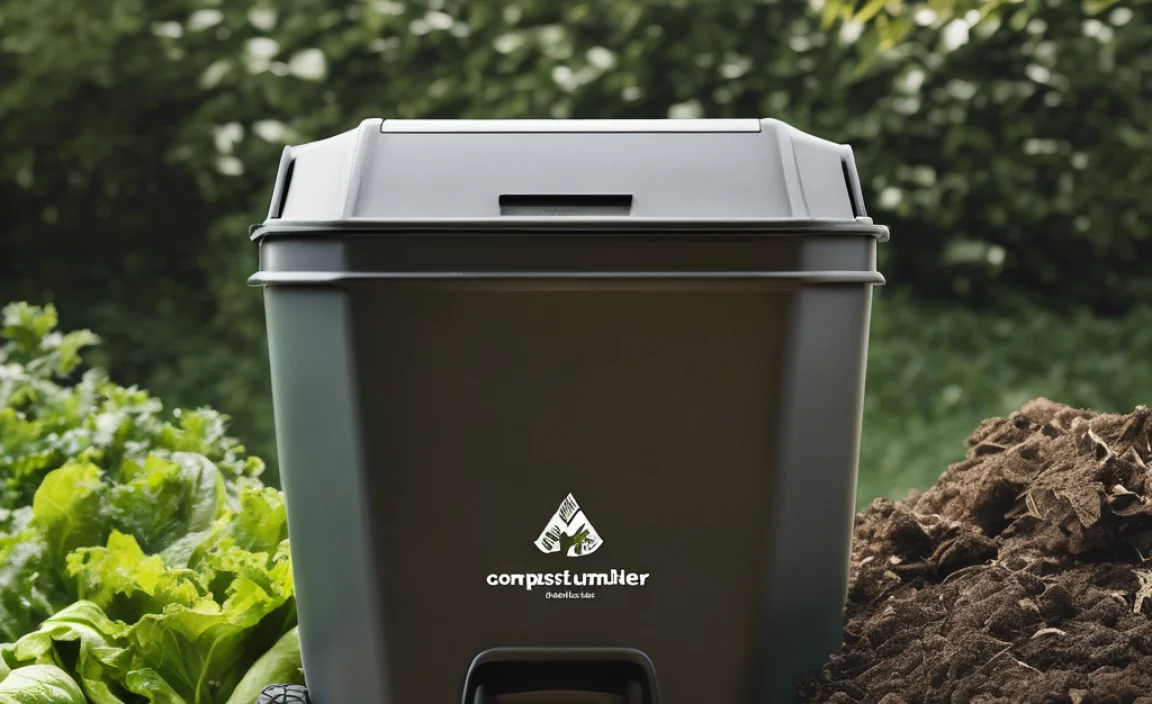
You might have a static pile composting setup. This means you’re not turning or manually mixing your compost pile very often, if at all. It’s a great, low-effort way to compost, but it relies heavily on getting the temperature just right to speed things up and kill off any unwanted pathogens or weed seeds. Let’s make sure your pile is doing its best work!
Why Compost Temperature Matters (It’s More Than Just “Hot”)
Think of your compost pile like a bustling city for tiny organisms. These microbes – bacteria, fungi, and actinomycetes – are the workers that break down your organic materials. And like any good workforce, they perform best under certain conditions. One of the most crucial is heat.
- Faster Decomposition: When your pile is hot, these microbes work at lightning speed. This means your compost will be ready much sooner.
- Killing Unwanted Guests: Higher temperatures are essential for killing off weed seeds and harmful pathogens (like E. coli or Salmonella) that might be present in your raw materials, especially if you’re adding things like manure.
- Reducing Odors: A properly heating compost pile is usually a well-aerated pile, which helps prevent those unpleasant stinky smells.
- Nutrient Retention: The right temperature balance can also help retain valuable nutrients in your finished compost, making it even better for your garden.
The “Proven Best” Static Pile Composting Temperature Range
When we talk about compost temperature, we’re generally referring to the thermophilic (heat-loving) stage of decomposition. This is where the magic really happens.
The ideal temperature range for effective static pile composting is typically between 131°F (55°C) and 160°F (71°C). This is often called the “hot composting” zone.
Why this range?
- 131°F (55°C) and above: This is the critical threshold where pathogens, weed seeds, and fly larvae are effectively killed. Studies by institutions like the U.S. Environmental Protection Agency (EPA) highlight this temperature range as crucial for sanitation.
- Up to 160°F (71°C): Many sources, including university extension programs, suggest this upper limit. Temperatures much higher than this can start to kill off the very microbes you need to break down the material, and can also lead to anaerobic conditions (lack of oxygen) which cause foul odors.
- Below 131°F (55°C): Composting will still occur, but it will be much slower, and you won’t get the benefit of killing off weed seeds and pathogens. This is known as the mesophilic stage, which is important for starting the process, but you want to reach the thermophilic stage for the best results.
What Happens If My Pile Isn’t Hot Enough?
If your static pile compost isn’t reaching these temperatures, it’s likely not going to break down as quickly. You might end up with a pile that just sits there for a very long time, resembling a heap of decaying organic matter more than rich, finished compost. Plus, weed seeds might survive, meaning you’ll be introducing them to your garden beds!
What If It Gets Too Hot?
As mentioned, temperatures exceeding 160°F (71°C) can be detrimental. It can kill off beneficial microbes, slow down decomposition, and create anaerobic pockets that smell bad. It’s a delicate balance, but achievable.
Understanding the Stages of Composting Temperature
Composting is a process that goes through different phases, and temperature is a key indicator of which phase your pile is in. For static pile composting, we’re primarily interested in the thermophilic stage, but it’s good to know the whole picture.
1. Mesophilic Stage (The Kick-Off!)
This is the initial stage where mesophilic microorganisms (those that thrive in moderate temperatures) get to work. They start breaking down the readily available sugars and starches in your compost materials.
- Temperature: Typically 60°F to 100°F (15°C to 38°C).
- Duration: This stage can last a few days to a week.
- What’s happening: Microbes consume easily digestible materials. As they eat, they produce heat.
2. Thermophilic Stage (The “Hot” Zone)
This is the stage we’re aiming for in static pile composting for fast, effective breakdown and sanitation. The heat generated by the mesophilic microbes (and the continued activity of thermophilic microbes) pushes the pile’s temperature into the “hot” zone.
- Temperature: 131°F to 160°F (55°C to 71°C).
- Duration: This stage should ideally last for at least a few weeks, but can vary. The longer it stays in this range, the more thoroughly materials will break down and the more pathogens and weed seeds will be destroyed.
- What’s happening: Thermophilic bacteria and actinomycetes take over, breaking down tougher materials like proteins, fats, and complex carbohydrates. This is where decomposition speeds up significantly.
3. Cooling Stage (The Winding Down)
As the readily available food sources dwindle, the thermophilic microbes become less active. The pile’s temperature starts to drop back down.
- Temperature: Returns to ambient or mesophilic levels (below 100°F/38°C).
- What’s happening: Fungi and actinomycetes become more dominant, continuing to break down the more resistant materials.
4. Curing Stage (The Maturation)
This is a longer process where the compost matures. It’s not about heat anymore, but about refining the material.
- Temperature: Ambient.
- Duration: Can take several months.
- What’s happening: Soil organisms like worms, mites, and springtails move in. Complex organic compounds are stabilized into humus, the dark, stable material that gives compost its rich, earthy smell and beneficial properties for your soil.
For static composting, the goal is to get into and maintain the thermophilic stage for as long as possible without letting the pile get too cool or too hot. This is managed by how you build, what you put in, and how you maintain moisture and aeration.
Building Your Static Pile for Optimal Temperature
The secret to a hot static pile isn’t just luck; it’s in how you construct it from the get-go.
Static pile composting relies on creating the right environment within the pile so that it heats up and stays hot on its own, without frequent turning. This means getting the recipe right and building the pile correctly.
The Right Recipe: The Carbon-to-Nitrogen (C:N) Ratio
This is super important! Microbes need a balanced diet. They need carbon for energy and nitrogen for reproduction and protein synthesis. The ideal C:N ratio for hot composting is around 25:1 to 30:1 by weight.
What does this mean in terms of materials?
- “Greens” (Nitrogen-Rich): These are typically moist, easily decomposable materials. Think grass clippings, vegetable scraps, coffee grounds, tea bags, and fresh manure (cow, chicken, horse – but be cautious with chicken manure as it’s very hot!).
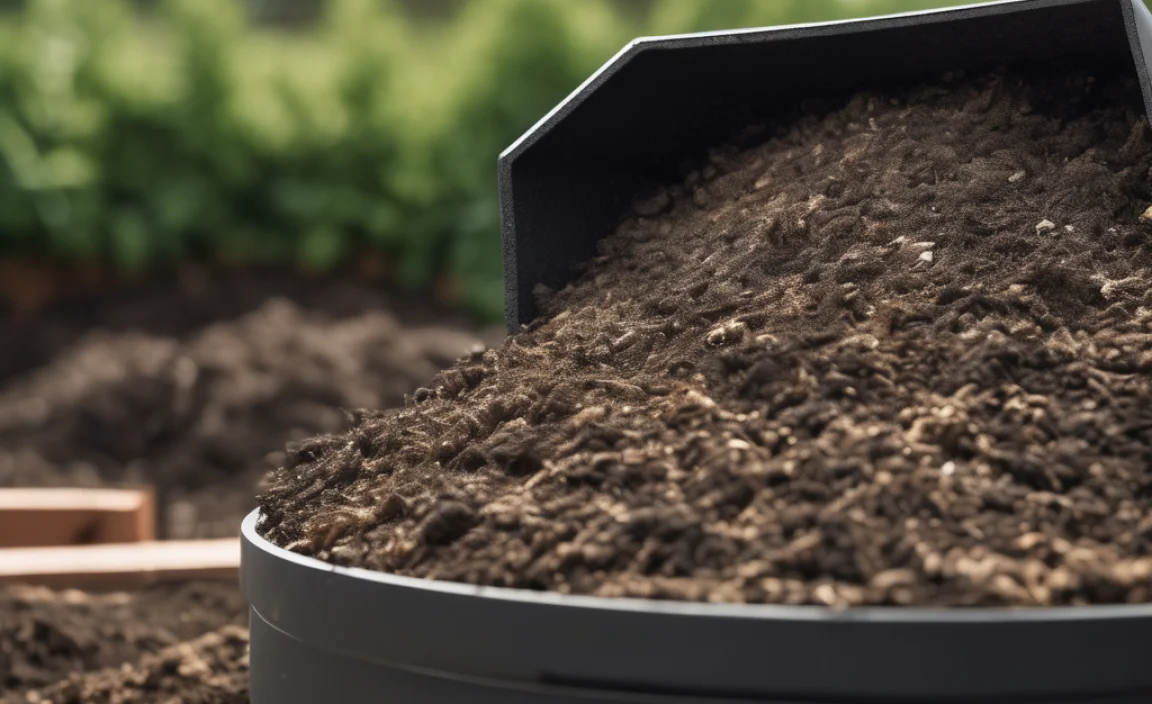
- “Browns” (Carbon-Rich): These are drier, bulkier materials that provide carbon and also help aerate the pile. Think dead leaves, straw, shredded cardboard, shredded newspaper, sawdust, and wood chips.
General Rule of Thumb: For every layer of “greens” you add, add two to three layers of “browns.” This helps ensure you’re not making the pile too wet or too dense, which can lead to anaerobic conditions and odors.
Ideal Materials for Your Static Pile
Here’s a quick look at common composting materials and their general C:N ratios. It’s not an exact science when you’re just starting, but this helps.
| Material | Approximate C:N Ratio | Notes |
|---|---|---|
| Grass clippings (fresh) | 15-25:1 | High nitrogen, can compact easily. Mix well with browns. |
| Shrdred leaves (dry) | 30-80:1 | Excellent source of carbon. Can be slow to break down if left whole. |
| Straw | 40-100:1 | Good for aeration and carbon. |
| Shredded newspaper/cardboard | 150-175:1 | Good carbon source. Avoid glossy paper. |
| Fruit and vegetable scraps | 15-20:1 | High nitrogen. Add in smaller pieces and mix well. |
| Coffee grounds | 20:1 | Good nitrogen source. |
| Manure (cow, horse) | 20-30:1 | Excellent nitrogen source. Ensure it’s well-aged or from herbivores. |
| Chicken manure | 10:1 | Very high nitrogen. Use sparingly or compost separately first; can burn plants. Always compost thoroughly. |
| Sawdust/Wood chips | 200-500:1 | Very high carbon. Use in moderation as they can tie up nitrogen as they decompose. |
| Yard trimmings (woody branches) | 40-100:1 | Needs to be chopped or shredded to break down efficiently. |
Remember, these are approximations. The actual C:N ratio can vary based on the age, processing, and specific type of material. The key is to aim for a diverse mix and avoid overloading on one type of ingredient, especially greens.
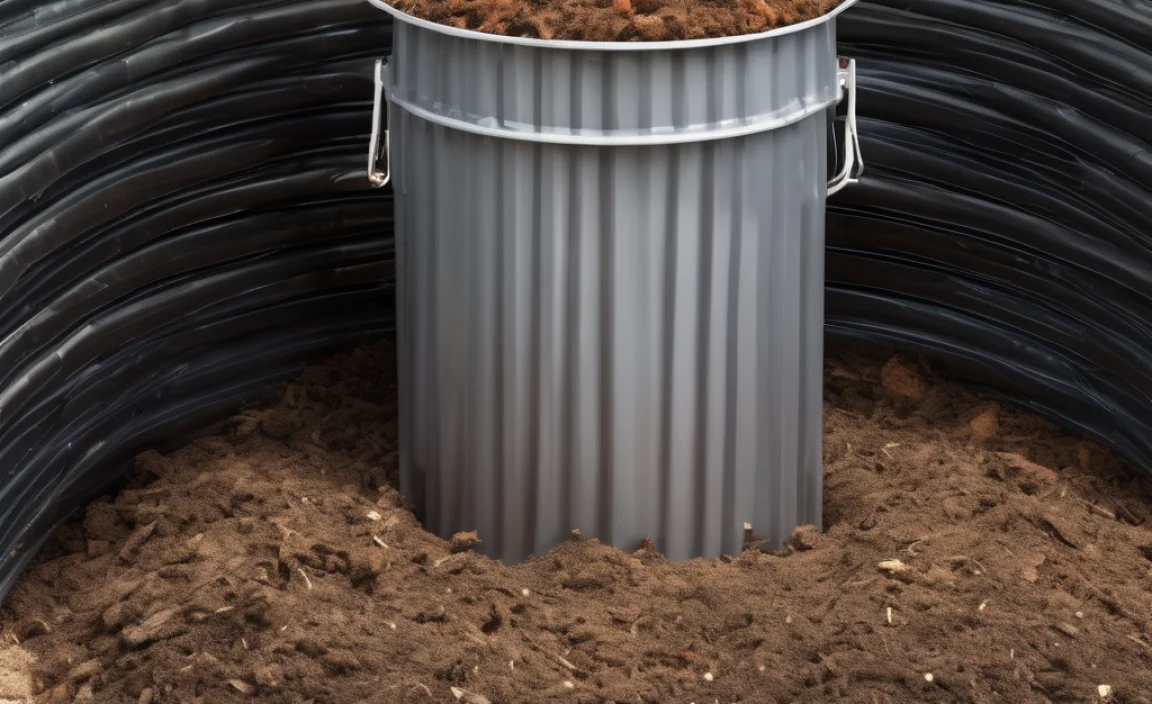
Pile Size and Aeration
For static pile composting to heat up effectively, the pile needs to be a certain minimum size to retain heat. A good rule of thumb is a pile that is:
- At least 3 feet x 3 feet x 3 feet (1 cubic meter).
Smaller piles won’t generate enough internal heat. Larger piles might require more careful management of aeration. The reason for this size is to create an insulated core where microbial activity can generate and retain heat.
Aeration is also crucial. Even though you’re not turning, the pile needs airflow to allow oxygen for the aerobic microbes. Overcrowding materials or having a very dense pile will prevent air from circulating, leading to anaerobic conditions (smelly!). This is where those “browns” really shine – they create air pockets.
Moisture Content: The Secret Sauce
Moisture is vital for microbial life. Your compost pile should be as damp as a wrung-out sponge. If it’s too dry, the microbes can’t survive or work effectively. If it’s too wet, you’ll push out the air and create those stinky anaerobic conditions.
- How to Test: Grab a handful of compost material from the center of the pile. Squeeze it firmly. A few drops of water should drip out, but it shouldn’t be gushing.
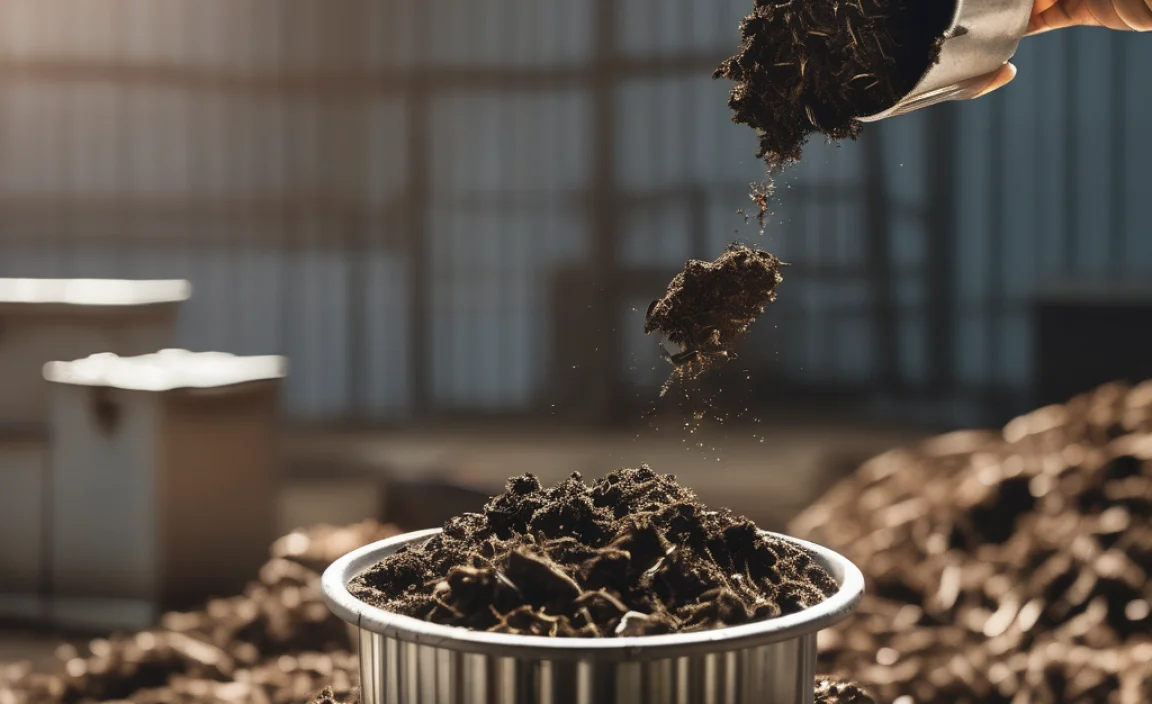
- Adding Water: If it’s too dry, you can add water. It’s easiest to do this when you are building the pile, layering materials and watering each layer. If the pile is already built and seems dry, you might need to gently fork in some water, which can be tricky with a static pile.
- Too Wet? If it’s too wet, the best remedy is to add more “browns” (like shredded cardboard or dry leaves) to absorb excess moisture and improve aeration.
Achieving and Maintaining the “Hot” Temperature
Once your pile is built, here’s how to encourage it to heat up and stay there:
1. Layering and Mixing
When building your pile, layer your greens and browns like making a lasagna. Alternate layers about 4-6 inches thick. Chop or shred larger materials to increase surface area for microbes to work on.
Water each layer lightly as you go, especially the brown layers. Try to finish with a brown layer to help with odor control and deter pests.
2. Monitoring Temperature
This is where a compost thermometer comes in handy. A good quality compost thermometer (usually a long metal probe) will let you easily check the internal temperature of your pile without disturbing it too much.
- Where to Probe: Insert the thermometer into the center of the pile.
- How Often: Check it regularly, especially in the first few weeks after building your pile.
- What to Look For: Aim to see that temperature climb into the 131°F-160°F range.
You can find reliable compost thermometers from many gardening supply stores or online retailers. Investing in one is worthwhile for serious composters.
3. Patience is Key
With static pile composting, you’re aiming for a “set it and forget it” approach, but that doesn’t mean instant results. It can take anywhere from a few days to a couple of weeks for the pile to heat up significantly, depending on the materials, moisture, and weather conditions.
4. What to Do If It’s Not Heating Up
- Check Moisture: Is it too dry? Gently water it in.
- Aeration Issue: Is it too dense? You might need to carefully poke holes into the pile with a garden fork (this is where turning can help, but we’re trying to avoid it for static). Adding bulky browns helps create air pockets.
- C:N Ratio Off: Too many browns? Add more greens. Too many greens? Add more browns.
- Pile Size: Is it too small? You might need to add more material to reach the minimum size.
5. Understanding the Cooling Phase
It’s normal for your static pile to heat up, stay hot for a while (hopefully fulfilling the thermophilic stage for weeks), and then start to cool down. This cooling is a sign that the easily decomposable materials are breaking down, and the pile is moving towards the curing stage.
You don’t usually need to do anything when it cools down, other than let it continue to mature. A truly static pile might not reheat on its own significantly after the initial heating cycle, which is why getting it right the first time with the right mix and moisture is so important.
Tools to Help You Out
You don’t need a lot of fancy equipment to start static pile composting, but a few things can make the job easier and more successful:
- Compost Thermometer: As discussed, this is your best friend for monitoring temperature.
- Garden Fork or Pitchfork: Even for a static pile, you might need this to gently poke aeration holes if needed, or to move materials around when building the pile.
- Shredder (Optional): A leaf shredder or chipper-shredder can be invaluable for breaking down large volumes of yard waste, making them decompose faster in your pile. This is especially useful for woody materials.
- Watering Can or Hose with Sprayer: For ensuring proper moisture from the start.
- Gloves: To keep your hands clean.
- Wheelbarrow: For moving materials easily.
For more information on composting techniques and best practices, resources like the <a href=”https://www.ctahr.
Related Posts

I am passionate about home engineering. I specialize in designing, installing, and maintaining heating, ventilation, and air conditioning systems. My goal is to help people stay comfortable in their homes all year long.