Ever look at your kitchen scraps and garden waste and think, “There’s got to be a simpler way to turn this into super-plant food?” You’re not alone! Many of us want to compost but find traditional bins a bit fiddly or space-consuming. It can feel like another chore you just don’t have time for. But what if I told you there’s a method so easy, it practically happens underground while you focus on other things? Get ready to discover the magic of trench composting, a foolproof technique that feeds your soil effortlessly.
What Exactly is Trench Composting?
Think of trench composting, also known as “dig and drop” or “garden composting,” as a lazy gardener’s dream. Instead of piling up materials in a bin and waiting for them to break down, you’re essentially burying your compostable waste directly in your garden soil. Over time, it decomposes right where you bury it, enriching the soil and making nutrients available to your plants. It’s like giving your garden a slow-release, all-natural fertilizer. This method is fantastic because it reduces waste, improves soil structure, and can even help retain moisture.
Why Trench Composting is a Gardener’s Best Friend
There are tons of great reasons to give trench composting a try, especially if you’re new to composting or short on time. It’s incredibly forgiving and requires minimal effort once you get the hang of it. Let’s break down its biggest perks:
- Effortless Process: No turning, no monitoring temperatures, no special equipment needed. Just dig and bury!
- Space-Saving: It takes up no extra space in your yard, as you’re using the planting areas themselves.
- Cost-Effective: You don’t need to buy expensive compost bins or tumblers.
- Pest Deterrent: Burying food scraps means less attraction for rodents and other pests compared to open compost piles.
- Improved Soil Health: It adds valuable organic matter directly to your soil, making it richer, more crumbly, and better at holding water.
- Nutrient Delivery: As the materials break down, they release nutrients that plants can access as they grow, especially beneficial for shallow-rooted plants.
- Waste Reduction: Diverts a significant amount of household waste from landfills.
What You Can (and Can’t) Trench Compost
Just like any composting method, knowing what materials to use is key. The goal is to break down organic matter, so focus on things that will decompose relatively quickly. Think of it as feeding your soil the good stuff.
Good Stuff to Bury (Greens and Browns)
For successful trench composting, aim for a mix of “greens” (nitrogen-rich) and “browns” (carbon-rich). This balance helps the material break down efficiently. Some excellent choices include:
- Kitchen Scraps (Carefully!): Vegetable and fruit peels, coffee grounds and filters, tea bags (staples removed), eggshells (crushed).
- Yard Waste: Grass clippings, leaves, small twigs, shredded newspaper or cardboard, sawdust (from untreated wood – check out resources like the USDA for wood safety tips on composting).
- Other: Hair and nail clippings, cotton and wool fibres (natural materials only), vacuum cleaner dust (if it’s just dirt and hair).
What to Avoid Burying
Some things just don’t belong in your compost trenches. Avoiding these will ensure a cleaner, more effective process and prevent potential problems.
- Meat, Dairy, and Oily Foods: These can attract pests and create foul odors.
- Diseased Plants: You don’t want to spread plant diseases back into your garden soil.
- Weeds with Seeds: Unless you’re absolutely sure your trench gets hot enough to kill seeds, it’s best to avoid them, or at least plant them in areas where volunteer weeds won’t bother you.
- Pet Waste: From dogs and cats, as it can contain pathogens harmful to humans.
- Treated Wood or Coal Ash: These contain chemicals that can harm your soil and plants.
- Plastics, Metals, Glass: These don’t break down and will just be a nuisance.
A Quick Guide to Compostable Materials
To make it easy, here’s a quick reference table. Remember, variety is the spice of life, and healthy soil!
| What to Add | Category | Why it’s Good |
|---|---|---|
| Fruit & Veggie Scraps | Green | Adds nitrogen, breaks down quickly. |
| Coffee Grounds & Tea Bags | Green | Adds nitrogen and organic matter. |
| Eggshells (crushed) | Green/Mineral | Adds calcium for plant cells. |
| Grass Clippings | Green | Rich in nitrogen; use in thin layers to avoid matting. |
| Leaves (dried) | Brown | Adds carbon, essential for structure. |
| Shredded Newspaper/Cardboard | Brown | Good carbon source, helps absorb moisture. |
| Sawdust (untreated wood) | Brown | Adds carbon; mix well with greens. |
| Hair clippings | Green | Adds nitrogen. |
Getting Started: Your Step-by-Step Trench Composting Guide
Ready to dig in? Trench composting is super straightforward. You don’t need fancy tools, just a bit of enthusiasm and a suitable spot in your garden.
Step 1: Choose Your Spot
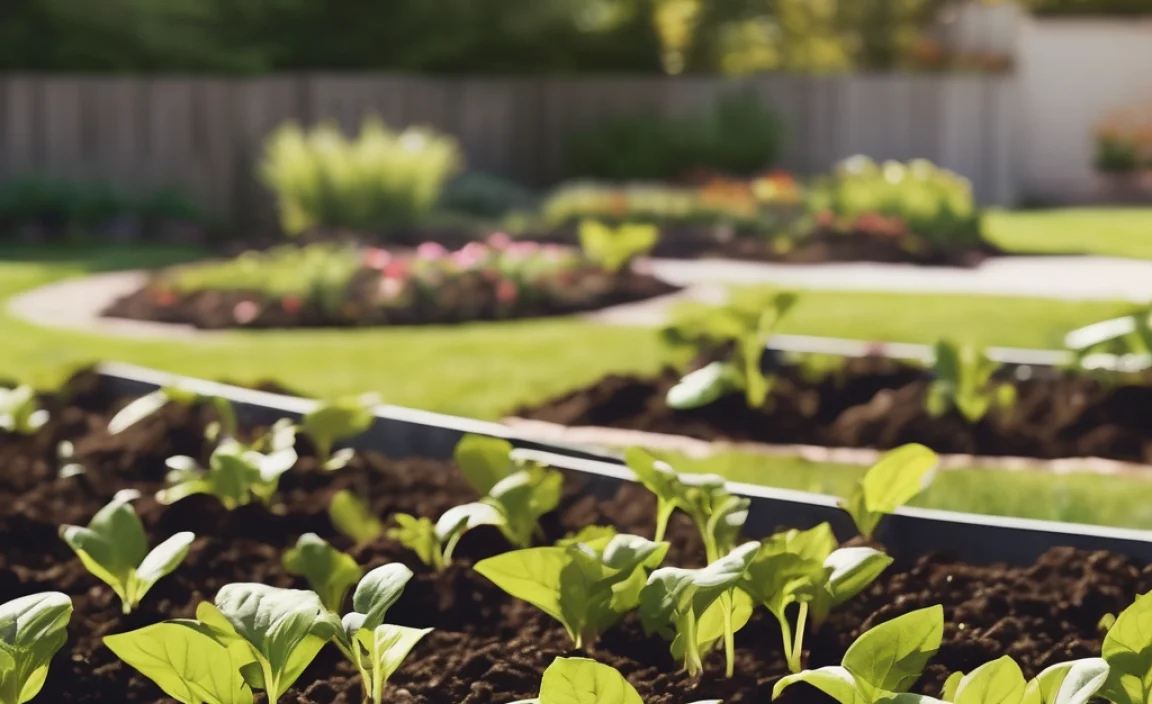
The beauty of trench composting is that you can do it almost anywhere you plan to plant. Think about areas where you want to grow vegetables, flowers, or shrubs. You can create trenches in:
- Empty garden beds: Great for preparing beds for the next season.
- Around established trees and shrubs: This can be a fantastic way to nourish them without disturbing their main root systems too much. Just avoid digging too close to the trunk.
- In a designated composting area: If you have space and prefer not to mix it directly into your main planting beds, you can designate a specific spot for your trenches.
Consider areas that get decent sunlight, as this can help speed up decomposition. Also, ensure the spot isn’t waterlogged.
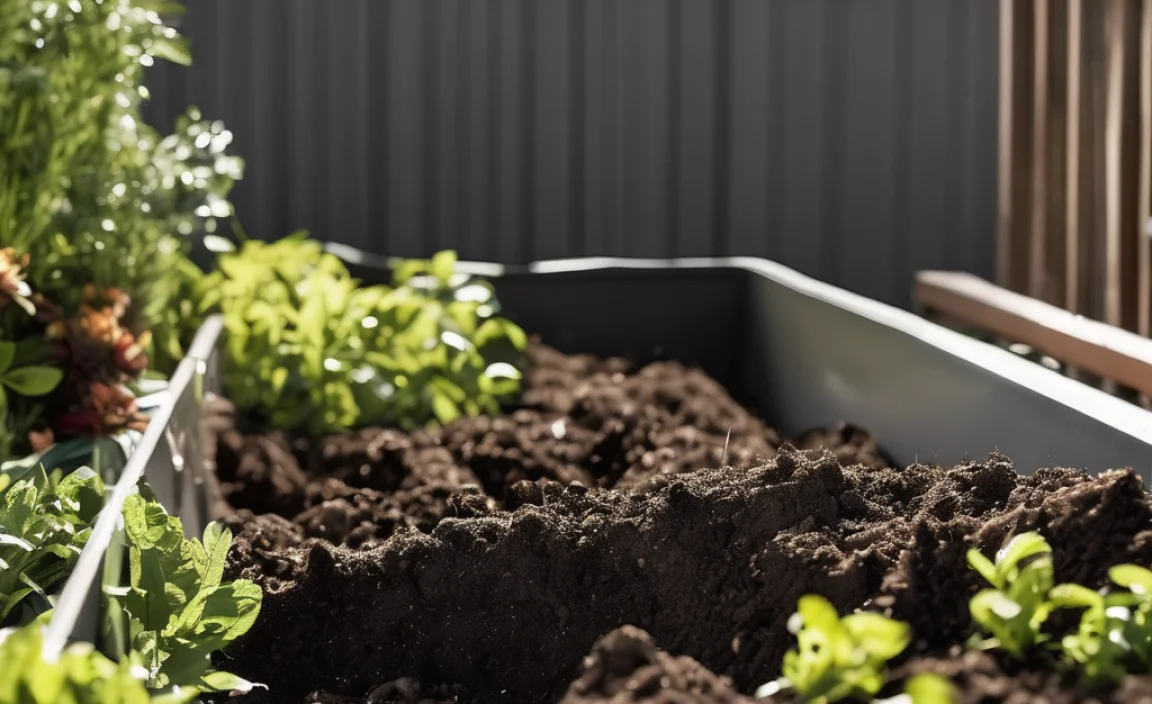
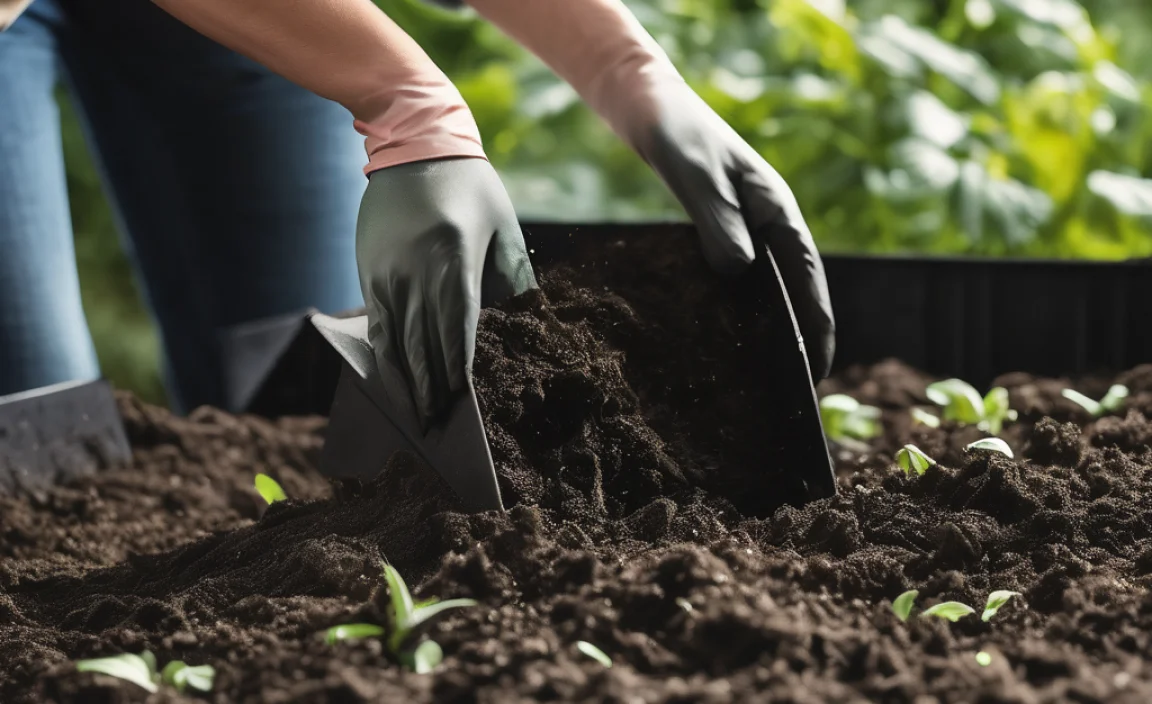
Step 2: Dig Your Trench
Grab your shovel! The size of your trench depends on how much material you have and where you’re digging. For most applications, a trench that’s about 12-18 inches deep, 12 inches wide, and 2-3 feet long is a good starting point. Don’t worry about perfection; these are rustic compost pits!
When you dig, try to loosen the soil at the bottom. This helps with drainage and encourages beneficial soil organisms to move in. You can also mix some of the soil you dig out with your compostable materials later.
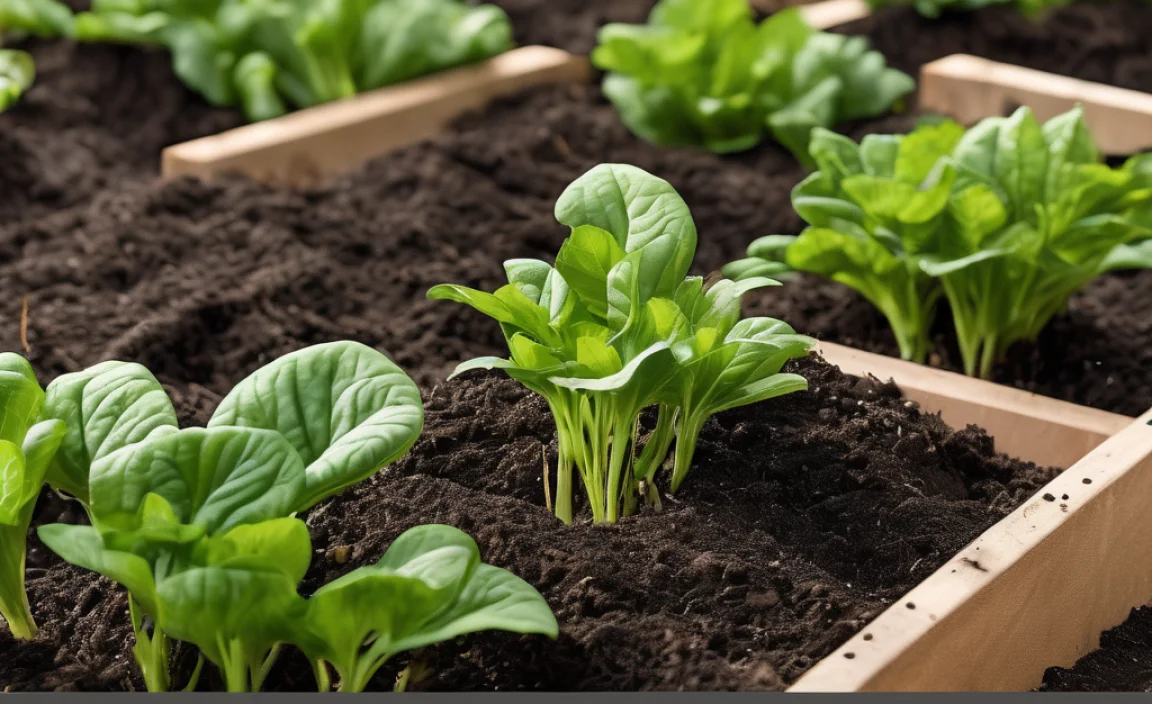
Step 3: Add Your Compostable Materials
Now for the fun part! Start filling your trench with your chosen kitchen scraps and yard waste. Aim for a good mix of greens and browns. If you have a lot of fresh green material (like grass clippings or fruit peels), try to balance it with some dry brown material (like shredded leaves or newspaper). This helps prevent the trench from becoming a soggy, anaerobic mess.
You can layer materials, or just mix them as you go. Break up larger items (like large vegetable stalks or cardboard) to help them decompose faster. For kitchen scraps, it’s especially good to bury them reasonably well to avoid attracting pests.
Step 4: Bury the Goods
Once your trench is reasonably full (don’t overstuff it; leave some air space), cover everything with the soil you removed earlier. Aim for at least 6-8 inches of soil on top. This layer of soil acts as a lid, keeping moisture in, deterring pests, and allowing beneficial microbes and earthworms to work their magic from the soil up.
Step 5: Let Nature Do Its Thing
This is where the “effortless” part really kicks in. You don’t need to do anything else! The natural processes of decomposition will take over. Over the next few weeks and months, microorganisms, fungi, and earthworms will break down the buried materials. The soil above the trench will become incredibly enriched.
Step 6: Plant Away!
After a few months, or when the trench feels like it has significantly broken down and composted, you can plant directly into the area above it. The nutrients will be readily available for your plants’ roots. If you buried the compost in an empty bed that’s been resting for a while, you can plant directly into it as soon as you’ve finished burying the materials and covering with soil.
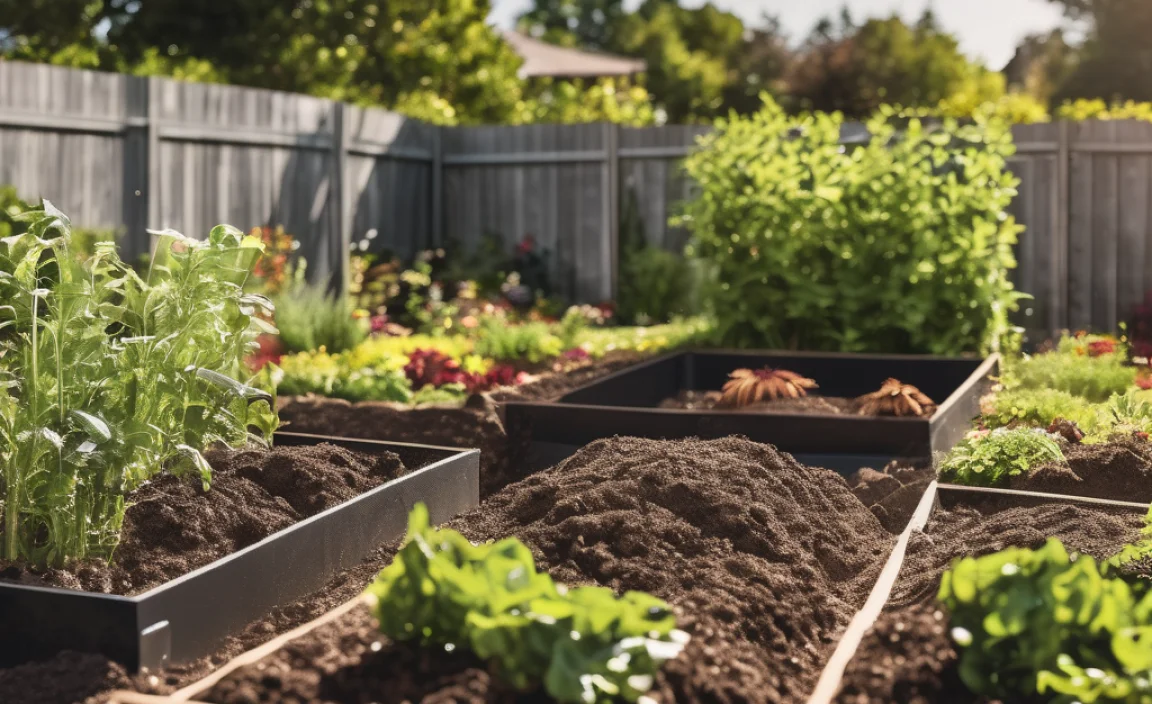
Trench Composting Cycles
You can have multiple trenches going at once. As one trench decomposes, you can start filling another. This creates a continuous cycle of waste reduction and soil enrichment in your garden. If you’re preparing a new garden bed, you can dig a long, continuous trench along where you plan to plant your rows.
Tips for Trench Composting Success
While trench composting is pretty forgiving, a few extra tips can make your composting journey even smoother and more effective.
- Chop it Up: Smaller pieces break down faster. Chop up those large vegetable stalks, cardboard scraps, or thick peels.
- Balance is Key: Always try to mix your greens and browns. Too much green can make it slimy and smelly; too much brown can slow decomposition.
- Don’t Overfill: Leave some space for air inside the trench. This is crucial for aerobic decomposition, which smells better and works faster.
- Bury Thoroughly: Make sure food scraps are well covered with at least 6-8 inches of soil to deter critters.
- Consider Your Climate: In colder climates, decomposition might slow down significantly during winter. Be patient! In warmer, wetter climates, things tend to break down faster.
- Location, Location, Location: Avoid burying waste in areas that flood easily or where roots are too dense (like right against a tree trunk).
- Rotate & Rest: If you’re trenching in your main planting beds, let the trench rest for at least a few months before planting directly above it if possible, or at least ensure it’s well covered. You can also choose to trench in areas that will lie fallow for a while.

I am passionate about home engineering. I specialize in designing, installing, and maintaining heating, ventilation, and air conditioning systems. My goal is to help people stay comfortable in their homes all year long.