Hey there, TopChooser readers! Troy D Harn here. Ever find yourself looking at your garden and wishing for richer soil, but feeling a bit overwhelmed by complicated composting methods? You’re not alone! Many of us want to give our plants a nutrient boost the natural way, but the idea of bins, piles, and turning can seem like a lot. What if I told you there’s a simple, almost hidden way to create amazing compost that your plants will love? It’s called trench composting, and it’s surprisingly easy. Stick around, and I’ll walk you through it, step by step!
Trench Composting Step By Step: The Easiest Way to Supercharge Your Soil
So, what exactly is trench composting? Think of it as a buried compost bin. Instead of building a pile that sits out in the open, you dig a trench, fill it with organic stuff, and then bury it. The magic happens underground, with the help of worms and soil microbes, turning your kitchen scraps and garden waste into fantastic plant food. It’s a “set it and forget it” method that’s perfect for busy folks, small spaces, or anyone who wants to compost without the fuss. Ready to dig in?
Why Trench Composting is a Gardener’s Secret Weapon
Before we grab our shovels, let’s talk about why trench composting is such a brilliant idea. It’s not just easy; it’s super effective and comes with a bunch of benefits:
- Improves Soil Structure: As your compost breaks down underground, it loosens heavy clay soil and helps sandy soil retain moisture.
- Feeds Plants Directly: You can compost right where you want to grow, allowing roots to tap into nutrients as they become available.
- Moisture Retention: The buried compost acts like a sponge, holding onto water and reducing the need for frequent watering.
- Pest and Odor Reduction: Because it’s buried, trench compost is less likely to attract pests like rodents and doesn’t produce unpleasant odors.
- Space-Saving: Perfect for apartment dwellers with balconies, or gardeners with smaller yards. No big compost bin needed!
- Reduces Waste: Diverts food scraps and yard debris from landfills, a win for you and the planet.
- Inexpensive: Requires minimal tools and uses materials you already have.
What You’ll Need to Get Started
The beauty of trench composting is its simplicity. You probably have most of these things already!
Tools You Might Need:
- Shovel or Spade: For digging the trench. A sturdy garden shovel is perfect.
- Garden Fork (Optional): Can be helpful for loosening the soil at the bottom of the trench.
- Gloves: To keep your hands clean.
- Your Compostable Materials: More on this below!
What to Compost (The “Greens” and “Browns”)
Just like with traditional composting, trench composting works best with a good mix of “greens” (nitrogen-rich materials) and “browns” (carbon-rich materials). Aim for a ratio of roughly 1 part greens to 2-3 parts browns. This helps everything break down efficiently.
Kitchen Scraps (Greens):
- Vegetable and fruit scraps
- Coffee grounds and tea bags
- Eggshells (crushed)
- Stale bread and grains
- Grass clippings (in moderation)
Yard Waste & Household Items (Browns):
- Dry leaves
- Shredded newspaper or cardboard (avoid glossy or colored inks)
- Straw or hay
- Small twigs and yard trimmings
- Sawdust (from untreated wood)
- Paper towel and toilet paper rolls (shredded)
What NOT to Compost:
To keep your compost healthy and avoid attracting pests or creating odors, steer clear of these:
- Meat, bones, and dairy products
- Oily or greasy foods
- Diseased plants
- Weeds that have gone to seed (they might sprout later)
- Pet waste (dog or cat feces contain harmful pathogens)
- Treated wood or coal ash
Trench Composting Step By Step: Your Easy Guide
Alright, let’s get down to business! Follow these simple steps, and you’ll be trench composting like a pro in no time.
Step 1: Choose Your Location
Think about where you want your compost to work its magic. Generally, you’ll want to:
- Select an area away from your house: While trench composting doesn’t usually smell bad, it’s best to keep buried food scraps a bit removed from your living space.
- Consider future planting areas: You can trench compost directly in areas where you plan to plant vegetables, flowers, or shrubs. This way, the nutrients will be right where the plants need them.
- Avoid waterlogged spots: While you want moisture for decomposition, completely waterlogged areas aren’t ideal.
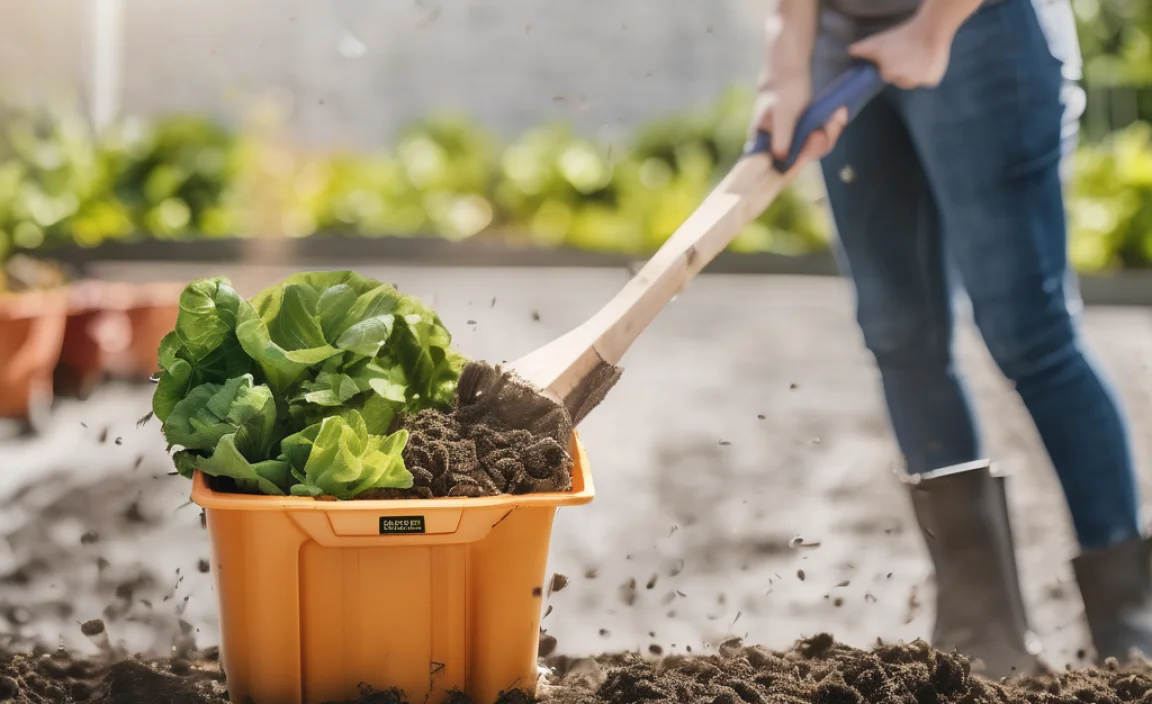
Step 2: Dig Your Trench
This is the main event! The size of your trench depends on how much material you have and the space you’re working with. For most home gardens, a trench about:
- 12-18 inches deep: This is deep enough to keep smells down and deter pests.
- 12 inches wide: Enough space to add a good amount of material.
- 2-3 feet long: You can make them shorter or longer, or even dig multiple trenches.
As you dig, pile the soil you remove on one side of the trench. This will be used to cover your compost later. If you’re using a garden fork, you can lightly loosen the soil at the bottom of the trench before adding materials. This helps with drainage and aeration.
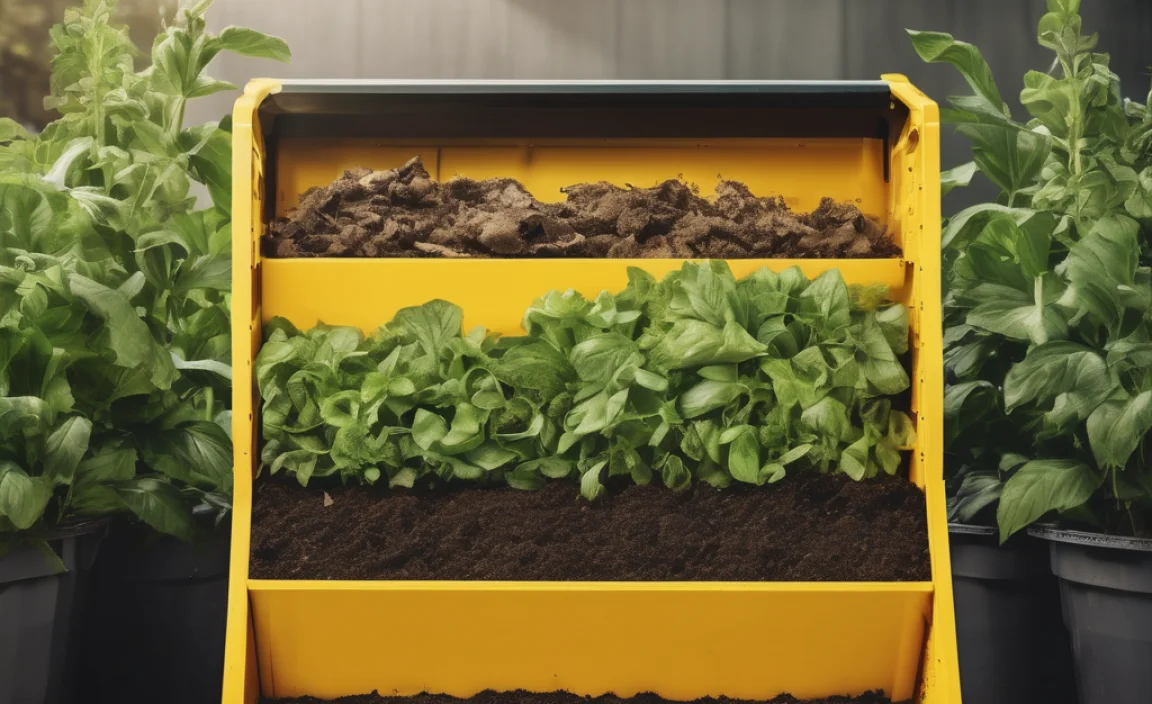
Step 3: Fill the Trench (Layering is Key!)
Now for the fun part – adding your compostables! Start by mixing your greens and browns. A good approach is to add a layer of browns, then a layer of greens, and then another layer of browns on top.
- Bottom Layer (Browns): Start with a few inches of dry leaves, shredded cardboard, or straw. This provides structure and helps with drainage.
- Middle Layer (Greens): Add your kitchen scraps like fruit peels, coffee grounds, and vegetable trimmings.
- Alternate Layers: Continue layering greens and browns. Try to finish with a layer of browns on top. This helps to keep moisture in and discourage any potential fruit flies.
- Loosen and Mix: You can lightly mix the materials as you go, or just layer them. The worms and microbes will do the hard work of breaking them down.
Pro Tip: If you’re adding a lot of kitchen scraps, try to bury them a bit within the brown layer to further reduce any potential smells or attract insects.
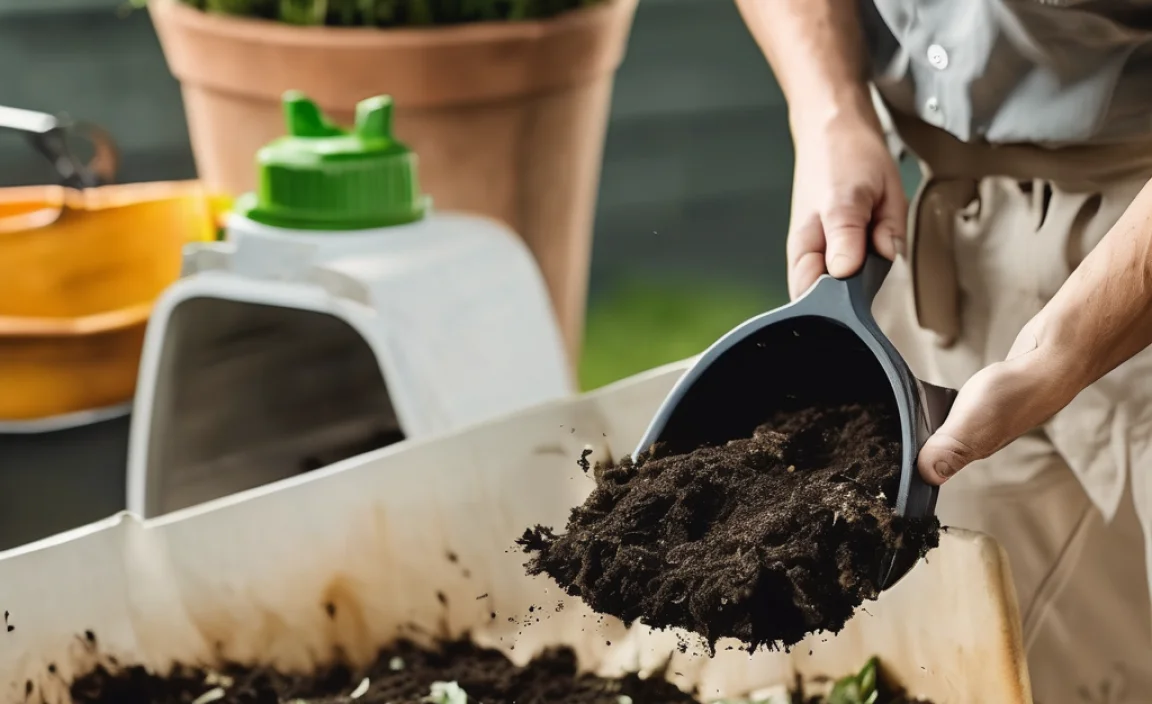
Step 4: Cover Your Trench
Once your trench is filled to about 4-6 inches below the original ground level, it’s time to cover it up. Use the soil you dug out in Step 2.
- Spread the Soil: Evenly distribute the removed soil back over the trench, completely burying all the organic material.
- Level the Area: Pat down the soil slightly. You want it to blend in with the surrounding area.
- Planting or Mulching: You can immediately plant directly into the soil above the trench, or you can add a layer of mulch on top for a tidier look and extra moisture retention.
Step 5: Let Nature Do Its Thing
This is the “set it and forget it” part that makes trench composting so appealing. The microorganisms and earthworms in your soil will get to work, breaking down the materials. This process can take anywhere from a few weeks to a few months, depending on the materials you used, soil temperature, and moisture levels.
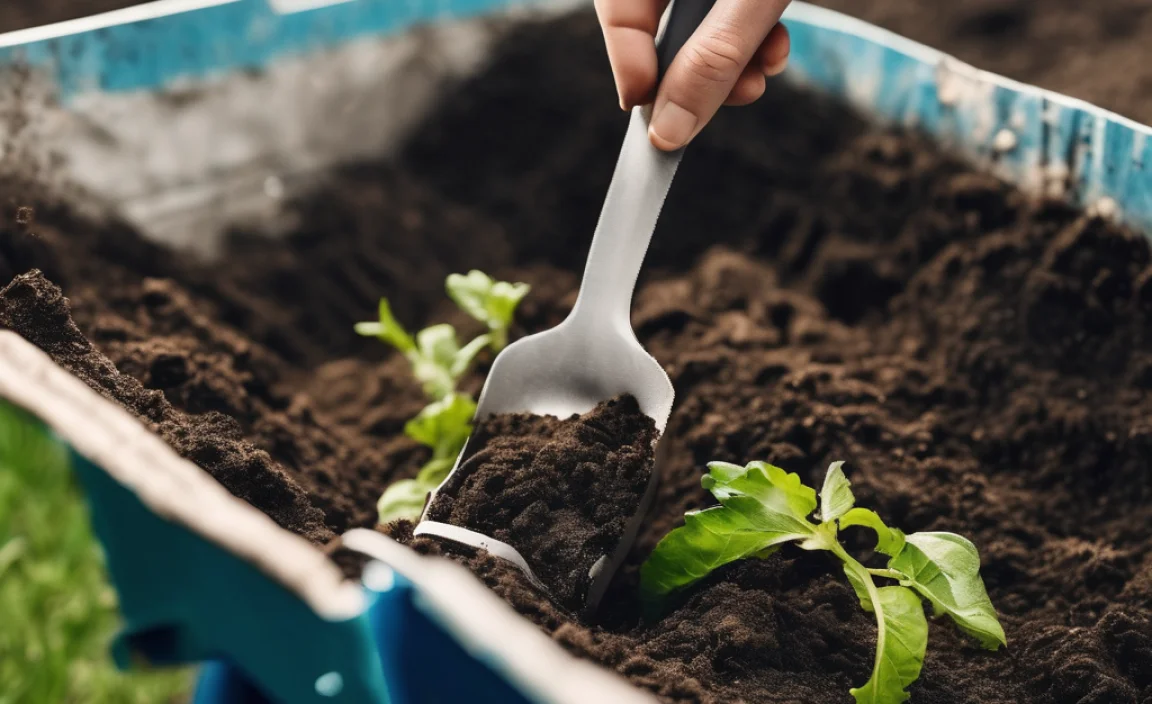
Step 6: Plant and Harvest!
You have a few options for when and how to plant:
- Immediate Planting: As mentioned, you can plant directly into the soil above a freshly filled trench. The roots will gradually grow towards the decomposing material.
- Waiting Period: For best results, especially with thicker layers of material, consider waiting a few weeks to a couple of months before planting directly above the trench. This gives the compost a head start in breaking down.
- Observe and Replenish: After several months, the organic matter will have largely decomposed, enriching the soil. You can then dig a new trench nearby or in a different location next season.
Tips for Maximizing Your Trench Composting Success
Here are a few extra pointers to help you get the most out of your trench composting efforts:
- Chop Materials Smaller: The smaller your scraps are, the faster they will break down. If time allows, chop up larger vegetable scraps or shred your cardboard.
- Don’t Overfill: Avoid burying materials too high, as it can prevent proper decomposition and potentially lead to unwanted smells.
- Watering: While the buried compost helps retain moisture, ensure the area is somewhat moist, especially during dry spells. If the soil surface is very dry, a light watering might help the decomposition process.
- Start Small: If you’re new to this, begin with one or two smaller trenches to get a feel for it.
- Rotate Your Trenches: Don’t dig trenches in the exact same spot year after year. Rotating locations allows the soil to fully recover and prevents nutrient buildup in one specific area.
- Consider Worms: While soil contains natural decomposers, you can “seed” your trench with a few red wiggler worms to speed up the process if you like.
Trench Composting vs. Other Methods: A Quick Comparison
It’s helpful to see how trench composting stacks up against other popular composting methods:
| Method | Pros | Cons | Ideal For |
|---|---|---|---|
| Trench Composting | Simple, minimal effort, no odor, pest-resistant, improves soil in place, space-saving. | Takes time to decompose, can’t easily access finished compost, requires digging. | Beginners, small gardens/balconies, busy individuals, improving specific planting beds. |
| Open/Pile Composting | Can handle large volumes, good aeration (if turned), relatively fast. | Requires space, can attract pests, may produce odors, needs regular turning. | Larger yards, gardeners with significant yard waste. |
| Enclosed Bin Composting | Neater appearance, may deter pests better than open piles, can be faster than open piles. | Can be costly, limited capacity, needs occasional turning/mixing, can still attract pests if not managed well. | Suburban yards, those wanting a contained system, moderate amounts of waste. |
| Vermicomposting (Worm Farming) | Produces high-quality compost (worm castings), fast decomposition, great for small spaces. | Requires specific worms, can be temperature sensitive, may attract pests if not managed, needs regular feeding. | Apartment dwellers, producing nutrient-rich fertilizer quickly. |
Conclusion: Your Garden Will Thank You!
There you have it! Trench composting is a fantastic, low-effort way to enrich your garden soil and reduce waste. It’s a testament to the fact that you don’t need complicated setups to make a big difference in your yard. By simply digging a hole, adding your organic scraps, and burying it, you’re creating a hidden powerhouse of nutrients that will feed your plants and improve your soil for seasons to come. It’s reliable, it’s budget-friendly, and it truly is a genius habit for any gardener, new or experienced. So, grab that shovel and give it a try – your vibrant, healthy garden awaits!
Frequently Asked Questions (FAQ)
Here are some common questions beginners have about trench composting:
What is the best depth for a compost trench?
A trench depth of 12 to 18 inches is generally recommended. This depth helps to contain any potential odors, deter pests from digging, and allows ample space for decomposition.
How long does trench composting take to break down?
The decomposition time varies but typically ranges from a few weeks to several months, depending on factors like the size of your materials, the mix of “greens” and “browns,” soil temperature, and moisture levels. Worms and soil microbes are the main workers!
Can I plant immediately after filling the trench?
Yes, you can! For best results, especially if you’ve added a lot of material, let the trench sit for a few weeks to a month before planting directly above it. This gives the decomposition process a head start. However, planting sooner works too, as roots will grow towards the nutrient source.
Will trench composting attract pests like rats or raccoons?
One of the biggest advantages of trench composting is that it’s buried underground. This significantly reduces the likelihood of attracting pests compared to open compost piles. Ensuring the trench is properly covered with soil is key.
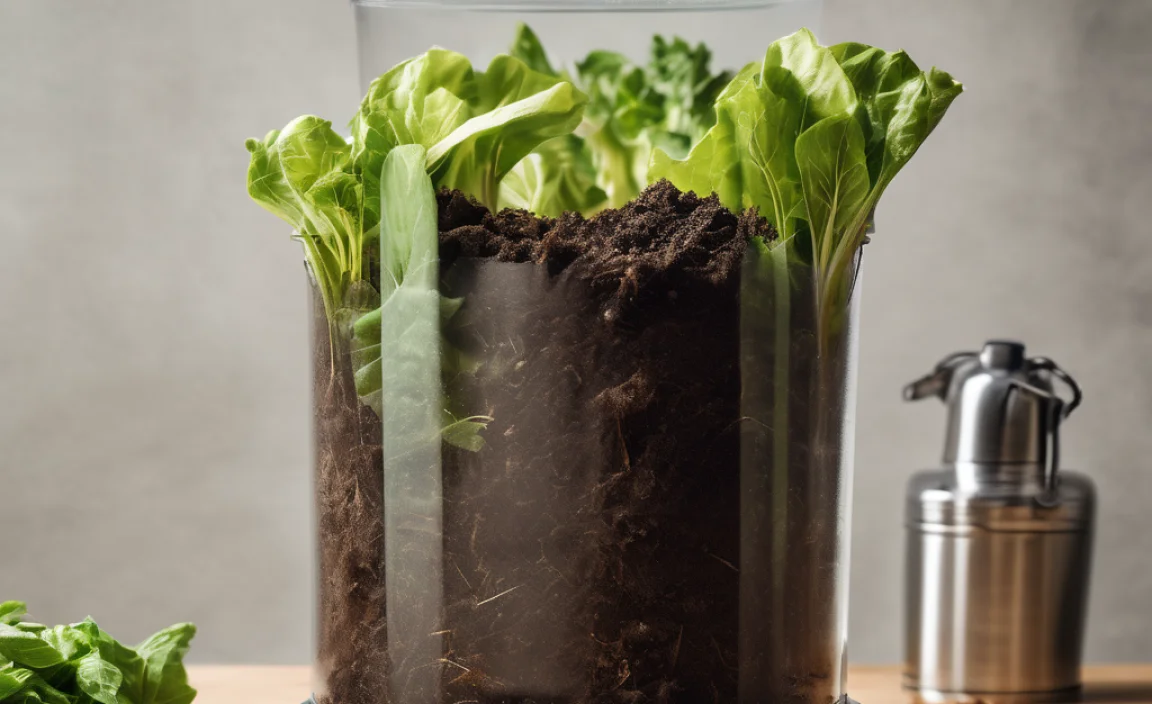
Can I trench compost on a balcony or small patio?
While traditional trench composting involves digging into the ground, you can adapt the concept for containers. Use large, deep planters or fabric grow bags. Dig a smaller “trench” or create pockets within your potting mix to bury your compostable materials. Ensure good drainage.
What if my trench compost smells bad?
A bad smell usually indicates an imbalance, often too many “greens” (nitrogen-rich materials) or too much moisture, leading to anaerobic (oxygen-deprived) decomposition. If you notice an odor, dig it up slightly and mix in more “browns” (like shredded paper or leaves) and ensure it’s well-covered with soil.
Can I trench compost diseased plants?
It’s generally best to avoid trench composting diseased plants, especially if the disease can survive in the soil. Most composting methods require high heat to kill off pathogens, which doesn’t reliably happen in a trench. Stick to healthy kitchen scraps and yard waste.
.lwrp.link-whisper-related-posts{
margin-top: 40px;
margin-bottom: 30px;
}
.lwrp .lwrp-title{
}.lwrp .lwrp-description{
}
.lwrp .lwrp-list-container{
}
.lwrp .lwrp-list-multi-container{
display: flex;
}
.lwrp .lwrp-list-double{
width: 48%;
}
.lwrp .lwrp-list-triple{
width: 32%;
}
.lwrp .lwrp-list-row-container{
display: flex;
justify-content: space-between;
}
.lwrp .lwrp-list-row-container .lwrp-list-item{
width: calc(25% – 20px);
}
.lwrp .lwrp-list-item:not(.lwrp-no-posts-message-item){
max-width: 150px;
}
.lwrp .lwrp-list-item img{
max-width: 100%;
height: auto;
object-fit: cover;
aspect-ratio: 1 / 1;
}
.lwrp .lwrp-list-item.lwrp-empty-list-item{
background: initial !important;
}
.lwrp .lwrp-list-item .lwrp-list-link .lwrp-list-link-title-text,
.lwrp .lwrp-list-item .lwrp-list-no-posts-message{
}@media screen and (max-width: 480px) {
.lwrp.link-whisper-related-posts{
}
.lwrp .lwrp-title{
}.lwrp .lwrp-description{
}
.lwrp .lwrp-list-multi-container{
flex-direction: column;
}
.lwrp .lwrp-list-multi-container ul.lwrp-list{
margin-top: 0px;
margin-bottom: 0px;
padding-top: 0px;
padding-bottom: 0px;
}
.lwrp .lwrp-list-double,
.lwrp .lwrp-list-triple{
width: 100%;
}
.lwrp .lwrp-list-row-container{
justify-content: initial;
flex-direction: column;
}
.lwrp .lwrp-list-row-container .lwrp-list-item{
width: 100%;
}
.lwrp .lwrp-list-item:not(.lwrp-no-posts-message-item){
max-width: initial;
}
.lwrp .lwrp-list-item .lwrp-list-link .lwrp-list-link-title-text,
.lwrp .lwrp-list-item .lwrp-list-no-posts-message{
};
}

I am passionate about home engineering. I specialize in designing, installing, and maintaining heating, ventilation, and air conditioning systems. My goal is to help people stay comfortable in their homes all year long.