Ever wondered how to turn kitchen scraps and yard waste into garden gold without a fancy bin? Trench composting is a super simple method that lets you feed your soil right where it counts. It’s a game-changer for busy gardeners and anyone looking to boost their garden’s health the easy way. We’ll walk you through everything you need to know, step-by-step, so you can get started today!
Trench Composting Training: Your Backyard Soil’s Best Friend
Hey there, fellow garden enthusiasts and DIY fans! I’m Troy D Harn from TopChooser, and I’m all about making home and garden projects simple, successful, and stress-free. Today, we’re digging into a composting method that’s so easy, you might wonder why you didn’t start sooner: trench composting. Forget complicated setups or smelly piles. Trench composting is a practical, no-fuss way to enrich your soil, improve drainage, and give your plants a nutrient boost, all while dealing with your organic waste.
Think of it as directly feeding your soil. You’re essentially creating a hidden compost layer right in your garden beds. It’s perfect for beginners because it requires minimal effort and space. You don’t need a dedicated compost bin or a lot of specialized tools. Plus, it’s a fantastic budget-friendly option that diverts waste from landfills. Ready to learn how to make your soil wonderfully fertile with this amazing technique? Let’s get started!
What Exactly is Trench Composting?
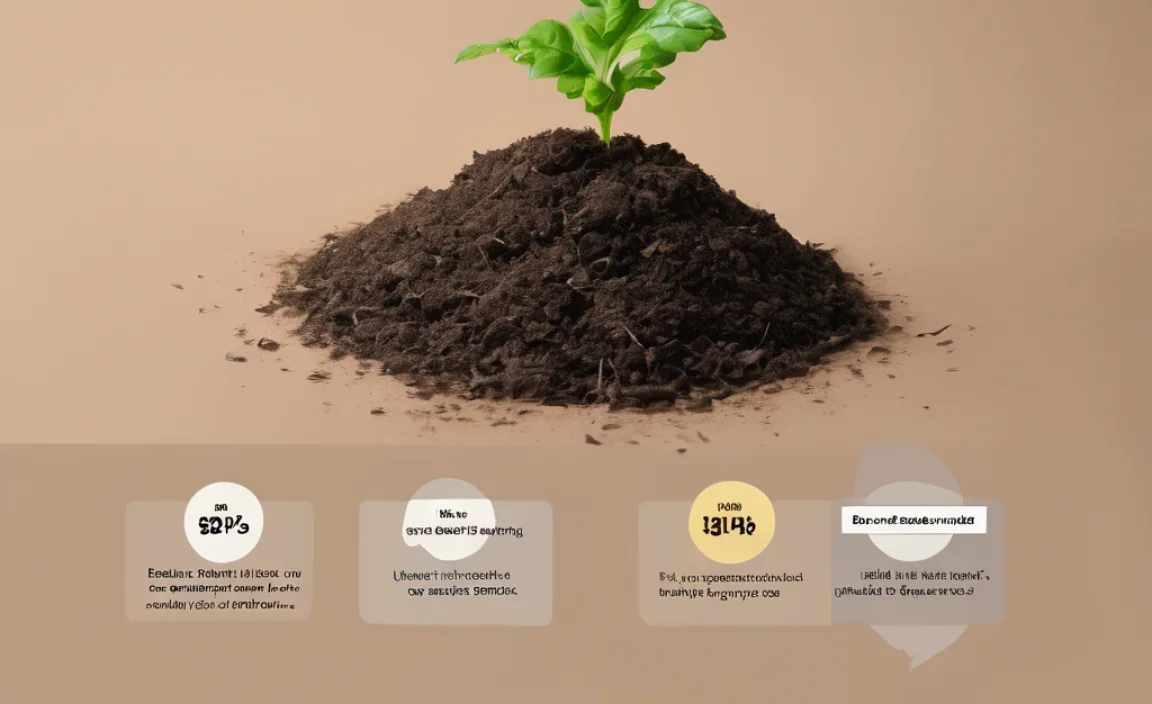
Trench composting, sometimes called “composting in place” or “dig and drop” composting, is a method where you bury organic materials directly into trenches dug in your garden soil. Instead of collecting your scraps to a central pile, you’re utilizing the ground itself as the compost creator. Over time, the buried materials break down, enriching the soil with vital nutrients and improving its structure.
This method is particularly beneficial because it avoids the common issues associated with hot composting, like needing to maintain specific temperatures or turn materials. It’s a slow, steady process driven by the microbes already present in your soil. As the organic matter decomposes, it becomes a rich, dark humus that nourishes plants, helps retain moisture, and encourages beneficial soil organisms. It’s a win-win for both your garden and the environment!
Why Choose Trench Composting? The Many Benefits
You might be asking, “Why trench composting over other methods?” Well, it’s got a list of advantages that make it a top choice for many gardeners, especially those just starting out or looking for simplicity.
- Simplicity & Ease of Use: This is arguably the easiest composting method. Dig, drop, cover. That’s it! No turning, no managing moisture levels, no special equipment.
- Space-Saving: It doesn’t require a dedicated compost bin or a large area. You can do it directly in your garden beds, flower borders, or even around shrubs.
- Pest Deterrent: Because the organic matter is buried underground, it’s less attractive to pests like rodents and flies compared to open compost piles.
- Soil Improvement: It directly enriches the soil where it’s most needed, improving soil structure, aeration, and water retention over time.
- Nutrient Delivery: As materials decompose, they release nutrients that are readily available to plant roots.
- Waste Reduction: It’s an excellent way to divert kitchen scraps and yard waste from landfills, contributing to a more sustainable lifestyle.
- Cost-Effective: Requires no special purchases, just a shovel and the materials you already have.
- Improved Drainage: The addition of organic matter helps break up clay soils and improves drainage in compacted areas.
What Can You Compost in a Trench? (And What to Avoid)
Getting the right mix of materials is key to successful decomposition. Think of it like creating a balanced diet for your soil.
Greens (Nitrogen-Rich Materials)
These materials are often moist and tend to break down quickly, providing nitrogen. They are the “fuel” for decomposition.
- Fruit and vegetable scraps (peels, cores, rinds)
- Coffee grounds and tea bags
- Grass clippings (in thin layers to avoid matting)
- Plant trimmings from the garden (non-diseased)
- Eggshells (crushed for faster breakdown)
- Manure from herbivores (cow, horse, rabbit, chicken – aged is best)
Browns (Carbon-Rich Materials)
These materials are usually dry and provide “bulk” and carbon, helping to aerate the mix and prevent it from becoming a soggy, anaerobic mess.
- Dry leaves
- Shredded newspaper and cardboard (uncoated, no glossy print)
- Straw and hay
- Small twigs and wood chips (chopped or shredded)
- Sawdust (from untreated wood, in moderation)
- Paper towels and napkins (unsoiled by grease or cleaning chemicals)
What to AVOID in Your Trench Compost
Some items can cause problems, attract pests, or introduce diseases. It’s best to keep these out of your trench compost:
- Meat, fish, bones, and dairy products (attract pests, can smell)
- Oily or greasy foods
- Diseased plants or weed seeds that have gone to seed (unless you have a very hot composting system, which trench composting generally isn’t)
- Human or pet waste (can contain pathogens)
- Chemically treated wood or yard waste
- Invasive weeds known to spread easily from roots or seeds
- Coal ash and charcoal briquettes
Essential Tools for Trench Composting
The beauty of trench composting is its simplicity. You don’t need a lot of fancy gadgets. Here are the basic tools that will make the job easier:
- Shovel: A sturdy spade or garden shovel is your primary tool for digging the trench.
- Garden Fork (Optional): Useful for loosening soil at the bottom of the trench to improve drainage and aeration.
- Trowel (Optional): Good for smaller gardens or tight spaces.
- Gloves: To keep your hands clean and protected.
- Pruners or Shears (Optional): For chopping up larger materials like branches or tough stems to help them break down faster.
That’s really it! The most important “tool” is your willingness to get a little dirt under your fingernails.
Step-by-Step Guide: How to Trench Compost
Let’s break down the process. It’s really straightforward, and you can adapt it to your garden’s needs.
Step 1: Choose Your Location
Decide where you want to dig your trench. Good spots include:
- Empty garden beds that are resting.
- Areas where you plan to plant later.
- Around the drip line of established trees or shrubs (be mindful of their major roots).
- Along pathways.
Avoid areas that are waterlogged or have very poor drainage, as this can hinder decomposition.
Step 2: Dig the Trench
Using your shovel, dig a trench. The ideal dimensions are:
- Depth: 8 to 12 inches (20-30 cm) deep. This is deep enough to bury the materials and keep them moist but not waterlogged.
- Width: 8 to 12 inches (20-30 cm) wide. This is usually wide enough to handle a good amount of material.
- Length: Variable, depending on how much material you have and the space available. You can make it as long as needed.
As you dig, set the top layer of soil (the sod or topsoil) aside carefully. This will be used to cover your compost later.
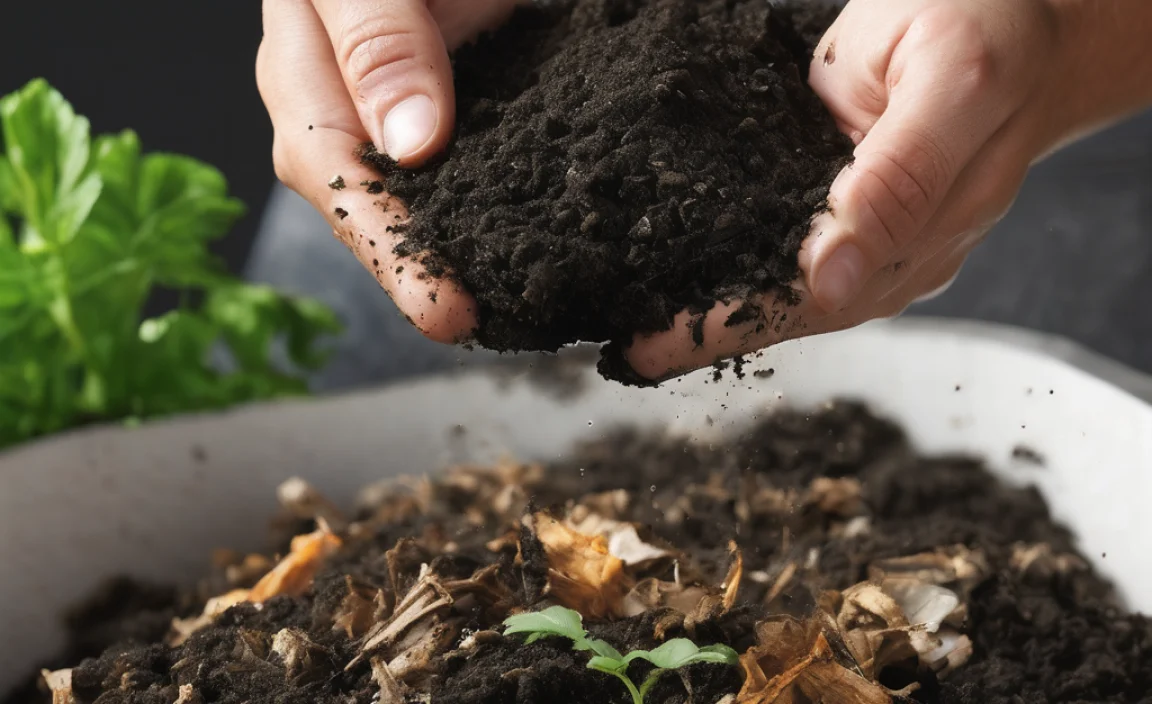
Step 3: Add Your Organic Materials
Start filling the trench with your compostable “greens” and “browns.” Aim for a good mix. A common guideline is to have roughly equal parts of greens and browns by volume. You can layer them or mix them as you go.
- Chop larger items into smaller pieces to speed up decomposition.
- If you have a lot of wet “greens” (like kitchen scraps), make sure to add plenty of dry “browns” (like shredded paper or leaves) to absorb excess moisture.
- Burying food scraps deep enough (at least 6 inches down within the trench) helps deter pests.
Don’t fill the trench all the way to the top; leave a few inches of space.
Step 4: Loosen the Soil Below (Optional but Recommended)
If the bottom of your trench is compacted, use your garden fork to loosen the soil. This helps with drainage and allows beneficial soil organisms and plant roots to access the decomposing materials more easily. This is an important step for really helping the soil structure.
Step 5: Cover the Trench
Once your trench is filled with organic matter, carefully place the top layer of soil you set aside back over the top. Make sure the organic material is completely covered by at least 2-4 inches of soil. This is crucial for preventing odors, deterring pests, and retaining moisture.
Step 6: Let Nature Do Its Work
That’s it! You can now leave the trench to decompose. The microbes in the soil will start to work their magic, breaking down the materials. This process can take anywhere from a few weeks to several months, depending on the materials used, soil temperature, and moisture levels.
Step 7: Plant!
After the composting materials have largely broken down (you might not see distinct scraps anymore, just dark, rich organic matter), the trench area is ready for planting. You can plant directly into the enriched soil. The plants will benefit from the slow release of nutrients as the decomposition continues.
If you’re impatient or want to plant sooner, you can plant directly into the trench after about 4-6 weeks, as the decomposition process will continue underground and benefit the roots.
Trench Composting Timing and Placement Strategies
When and where you trench compost can make a big difference. Here are some ideas:
In Resting Beds
This is the ideal scenario. Dig trenches in garden beds that are not being actively used for growing crops. This gives the organic matter ample time to break down fully before you plant your next season’s vegetables or flowers.
Along Edges and Borders
Trench composting is perfect for the edges of your lawn, garden beds, or around ornamental shrubs. This utilizes space that might otherwise be underused and helps maintain the aesthetic of your landscape.
Between Perennials
You can carefully dig trenches between established perennial plants, making sure not to disturb their main root systems too much. This provides a slow, steady supply of nutrients directly to the plants.
In Fall or Early Spring
Trench composting is a fantastic fall or early spring activity. Dig trenches after the harvest and fill them with fall leaves, garden debris, and kitchen scraps. By the time spring planting arrives, the material will have begun breaking down. If you choose to do it in early spring, remember that decomposition will be slower until the soil warms up.
Continuous Trenching
For areas where you’re constantly generating organic waste, you can dig a series of trenches. As one trench decomposes, you can start filling another. This creates a rotating system for continuous soil enrichment.
Advanced Tips for Trench Composting Success
Once you’ve got the basics down, here are a few tips to elevate your trench composting game:
- Chop It Up: The smaller the pieces of organic matter, the faster they will break down. Use pruners or a shredder for tougher materials like branches or corn stalks.
- Balance Greens and Browns: As mentioned, a good ratio is crucial. Too many greens can lead to a smelly, slimy mess, while too many browns will decompose very slowly. Aim for that 50/50 balance by volume.
- Consider Soil Type: If you have heavy clay soil, adding more “browns” and loosening the trench bottom is even more important to ensure adequate aeration and drainage. Sandy soils will benefit from the added organic matter’s moisture-retention properties.
- Add a Soil Activator (Optional): For a speed boost, you can sprinkle a little finished compost, worm castings, or a garden soil inoculant into the trench when you add your organic materials. These introduce beneficial microbes that kickstart decomposition.
- Layering Trick: Some gardeners like to layer their trench. Start with some browns, then greens, then more browns. This helps prevent compaction and ensures good aeration throughout the buried material.
- Check for Decomposition: Before planting, you can gently probe the trench with your finger or a trowel. If the material is mostly broken down into dark, earthy humus, it’s ready. If you can still easily identify scraps, it needs more time.
Trench Composting vs. Other Composting Methods
It’s helpful to see how trench composting stacks up against other popular methods:
| Feature | Trench Composting | Pile Composting (Hot/Cold) | Bin Composting | Vermicomposting (Worm Composting) |
|---|---|---|---|---|
| Ease of Use | Very Easy | Moderate (Hot requires turning) | Easy to Moderate (depends on bin type) | Moderate (requires specific setup, managing worms) |
| Space Required | Minimal (uses garden space) | Moderate to Large | Moderate | Small (can be indoors or on a balcony) |
| Speed of Composting | Slow to Moderate (months) | Fast (Hot: weeks) to Slow (Cold: months-year) | Moderate (weeks to months) | Fast for kitchen scraps (weeks), produces castings |
| Pest Attraction | Low (buried) | Moderate to High (if not managed well) | Low to Moderate (depending on bin) | Low (if managed correctly, but can attract fruit flies) |
| Cost | Very Low (shovel only) | Low to Moderate (may need materials for bin) | Moderate (cost of bin) | Moderate (cost of bin/worms) |
| Nutrient Output | Slow-release, soil enrichment | Nutrient-rich compost | Nutrient-rich compost | Very nutrient-rich worm castings |
| Suitable For | Beginners, small spaces, continuous feeding, soil improvement | Gardens with space, those wanting faster compost | Homeowners, those wanting a contained system | Apartment dwellers, those wanting super-rich fertilizer |
As you can see, trench composting really shines in its simplicity and direct soil benefit. For more on composting basics, the U.S. Environmental Protection Agency (EPA) offers a comprehensive overview of different composting methods and their benefits.
Troubleshooting Common Trench Composting Issues
Even with a simple method, a few hiccups can occur. Here’s how to handle them:
Issue: My trench smells.
Cause: This usually means there’s too much nitrogen (greens) and not enough air, leading to anaerobic decomposition. It can also happen if food scraps are too close to the surface.
Solution: Dig a little deeper to bury the material properly. Add more carbon-rich materials (“browns”) like shredded newspaper, dry leaves, or straw to balance the ratio and improve aeration. You can also try gently disturbing the soil above the trench to introduce more air.
Issue: Decomposition is too slow.
Cause: The materials might be too large, there might be too many “browns,” or the soil is too cold or dry.
Solution: Chop larger materials into smaller pieces before burying. Ensure a good mix of greens and browns. If the soil is dry, water the area lightly. Decomposition will naturally slow down in cooler temperatures and pick up again as it warms.
Issue: Pests are digging in the trench.
Cause: Food scraps are too close to the surface, or the repellent layer of soil is too thin.
Solution: Always ensure at least 4-6 inches of soil covers the organic matter. Bury any kitchen scraps deeper within the trench. Avoid adding meat, dairy, or oily foods, which are more attractive to pests.

I am passionate about home engineering. I specialize in designing, installing, and maintaining heating, ventilation, and air conditioning systems. My goal is to help people stay comfortable in their homes all year long.