Tired of your food scraps piling up and attracting unwanted guests? Worried about filling up landfills with perfectly good organic material? Many urban gardeners feel the same way. It can feel like there’s no good solution for composting when you have limited space. But what if I told you there’s a simple, effective way to turn kitchen waste into garden gold, right in your own backyard? Trench composting is a proven method that’s perfect for urban settings, and I’m here to show you how it’s done, step by step!
Trench Composting Urban: Your Secret Weapon for a Greener Garden
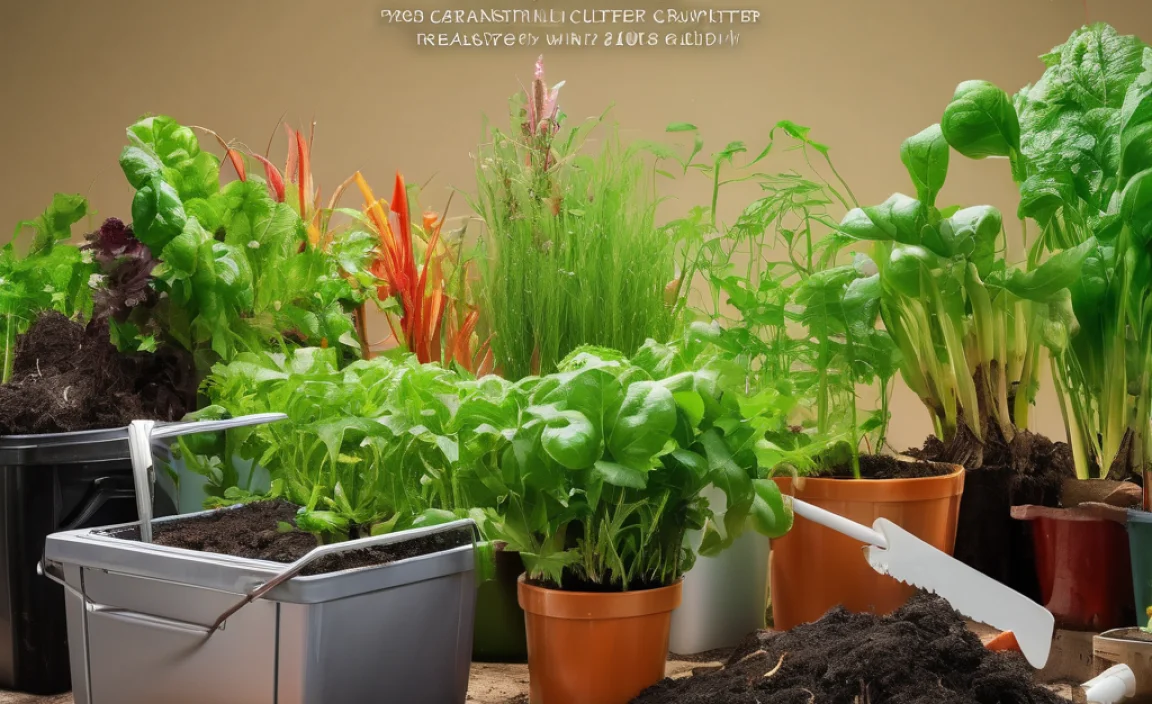
Hey there, fellow home improvers and garden enthusiasts! Troy D Harn here from TopChooser, always on the lookout for practical, no-fuss ways to make our homes and gardens better. Today, we’re diving deep into a composting technique that’s a game-changer for city dwellers: trench composting urban. If you’ve ever thought composting was too complicated, too smelly, or just not possible in a small space, get ready to be pleasantly surprised. This method is straightforward, hides your compost effectively, and makes your garden soil happier than a sunflower on a sunny day.
We’ll break down exactly what trench composting is, why it’s so great for urban environments, and walk you through the easy steps to get started. You’ll be turning your kitchen scraps into nutrient-rich soil for your plants before you know it. Let’s get your garden thriving!
What Exactly is Trench Composting?
At its core, trench composting is a simple, low-effort method of burying organic materials directly in your garden soil. Instead of piling up compost in a bin or pile, you dig a trench, fill it with your kitchen scraps and garden waste, and then cover it back up with soil. It’s essentially a “no-dig” or “lasagna gardening” approach underground. The magic happens as microorganisms, worms, and beneficial bacteria in the soil break down the buried material, enriching the soil over time.
It’s a fantastic way to improve soil structure, increase fertility, and retain moisture, all without the fuss of managing a traditional compost bin. For urban areas where space and aesthetics are often concerns, trench composting offers a discreet and highly effective solution.
Why Trench Composting is Perfect for Urban Gardens
Living in the city often means smaller yards and a need for tidy, efficient solutions. Trench composting ticks all the boxes:
- Space-Saving: No bulky bins needed! You utilize existing garden space.
- Odor Control: Burying waste means no smells to bother you or your neighbors.
- Pest Deterrent: Once buried and covered, food scraps are out of sight and reach from pests.
- Soil Improvement: It directly enriches the soil where you’ll be planting.
- Low Effort: Requires minimal monitoring compared to active composting.
- Discreet: It’s an invisible composting method.
This method is ideal for renters or homeowners who want to compost without the visual impact or maintenance of a traditional compost pile.
What You Can (and Can’t) Compost in a Trench
Just like with any composting, there are a few rules to follow to ensure your trench compost breaks down efficiently and doesn’t cause problems. The key is to stick with nitrogen-rich “greens” and carbon-rich “browns.”
Great “Greens” (Nitrogen-Rich)
- Fruit and vegetable scraps (peels, cores, rinds)
- Coffee grounds and tea bags (paper filters too!)
- Grass clippings (in moderation, as they can mat)
- Plant trimmings (non-diseased)
- Eggshells (crushed)
Great “Browns” (Carbon-Rich)
- Shredded newspaper and cardboard (avoid glossy paper)
- Dried leaves
- Straw or hay
- Sawdust (from untreated wood only)
- Paper towels and napkins (unsoiled by grease)
What to Avoid
To keep your compost working well and avoid potential issues, steer clear of these items:
- Meat, fish, and dairy products (can attract pests and create odors)
- Oily or greasy foods
- Diseased plants
- Weeds that have gone to seed (they might sprout later)
- Pet waste (dog or cat feces can contain pathogens)
- Treated wood and coal ash
- Large branches or woody material (takes too long to break down)
Getting Started: Tools You’ll Need
The beauty of trench composting is that you don’t need fancy equipment. Here are a few basic tools that will make the job easier:
- Shovel or Spade: For digging your trenches. A garden spade is ideal for clean digging.
- Garden Fork: Useful for turning soil or aerating the trench contents.
- Trowel: For smaller, more precise digging, especially in tight garden beds.
- Gardening Gloves: To keep your hands clean and protected.
- Kitchen Compost Caddy: A small container with a lid to collect scraps indoors before heading to the garden.
- Kitchen Shears or Knife: To chop larger items into smaller pieces, which helps them break down faster.
You can find excellent shovels and trowels at most home and garden stores, or online from reputable retailers like Gardners.com, which offers a wide selection of durable tools for gardeners.
Your Step-by-Step Guide to Urban Trench Composting
Ready to dig in? Here’s how to set up your trench composting system. It’s a lot simpler than you might think!
Step 1: Choose Your Location Wisely
The best place to dig your trenches is in an area that won’t be immediately disturbed and where you plan to plant in the future. This could be:
- The vegetable garden bed
- Around established trees or shrubs (but not too close to the trunk)
- In a decorative border garden
- Consider areas that are slightly out of the way, as you’ll be digging them up.
Avoid areas that get waterlogged or where you plan to install permanent structures. It’s a good idea to rotate the location of your trenches each season or year to avoid damaging the same soil area too intensely.
Step 2: Dig Your Trench
This is where the digging comes in! The size of your trench depends on your space and how much material you have.
- Depth: Aim for a trench that is about 12-18 inches deep. This helps ensure it’s well-covered and doesn’t attract pests from the surface.
- Width: A width of about 8-12 inches is usually sufficient.
- Length: This can vary. You might dig a long, narrow trench or several shorter ones. If you’re starting out, a trench that’s 2-3 feet long is a good size.
Pro Tip: When you dig, put the removed soil onto a tarp or beside the trench. This makes it easier to put back later.
Here’s a simple visual for trench dimensions:
| Trench Dimension | Recommended Size |
|---|---|
| Depth | 12-18 inches |
| Width | 8-12 inches |
| Length (example) | 2-3 feet |
Step 3: Fill the Trench
Now for the fun part – adding your organic materials! Layer them up:
- Start with a layer of “brown” materials (like shredded newspaper or dried leaves). This helps absorb moisture and prevent odors.
- Add your kitchen scraps (“greens”). Chop up larger items like melon rinds or corn cobs into smaller pieces; they’ll break down faster.
- Sprinkle in some garden soil or a scoop of finished compost if you have it. This introduces beneficial microbes to speed up decomposition.
- You can also add some finished compost or worm castings to give the breakdown process a boost.
Important: Don’t pack the trench too tightly. Leave some air pockets for decomposition. Ideally, the trench should be about two-thirds full.
Step 4: Cover It Up!
This is a crucial step for pest control and aesthetics. Take the soil you removed in Step 2 and spread it evenly back over the filled trench. Make sure the trench is completely covered with at least 4-6 inches of soil.
You want to ensure there are no food scraps visible on the surface. This layer of soil acts as a protective barrier.
Step 5: Let Nature Do Its Thing
Now you can simply wait. The microorganisms, worms, and other soil dwellers will get to work breaking down the buried organic matter. Depending on the contents, temperature, and moisture, this process can take anywhere from a few weeks to a few months.
You might choose to plant directly over the trench area after covering it, or let it decompose for a while before planting. If you plant directly, choose plants that don’t need highly enriched soil immediately, like root vegetables or hardy perennials. For more sensitive plants, allow a few months for decomposition first.
Step 6: What to Do Next
Once the materials in a trench have decomposed, the soil in that area will be significantly richer and more hospitable to plant roots. You can then:
- Plant directly into the improved soil.
- Dig a new trench elsewhere in your garden to start the process again.
- Let a trench sit fallow for a season to fully break down before planting.
The beauty is you can keep trench composting a regular part of your garden maintenance. Don’t be afraid to experiment with the size and placement of your trenches!
Advanced Tips for Supercharged Trench Composting
Once you’ve got the hang of the basics, you might want to try a few things to enhance your trench composting efforts:
- Seasoning Your Trenches: Leave a trench to decompose for at least 2-3 months (or even longer) before planting directly into it. This ensures the material has broken down into nutrient-rich humus.
- Layering is Key: Aim for a good mix of greens and browns. If you add a lot of wet kitchen scraps (greens), try to balance it with more dry, carbon-rich materials like shredded paper or leaves. This prevents a soggy, anaerobic mess.
- Chop It Up: Smaller pieces decompose much faster. Use kitchen shears or a knife to cut up larger scraps like watermelon rinds, broccoli stalks, or citrus peels.
- Moisture Management: If your compost area is very dry, you can lightly water the trench before covering it. If it’s very wet, add more browns to absorb excess moisture.
- Worm Power: For an extra boost, you can introduce a handful of worms (red wigglers are great!) into the trench after filling it. They’ll happily munch away and speed up decomposition.
- Use Them as Planting Beds: After decomposition, the trench soil is amazing for planting. You can even dig a trench specifically in the spot you plan to plant a new shrub or perennial, filling and covering it, then planting right on top!
Comparing Trench Composting to Other Methods
It’s helpful to see how trench composting stacks up against other popular composting methods, especially for the urban gardener.
| Method | Pros | Cons | Best For |
|---|---|---|---|
| Trench Composting |
|
|
Urban gardens, small spaces, renters, beginners, busy individuals |
| Open Compost Pile |
|
|
Suburban/rural yards, gardeners with ample space and time |
| Compost Bins (Tumblers/Stationary) |
|
|
Homeowners wanting a tidy setup, those willing to invest in equipment |
| Worm Composting (Vermicomposting) |
|
|
Apartment dwellers, balcony gardeners, those who want high-quality compost quickly |
As you can see, trench composting urban excels where space is limited and simplicity is key. It’s a fantastic option that integrates composting directly into your garden’s ecosystem.
The Takeaway: Dig In and Grow!
Trench composting is an accessible, efficient, and eco-friendly way for urban dwellers to transform kitchen waste into valuable garden enrichment. It requires minimal effort, no special equipment, and helps keep your yard tidy and pest-free.
Frequently Asked Questions About Trench Composting
Here are some common questions beginners have about trench composting:
What if my trench smells bad?
A bad smell usually means your compost is too wet or doesn’t have enough air, or you’ve added things you shouldn’t have (like meat). Try adding more “brown” materials like shredded newspaper or dry leaves, and mix them in if possible. Make sure it’s well-covered with soil.
How long until the compost is ready?
This varies greatly depending on the materials, temperature, moisture, and soil microbes. It can take anywhere from a few weeks to several months. You’ll know it’s ready when the original materials are no longer recognizable and the soil looks dark and crumbly.
Can I plant right away after filling the trench?
It’s best to wait at least a few weeks, and ideally a few months, before planting directly over the trench. This gives the material time to break down into a nutrient-rich humus your plants can easily use. If you plant too soon, the decomposition process can temporarily deplete nitrogen from the surrounding soil, hindering plant growth.
Will trench composting attract rodents or other pests?
If done correctly, trench composting is generally pest-resistant. The key is to always bury your food scraps deep enough (at least 6 inches of soil cover) and ensure no food is visible on the surface. Avoiding meat, dairy, and oily foods also significantly reduces attraction.
How many trenches should I have?
This depends on how much kitchen waste you produce and the size of your garden. For a small urban yard, one or two trenches dug at different times can sustain your needs. You might dig a new trench every few months as older ones decompose.
Can I trench compost in pots or containers?
While trench composting is designed for in-ground gardens, you could adapt it for very large, deep containers. However, it’s less effective as the enclosed space can reduce air circulation, and managing decomposition might be trickier than in the open soil. For containers, vermicomposting or smaller compost bins are usually better choices.
Do I need to turn the compost in a trench?
No, that’s one of the biggest advantages! Trench composting is a “passive” or “no-dig” method. The soil microbes and earthworms do the work for you. You simply bury and cover, and nature takes over.

I am passionate about home engineering. I specialize in designing, installing, and maintaining heating, ventilation, and air conditioning systems. My goal is to help people stay comfortable in their homes all year long.