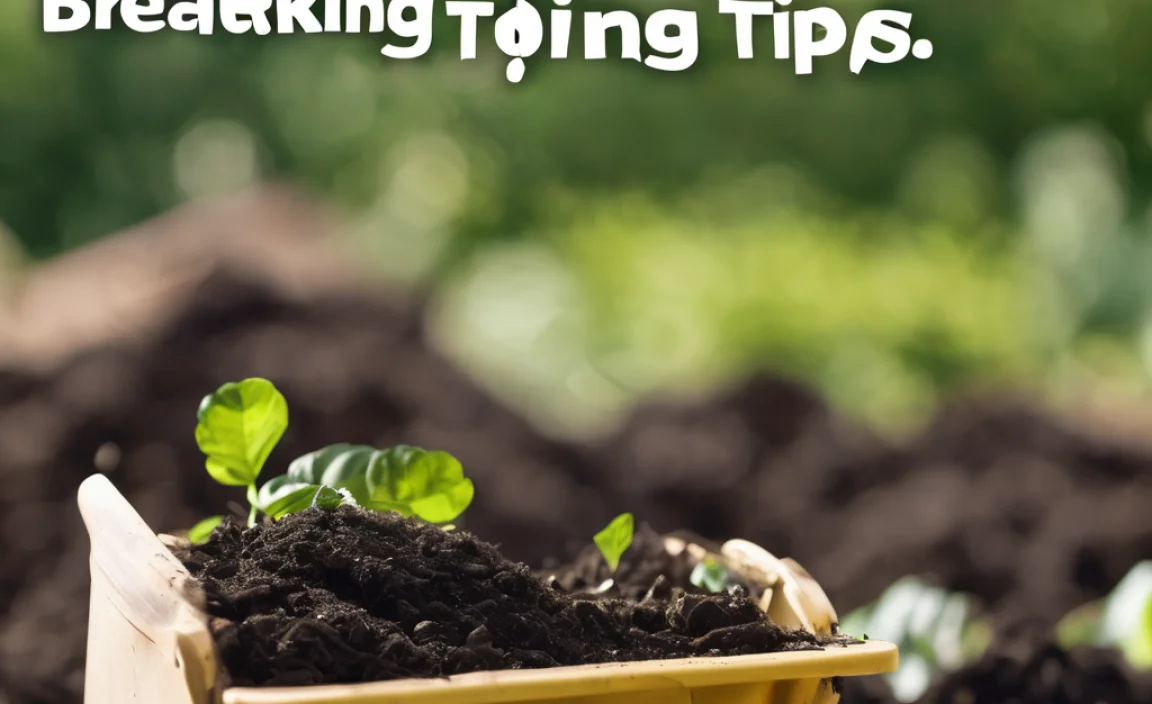
Have you ever looked at your kitchen scraps and wondered if there’s a better way to handle them than just tossing them in the trash? Well, there is! Vermicomposting, which is simply composting with worms, turns your food waste into amazing, nutrient-rich fertilizer. It’s eco-friendly, super effective, and surprisingly simple once you know the basics. Don’t worry if you’re new to this; I’m here to walk you through it step-by-step. We’ll explore exactly which tiny critters are your composting superstars and how to make them happy.
Vermicomposting Bugs: Your Speedy Soil Superstars!
Hey there, fellow home improvers and garden enthusiasts! Troy D Harn here from TopChooser, ready to dive into something that might sound a little… wiggly, but is actually a fantastic way to boost your garden and shrink your trash. We’re talking about vermicomposting, and the real stars of this show are the amazing worms that do all the hard work. If you’ve ever felt overwhelmed by composting or wondered which method is best for a beginner, stick around. We’re going to break down exactly which “bugs”—well, worms—you need for this process and how to get them settled into their new, productive home.
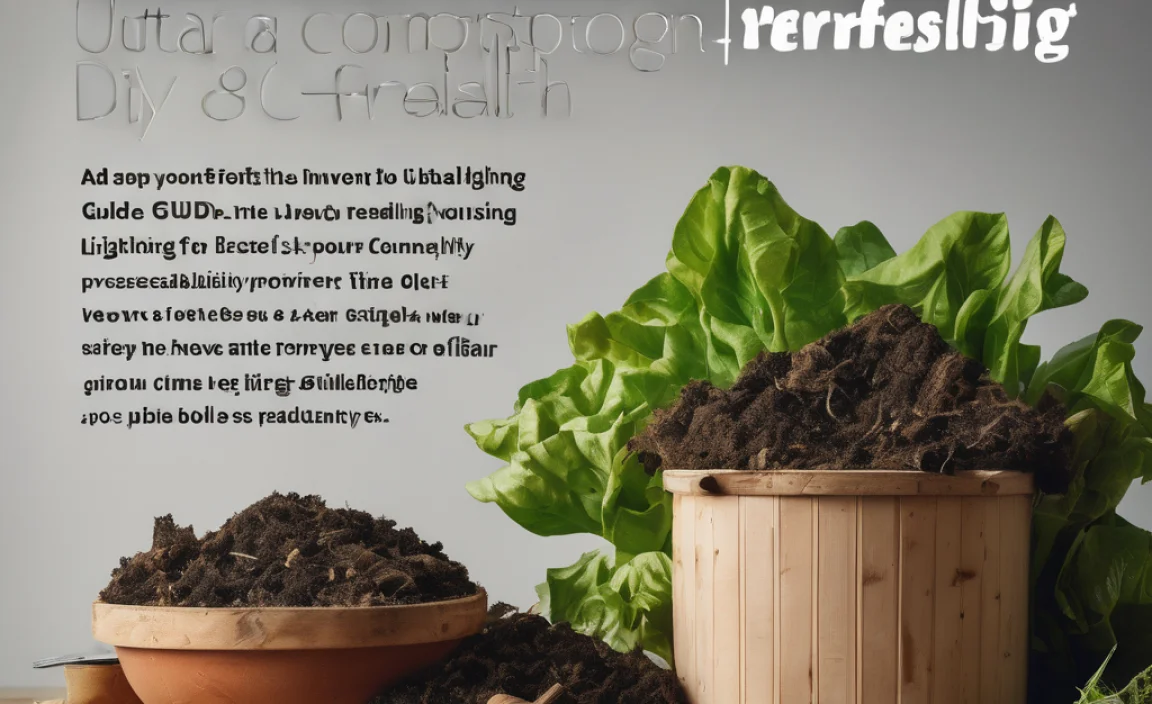
Think of vermicomposting as nature’s ultimate recycling program, powered by some very dedicated annelids. These aren’t just any earthworms you’d find in your backyard. Specific types are bred for their voracious appetites and ability to thrive in a confined composting environment. They munch through your kitchen scraps, break them down, and produce “worm castings”—which is basically super-powered compost, often called “black gold” by gardeners.
This guide is designed with you in mind. We’ll skip the confusing jargon and focus on practical, actionable steps. By the end, you’ll understand:
Which worms are the best for vermicomposting.
Why these particular worms are so special.
What you need to get started.
How to create the perfect home for them.
And most importantly, how to keep your composting crew happy and healthy.
Ready to turn your food waste into garden gold? Let’s get to it!
The Best Bugs for Your Vermicomposting Bin: It’s Not About Slugs!
When we talk about “vermicomposting bugs,” we’re really talking about worms. But before you go digging in your garden for earthworms, hold on! The worms that work best in a controlled vermicomposting system are a bit different from the common garden earthworm. These specialized worms are more efficient at breaking down organic matter in a confined space and have specific needs.
Here are the top contenders:
1. Red Wigglers (Eisenia fetida)
These are the rockstars, the go-to champions of the vermicomposting world. Red wigglers are small, reddish-brown worms that are incredibly active and reproduce quickly. They love to eat decaying organic matter, which makes them perfect for gobbling up your kitchen scraps.
- Why they’re great:
- Extremely high appetite for food scraps.
- Fast reproduction rates mean you’ll have a healthy population in no time.
- Tolerant of a range of conditions, making them forgiving for beginners.
- They actively burrow and mix the organic material, aerating it.
2. European Nightcrawlers (Eisenia hortensis, also known as Dendrobaena veneta)
While often called “nightcrawlers,” these are a different species than the large ones used for fishing. European nightcrawlers are larger than red wigglers, and while they can be used for vermicomposting, they are sometimes preferred for fishing bait. However, some vermicomposters find they are also very efficient. Their larger size means they can process more food, but they may reproduce a bit slower than red wigglers.
- Pros:
- Larger size can process food quickly.
- Can tolerate slightly cooler temperatures than red wigglers.
- Cons:
- Tend to be a bit more expensive to purchase.
- May try to “escape” if conditions aren’t quite right (though this is rare with good management).
3. African Nightcrawlers (Eudrilus eugeniae)
These are tropical worms that thrive in warmer temperatures. If you live in a cooler climate and plan to vermicompost outdoors, they might not be the best choice unless you can provide a consistently warm environment. They grow quite large and are very efficient feeders, similar to red wigglers.
- Best for:
- Warm climates or indoor composting where temperature can be controlled.
- Composters looking for large, active worms.
- Considerations:
- Very sensitive to cold; will die if temperatures drop too low.
What About Regular Garden Earthworms?
The common earthworms you find in your garden (like the common nightcrawler, Lumbricus terrestris) are generally not ideal for vermicomposting. These worms live deeper in the soil, prefer to eat decaying roots and other underground material, and don’t thrive in the shallow, moist bedding of a worm bin. They are also not as prolific breeders in these conditions. So, for the best results, stick to the specialized composting worms.
Why These Specific Worms Are the Best Composters
So, why are red wigglers (and their similar cousins) so good at this job? It all comes down to their natural habits and biology. These worms are surface dwellers, meaning they naturally live in the top layers of organic matter—just like the bedding and food scraps in your worm bin. They don’t burrow deep into the soil like other earthworms.
Here’s what makes them special:
- Surface Dwellers: They prefer to live and feed in the top few inches of material, which is exactly where you’ll be placing their food.
- Voracious Eaters: They have a constant need to eat and digest. A healthy worm population can consume a significant amount of organic waste relative to their own body weight.
- Rapid Reproduction: When conditions are good (right temperature, moisture, and food), their population can double every few months. This ensures you always have enough “workers” for your composting needs.
- Diet Preferences: They are attracted to the kind of decomposing organic matter that we produce as kitchen scraps.
- Habitat Adaptability: While they have ideal conditions, they are generally hardy and can tolerate some fluctuation in their environment, making them forgiving for beginners.
When you buy composting worms, you’re typically purchasing a starter population of red wigglers or sometimes European nightcrawlers. You can find these online from reputable vermicomposting suppliers or sometimes at local garden centers.
Getting Started: Your Worm Bin Essentials
Once you’ve decided on your superstar worms, the next step is setting up their home. A vermicomposting bin, also called a worm farm, is a contained environment where your worms can live, eat, and process your waste. You can buy pre-made bins or easily make your own.
What You’ll Need:
To begin your vermicomposting journey, gather these essential items:
- A Worm Bin: This can be a plastic tote, wooden box, or a specifically designed worm bin. It needs to be opaque (worms prefer darkness) and have adequate ventilation. If you’re drilling holes in a plastic tote, aim for about 10-20 holes per bin, with some on the sides and lid for air circulation. Also, ensure there are small drainage holes in the bottom or a way to manage leachate (the liquid that drains out). A common size for beginners is a 10-20 gallon tote.
- Bedding Material: This is what the worms live in and what they also eat initially. Good bedding options include:
- Shredded newspaper (black ink only, avoid glossy or colored pages)
- Shredded cardboard
- Coconut coir (often sold as “bricks” that you rehydrate)
- A mix of these materials is often best.
- Composting Worms: As discussed, red wigglers (Eisenia fetida) are usually the best choice for beginners in most climates. You can purchase these online. A common starting amount is 1 pound of worms.
- Food Scraps: Your worms will eat most fruit and vegetable scraps, coffee grounds, tea bags (without staples), eggshells (crushed), and even shredded paper or cardboard. Avoid meat, dairy, oily foods, and excessive citrus, as these can attract pests or create anaerobic conditions.
- A Spritzer Bottle: For keeping the bedding moist.
- A Kitchen Scrap Collection Container: A small bin with a lid for collecting scraps indoors before adding them to the main bin.
- A Hand Trowel or Fork: For mixing food scraps into the bedding.
Setting Up the Worm Bin: A Step-by-Step Guide
Here’s how to create a welcoming environment for your new wormy crew:
- Prepare Your Bin: If you’re using a plastic tote, drill ventilation holes (about 1/8” to ¼”) on the sides and lid. Drill a few smaller drainage holes (also about 1/8”) in a corner of the bottom, or on the lid if you want to collect leachate there. Ensure the bin is clean.
- Prepare the Bedding: Take your chosen bedding materials (shredded newspaper, cardboard, coir) and soak them in water until they are damp but not soggy. Think of the consistency of a wrung-out sponge. Squeeze out any excess water. This is crucial: too wet and your worms can drown or the bin can become smelly; too dry and they won’t be comfortable.
- Fluff and Place Bedding: Fluff the damp bedding and fill your bin about halfway to two-thirds full.
- Add Your Worms: Gently place your purchased composting worms on top of the bedding. They will naturally burrow down into it, seeking darkness. Don’t worry if a few try to crawl out initially; this is normal as they adjust. Just gently place them back on the bedding.
- Add a Small Amount of Food: Bury a small amount of chopped-up food scraps (like a few vegetable peels) in one corner of the bin, under the bedding. This gives your worms something to start munching on.
- Moisten the Surface: Lightly mist the top of the bedding with water from your spritzer bottle. The bedding should remain consistently moist.
- Close the Lid: Put the lid on your bin to keep it dark and to help retain moisture.
It’s important to note that you shouldn’t add too much food at once, especially when you’re starting. Your worm population will grow, and so will their appetite. Start small!
The Worm’s Diet: What to Feed Your Composting Crew
Your vermicomposting bugs have simple tastes, but offering them the right diet is key to a successful composting system. Their food is your food waste! However, being selective ensures a healthy bin and prevents pests or odors.
Good Foods for Your Worms:
- Fruit and Vegetable Scraps: The majority of your kitchen waste will be perfect. This includes peels, cores, stems, and rinds. Chop larger items into smaller pieces to speed up decomposition.
- Coffee Grounds and Filters: Worms love coffee grounds! The paper filters are also fine.
- Tea Bags: Remove any staples. The tea leaves are great.
- Crushed Eggshells: Wash them, dry them, and crush them into a powder. This adds grit for their digestion and calcium.
- Plain Pasta, Bread, and Grains: In moderation, these are okay. Avoid feeding too much at once, or if they are oily.
- Shredded Newspaper and Cardboard: This is also food and bedding.
- Plate Scraps (rinsed): Small amounts of leftovers from plates are fine as long as they aren’t oily or contain meat/dairy.
Foods to Avoid:
- Meat and Dairy Products: These can create foul odors, attract pests like rodents and flies, and create an unhealthy anaerobic environment.
- Oily Foods and Greasy Scraps: These break down slowly and can inhibit worm activity and create odors.
- Citrus Peels (in large quantities): While a little is okay, too much can lower the bin’s pH too much, making it acidic and uncomfortable for the worms.
- Spicy Foods: Worms don’t like the heat from peppers or other spicy ingredients.
- Onions and Garlic (in large quantities): Similar to citrus, large amounts can be too harsh for worms. Small amounts are usually fine, but if you notice your worms retreating, cut back.
- Diseased Plants: Avoid adding any plant material that showed signs of disease to prevent spreading it further if you use the compost.
- Pet Waste: Cat and dog feces can contain pathogens harmful to humans and are not recommended for compost that will be used on food gardens.
How to Feed Your Worms:
When feeding, it’s best to bury the food scraps under the existing bedding in a different spot each time you add. This encourages the worms to move around the bin and helps prevent odors and pests.
Tip: Chop or blend your food scraps into smaller pieces. This significantly speeds up the decomposition process, making it easier for the worms to consume.
Maintaining Your Worm Bin: Keeping Your “Bugs” Happy
Once your worm bin is set up and your worms are settled in, maintaining the right conditions is key to their health and productivity. Think of it as creating a happy, stable home for them.
Temperature is Key
Most composting worms, especially red wigglers, prefer temperatures between 55°F (13°C) and 77°F (25°C). They can tolerate slightly cooler or warmer temperatures for short periods, but extreme heat or cold can be fatal.
- Too Hot: Worms will try to escape the bin or may die. If your bin gets too hot (e.g., in direct summer sun), move it to a cooler location, add frozen water bottles, or gently mist the bedding.
- Too Cold: Worms become sluggish and stop eating. If it’s freezing, bring the bin indoors or insulate it heavily.
Moisture Management
The bedding should always feel like a well-wrung-out sponge – damp but not dripping.
Too Dry: Worms will dehydrate and die. Mist the bedding with water from your spray bottle.
Too Wet: This can lead to anaerobic conditions (lack of oxygen), foul odors, and can drown your worms. Add more dry bedding and consider poking holes for aeration. If there’s too much liquid buildup (leachate), you can drain it off and dilute it to use as liquid fertilizer, or try to absorb it with more dry bedding.
Aeration (Oxygen)
Worms need oxygen to breathe, just like us!
Turn the bedding gently with a trowel every week or two, being careful not to disturb the worms too much.
Ensure your bin has adequate ventilation holes.
Avoid compacting the bedding too much.
What to Do with Leachate
Leachate is the liquid that drains from the bottom of your bin. If your bin is properly managed (not too wet), you’ll have very little leachate. If you do collect some:
- It’s a nutrient-rich liquid, often called “worm tea.”
- Always dilute it with water (about 1 part leachate to 10 parts water) before using it on plants.
- This diluted liquid fertilizer is great for houseplants, garden beds, and lawns.
Troubleshooting Common Issues
Sometimes things go a little off. Don’t panic! Here are a few common issues and how to fix them:
- Smell: A healthy worm bin should smell earthy, like a forest floor. If it smells sour, rotten, or like ammonia, it’s usually a sign of overfeeding, too much moisture, or anaerobic conditions.
- Fix: Stop feeding for a week or two. Gently aerate the bin. Add more dry bedding. Ensure there’s enough ventilation.
- Pests (Fruit Flies, Gnats): These are usually attracted by exposed food scraps.
- Fix: Bury food scraps deeper in the bedding. Reduce the amount of food you’re adding until the population catches up. You can also create a “moat” around the bin’s edges with water to deter them, or cover the bin with a fine mesh screen.

I am passionate about home engineering. I specialize in designing, installing, and maintaining heating, ventilation, and air conditioning systems. My goal is to help people stay comfortable in their homes all year long.