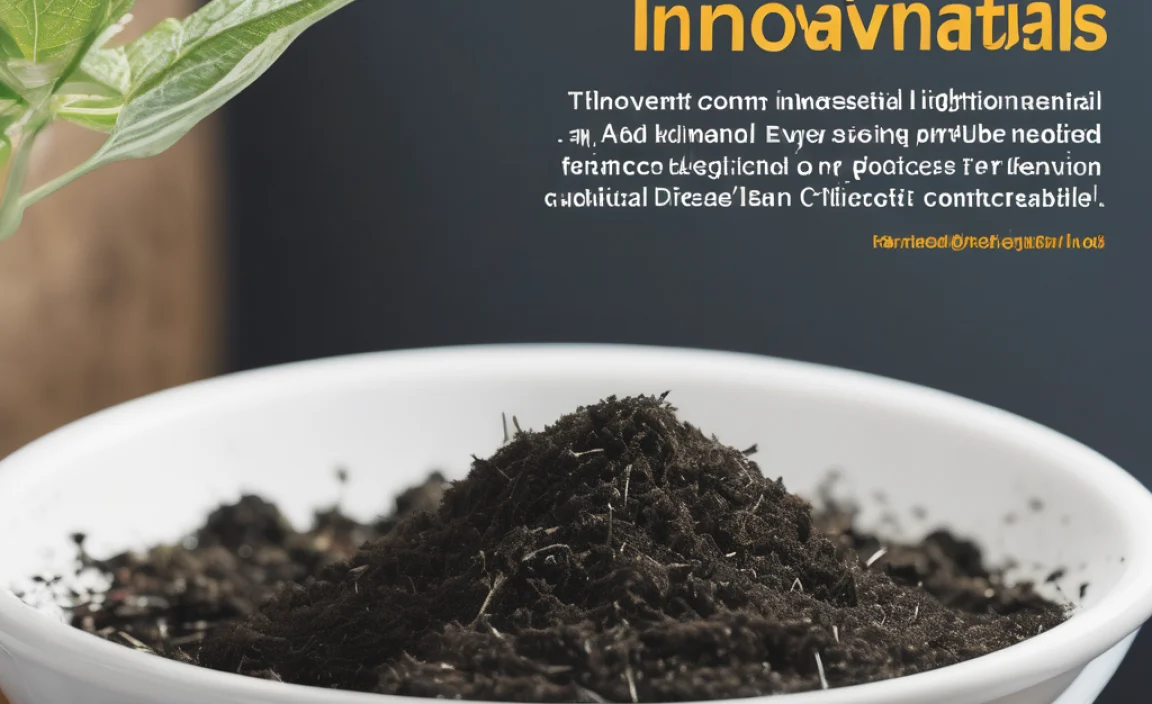
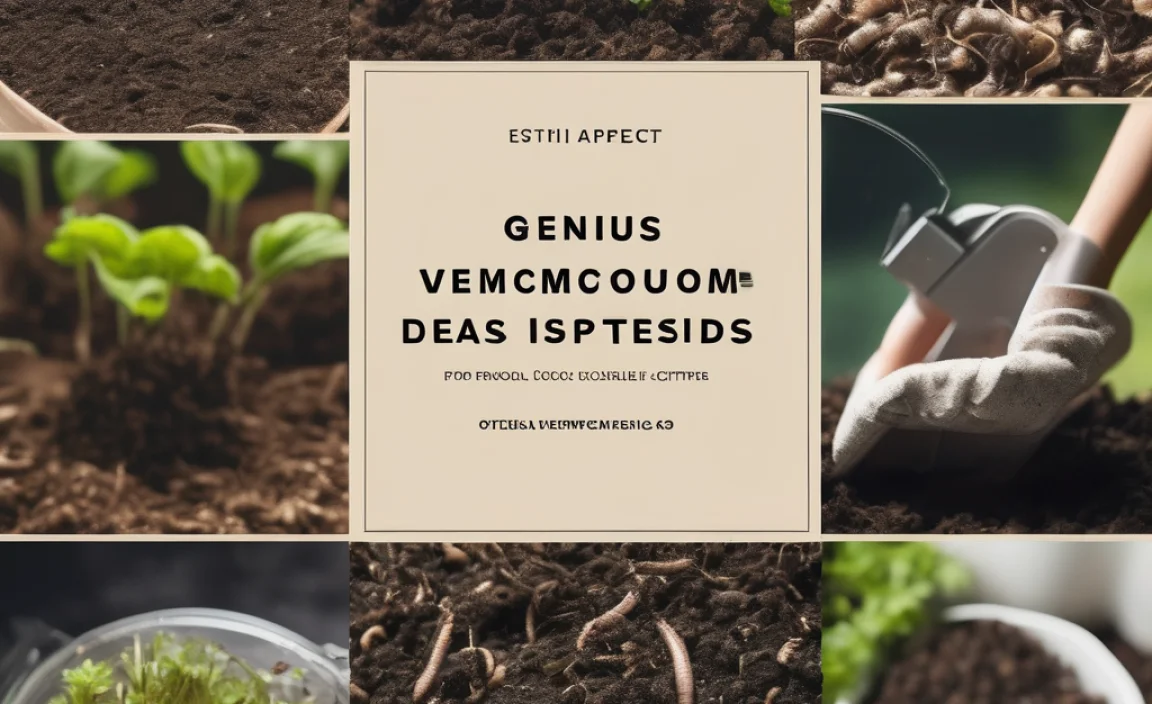
Want to turn kitchen scraps into gardening gold? Vermicomposting, or worm composting, sounds fancy, but it’s really just letting worms do the dirty work of breaking down your food waste. It’s an awesome way to reduce landfill waste and create nutrient-rich fertilizer called worm castings. Plus, it’s fun! Let’s dig into some brilliant vermicomposting ideas that make it super simple for anyone to start, no matter your space or budget. Get ready to boost your garden with nature’s best helpers.
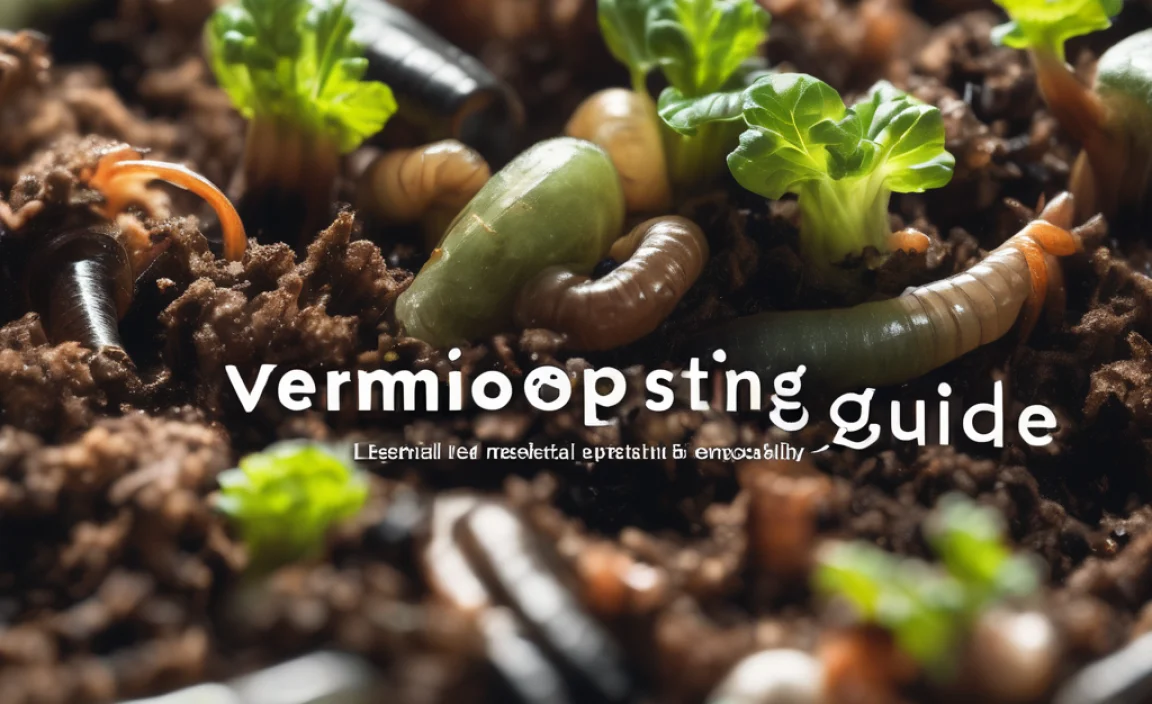
Vermicomposting Ideas: Genius Methods for Beginners
Hey there, fellow home improvers and garden enthusiasts! Troy D Harn here from TopChooser. Today, we’re going to talk about something that might sound a little… slithery. But trust me, it’s one of the most rewarding and eco-friendly projects you can tackle: vermicomposting! If you’ve ever looked at your kitchen scraps and thought, “There’s got to be a better way than the trash bin,” then you’re in the right place.
Vermicomposting uses special composting worms (not the ones you find in your garden!) to chomp through your food waste, turning it into amazing, nutrient-rich soil amendment called worm castings. It’s like magic, but it’s science, and it’s totally doable for everyone, from apartment dwellers to folks with big backyards. We’re going to break down some super smart ideas to get you started with vermicomposting, keeping it simple, practical, and budget-friendly.
Why Vermicompost? The Big Wins
Before we dive into the “how,” let’s chat about the “why.” Getting into vermicomposting is more than just a hobby; it’s a fantastic way to:
- Reduce Waste: About 20-30% of household waste is often food scraps. Vermicomposting diverts this from landfills, where it creates harmful methane gas.
- Create Amazing Fertilizer: Worm castings are packed with nutrients and beneficial microbes that plants absolutely love. They improve soil structure, drainage, and aeration, leading to healthier, happier plants.
- Save Money: Instead of buying expensive fertilizers and soil amendments, you’ll be making your own for free!
- Connect with Nature: It’s a simple yet profound way to engage with natural cycles and understand decomposition firsthand.
- It’s Accessible: You don’t need acres of land. Small-scale systems can fit on a balcony, in a garage, or even a corner of your kitchen.
Choosing Your Wigglers: The Right Worms for the Job
This is a crucial first step! You can’t just grab any old earthworm from your backyard. These worms are typically surface dwellers and prefer a specific diet. The stars of the vermicomposting show are:
- Red Wigglers (Eisenia fetida): These are the most popular and widely recommended composting worms. They are voracious eaters, reproduce quickly, and thrive in the conditions found in a worm bin.
- European Nightcrawlers (Eisenia hortensis): Also known as dendrobaena veneta, these are larger worms that can also be used for composting. They are a bit more tolerant of cooler temperatures than red wigglers.
- Red Earthworms (Lumbricus rubellus): Sometimes used, but generally red wigglers are preferred for their consistent performance in bins.
You can usually purchase these special composting worms online from reputable suppliers. Look for sellers who guarantee live arrival and provide information on their worm population density.
Genius Vermicomposting System Ideas
The “system” simply refers to your worm bin – the home where your worms live and work. The best system for you depends on your space, budget, and how much waste you produce. Here are some genius, beginner-friendly ideas:
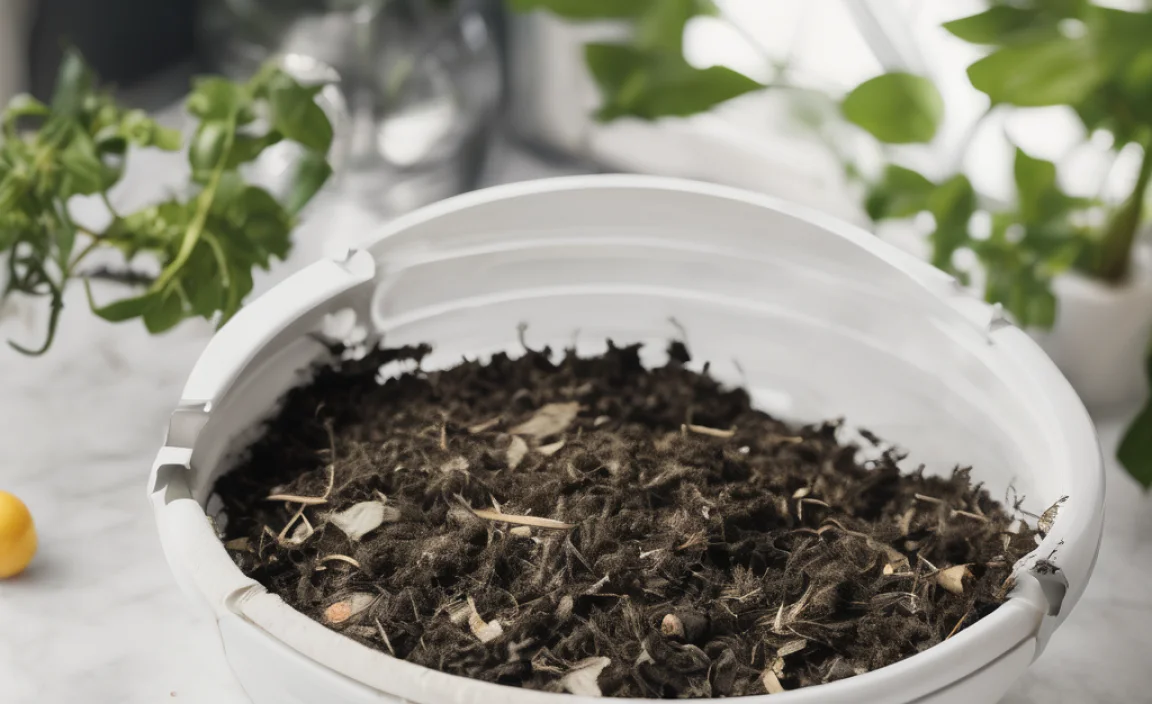
1. The DIY Plastic Tote Bin: Budget Champ
This is the classic, budget-friendly option that many beginners start with. It’s simple to set up and adaptable to various spaces.
What you’ll need:
- One or two opaque plastic storage totes with lids (10-18 gallons is a good size). Opaque is better because worms prefer darkness.
- A drill with bits (around 1/8 inch and 1/4 inch).
- Bedding material (more on this soon!).
- Composting worms (Red Wigglers are perfect here).
- Food scraps.
How to set it up:
- Drill Drainage Holes: In the bottom of one tote, drill about 10-12 small holes (around 1/8 inch) for drainage. This is super important to prevent your bin from becoming waterlogged.
- Drill Aeration Holes: In the lid and on the sides of the tote, drill more holes (around 1/4 inch) for airflow. You want plenty of breathable air but not so many that light gets in easily. Aim for holes spaced a few inches apart.
- Prepare the Bedding: Fill the tote about one-third to one-half full with moist bedding material.
- Add Your Worms: Gently place your composting worms on top of the bedding. They will burrow down.
- Start Feeding: Begin adding your food scraps. Bury them under a little bedding or in a small corner to avoid attracting pests and to give the worms time to find them.
- Stacking (Optional but Genius): If you get a second tote, you can place it under the first one (without lid holes) to catch any liquid (worm tea). Or, you can drill bottom holes in both totes and place one on top of the other, creating a two-tier system that helps with harvesting later – a truly genius move!
Pros: Inexpensive, easy to find materials, portable, good for small spaces.
Cons: Can become waterlogged if drainage isn’t managed well, may require more frequent turning if not a multi-tier system.
2. The Stackable Worm Composter: Neat and Tidy Option
These are commercially available bins specifically designed for vermicomposting. They usually come with several trays that stack, making harvesting and management very straightforward.
What you’ll need:
- A stackable worm composter kit (available online or at garden centers).
- Bedding material.
- Composting worms.
- Food scraps.
How it works:
- Bottom Tray (Collection Tray): This tray is usually at the bottom and has no holes. It catches any excess liquid (worm tea). Many kits include a spigot for easy draining.
- First Worm Tray: You’ll prepare this tray with moist bedding and add your worms.
- Feeding Trays: As you add food scraps to the first tray, the worms will eat it and migrate upwards to fresh food. You add new trays on top as previous ones become processed. The worms follow the food, leaving processed castings behind in the lower trays.
- Harvesting: When a tray is full of processed food and castings, you simply remove it. The worms will have moved up to the fresher food in the trays above, leaving behind mostly worm castings.
Pros: Very easy to use and manage, excellent drainage and aeration, efficient harvesting, looks neat and tidy.
Cons: More expensive than DIY bins, may be larger in footprint.
3. The DIY Worm Tower/Breeder: For the Ambitious Gardener
This is a more advanced, but incredibly efficient, method that essentially creates a self-sustaining worm farm. Think of it as a large-scale, continuous vermicomposting system.
What you’ll need:
- A large opaque plastic storage tote (20-30 gallons or larger).
- Smaller plastic containers or buckets (e.g., 1-gallon yogurt containers or cut-off soda bottles).
- Drill with various bit sizes.
- Bedding material.
- A significant population of composting worms.
- Plenty of food scraps.
How to set it up:
- Prepare the Large Tote: Drill drainage holes in the bottom and aeration holes on the sides and lid, similar to the DIY tote bin.
- Create “Feeders” or “Burrowing Towers”: Take your smaller containers. Cut off the bottoms of plastic cups or yogurt containers. Drill many small holes (1/8 inch) all over the sides and bottom of these containers. These will act as “feeders” that you bury in the main bin.
- Set up the Base: Place a layer of moist bedding in the large tote.
- Bury the Feeders: Bury the prepared “feeder” containers into the bedding, leaving the tops exposed. You’ll fill these with your food scraps.
- Add Worms: Introduce your worms into the main bin. They will explore and eventually colonize the feeders.
- Feeding Strategy: The genius here is you bury your food scraps only in these feeders. The worms will congregate in the feeders to eat. As the food in one feeder is processed, you can start adding food to another nearby feeder.
- Continuous Production: Over time, you can add more feeders periodically. The worms will move between them. This method allows for very high worm populations and continuous processing of waste. Harvesting means you remove sections of processed bedding and castings, often leaving the bulk of the worms in the main system.
Pros: Can handle large amounts of food waste, high worm population potential, less frequent disturbance of the entire bin, good for larger households or small-scale composting operations.
Cons: Requires more initial setup effort, needs a larger space, managing multiple feeders can be a learning curve.
4. The “Upcycled” Options: Creative & Green
Don’t want to buy bins? Get creative! Many everyday items can be transformed into a worm habitat.
Examples:
- Wooden Pallet Bins: Build a simple box from untreated wooden pallets. You can line it with landscape fabric to contain the bedding and worms. Place a layer of cardboard or plastic sheeting on the bottom with some drainage holes. This is great for outdoor composting.
- Old Drawers/Cabinet: An old drawer from a dresser or a small cabinet can be repurposed. Add drainage holes, a lid, and adequate bedding.
- Buckets with Lids: Similar to the plastic tote, a simple 5-gallon bucket with drilled holes can work for a very small setup.
Key Considerations for Upcycled Bins:
- Material Safety: Ensure any materials used are non-toxic and haven’t been treated with harmful chemicals (especially important for wood).
- Drainage & Aeration: Always drill plenty of holes! This is non-negotiable for worm bin health.
- Light Protection: Worms need darkness. If your recycled material lets in light, you’ll need to cover it or paint it.
Pros: Zero or very low cost, environmentally friendly (reuses materials), can be customized to your space or needs.
Cons: May require more DIY skill, structural integrity can vary, potential for leaks if not sealed properly.
Essential Bedding Materials
Your worms need a cozy, moist home. Bedding provides this, absorbs excess moisture, and gives the worms a place to live and reproduce. Never use just dirt!
Great bedding choices:
- Shredded Newspaper: Black and white ink is fine. Shred it into strips.
- Shredded Cardboard: Plain corrugated cardboard (remove tape and labels).
- Coconut Coir (Coir): A sustainable product made from coconut husks. It holds moisture well and is fluffy.
- Peat Moss: A classic, but consider coir for a more sustainable alternative.
- Aged Leaf Mold: Decomposed leaves from your yard.
- Shredded Paper Bags: Plain brown paper bags are good.
How to prepare bedding:
- Mix your chosen materials together.
- Moisten them thoroughly until they are as damp as a wrung-out sponge. You should be able to squeeze a few drops of water out, but not gushers.
- Fluff it up to create air pockets.
What to avoid for bedding:
- Shiny or glossy paper.
- Anything with colored inks that might be toxic.
- Synthetic fibers.
- Finely ground materials that can compact and suffocate worms.
What Can Worms Eat? (And What NOT to Feed Them)
This is key to a happy worm bin and avoiding smelly problems or pests. Worms are generally not picky, but some foods are better than others.
Good Foods (in moderation and chopped up):
- Fruit and Vegetable Scraps: Most kinds! Peels, cores, rinds, wilted greens, leftover cooked veggies.
- Coffee Grounds and Filters: Worms love these!
- Tea Bags: Remove the staple.
- Crushed Eggshells: Make sure they are thoroughly washed and crushed to powder.
- Plain Cooked Grains and Cereals: Small amounts of oatmeal, rice, bread (avoid oily or cheesy versions).
- Pureed or Soft Foods: Easier for worms to digest.
Foods to Limit or Avoid:
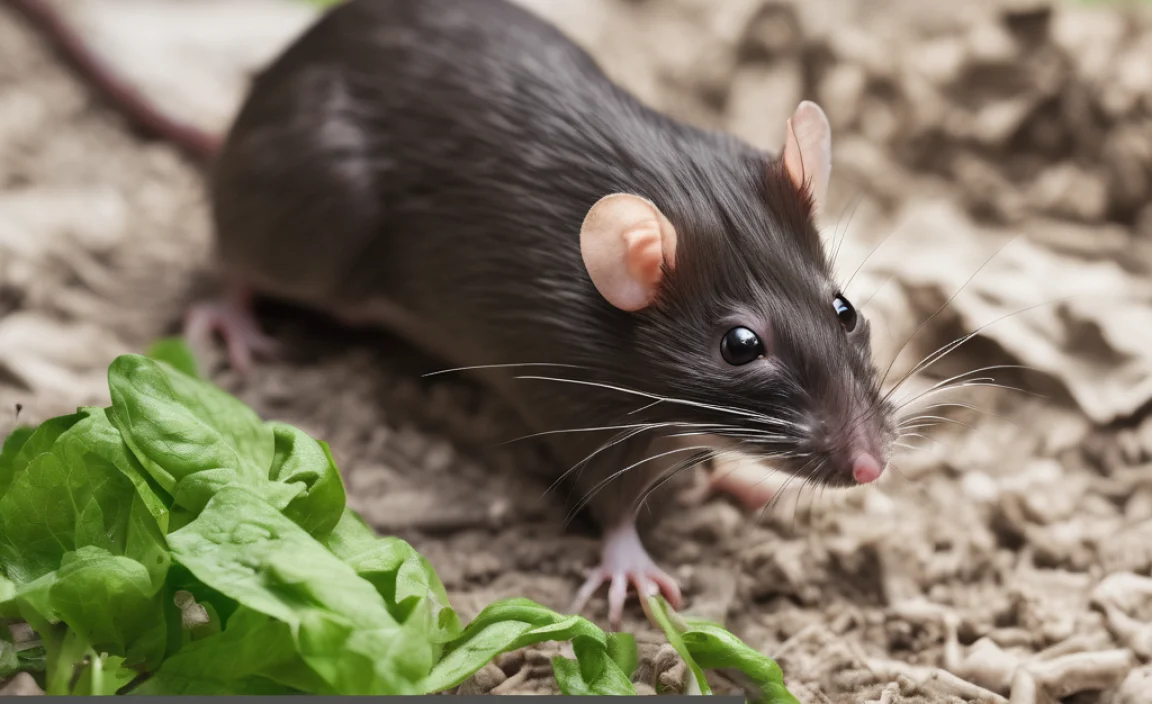
- Meats, Bones, Dairy Products, Oily Foods: These can attract pests (like fruit flies or rodents), create odors, and break down too slowly. A small amount of plain, cooked pasta or rice is usually okay, but keep it very limited.
- Citrus Peels and Acidic Foods: While small amounts are okay, too much can upset the pH balance of the bin. Chop them up finely.
- Onions and Garlic: Many composters find worms don’t readily eat these.
- Spicy Foods: Can be too harsh for worms.
- Diseased Plants: To avoid spreading any potential issues.
- Walnut or Pecan Shells/Leaves: Contain juglone, which can be toxic to worms.
- Pet Waste: Unless specifically stated for that purpose, avoid dog and cat feces due to potential pathogens.
Tip: Chop up or process your food scraps into smaller pieces. This increases the surface area, making it easier for worms to eat and speeding up decomposition.
Setting Up Your Worm Bin: Step-by-Step
Let’s put it all together with a simple, DIY plastic tote bin as our example. This method is highly accessible and reliable.
What You’ll Need:
- One opaque plastic tote (10-18 gallons) with a lid.
- Drill with 1/8-inch and 1/4-inch drill bits.
- Bedding material (e.g., shredded newspaper, coconut coir).
- Composting worms (Red Wigglers).
- A small kitchen caddy or container for collecting scraps.
The Process:
- Prepare the Bin: Drill about 10-12 small (1/8-inch) drainage holes in the bottom of the tote. Then, drill about 15-20 larger (1/4-inch) aeration holes around the sides and in the lid. Space them out evenly.
- Moisten the Bedding: Take your chosen bedding material and place it in a separate bin or sink. Add water and mix until it’s evenly moist, like a wrung-out sponge. Squeeze a handful; if a few drops come out, it’s just right. If water pours out, it’s too wet – add more dry bedding. If it crumbles, add more water.
- Fill the Bin: Loosely fill the prepared tote with the moistened bedding, about one-third to half full. Fluff it up so it’s not compacted.
- Introduce the Worms: Gently place your composting worms on top of the bedding. You can also add a small amount of their food scraps (like a few coffee grounds or a bit of melon rind) on top of the bedding before adding the worms. They should start burrowing down within minutes.
- Add the Lid: Secure the lid. Ensure the aeration holes are not blocked.
- Initial Feeding: Wait for 2-3 days. This allows the worms to acclimate to their new

I am passionate about home engineering. I specialize in designing, installing, and maintaining heating, ventilation, and air conditioning systems. My goal is to help people stay comfortable in their homes all year long.