Ever thought about tiny, wriggly helpers for your kitchen scraps? It sounds a bit out there, but these little critters are composting champs! If you’re tired of tossing food waste or looking for a super-simple way to make fantastic fertilizer for your plants, you’ve landed in the right spot. Many people find composting a bit intimidating, but with the right guide, it’s totally doable. We’re going to break down how to get started with your own worm farm, making it easy and fun. Get ready to meet your new, low-maintenance pets!
Vermicomposting Pets: Your Genius Guide to Wiggly Wonders
Hey there, fellow home enthusiasts! Troy D Harn here from TopChooser, ready to demystify another awesome project for your home and garden. Today, we’re diving deep into the fascinating world of vermicomposting pets. Yep, you heard me right – worms! These little guys are nature’s ultimate recyclers, and setting up a worm farm is surprisingly simple, rewarding, and a fantastic way to reduce waste and create nutrient-rich compost for your plants. Forget those huge piles of rotting leaves; we’re talking about a compact, clean, and efficient composting system right in your home. Let’s get these wiggly wonders working for you!
What Exactly Are Vermicomposting Pets?
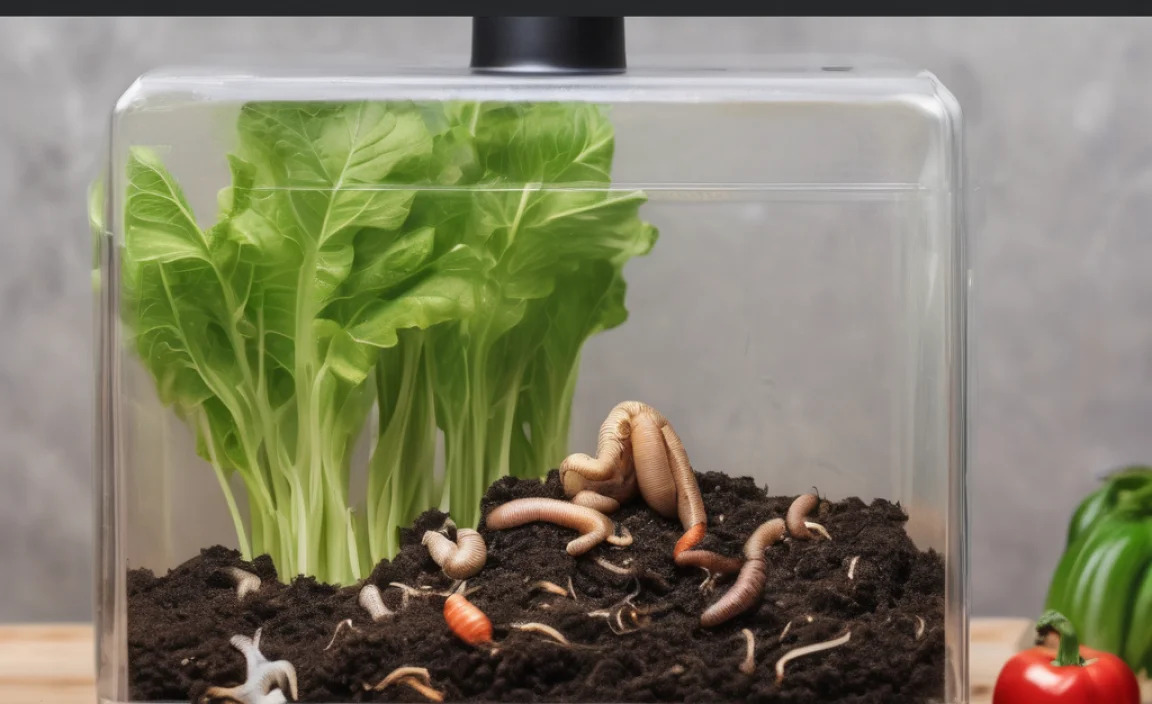
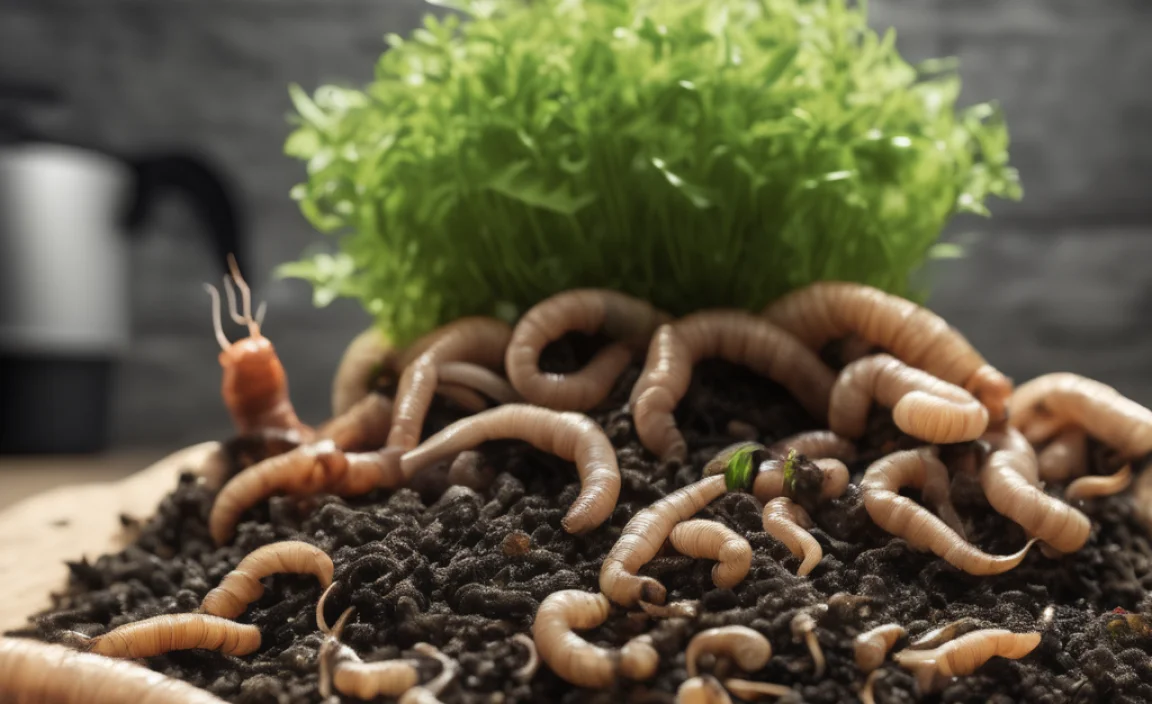
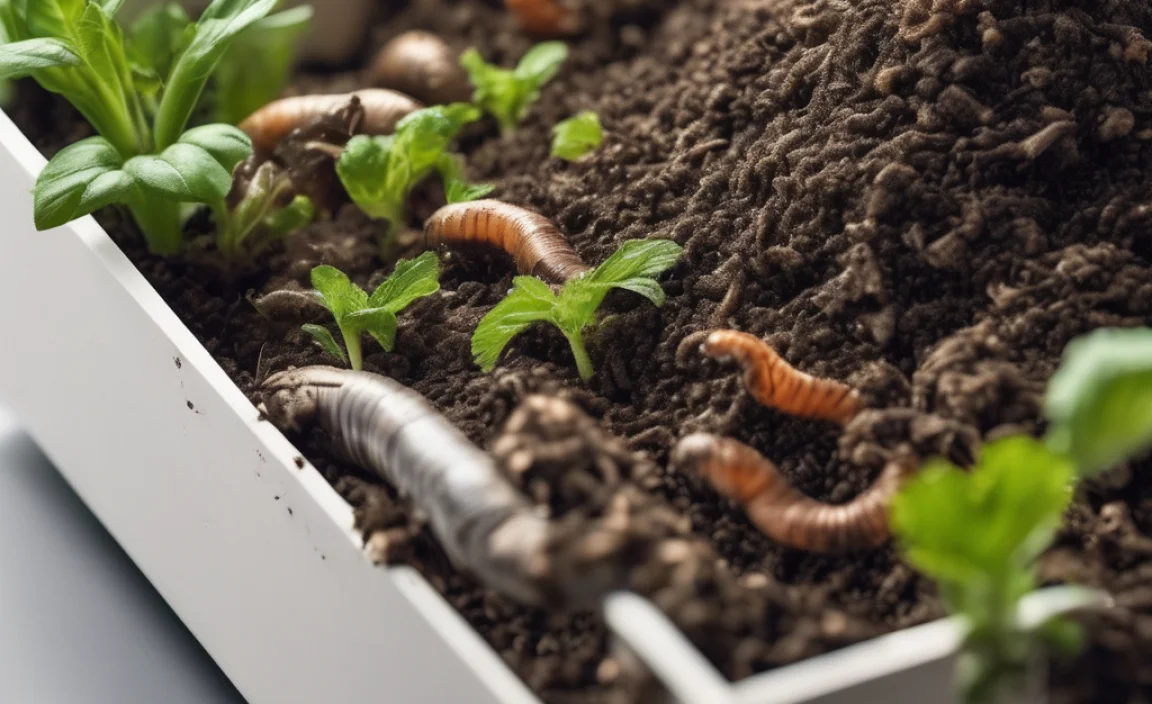
Think of vermicomposting pets as specially chosen earthworms that you keep in a bin to eat your food scraps. Unlike the earthworms you find in your garden, these are typically red wigglers (Eisenia fetida) or European nightcrawlers (Eisenia hortensis). They are efficient eaters and breeders, perfect for breaking down organic matter quickly. They don’t smell bad when managed correctly, and they turn your kitchen waste into valuable “worm castings,” which are a powerhouse fertilizer for your plants.
These aren’t your average nightcrawlers. Red wigglers thrive in decomposing material and are much more active and faster at composting than the worms that live deep in the soil. They’re the superstars of the worm composting world!
Why Vermicompost? The Big Wins
Bringing vermicomposting pets into your home offers a heap of benefits. It’s more than just a composting method; it’s a lifestyle choice that’s good for your wallet and the planet.
- Waste Reduction: A significant portion of household waste is organic material that can be composted. Vermicomposting diverts this from landfills, where it contributes to methane gas production.
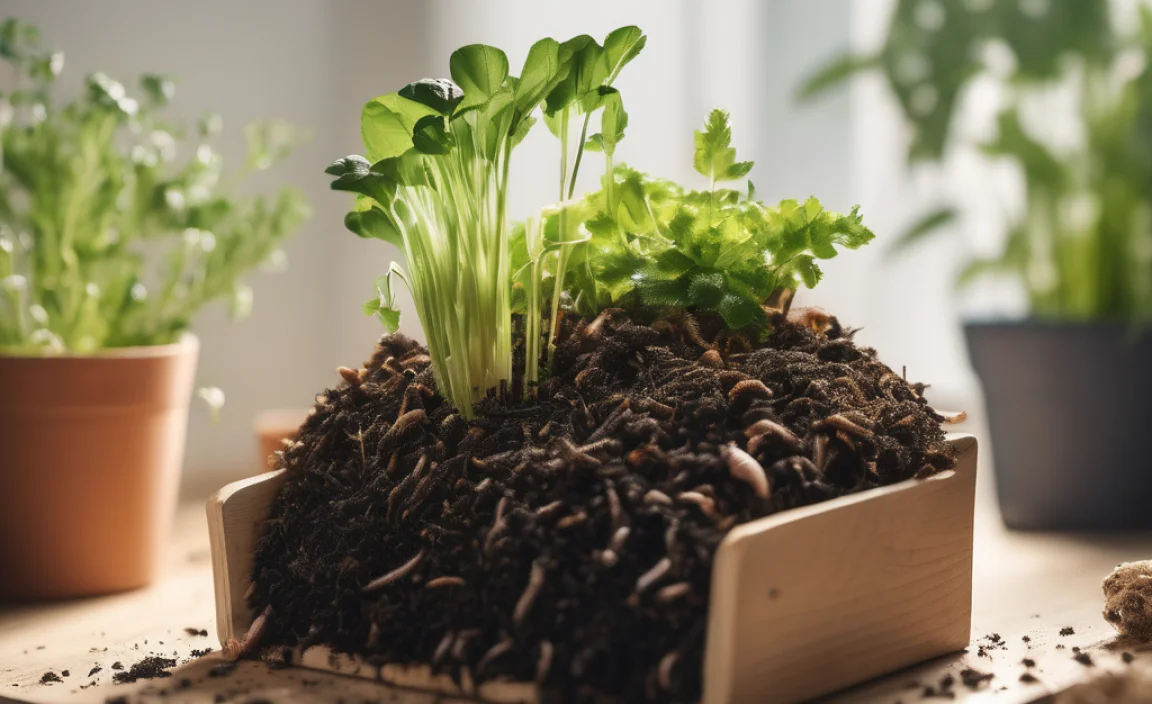
- Super Fertilizer: Worm castings are incredibly rich in nutrients and beneficial microbes. They improve soil structure, aeration, and water retention, leading to healthier, more vibrant plants.
- Easy & Clean Odor-Free: When set up and maintained properly, a worm bin has little to no odor. It’s a contained system, unlike outdoor compost piles that can sometimes attract pests or become messy.
- Space-Saving: A worm bin can be kept indoors or on a balcony, making it ideal for apartment dwellers or those with limited outdoor space.
- Educational & Fun: It’s a fantastic way to teach kids (and adults!) about decomposition, nutrient cycles, and sustainable living. Watching the worms work is quite fascinating!
- Cost-Effective: You’ll save money on fertilizer and potentially on waste disposal if your local municipality charges by volume.
Getting Started: Your Worm Composting Starter Pack
Setting up your worm farm is straightforward. You’ll need a few key components:
1. The Worm Bin: Your Worms’ Happy Home
Your worms need a place to live. You have a few options:
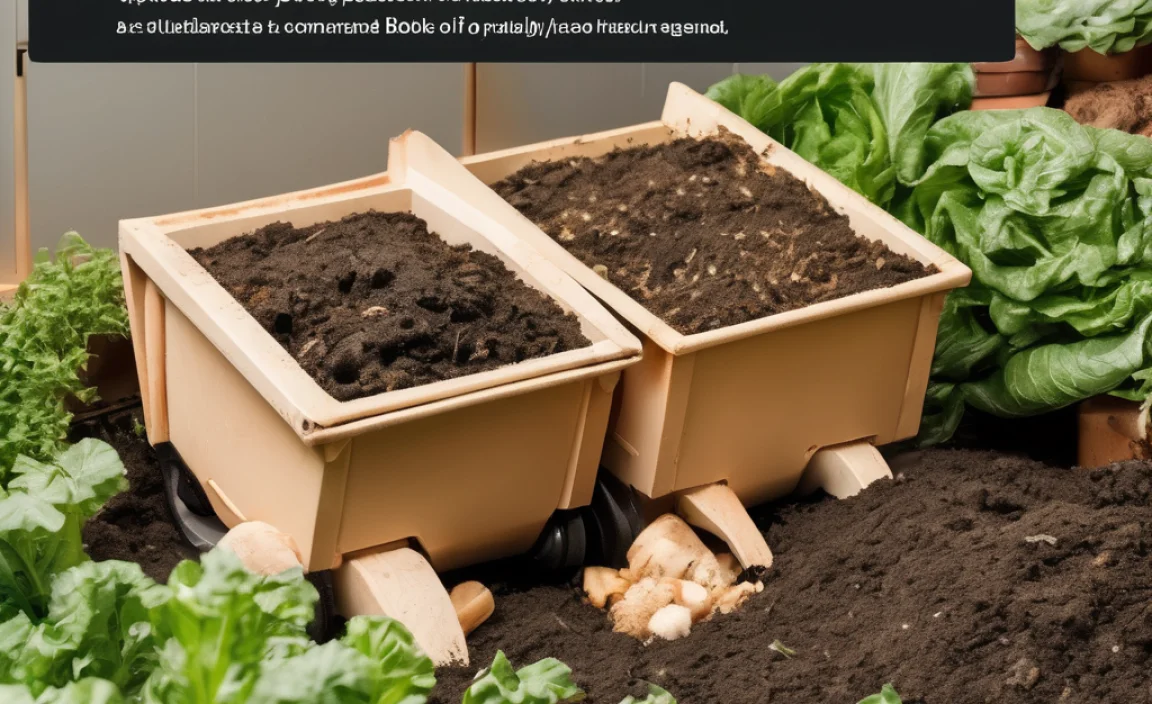
- DIY Bin: This is a budget-friendly option. You can repurpose plastic storage totes (like opaque ones, as worms prefer darkness). You’ll need two identical totes. Drill several small drainage holes in the bottom of one tote (this will be your working bin). Then, drill a few larger ventilation holes around the top edges of both totes. Place the working tote inside the other tote (which acts as a liquid catcher).
- Commercial Bins: There are many manufactured worm bins available online or at garden centers. These are often designed with built-in drainage and ventilation and can be more aesthetically pleasing.
Size Matters: For a typical household of 2-4 people, a bin around 10-20 gallons is usually sufficient.
2. Bedding: The Worms’ Cozy Nest
Worms need a moist, airy environment to live in. This bedding provides that. Good options include:
- Shredded Newspaper: Black and white printed newspaper is best. Avoid glossy or colored inks. Shred it into strips.
- Shredded Cardboard: Plain brown cardboard works well.
- Coconut Coir: This is a sustainable option made from coconut husks.
- Dried Leaves: Hardwood leaves (oak, maple) are excellent.
- Paper Egg Cartons: Torn into small pieces.
Preparation is Key: Moisten your bedding material until it’s damp but not soaking wet. It should feel like a wrung-out sponge. A good starting mix is often half shredded newspaper and half coconut coir, or a mix of shredded newspaper and shredded cardboard with some dried leaves.
3. Worms: The Stars of the Show
You need specific types of worms for vermicomposting. As mentioned, red wigglers (Eisenia fetida) are the most popular and readily available choice for beginners. You can purchase them online from reputable worm farms or sometimes from local bait shops or gardening supply stores. A common starting quantity is about 1 pound of worms.
Where to Buy Worms: Look for suppliers that specialize in composting worms. Websites like Uncle Jim’s Worm Farm or Worm Farming Revealed are good resources for finding reputable sellers and learning more. Always check reviews!
4. Food Scraps: The Worms’ Buffet
Your worms will eat most plant-based kitchen scraps. Here’s a general guide:
What to Feed:
- Fruit and vegetable peels and scraps
- Coffee grounds and filters
- Tea bags (remove staples)
- Crushed eggshells (helps with grit and calcium)
- Plain cooked pasta and rice (in moderation)
- Bread and grains (in moderation)
- Small amounts of yard waste like grass clippings or dead leaves
What to Avoid:
- Meat, fish, and dairy products (can attract pests and create odors)
- Oily or greasy foods
- Spicy foods
- Citrus peels (in large quantities, as they can be too acidic)
- Onion and garlic peels (in large quantities)
- Diseased plants
- Pet waste
Preparation: Chop or blend larger scraps into smaller pieces. This increases the surface area and allows the worms to process them faster.
Step-by-Step: Setting Up Your Worm Bin
Ready to get your hands dirty (well, sort of)? Follow these simple steps:
- Prepare the Bin: If you’re using a DIY bin made from storage totes, ensure the working tote has drainage holes in the bottom and the second tote is ready to catch any leachate (worm tea). Place the working bin inside the collection bin. If using a commercial bin, follow its specific setup instructions.
- Add the Bedding: Fluff up your chosen bedding material (e.g., shredded newspaper, coconut coir, leaves). Moisten it thoroughly until it feels like a wrung-out sponge. Fill the working bin about halfway to two-thirds full with this moist bedding.
- Introduce the Worms: Gently place your purchased worms on top of the bedding. Leave the lid off for about 30 minutes. The worms will naturally burrow down into the darker, moist bedding, leaving behind any unsuitable material. This is a good way to ensure you’re starting with a healthy population.
- Start Feeding: After the worms have settled in for a day or two, you can start feeding them. Bury a small amount of food scraps under the bedding in one corner of the bin. This helps prevent odors and attracts the worms to the food.
- Add Food Scraps Gradually: Don’t overfeed! Start with a small amount of food. You want to feed them about half their weight in food scraps per day, but it’s better to start slow. Only add more food when the previous amount has been mostly consumed.
- Maintain Moisture: Check the moisture level of the bedding regularly. It should always feel like a damp sponge. If it’s too dry, mist it with water. If it’s too wet, add more dry bedding material. Adequate airflow is crucial to prevent sogginess.
- Keep it Dark: Worms are nocturnal and prefer darkness. Keep the bin lid on, ensuring it has ventilation holes. If placing the bin in a bright area, consider covering it with a dark cloth.
- Temperature Control: Red wigglers thrive in temperatures between 55°F and 77°F (13°C to 25°C). Avoid placing the bin in direct sunlight or near extreme heat or cold sources.
Your Worms’ Diet: What and How Much?
Feeding your vermicomposting pets is one of the most engaging parts of the process. Remember, they are obligate aerobic organisms, meaning they need oxygen. Proper feeding and bin management ensure they have a healthy environment.
What to Feed Your Worms
Think of your worm bin as a gourmet compost kitchen! Most plant-based kitchen scraps are fair game.
- Vegetable Scraps: Carrot tops, lettuce leaves, potato peels, broccoli stems, cucumber ends.
- Fruit Scraps: Apple cores, banana peels, melon rinds, berries.
- Coffee Grounds & Tea Bags: A favorite for many worms!
- Eggshells: Washed and crushed finely to aid digestion and provide grit.
- Grains & Starches: Small amounts of cooked pasta, rice, oats, or bread.
- Yard Trimmings: Grass clippings (in thin layers), non-woody plant trimmings.
What to AVOID Feeding Your Worms
These items can harm your worms, create odors, or attract pests.
- Meat and Dairy: These decompose anaerobically, leading to foul smells and attracting unwanted creatures.
- Oily & Greasy Foods: Can create anaerobic conditions and deter worms.
- Citrus and Onions (in large quantities): Their acidity can upset the bin’s pH. Small amounts are usually fine.
- Spicy foods
- Diseased Plants
- Pet Waste
How Much to Feed
A good rule of thumb is that worms can eat about half their weight in food scraps per day. So, if you have 1 pound of worms, they can process about ½ pound of food scraps daily. However, it’s always better to start slowly.
- Start Small: When you first introduce your worms, feed them sparingly for the first week or two to let them acclimate.
- Observe: Watch for uneaten food. If food is piling up, you’re feeding too much. If it’s disappearing quickly, you can increase the amount slightly.
- Bury Food: Always bury food scraps under the bedding. This prevents odors and potential fruit flies.
- Variety is Key: Offer a diverse diet to ensure your worms get all the necessary nutrients and minerals.
Managing Your Worm Bin: Troubleshooting & Tips
Even with the best intentions, you might encounter a few common issues. Here’s how to handle them:
Common Worm Bin Problems and Solutions
| Problem | Cause | Solution |
|---|---|---|
| Bad Odor | Overfeeding, bin is too wet, not enough air, wrong food types (meat/dairy). | Stop feeding for a few days. Add dry bedding (like shredded newspaper or peat moss) to absorb moisture. Gently fluff the bedding to improve aeration. Ensure you are not adding forbidden foods. |
| Fruit Flies or Gnats | Food scraps exposed on the surface, bin is too wet. | Bury all food scraps deeper into the bedding. Ensure the bedding is not too wet – add dry bedding if needed. A thin layer of sand or coffee grounds on top of the bedding can help deter them. |
| Worms Trying to Escape | Bin is too wet, too dry, wrong pH (too acidic or alkaline), lack of air, or they are too hungry. | Check moisture levels and adjust. Ensure good ventilation. Add a sprinkle of crushed eggshells or a bit of garden lime to balance pH if it seems acidic. Make sure they have enough food and adequate bedding. |
| Slow Composting | Temperature too cold, lack of food, or too many worms for the amount of food. | Ensure the bin is in a suitable temperature range. Gradually increase the amount of food if it’s consistently disappearing quickly and the bin isn’t too wet. |
Tips for Success
- Start with a good amount of bedding: It acts as a buffer to absorb moisture and odors.
- Chop your food scraps: Smaller pieces break down faster.
- Don’t disturb the worms too much: They are sensitive creatures.
- Harvest regularly: Remove the finished compost (worm castings) to keep the system balanced and to get your valuable fertilizer.
- Happy worms are busy worms: If they’re actively working, you’re doing great!
Harvesting Your Worm Castings: The Black Gold
After a few months, you’ll start seeing dark, crumbly material – that’s your worm castings, or “worm poop!” It’s a fantastic, nutrient-rich fertilizer. Here’s how to harvest:
Methods for Harvesting
- The Migration Method: Stop feeding one side of the bin for a few weeks. Add fresh food scraps to the other side only. The worms will migrate to the fresh food, leaving the finished compost behind. You can then scoop out the castings from the side that’s no longer being fed.
- The Light Method: Dump the contents of your worm bin onto a tarp or plastic sheet under a bright light. Worms will burrow away from the light. Scoop off the top layer of castings, and the worms will move down. Continue this until you reach the concentrated worm layer.
- The Sifting Method: You can use a kitchen sieve or a specialized worm casting sifter to separate the castings from any larger uncomposted material or any straggler worms.
Using Your Castings:
- Soil Amendment: Mix castings into your potting soil or garden beds at a rate of about 1:4 (one part castings to four parts soil).
- Top Dressing: Sprinkle a thin layer around plants, being careful not to pile it directly against stems.
- Compost Tea: Steep castings in water for 24-48 hours to create a liquid fertilizer. Make sure to aerate it! You can learn more about making compost tea at resources like the ATTRA website, which offers great organic farming resources.
What About Leachate? (Worm Tea)
The liquid that drains from the bottom of your worm bin is called leachate, often referred to as “worm tea.” This liquid can be beneficial, but it’s important to manage it correctly. If your bin is consistently draining a lot of liquid, it might be too wet. The leachate can be diluted (1 part leachate to 10 parts water) and used as a liquid fertilizer, but always ensure it doesn’t smell foul, as that indicates anaerobic decomposition.
For a truly fantastic, microbe-rich liquid fertilizer, many people brew a specific type of compost tea (different from the leachate). Resources on brewing actively aerated compost tea (AACT) can be found from organizations like the U.S. Environmental Protection Agency (while this link is about water conservation, EPA and related government sites often have links to agricultural resources and best practices for composting and soil health). Always ensure good aeration if making brewed compost tea to avoid anaerobic conditions. Pure leachate should be used sparingly and with caution.
The Lifespan of Your Vermicomposting Pets
Red wigglers are prolific breeders. Under ideal conditions, a pound of composting worms can double in population within a few months. They typically live for 1-2 years. Providing them with a healthy environment and a consistent food source will ensure they thrive and reproduce, meaning your worm farm can be a long-term composting solution.
When your bin becomes densely populated, it’s a sign that you are successfully managing your worm farm and they are happy! Remember, your primary goal is efficient composting, and a healthy, reproducing worm population is key to that.
Go Forth and Compost!
There you have it! Your simple, genius guide to setting up and maintaining your very own vermicomposting pets. It might seem a little strange at first, picturing worms as pets, but they are incredibly efficient and low-maintenance workers that will reward you with fantastic compost. You’ll be reducing waste, nourishing your plants, and connecting with nature right in your home.
Don’t be shy about getting started. Remember, practice makes perfect, and the world of vermicomposting is forgiving. So gather your supplies, get those red wigglers, and let the composting magic begin. Happy worm farming!
Frequently Asked Questions About Vermicomposting Pets
Q1: Do vermicomposting worms smell?
A1: When managed correctly, a worm bin should not smell bad. Any odor usually indicates that the bin is too wet, overfed, or contains prohibited items like meat or dairy. Proper aeration and balanced feeding are key to an odor-free system.
Q2: How often should I feed my worms?
A2: Start by feeding sparingly and observe. Once you see food disappearing within a day or two, you can feed about as much as half the worm population’s weight daily. It’s always better to underfeed than overfeed.
Q3: Can I put any food scraps in the worm bin?
A3: You should feed your worms primarily fruit and vegetable scraps, coffee grounds, tea bags, and eggshells. Avoid meat, dairy, oily foods, and spicy items, as these can create odors, attract pests, or harm the worms.
Q4: How do I know if my worms are happy?
A4: Happy worms are active, burrowing into the bedding and consuming food. If they are trying to escape, if the bin smells foul, or if they are lethargic, it’s a sign of a problem that needs addressing.
Q5: How long does it take to get worm castings?
A5: It typically takes 2-4 months to harvest your first batch of worm castings. This depends on factors like the worm population, feeding rate, and ambient temperature.
Q6: What is “worm tea” and how do I use it?
A6: Leachate, often called worm tea, is the liquid that drains from the bin. It can be diluted (1:10 with water) and used as a fertilizer. However, it’s best to ensure your bin isn’t excessively wet, as too much leachate can indicate anaerobic conditions. Truly brewed compost tea is a different, more potent liquid fertilizer.
.lwrp.link-whisper-related-posts{
margin-top: 40px;
margin-bottom: 30px;
}
.lwrp .lwrp-title{
}.lwrp .lwrp-description{
}
.lwrp .lwrp-list-container{
}
.lwrp .lwrp-list-multi-container{
display: flex;
}
.lwrp .lwrp-list-double{
width: 48%;
}
.lwrp .lwrp-list-triple{
width: 32%;
}
.lwrp .lwrp-list-row-container{
display: flex;
justify-content: space-between;
}
.lwrp .lwrp-list-row-container .lwrp-list-item{
width: calc(25% – 20px);
}
.lwrp .lwrp-list-item:not(.lwrp-no-posts-message-item){
max-width: 150px;
}
.lwrp .lwrp-list-item img{
max-width: 100%;
height: auto;
object-fit: cover;
aspect-ratio: 1 / 1;
}
.lwrp .lwrp-list-item.lwrp-empty-list-item{
background: initial !important;
}
.lwrp .lwrp-list-item .lwrp-list-link .lwrp-list-link-title-text,
.lwrp .lwrp-list-item .lwrp-list-no-posts-message{
}@media screen and (max-width: 480px) {
.lwrp.link-whisper-related-posts{
}
.lwrp .lwrp-title{
}.lwrp .lwrp-description{
}
.lwrp .lwrp-list-multi-container{
flex-direction: column;
}
.lwrp .lwrp-list-multi-container ul.lwrp-list{
margin-top: 0px;
margin-bottom: 0px;
padding-top: 0px;
padding-bottom: 0px;
}
.lwrp .lwrp-list-double,
.lwrp .lwrp-list-triple{
width: 100%;
}
.lwrp .lwrp-list-row-container{
justify-content: initial;
flex-direction: column;
}
.lwrp .lwrp-list-row-container .lwrp-list-item{
width: 100%;
}
.lwrp .lwrp-list-item:not(.lwrp-no-posts-message-item){
max-width: initial;
}
.lwrp .lwrp-list-item .lwrp-list-link .lwrp-list-link-title-text,
.lwrp .lwrp-list-item .lwrp-list-no-posts-message{
};
}
Related Posts

I am passionate about home engineering. I specialize in designing, installing, and maintaining heating, ventilation, and air conditioning systems. My goal is to help people stay comfortable in their homes all year long.