Hey there! Want to turn your kitchen scraps into garden gold? Vermicomposting, using worms to create amazing compost, might sound complicated, but it’s actually super doable, even in a small urban space. If you’ve ever felt guilty throwing away food scraps or wished your plants had supercharged food, you’re in the right place. I’m Troy and I’m here to walk you through exactly how to get started. We’ll break it down step-by-step so you can be a worm wrangler in no time!
Your Urban Worm Farm Awaits: An Easy Guide to Vermicomposting

Living in the city doesn’t mean you have to miss out on the magic of composting. Vermicomposting, or worm composting, is a fantastic way to recycle food waste and create nutrient-rich compost for your houseplants, balcony garden, or even a community plot. It’s efficient, odorless when done right, and surprisingly simple to set up.
Think of it as a tiny, industrious team of composting superheroes living in a bin. These aren’t just any earthworms; we’re talking about special composting worms that are voracious eaters and brilliant at breaking down organic matter. By the end of this guide, you’ll know exactly what you need, how to set it up, and how to keep your wormy friends happy and productive.
Why Vermicompost in the City?
Urban living often comes with limited space, but that doesn’t stop you from practicing sustainable living. Here’s why vermicomposting is perfect for city dwellers:
- Space-Saving: Worm bins can be compact and fit on a balcony, under a sink, or even indoors.
- Reduces Waste: Divert food scraps from landfills, cutting down on methane gas emissions.
- Super Soil Food: Vermicompost, also called worm castings, is packed with nutrients, improving soil structure and plant health.
- Odor-Free (Usually!): When managed correctly, a worm bin doesn’t smell bad.
- Educational and Fun: It’s a great way to connect with nature and learn about the composting cycle.
What Exactly is Vermicomposting?
Vermicomposting is the process of using specific types of worms, like Red Wigglers (EPA – Composting at Home), to break down organic kitchen waste. These worms eat the food scraps and bedding material, and excrete nutrient-rich worm castings. This “black gold” is an incredible natural fertilizer for your plants.
Getting Started: Your Urban Vermicomposting Toolkit
To start your urban worm farm, you’ll need a few basic items. Don’t worry, it’s not expensive or complicated!
1. The Worm Bin
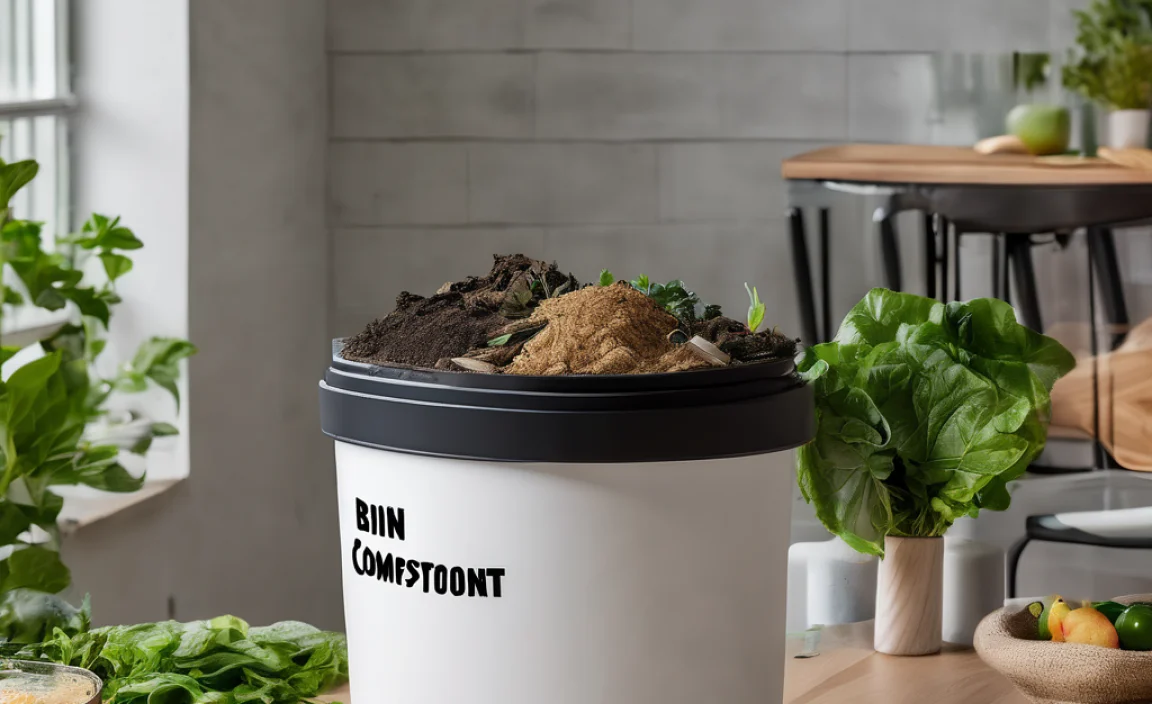
This is where your worms will live. For urban settings, smaller, enclosed bins are ideal. You have a few good options:
- DIY Plastic Bin: This is the most budget-friendly option. You can convert a plastic storage tote. Look for bins that are opaque (light can stress the worms) and have a lid.
- Commercial Worm Bin: These are designed specifically for vermicomposting and often come with multiple trays for easier harvesting. They can be a bit pricier but are very convenient.
- Worm Bag: These are fabric bags, great for very small spaces. They are breathable and can be hung or stored easily.
Important Bin Features:
- Drainage: Worms require moisture, but not sogginess. Your bin needs a way for excess liquid (worm tea) to drain out.
- Aeration: Worms need air! Drill some small holes in the sides and lid for ventilation. Avoid large holes that pests could enter.
- Size: A 10-20 gallon bin is a good starting point for a typical household’s kitchen scraps.
2. The Composting Worms
You can’t just grab any worm from your garden! You need specific types that thrive in a bin environment. The most common and best for beginners are:
- Red Wigglers (Eisenia fetida): These are the workhorses of the worm composting world. They are very active, reproduce quickly, and are excellent at breaking down organic matter.
- European Nightcrawlers (Eisenia hortensis): Also good composters, they are a bit larger than Red Wigglers.
You can purchase composting worms online from reputable worm farms or sometimes find them at local garden centers. A common starting amount is 1/2 to 1 pound of worms.
3. Bedding Material
Worms need a cozy home to live in besides their food. This bedding provides moisture, air, and something for them to burrow in. Excellent bedding materials include:
- Shredded Newspaper: Black and white print is best. Avoid glossy paper. Shredding it into strips about 1/2 inch wide works well.
- Shredded Cardboard: Similar to newspaper, ensure it’s plain brown cardboard without excessive tape or labels.
- Coconut Coir: A sustainable and readily available option.
- Shredded Leaves: Dried leaves that have been shredded are also good.
You’ll need enough bedding to fill about 1/3 to 1/2 of your bin.
4. Food Scraps
This is what your worms will eat! They love a varied diet. Good “worm food” includes:
- Fruit and vegetable scraps (apple cores, banana peels, carrot tops, leafy greens)
- Coffee grounds and filters
- Tea bags (remove any staples or plastic tags)
- Crushed eggshells (helps with grit and calcium)
- Plain, cooked pasta or rice (in moderation)
What to Avoid:
- Meat, fish, and dairy products (can attract pests and cause odors)
- Oily or greasy foods
- Spicy foods
- Citrus peels (in large quantities, as they are acidic)
- Onions and garlic (can be irritating to worms in large amounts)
- Diseased plant matter
Remember to chop up larger food scraps into smaller pieces. This helps the worms and microbes break them down faster.
Setting Up Your Urban Worm Bin: Step-by-Step
Follow these simple steps to create a welcoming home for your composting worms.
Step 1: Prepare Your Bin
If you’re using a DIY plastic bin, drill several small holes (about 1/8 to 1/4 inch) in the bottom for drainage and in the sides and lid for aeration. If using a commercial bin, follow the manufacturer’s instructions.
Step 2: Moisten the Bedding
Take your chosen bedding material (shredded newspaper, coir, etc.) and soak it in water until it’s damp, but not soaking wet. It should feel like a wrung-out sponge. Squeeze out any excess water.
Step 3: Add Bedding to the Bin
Fluff up the damp bedding and add it to your bin, filling it about 1/3 to 1/2 full. If you’re using a bin with multiple trays, prepare the bottom-most tray.
Step 4: Add Your Worms
Gently place your composting worms onto the surface of the bedding. Leave the lid off for about 30 minutes to an hour. The worms will naturally burrow down into the bedding, away from the light. This is a good sign they feel safe!
Step 5: Introduce Food (Sparingly at First!)
Dig a small hole or trench in one corner of the bin and bury a small amount of food scraps. This helps prevent odors and attracts the worms to that area. Don’t overfeed them initially; let them get used to their new home.
Step 6: Close It Up
Place the lid back on the bin. Ensure it’s secure but still allows for airflow. If your bin is indoors, you might want to place a tray or mat underneath to catch any potential drips.
Maintaining Your Happy Worm Habitat
Keeping your worms content and productive is all aboutbalance. Here’s what to focus on:
1. Feeding
Start by feeding your worms every few days. Observe how quickly they eat the food. Once they’re consistently finishing their food within 2-3 days, you can increase the amount you feed them. Bury fresh scraps in a different spot each time, rotating through the bin. This encourages them to process the entire bin.
How Much to Feed: A general rule of thumb is that a pound of worms can eat about 1/2 to 1 pound of food scraps per day. Start slow and adjust as you see how fast they consume the food.
2. Moisture Level
Your worm bin should be consistently moist, like a damp sponge. If it’s too dry, worms can dehydrate. If it’s too wet, it can become anaerobic and smelly, and the worms can drown or suffocate. You can add more damp bedding if it’s too dry, or add more dry bedding and aeration (stirring gently) if it’s too wet.
3. Temperature
Composting worms prefer moderate temperatures, generally between 55-77°F (13-25°C). If your bin gets too hot or too cold, the worms can die or become inactive. For indoor bins, this usually isn’t a major issue. For outdoor bins in extreme climates, you might need to insulate the bin or move it to a more temperate location.
4. Aeration
Worms need oxygen! Gently fluff the bedding every week or two with a garden fork or your hands. This helps with airflow and prevents compaction.
5. Harvesting Worm Castings
This is the rewarding part! You’ll know it’s time to harvest when you see a lot of dark, fluffy material (worm castings) and very few recognizable food scraps. There are several methods to harvest:
- The Migration Method: Stop adding food to one side of the bin. Place fresh bedding and food on the opposite side. The worms will migrate to the new food source, leaving the other side with mostly castings. You can then scoop out the castings.
- The Light Method: Dump the bin contents onto a tarp or plastic sheet under bright light. The worms will burrow away from the light. You can then scrape off the top layer of castings, and the worms will concentrate in the lower layers, making them easier to separate.
- Sifting: Use a sieve or screen to separate the castings from any larger, uncomposted materials.
Worm castings are generally safe to handle and can be used immediately. You can add them directly to your potted plants, mix them into potting soil, or create a compost tea.
Troubleshooting Common Vermicomposting Issues
Even with the best intentions, you might run into a few hiccups. Here are common problems and how to fix them:
| Problem | Cause | Solution |
|---|---|---|
| Foul Odors (Ammonia or Rotting Smell) | Overfeeding, lack of aeration, bin too wet. | Stop feeding for a few days. Gently aerate the bedding. Add dry bedding material (shredded newspaper, coir) to absorb excess moisture. Ensure good ventilation. |
| Fruit Flies or Gnats | Exposed food scraps on the surface, bin too wet. | Bury food scraps fully under the bedding. Reduce moisture by adding dry bedding or allowing more airflow. You can also try adding a layer of shredded newspaper on top of the bedding. |
| Worms Trying to Escape | Bin is too wet, too dry, too acidic, has poor ventilation, or a sudden change in environment. | Check moisture (should be like a wrung-out sponge). Add dry or damp bedding as needed. Ensure good aeration. Make sure food scraps are not too acidic (avoid too much citrus). If introducing new worms, give them time to adjust. |
| Worms Not Eating Food | Too much food at once, temperature too hot or cold, new bin settling in. | Reduce the amount of food. Check and adjust bin temperature. Leave the bin alone for another week or so for the worms to acclimate if it’s new. |
| Excess Liquid (Leachate) | Bin is too wet, too much moisture from food. | Add dry bedding material to absorb excess moisture. Ensure drainage holes are not blocked. If the liquid is dark and smelly, it might indicate anaerobic conditions; aerate the bin. Collect and dilute this liquid if it’s clean “worm tea,” or drain it if it’s just holding anaerobic conditions. |
Using Your Harvested Worm Castings
You’ve done it! You’ve created amazing worm castings. They are a powerhouse for your plants. Here’s how to use them:
- Potting Mix Amendment: Mix worm castings into your potting soil at a ratio of 1 part castings to 4-10 parts soil. This enriches the soil and improves its structure.
- Top Dressing: Sprinkle a thin layer of castings around the base of your houseplants or garden plants. The nutrients will slowly release as you water.
- Compost Tea: Steep worm castings in water for 12-24 hours (aerated or non-aerated) to create a liquid fertilizer. Dilute this tea with more water (often a 1:10 ratio) and use it to water your plants. This is a fantastic foliar spray.
Remember, worm castings are gentle. Unlike synthetic fertilizers, it’s hard to over-fertilize your plants with them. They won’t burn your plants’ roots.
Quick Summary of Urban Vermicomposting Essentials
Here’s a quick rundown of the key things you need and do for successful urban vermicomposting:
- Bin: Opaque, ventilated, with drainage (DIY tote or commercial).
- Worms: Red Wigglers or European Nightcrawlers (about 1/2 to 1 lb to start).
- Bedding: Shredded newspaper, cardboard, or coir, dampened like a sponge.
- Food: Fruit and veggie scraps, coffee grounds, tea bags, eggshells (avoid meat, dairy, oils).
- Maintenance: Keep moist (damp sponge), aerate regularly, feed moderately, maintain temperature (55-77°F / 13-25°C).
- Harvest: When bin is mostly castings, use migration or light method.
FAQs on Urban Vermicomposting
Q1: How many worms do I need to start?
A1: A common starting point is about 1/2 pound to 1 pound of composting worms (like Red Wigglers). This is enough to handle a decent amount of kitchen scraps for a typical household.
Q2: Can I put my worm bin inside my apartment?
A2: Absolutely! Many urban dwellers keep their worm bins indoors, often under the sink, in a closet, or on a balcony. As long as you manage moisture and avoid overfeeding, it should be odorless and pest-free.
Q3: How often do I need to feed my worms?
A3: Start by feeding every few days. Once your worm population grows and they become more efficient, you’ll find they can eat more, and you might feed them once or twice a week, depending on how much you produce.
Q4: What happens to the liquid that drains from the bin? Is it safe for plants?
A4: This liquid is often called “worm tea” or leachate. If the bin is healthy and not too wet or anaerobic, it’s nutrient-rich. However, it’s best to dilute it with water (about 1 part tea to 10 parts water) before using it on your plants. If it smells foul, it might be best to drain it without using it.
Q5: What do I do if I have too many fruit flies?
A5: Fruit flies are usually attracted to exposed food scraps or a bin that is too wet. Make sure all food is buried completely under the bedding, and consider adding more dry bedding material (like shredded newspaper) to absorb excess moisture. A piece of mesh taped over ventilation holes can also help keep them out.
Q6: How long does it take to get useful compost?
A6: It can take anywhere from 2-6 months to harvest your first batch

I am passionate about home engineering. I specialize in designing, installing, and maintaining heating, ventilation, and air conditioning systems. My goal is to help people stay comfortable in their homes all year long.


