Ever looked at your kitchen scraps and garden waste and thought, “There has to be an easier way to turn this into black gold for my plants?” You’re not alone! Many folks find traditional composting a bit… well, messy and time-consuming. But what if I told you there’s a cleaner, quicker, and surprisingly simple way? That’s where in-vessel composting comes in. It’s a game-changer for busy people who want rich compost without the usual fuss. Stick around, and I’ll walk you through some genius tips to make your in-vessel composting practically effortless.
In-Vessel Composting Tips: Genius & Effortless
Hey everyone, Troy D Harn here from TopChooser! If you’re new to the composting world or just looking for a less hands-on approach, you’ve landed in the right spot. We’re diving deep into the wonderful world of in-vessel composting. Think of it as supercharged composting that happens neatly inside a container. No turning piles, no worrying about critters, just beautiful, nutrient-rich compost. We’ll cover the basics, share some clever tricks, and make sure you feel totally confident getting started. Let’s get this compost party started!
What Exactly is In-Vessel Composting?
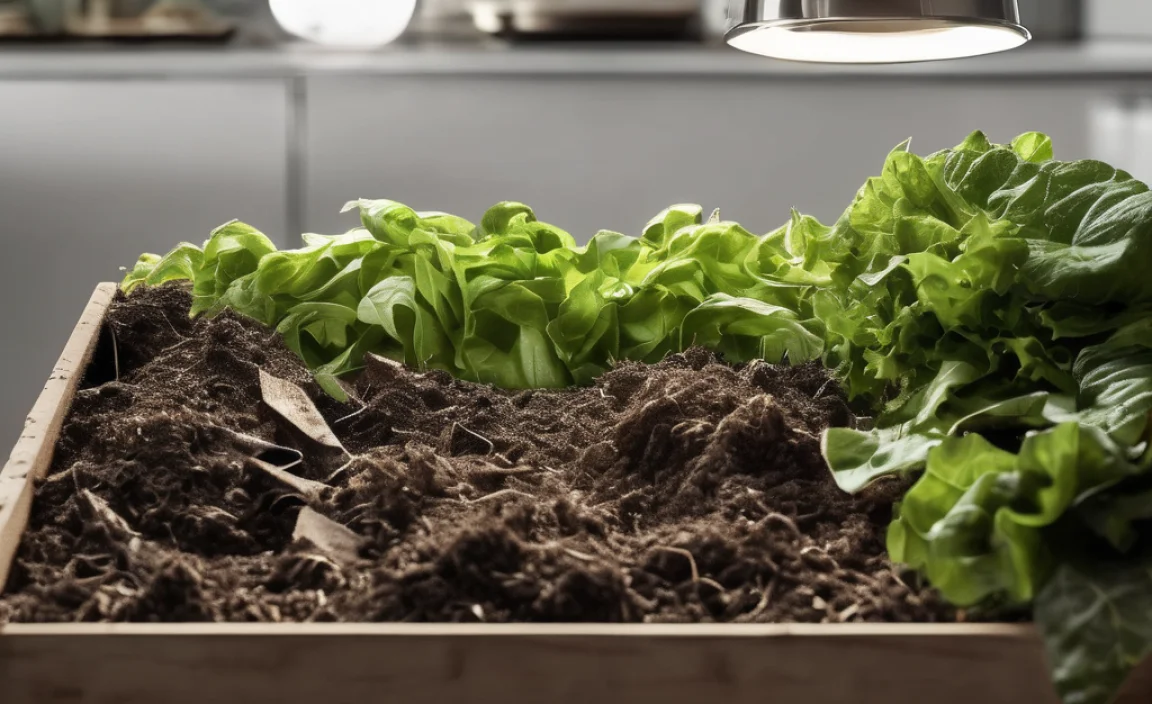
Simply put, in-vessel composting means you do your composting inside a contained system. This could be a tumbler, a stationary bin with a lid, or even a DIY setup. The main idea is that everything stays contained, which helps control moisture, heat, and airflow much more effectively than an open pile. This controlled environment speeds up the decomposition process and keeps things tidy.
Why is this a big deal for many of us? Well, traditional open-air composting, while effective, can be a bit of an eyesore, can attract unwanted guests like rodents, and requires regular turning to aerate. In-vessel systems often mitigate these issues, making composting a more attractive option for urban dwellers, those with smaller yards, or anyone who prefers a cleaner look.
Why Choose In-Vessel Composting? The Big Wins
Before we jump into the tips, let’s quickly chat about why this method is so awesome:
- Speed: Because the conditions are controlled, decomposition often happens faster than in open piles.
- Cleanliness: Everything is contained, so it’s neater and less likely to attract pests.
- Odor Control: A well-managed in-vessel system typically has fewer odors.
- Simplicity: Many systems, especially tumblers, make aeration and mixing easier.
- Space-Saving: They are perfect for smaller yards or even balconies.
- Weed Seed & Pathogen Control: The higher, more consistent temperatures in some systems can help kill weed seeds and pathogens. This is a significant benefit for creating safe compost for your vegetable gardens. According to the EPA, proper composting can reach temperatures high enough to kill most weed seeds and disease-carrying organisms.
Essential In-Vessel Composting Tips for Beginners
Alright, let’s get down to business. Here are the key things you need to know to make your in-vessel composting journey a success.
1. Choosing Your Vessel: The Foundation
This is your first big decision. There are several popular types:
- Compost Tumblers: These are enclosed drums that you can rotate. They are great for aeration and mixing. You load materials, let them break down for a while, then add new materials to another section or wait until the batch is finished. They come in single or dual-chamber models.
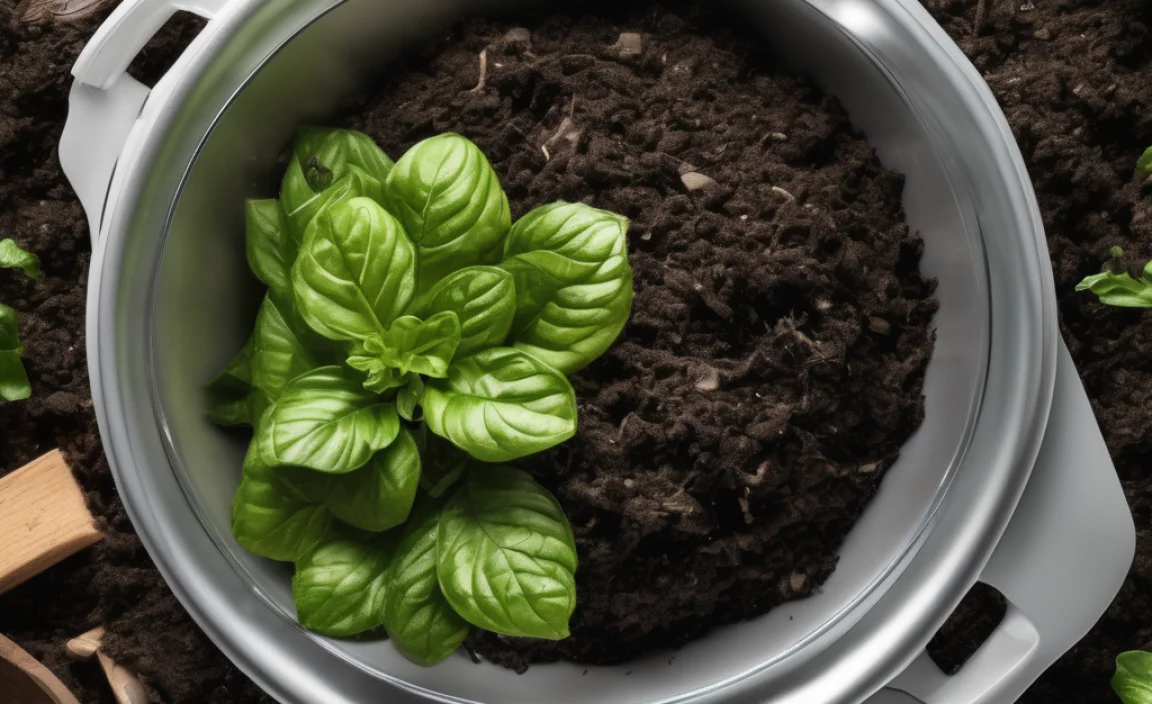
- Stationary Bins: These are enclosed bins that sit in one place. You typically add materials from the top and harvest compost from a door at the bottom. Some have built-in ventilation.
- Worm Bins (Vermicomposting): While technically a form of in-vessel composting, it uses worms to break down food scraps. This is a fantastic option for apartment dwellers and produces very high-quality compost (worm castings). This guide focuses more on the thermophilic (heat-generating) composting in tumblers or bins.
Tips for Choosing:
- Size: Consider how much waste you produce. A dual-chamber tumbler is great if you want a continuous supply of compost.
- Ease of Use: Tumblers are generally easy to turn. Bin doors for harvesting can be convenient.
- Durability: Look for sturdy materials that can withstand the elements.
- Budget: Prices vary widely. DIY bins can be the most affordable.
2. The Magic Ratio: Greens & Browns
This is the golden rule of composting, no matter the method. You need a good balance of nitrogen-rich “greens” and carbon-rich “browns.” Think of it like feeding your compost pile the right kind of fuel.
-
Greens (Nitrogen-rich): These are typically wet materials that provide the nitrogen needed for the microorganisms to multiply.
- Fruit and vegetable scraps
- Coffee grounds and tea bags
- Grass clippings (in moderation)
- Plant trimmings (fresh, non-diseased)
- Manure from herbivores (chicken, rabbit, cow, horse – important to note manure aging for some types of composting, but generally safe for in-vessel if from healthy animals)
-
Browns (Carbon-rich): These are typically dry materials that provide the carbon for energy and help with structure and airflow.
- Dry leaves
- Shredded cardboard or newspaper (avoid glossy paper)
- Straw or hay
- Wood chips or sawdust (in small amounts)
- Twigs and small branches
- Paper egg cartons
The Goal: A common recommendation is a ratio of about 2 parts Browns to 1 part Greens by volume. This isn’t an exact science, and you’ll learn to eyeball it. Too many greens can make your compost wet and smelly. Too many browns can slow down the process.
Effortless Tip: Keep a stash of browns (like a bag of dry leaves or shredded cardboard) near your compost bin. When you add kitchen scraps (greens), immediately add some browns to keep the ratio balanced and the smell down.
Here’s a quick chart to help:
| Category | Examples | Role |
|---|---|---|
| Greens (Nitrogen) | Fruit/Veggie Scraps, Coffee Grounds, Grass Clippings, Fresh Plant Trimmings | Provides nitrogen for microbial growth, adds moisture |
| Browns (Carbon) | Dry Leaves, Shredded Cardboard/Paper, Straw, Sawdust | Provides carbon for energy, adds bulk for airflow |
3. Chop It Up! Smaller is Better
Think of it this way: tiny pieces mean more surface area for the hungry microbes to munch on. It’s like serving a buffet with everything pre-cut!
Effortless Tip: When you’re adding kitchen scraps, give them a quick chop with a knife before tossing them in. For larger garden waste, shredding or breaking it down into smaller pieces will significantly speed up decomposition. You don’t need to be OCD about it, but smaller bits break down much faster.
4. Moisture Matters: Just Right, Not Soaked
Your compost pile needs to be moist, like a wrung-out sponge. Too dry, and the microbes go dormant. Too wet, and it becomes a slimy, anaerobic (oxygen-deprived) mess that smells bad.
Effortless Tip:
- When adding greens (which are often wet), always add browns to absorb excess moisture.
- If your compost seems dry, add a little water. Tumblers make it easy to spin water in. For bins, you might need to lightly water layers as you add them.
- If it’s too wet, add more browns!
5. Aeration is Key: Give it Some Air!
Composting is an aerobic process, meaning it needs oxygen. Microbes need to breathe! This is where in-vessel composters shine.
Effortless Tips:
- For Tumblers: Simply turn the tumbler a few times every few days. This mixes everything, aerates it, and distributes moisture. You’ll find a rhythm, and it only takes a minute or two.
- For Stationary Bins: Some bins have built-in aeration mechanisms or vents. If yours doesn’t, you might need to occasionally poke it with a compost aerator tool or a long stick to introduce air. Harvest from the bottom often helps too, as it disturbs the material.
6. Temperature: The Hotter, The Better (Sometimes!)
Composting works best when it heats up. This “hot composting” phase (around 130-160°F or 55-70°C) is crucial for breaking down materials quickly and killing weed seeds and pathogens. In-vessel systems are good at retaining heat.
Effortless Tips:
- Add a good mix of greens and browns.
- Ensure adequate moisture and aeration.
- If your bin is in a shady spot, consider moving it to a sunnier location (especially during cooler months). However, avoid direct sun in very hot climates, as it can dry the pile out too quickly.
- Be patient! Not every batch will get scorching hot, especially in cooler weather or with less active materials. It will still compost, just maybe at a slower pace.
7. What NOT to Compost in Your In-Vessel System
To keep your compost healthy and avoid problems, steer clear of these items:
- Meat, bones, dairy products, and oily foods (attract pests, can smell bad).
- Diseased plants (if hot composting to kill pathogens, otherwise you might just spread disease).
- Weeds that have gone to seed (unless you are VERY confident your system gets hot enough to kill them – see Garden Myths for more detail on this); annual weed seeds are more likely to be killed than perennial ones.
- Pet waste (from dogs or cats – can contain harmful pathogens).
- Chemically treated wood or yard waste.
- Inorganic materials like plastic or metal.
8. Patience and Observation: Trust the Process
Composting has its own timeline. Depending on the materials, the season, and how active you are with turning, a batch can be ready in as little as 1-3 months or take 6 months or more.
Effortless Tip: Don’t overthink it. Add your materials consistently, give it a turn every few days, check the moisture, and you’ll see progress. The compost is ready when it’s dark, crumbly, smells earthy (like the forest floor), and you can no longer identify the original materials.
Troubleshooting Common In-Vessel Composting Issues
Even with the best intentions, you might run into a snag. Here’s how to fix common problems:
Issue: Bad Smells (Ammonia or Rotten Egg)
- Cause: Too much nitrogen (greens) or not enough air (anaerobic conditions).
- Fix: Add more browns (dry leaves, shredded cardboard). Turn the compost thoroughly to introduce air. If it smells like ammonia, it’s definitely too many greens – add a generous amount of browns and mix well.
Issue: Pile is Too Wet and Slimy
- Cause: Too much moisture, often from adding too many wet greens or rain.
- Fix: Add plenty of browns to absorb moisture. Turn it well. If using a bin that collects leachate (liquid), drain it off (this liquid, called compost tea, can be diluted and used as fertilizer).
Issue: Pile is Too Dry and Not Heating Up
- Cause: Not enough moisture, or too many browns for the greens.
- Fix: Add water gradually while mixing or turning. Ensure you have a good balance of greens.
Issue: Pests (Rodents, Flies)
This is less common with sealed in-vessel systems, but possible if not managed well.
- Cause: Uncovered food scraps, especially meat or dairy (which you shouldn’t be adding anyway).
- Fix: Always bury fresh kitchen scraps deep within the compost and cover with browns. Ensure your bin lid seals properly. Avoid adding prohibited items like meat or dairy.
Making Compost Tea from Your In-Vessel System

Some in-vessel systems (especially stationary bins) have a spigot at the bottom to collect a liquid called leachate. This is essentially a concentrated compost tea. If yours does, don’t let it go to waste!
How to Use:
- Dilute the leachate with water. A common ratio is 1 part leachate to 10 parts water.
- Use it to water your plants. It’s a potent liquid fertilizer.
Important Note: This collected liquid is not the same fully brewed compost tea you might get from a dedicated aerated compost tea brewer. It’s more of a nutrient-rich liquid fertilizer. If your system doesn’t collect leachate, you can still make compost tea by steeping finished compost in water, but that’s a topic for another day!
When is Your In-Vessel Compost Ready?
The ultimate goal is finished compost, ready to nourish your garden. Here’s how to tell:
- Appearance: It should be dark brown or black, crumbly, and loose in texture.
- Smell: It should have a pleasant, earthy aroma, like a forest floor after rain. Any sour or ammonia smells mean it’s not quite ready or needs a little help.
- Identification: You shouldn’t be able to recognize the original food scraps or yard waste.
Once ready, you can simply empty your tumbler or bin and sieve it if you want a very fine texture, or use it as is. Let it cure for a couple of weeks in a pile if you can, as this further stabilizes it.
Frequently Asked Questions (FAQ) about In-Vessel Composting
What is the best in-vessel composter for beginners?
For ease of use and quick results, a dual-chamber compost tumbler is often a great choice. You can add to one side while the other is curing, and turning is straightforward. Stationary bins are also good, especially if space is limited or you prefer less manual effort.
Can I compost all my kitchen scraps in an in-vessel system?
Most kitchen scraps are compostable, like fruit and vegetable peels, coffee grounds, and tea bags. However, avoid meat, fish, dairy products, and oily foods, as these can attract pests and create odors. Always check your specific composter’s guidelines.
How often should I turn or aerate my in-vessel composter?
For tumblers, aim to turn them 2-3 times a week. For stationary bins, check for airflow once a week. If it looks dense or smells off, give it some extra aeration. The more you turn, the faster it breaks down.
My compost smells bad. What did I do wrong?
A bad smell usually means it’s too wet or doesn’t have enough air. This leads to anaerobic decomposition, which produces foul odors. Try adding more “brown” materials like dry leaves or shredded cardboard to absorb moisture and improve airflow. Turn it well to mix everything.
How long does it take for in-vessel composting to produce finished compost?
It varies! With good management and the right balance of materials in a hot composting system, you could have finished compost in as little as 1-3 months. In cooler weather or with less active management, it might take 6 months or longer.
Do I need to add anything special to my in-vessel compost?
No, not usually! The key is balancing your greens and browns. Some people add a “starter” like a shovel-full of finished compost or rich garden soil to introduce beneficial microbes, but it’s not essential. If your compost is actively heating, that’s a good sign the microbes are doing their job.
Can I put grass clippings in my in-vessel composter?
Yes, but in moderation! Grass clippings are rich in nitrogen (“greens
.lwrp.link-whisper-related-posts{
margin-top: 40px;
margin-bottom: 30px;
}
.lwrp .lwrp-title{
}.lwrp .lwrp-description{
}
.lwrp .lwrp-list-container{
}
.lwrp .lwrp-list-multi-container{
display: flex;
}
.lwrp .lwrp-list-double{
width: 48%;
}
.lwrp .lwrp-list-triple{
width: 32%;
}
.lwrp .lwrp-list-row-container{
display: flex;
justify-content: space-between;
}
.lwrp .lwrp-list-row-container .lwrp-list-item{
width: calc(25% – 20px);
}
.lwrp .lwrp-list-item:not(.lwrp-no-posts-message-item){
max-width: 150px;
}
.lwrp .lwrp-list-item img{
max-width: 100%;
height: auto;
object-fit: cover;
aspect-ratio: 1 / 1;
}
.lwrp .lwrp-list-item.lwrp-empty-list-item{
background: initial !important;
}
.lwrp .lwrp-list-item .lwrp-list-link .lwrp-list-link-title-text,
.lwrp .lwrp-list-item .lwrp-list-no-posts-message{
}@media screen and (max-width: 480px) {
.lwrp.link-whisper-related-posts{
}
.lwrp .lwrp-title{
}.lwrp .lwrp-description{
}
.lwrp .lwrp-list-multi-container{
flex-direction: column;
}
.lwrp .lwrp-list-multi-container ul.lwrp-list{
margin-top: 0px;
margin-bottom: 0px;
padding-top: 0px;
padding-bottom: 0px;
}
.lwrp .lwrp-list-double,
.lwrp .lwrp-list-triple{
width: 100%;
}
.lwrp .lwrp-list-row-container{
justify-content: initial;
flex-direction: column;
}
.lwrp .lwrp-list-row-container .lwrp-list-item{
width: 100%;
}
.lwrp .lwrp-list-item:not(.lwrp-no-posts-message-item){
max-width: initial;
}
.lwrp .lwrp-list-item .lwrp-list-link .lwrp-list-link-title-text,
.lwrp .lwrp-list-item .lwrp-list-no-posts-message{
};
}
Related Posts

I am passionate about home engineering. I specialize in designing, installing, and maintaining heating, ventilation, and air conditioning systems. My goal is to help people stay comfortable in their homes all year long.