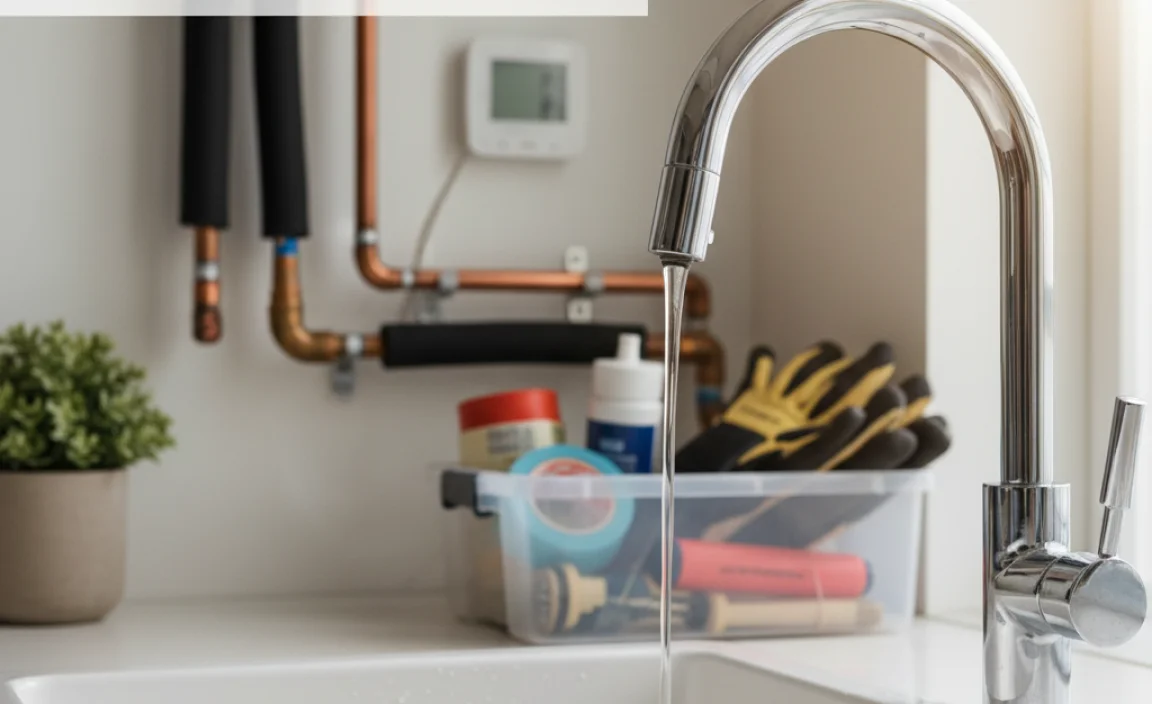
A dripping faucet can be annoying, especially when you’re trying to sleep. But in freezing weather, that drip can be a lifesaver! It’s a simple way to prevent your pipes from freezing and bursting. Figuring out which faucets to drip is key to protecting your home.
We’ll walk you through exactly which faucets are most at risk and how to keep your pipes safe. Let’s get started and keep those pipes flowing smoothly!
Why Drip Faucets in Freezing Weather?
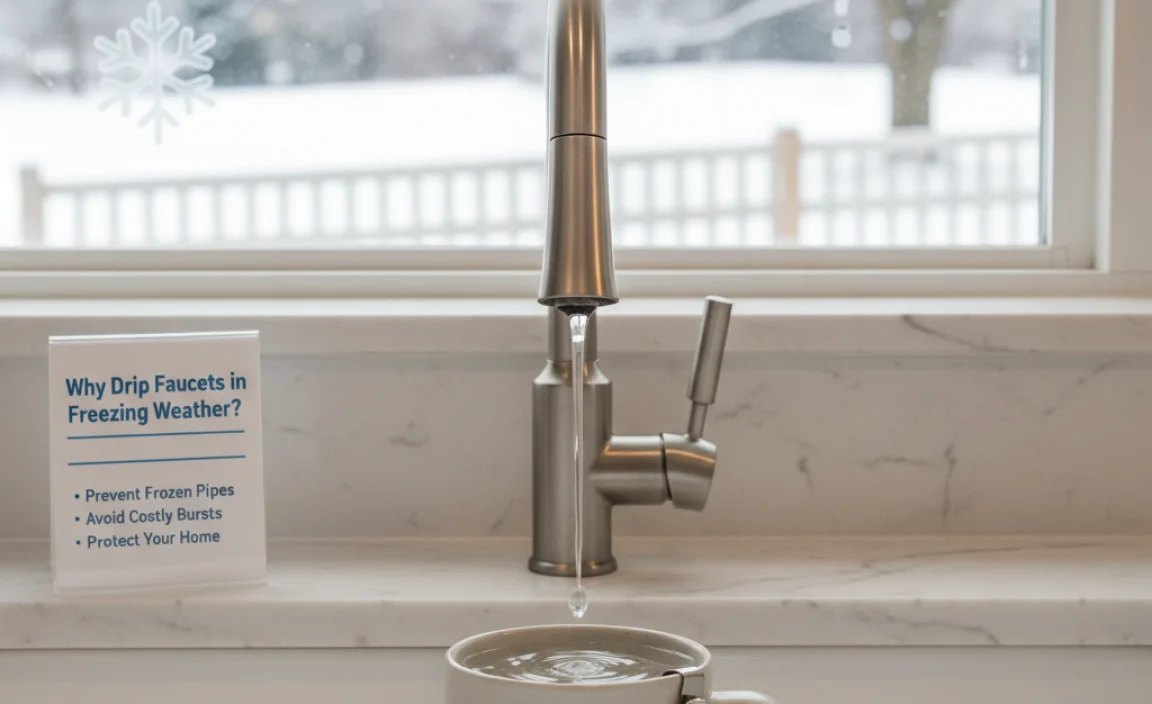
When water freezes, it expands. If the water inside your pipes freezes, it can create enough pressure to crack or burst the pipe. This leads to expensive repairs and a lot of headaches.
A dripping faucet keeps water moving through the pipes. This constant movement prevents the water from freezing solid. Even a slow drip can make a big difference!
Understanding the Risk
Not all pipes are equally at risk. Pipes located in unheated areas, like exterior walls or crawl spaces, are more likely to freeze. Also, older homes with less insulation are more vulnerable.
Knowing which faucets connect to these vulnerable pipes is the first step in preventing freeze damage.
Which Faucets Should You Drip?
Here’s a breakdown of the faucets you should consider dripping when temperatures drop:
- Faucets on Exterior Walls: These are the most susceptible to freezing. The outside wall provides little insulation against the cold.
- Faucets in Unheated Areas: This includes faucets in your basement, garage, or crawl space if these areas aren’t heated.
- Faucets Furthest from Your Water Meter: These pipes have the longest exposure to cold temperatures.
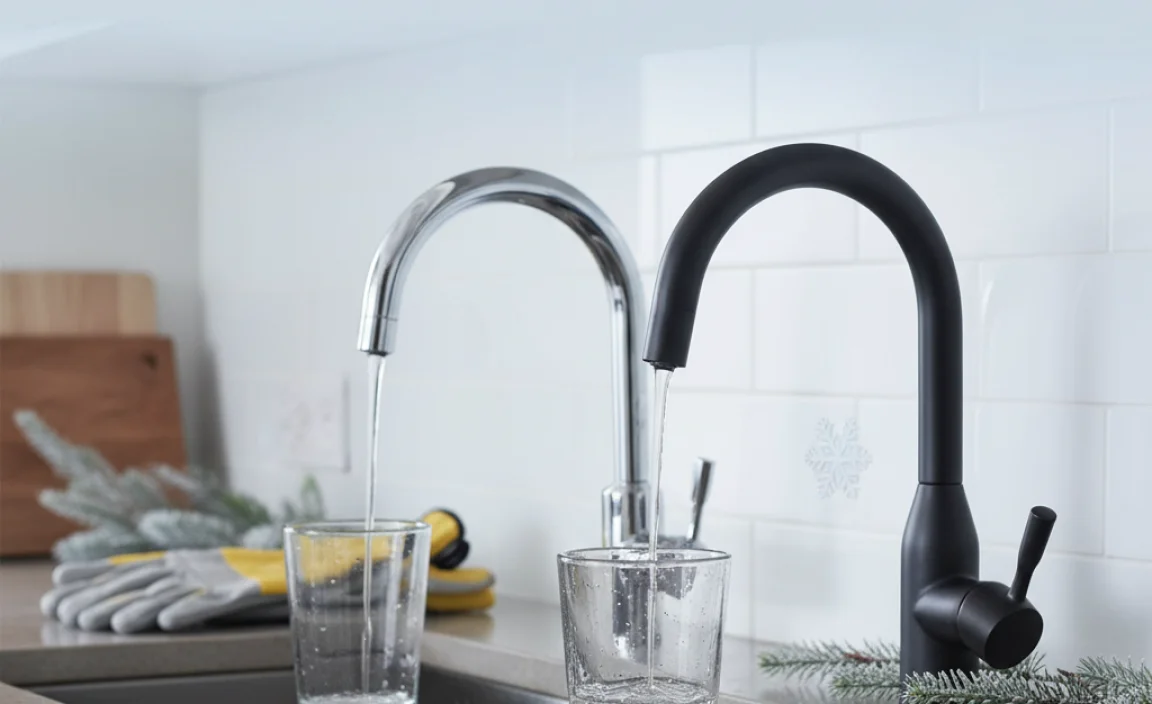
- Both Hot and Cold Water Faucets: If you’re unsure which pipes are vulnerable, drip both to be safe.
If you have any doubt about which faucets to drip, it’s always best to err on the side of caution and drip them all. Better safe than sorry!
Prioritizing Your Faucets
If you can’t drip every faucet, focus on the ones most at risk. Here’s a priority list:
- Faucets on exterior walls
- Faucets in unheated areas
- Faucets furthest from your water meter
By prioritizing, you can protect the most vulnerable pipes first.
How to Drip a Faucet
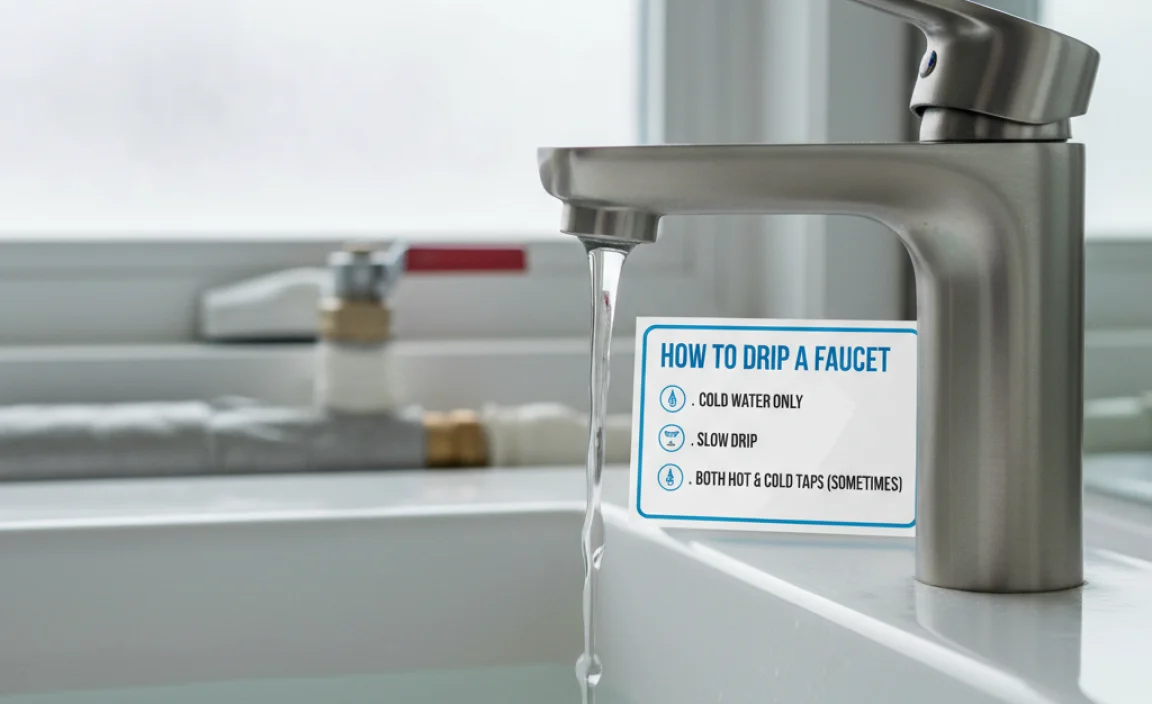
Dripping a faucet is simple. Here’s how to do it:
- Turn on the Faucet: Slowly turn on both the hot and cold water taps.
- Adjust the Flow: Adjust the taps until you have a slow, steady drip. It should be a consistent drip, not a stream.
- Collect the Water (Optional): If you’re concerned about water waste, place a bucket or container under the faucet to collect the water. You can use this water for plants or other non-potable purposes.
That’s it! You’ve successfully dripped your faucet. Check the drip periodically to make sure it hasn’t stopped.
Finding the Right Drip Rate
The goal is a slow, steady drip. Too much water is wasteful, and too little might not prevent freezing. Here’s a quick guide:
- Ideal Drip: A consistent drip every few seconds.
- Too Much: A constant stream of water.
- Too Little: Only an occasional drop.
Adjust the faucet until you find the right balance.
Extra Steps to Protect Your Pipes
Dripping faucets is a great start, but here are some additional steps you can take to protect your pipes:
- Insulate Your Pipes: Wrap exposed pipes with foam or fiberglass insulation sleeves. You can find these at most hardware stores.
- Seal Cracks and Openings: Seal any cracks or openings in your walls, especially around pipes. This prevents cold air from reaching the pipes.
- Open Cabinet Doors: Open cabinet doors under sinks to allow warmer air to circulate around the pipes.
- Let the Heat Circulate: During extreme cold, keep your thermostat set to the same temperature day and night.
Taking these extra steps can significantly reduce the risk of frozen pipes.
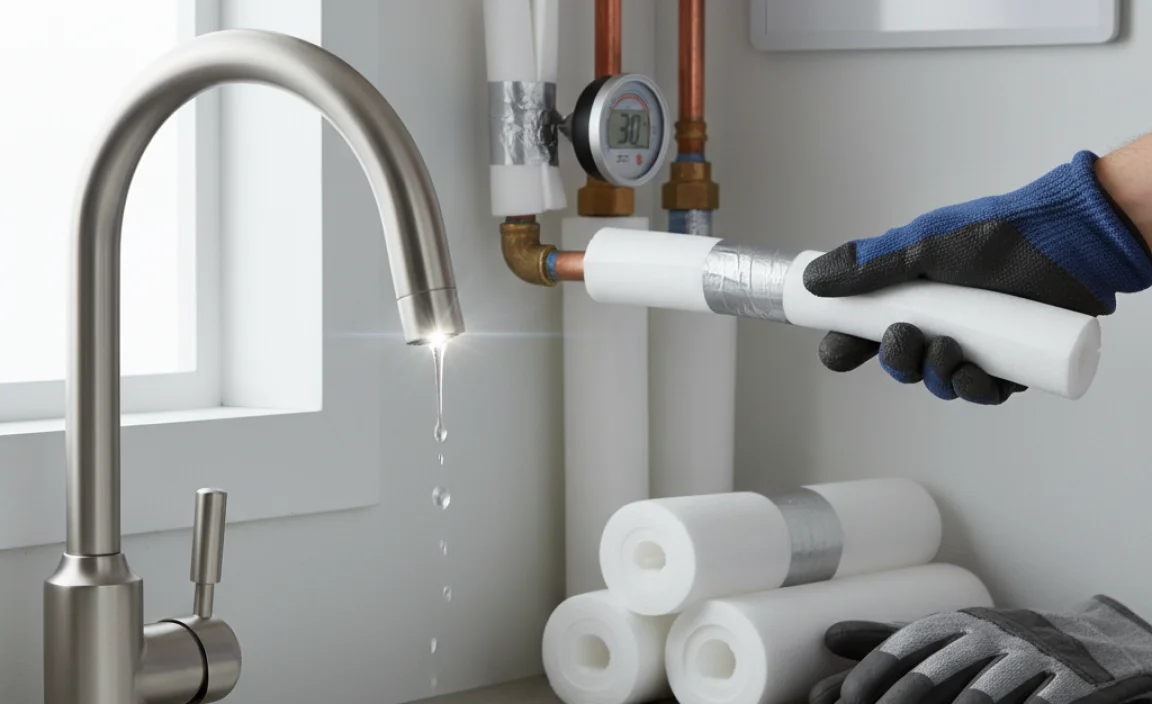
Insulating Your Pipes
Insulating your pipes is one of the most effective ways to prevent freezing. Here’s a quick guide:
- Measure Your Pipes: Measure the diameter of your pipes to ensure you buy the correct size of insulation.
- Purchase Insulation: Buy foam or fiberglass pipe insulation sleeves from your local hardware store.
- Install the Insulation: Cut the insulation to the correct length and wrap it around the pipes. Secure it with tape.
Insulating your pipes is a simple DIY project that can save you a lot of money.
Long-Term Solutions to Prevent Frozen Pipes
Dripping faucets is a temporary solution. For long-term protection, consider these options:
- Improve Insulation: Add insulation to your walls, attic, and crawl spaces.
- Install Heat Tape: Heat tape is an electrical cable that wraps around pipes and provides heat to prevent freezing.
- Reroute Pipes: If possible, reroute pipes away from exterior walls and unheated areas.
These long-term solutions require more effort but provide lasting protection.
Understanding Heat Tape
Heat tape is a great option for pipes that are difficult to insulate. Here’s what you need to know:
- Types of Heat Tape: There are two main types: manual and self-regulating. Self-regulating heat tape adjusts its heat output based on the temperature.
- Installation: Wrap the heat tape around the pipe, following the manufacturer’s instructions.
- Safety: Always use heat tape that is UL-listed and designed for use on pipes.
Heat tape can be a reliable way to prevent frozen pipes in hard-to-reach areas.
What to Do If Your Pipes Freeze
Despite your best efforts, pipes can still freeze. Here’s what to do if it happens:
- Turn Off the Water: Immediately turn off the main water supply to prevent further damage if a pipe bursts.
- Open Faucets: Open the faucets that are served by the frozen pipe. This will relieve pressure in the system.
- Thaw the Pipe: Use a hair dryer or heat lamp to gently warm the frozen pipe. Start at the faucet end and work your way back.
- Call a Plumber: If you can’t thaw the pipe yourself, or if you suspect a pipe has already burst, call a professional plumber.
Acting quickly can minimize damage and prevent costly repairs.
Safe Thawing Techniques
Thawing frozen pipes requires patience and care. Here are some tips:
- Use Gentle Heat: Avoid using open flames or torches, as these can damage the pipes or cause a fire.
- Apply Heat Gradually: Don’t apply heat to one spot for too long. Move the heat source back and forth to distribute the heat evenly.
- Monitor the Pipe: Watch for any signs of cracking or bursting. If you see any damage, stop immediately and call a plumber.
Safety is the most important thing when thawing frozen pipes.
The Cost of Dripping Faucets
Dripping faucets does use water, which can increase your water bill. However, the cost of dripping faucets is usually much less than the cost of repairing a burst pipe.
Here’s a simple table to illustrate the potential costs:
| Scenario | Cost |
|---|---|
| Dripping Faucets for a Week | A few dollars (depending on your water rate) |
| Repairing a Burst Pipe | Hundreds or thousands of dollars |
As you can see, dripping faucets is a small price to pay for peace of mind.
Estimating Water Usage
Want to know how much water you’re using? Here’s a simple calculation:
- Measure the Drip Rate: Count how many drips occur in one minute.
- Calculate Daily Usage: Multiply the number of drips per minute by 1,440 (the number of minutes in a day).
- Convert to Gallons: Divide the total number of drips per day by 15,140 (the approximate number of drips in a gallon).
This will give you a rough estimate of how many gallons of water you’re using each day.
Eco-Friendly Dripping Practices
If you’re concerned about water waste, here are some eco-friendly ways to drip your faucets:
- Collect the Water: Place a bucket or container under the faucet to collect the water. Use this water for plants, cleaning, or other non-potable purposes.
- Use a Low-Flow Faucet: Install a low-flow faucet to reduce the amount of water used.
- Fix Leaks: Address any existing leaks in your plumbing system. This will reduce overall water waste.
Being mindful of water usage can help you protect your pipes and the environment.
Reusing Drip Water
Collecting and reusing the water from your dripping faucets is a great way to conserve water. Here are some ideas:
- Water Plants: Use the water to water your indoor and outdoor plants.
- Clean Surfaces: Use the water to clean floors, windows, or other surfaces.
- Flush Toilets: Pour the water into the toilet tank to flush the toilet.
Get creative and find ways to put that water to good use!
Conclusion
Dripping faucets is a simple yet effective way to prevent frozen pipes during cold weather. By understanding which faucets are most vulnerable and how to drip them properly, you can protect your home from costly damage. Remember to take additional steps like insulating your pipes and sealing cracks to further reduce the risk. Stay warm, stay safe, and keep those pipes flowing!
FAQ: Dripping Faucets in Winter
Should I drip hot or cold water?
When dripping faucets to prevent freezing, it’s best to drip both hot and cold water. This ensures that both supply lines are protected, as both can be vulnerable to freezing temperatures.
How much should I drip the faucet?
The faucet should drip at a rate of about one drip per second. A slow, steady drip is enough to keep the water moving within the pipes, which helps prevent them from freezing.
Is it OK to drip faucets all winter?
Dripping faucets continuously throughout the winter can be a good preventive measure in regions with consistently freezing temperatures. However, consider the water usage and cost. If temperatures fluctuate, only drip faucets when freezing weather is expected.
Does dripping faucets really prevent freezing?
Yes, dripping faucets can effectively prevent pipes from freezing. The continuous movement of water, even at a slow drip, prevents the water inside the pipes from becoming stagnant and turning into ice.
Which faucets are most important to drip?
The most important faucets to drip are those located on exterior walls or in unheated areas like basements and garages. These areas are more exposed to the cold and have a higher risk of freezing.
Can I drip just one faucet in the house?
Dripping one faucet can help, but it’s more effective to drip faucets that are located in vulnerable areas, such as exterior walls or unheated spaces. If you’re unsure, dripping multiple faucets provides better protection.
What temperature should I start dripping faucets?
It’s generally recommended to start dripping faucets when the outside temperature is expected to drop below 20°F (-6°C). This provides a buffer to prevent freezing, especially in poorly insulated areas.