Why does your toilet valve keep failing? It’s usually due to hard water, old parts, or wear and tear. Luckily, replacing a toilet valve is an easy DIY project! This guide will walk you through why these valves fail and how to keep your toilet running smoothly.
Is your toilet running constantly? Are you jiggling the handle more often than you’d like? A faulty toilet valve is often the culprit. It’s a common problem, and it can be frustrating. But don’t worry, you don’t need to call a plumber just yet. Understanding why toilet valves go bad will help you diagnose the problem and find the best solution. We’ll cover the common causes and simple fixes. Let’s get started and save you some money!
Why Toilet Valves Go Bad: Common Culprits
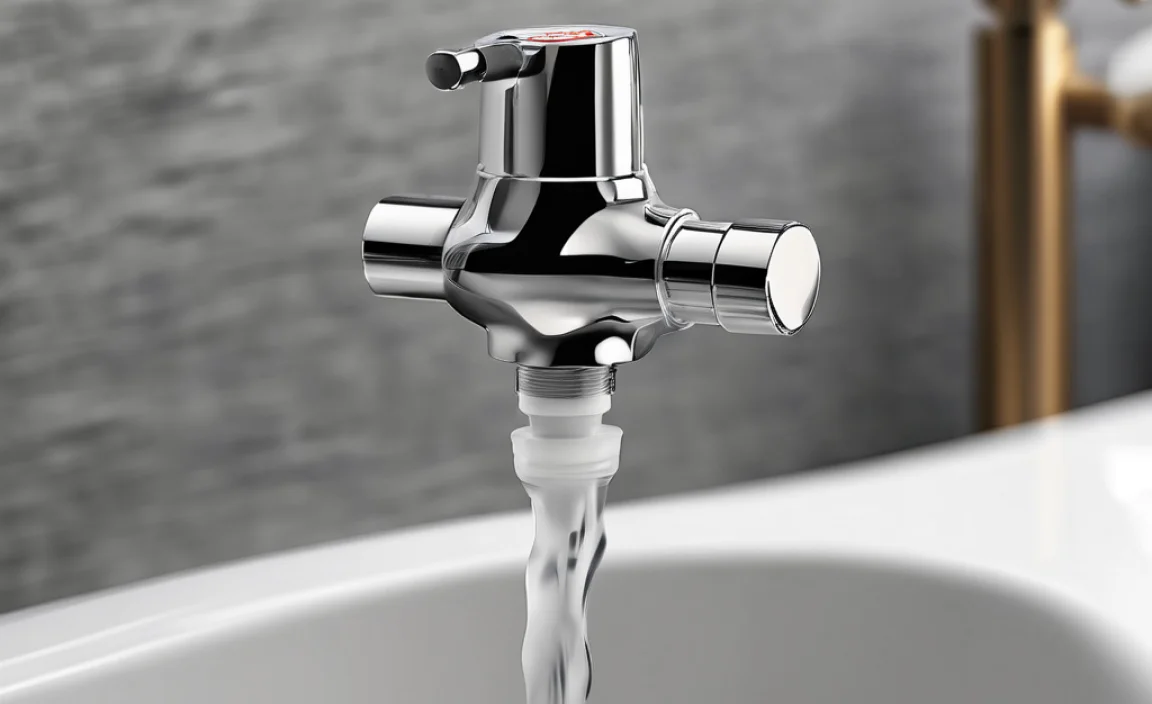
Toilet valves, also called fill valves, control the water flow into your toilet tank. They’re essential for a properly functioning toilet, but they can wear out over time. Here’s a breakdown of the most common reasons why they fail:
1. Hard Water
Hard water is water with high mineral content, mainly calcium and magnesium. It’s a common issue in many areas, and it’s a major enemy of your toilet valve.
- Mineral Buildup: Hard water leaves mineral deposits inside the valve. This buildup restricts water flow and can prevent the valve from closing completely.
- Corrosion: Over time, the minerals in hard water can corrode the valve components, leading to leaks and malfunctions.
Solution: Consider installing a water softener for your entire home. This will reduce the mineral content in your water and protect all your plumbing fixtures, not just your toilet. You can also use a toilet bowl cleaner specifically designed to dissolve mineral deposits.
2. Old Age and Wear and Tear
Like any mechanical device, toilet valves have a lifespan. Over time, the constant use and exposure to water can cause them to wear out.
- Cracked or Brittle Parts: Plastic components can become brittle and crack, leading to leaks.
- Worn Seals: Rubber seals can dry out and lose their elasticity, preventing a tight seal and causing water to leak through.
Solution: Regularly inspect your toilet valve for signs of wear and tear. If you notice cracks, leaks, or other damage, it’s time to replace the valve. Replacement is usually a straightforward and inexpensive fix.
3. Debris and Sediment
Small particles of debris and sediment can enter your plumbing system and wreak havoc on your toilet valve.
- Clogging: Sediment can clog the small openings and passages within the valve, restricting water flow and preventing it from functioning correctly.
- Damage to Seals: Sharp particles can scratch or damage the valve’s seals, leading to leaks.
Solution: Flush your water lines periodically to remove sediment. You can do this by turning off the water supply to your house, opening all the faucets, and then turning the water back on. Consider installing a whole-house filter to prevent sediment from entering your plumbing system in the first place.
4. Incorrect Water Level Adjustment
If the water level in your toilet tank is set too high, it can put extra strain on the fill valve and cause it to fail prematurely.
- Overflow: A water level that’s too high can cause the fill valve to work overtime, constantly trying to shut off the water supply.
- Valve Stress: The constant pressure can damage the valve’s internal components.
Solution: Adjust the fill valve to ensure the water level is at the correct height. There’s usually a marking inside the tank that indicates the proper water level. Follow the manufacturer’s instructions for adjusting the valve.
5. Defective Parts
Sometimes, a toilet valve simply fails because of a manufacturing defect. While less common than other causes, it’s still a possibility.
- Faulty Design: A poorly designed valve may be more prone to failure.
- Manufacturing Errors: A defect during the manufacturing process can weaken the valve’s components.
Solution: If you suspect a defective part, contact the manufacturer or retailer for a replacement. Most toilet valves come with a warranty that covers manufacturing defects.
6. Tank Cleaner Tablets
Those convenient blue toilet bowl cleaner tablets can actually damage your toilet valve and other rubber components in your toilet tank.
- Chemical Damage: The chemicals in the tablets can corrode rubber seals and other parts, causing them to break down and leak.
- Residue Buildup: The tablets can leave a residue that clogs the valve and interferes with its operation.
Solution: Avoid using toilet bowl cleaner tablets. Instead, use a liquid toilet bowl cleaner that’s designed to be safe for toilet components. You can also clean your toilet regularly with a brush and mild soap.
Diagnosing a Faulty Toilet Valve
Before you start replacing parts, it’s important to confirm that the toilet valve is indeed the problem. Here are some common symptoms of a failing toilet valve:
- Toilet Runs Constantly: This is one of the most common signs of a faulty fill valve.
- Slow Tank Refill: If the tank takes a long time to refill after flushing, the valve may be clogged or damaged.
- Water Level Too High or Too Low: An improperly functioning valve can cause the water level to be incorrect.
- No Water Refill: If the tank doesn’t refill at all after flushing, the valve may be completely blocked or broken.
- Strange Noises: Whistling, hissing, or gurgling sounds coming from the toilet tank can indicate a problem with the valve.
Step-by-Step Guide: Replacing a Toilet Valve
Replacing a toilet valve is a simple DIY project that most homeowners can tackle. Here’s a step-by-step guide:
Tools and Materials You’ll Need
- New toilet fill valve (make sure it’s compatible with your toilet model)
- Adjustable wrench
- Sponge or towel
- Bucket
Step 1: Turn Off the Water Supply
Locate the water shut-off valve behind the toilet, usually near the floor. Turn it clockwise to shut off the water supply. Flush the toilet to empty the tank.
Step 2: Disconnect the Water Supply Line
Use an adjustable wrench to disconnect the water supply line from the bottom of the toilet tank. Have a bucket and sponge ready to catch any remaining water in the tank or supply line.
Step 3: Remove the Old Fill Valve
Inside the tank, you’ll see a nut that secures the fill valve to the tank. Use the adjustable wrench to loosen and remove this nut. You may need to hold the fill valve in place from the outside of the tank while you loosen the nut.
Step 4: Remove the Old Valve
Once the nut is removed, you should be able to lift the old fill valve out of the tank. You might need to wiggle it a bit to loosen it.
Step 5: Install the New Fill Valve
Insert the new fill valve into the hole in the bottom of the tank. Make sure the rubber washer is in place to create a watertight seal. From underneath the tank, tighten the nut to secure the new fill valve in place. Don’t overtighten, as this could crack the tank.
Step 6: Reconnect the Water Supply Line
Reconnect the water supply line to the bottom of the new fill valve. Tighten the connection with an adjustable wrench, but again, be careful not to overtighten.
Step 7: Turn on the Water Supply
Slowly turn the water shut-off valve counterclockwise to turn the water supply back on. Watch for leaks around the fill valve and water supply line connections. If you see any leaks, tighten the connections slightly.
Step 8: Adjust the Water Level
Adjust the fill valve to set the correct water level in the tank. Most fill valves have an adjustment mechanism that allows you to raise or lower the water level. Refer to the manufacturer’s instructions for specific details.
Step 9: Test the Toilet
Flush the toilet several times to make sure it’s working properly. Check for leaks and ensure the tank refills correctly after each flush.
Troubleshooting Common Problems After Replacement
Even after replacing the toilet valve, you might encounter a few issues. Here’s how to troubleshoot them:
- Leak at the Tank/Valve Connection: Tighten the nut under the tank a bit more. Make sure the rubber washer is properly seated.
- Leak at the Water Supply Line: Tighten the connection with the adjustable wrench. Check the supply line for cracks or damage and replace it if necessary.
- Toilet Still Runs: Make sure the flapper is sealing properly. Adjust the chain connecting the flapper to the flush lever to ensure it’s not too loose or too tight.
- Slow Tank Refill: Check the water supply line for kinks or obstructions. Make sure the fill valve is fully open.
Maintaining Your Toilet Valve to Prevent Future Problems
Preventive maintenance can extend the life of your toilet valve and prevent future problems. Here are some tips:
- Regularly Inspect the Valve: Check for signs of wear and tear, such as cracks, leaks, or corrosion.
- Clean the Valve: Periodically clean the valve to remove mineral deposits and debris. You can use a mild cleaner and a soft brush.
- Avoid Harsh Chemicals: Don’t use harsh chemicals or toilet bowl cleaner tablets that can damage the valve components.
- Adjust Water Level: Ensure the water level is set correctly to prevent unnecessary strain on the valve.
When to Call a Plumber
While replacing a toilet valve is a simple DIY project, there are times when it’s best to call a plumber:
- You’re Not Comfortable Doing the Work Yourself: If you’re not confident in your DIY skills, it’s always best to leave it to a professional.
- You Encounter Complicated Plumbing Issues: If you discover more serious plumbing problems, such as damaged pipes or a leaking toilet, call a plumber.
- You Can’t Stop the Leaks: If you’ve tried tightening the connections and the leaks persist, it’s time to call a professional.
Cost Comparison: DIY vs. Hiring a Plumber
One of the biggest advantages of replacing a toilet valve yourself is the cost savings. Here’s a comparison:
| Task | DIY Cost | Plumber Cost |
|---|---|---|
| Toilet Fill Valve | $10 – $30 | $10 – $30 (plus service fee) |
| Labor | $0 | $80 – $200 |
| Total | $10 – $30 | $90 – $230 |
As you can see, doing it yourself can save you a significant amount of money. However, if you’re not comfortable with the task, hiring a plumber is a worthwhile investment.
Types of Toilet Valves
Understanding the different types of toilet valves can help you choose the right replacement for your toilet.
| Type | Description | Pros | Cons |
|---|---|---|---|
| Plunger-Type | Older style with a plunger that rises and falls to control water flow. | Simple design. | Prone to wear and tear, can be noisy. |
| Diaphragm-Type | Uses a flexible diaphragm to control water flow. | Quieter than plunger-type. | Can be affected by hard water and debris. |
| Float-Cup Type | Features a float cup that rises with the water level. | Easy to adjust. | Can be bulky. |
| Float-Less Type | Uses a pressure-sensing mechanism to control water flow. | Compact design, efficient. | More expensive than other types. |
FAQ: Toilet Valve Problems
What causes a toilet fill valve to fail?
Toilet fill valves usually fail due to hard water buildup, wear and tear on parts like seals and flappers, sediment clogging, or incorrect water level settings.
How do I know if my toilet fill valve is bad?
Signs of a bad fill valve include the toilet running constantly, slow tank refills, water levels that are too high or too low, or no water refilling after flushing.
Can I fix a toilet fill valve myself?
Yes, replacing a toilet fill valve is a simple DIY task. You’ll need a new valve, an adjustable wrench, and a bucket. Follow the steps outlined in this guide to replace it yourself and save money.
How often should I replace my toilet fill valve?
The lifespan of a toilet fill valve varies depending on water quality and usage, but generally, you should inspect it every year and replace it every 3-5 years, or as soon as you notice any problems.
Are toilet bowl cleaner tablets bad for my toilet valve?
Yes, toilet bowl cleaner tablets can damage the rubber components of your toilet valve, causing them to corrode and leak. It’s best to avoid using them and opt for liquid cleaners instead.
What type of toilet fill valve should I buy?
Consider a float-cup or float-less type valve. Float-cup valves are easy to adjust, while float-less valves are compact and efficient. Choose one that is compatible with your toilet model.
What if my toilet is still running after I replace the fill valve?
If your toilet is still running, check the flapper to make sure it’s sealing properly. Also, ensure that the chain connecting the flapper to the flush lever isn’t too loose or too tight. If the problem persists, there may be another issue, such as a worn-out flapper or a cracked toilet tank.
Conclusion
Now you know why toilet valves go bad and how to fix them! From hard water and old age to debris and defective parts, there are several reasons why your toilet valve might fail. But with this guide, you can diagnose the problem, replace the valve yourself, and maintain it to prevent future issues. Don’t let a running toilet drive you crazy (or waste water!). Take control and keep your toilet flushing smoothly.
