Quick Summary:
Your office chair keeps sinking because the gas cylinder inside is likely failing. This cylinder controls the chair’s height. Over time, the seals wear out, allowing gas to leak. The fix? You can try tightening the cylinder connection, but usually, you’ll need to replace the gas cylinder. It’s a simple DIY project that can save you from buying a new chair!
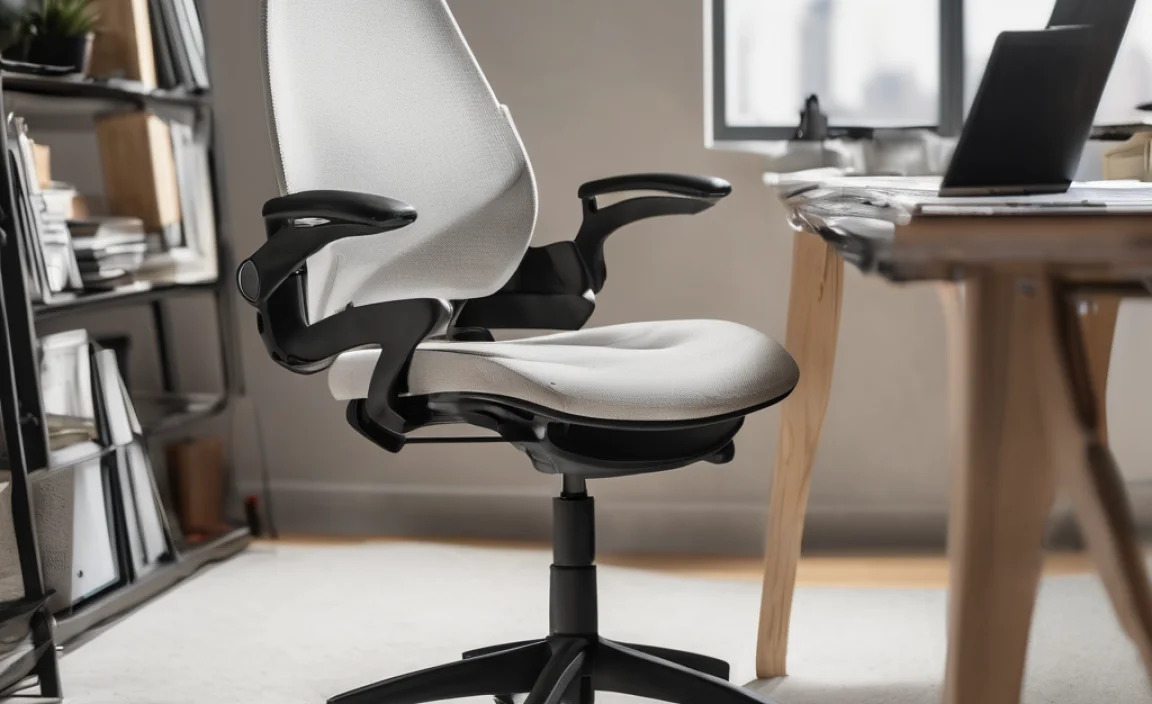
Is your office chair slowly sinking throughout the day? It’s a common problem, and incredibly annoying. You start at the perfect height, but soon you’re eye-level with your desk drawers. Don’t worry, you don’t need to toss your chair just yet!
This guide will walk you through why your chair is sinking and how to fix it. We’ll cover everything from identifying the problem to replacing the gas cylinder. Let’s get your chair working like new again!
Understanding Why Your Office Chair Sinks
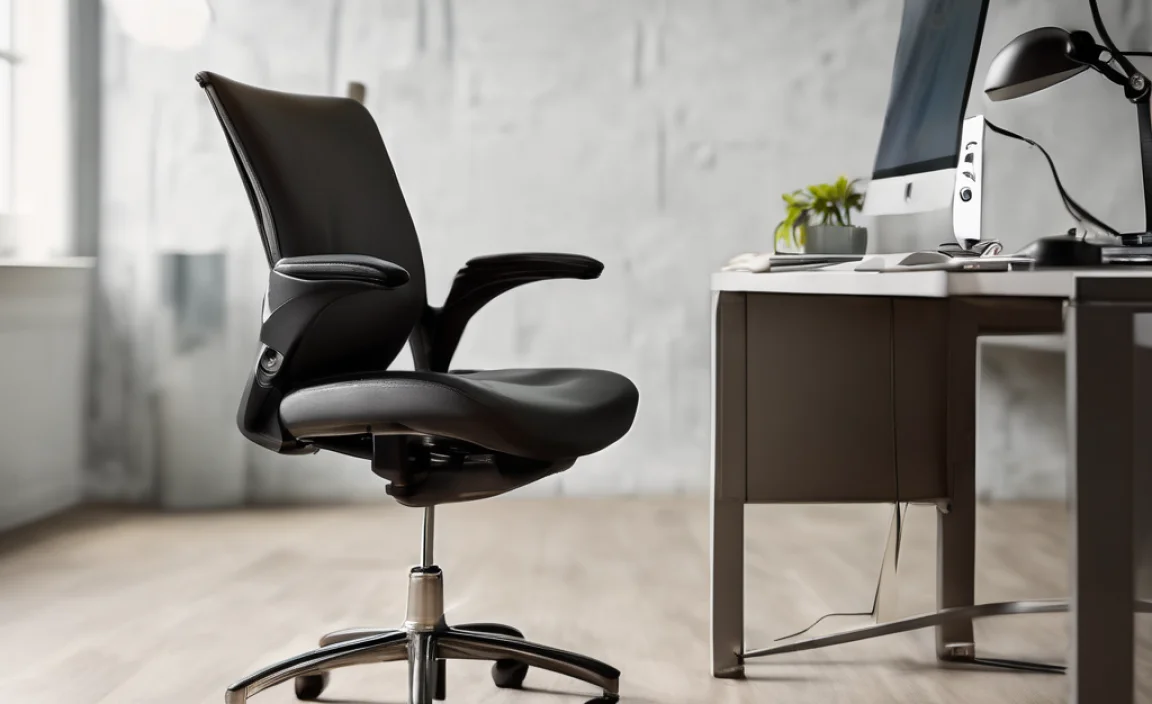
Before we jump into the fix, let’s understand the cause. The main culprit is usually the gas cylinder, also known as a pneumatic cylinder or gas lift. This part is what allows you to adjust the height of your chair.
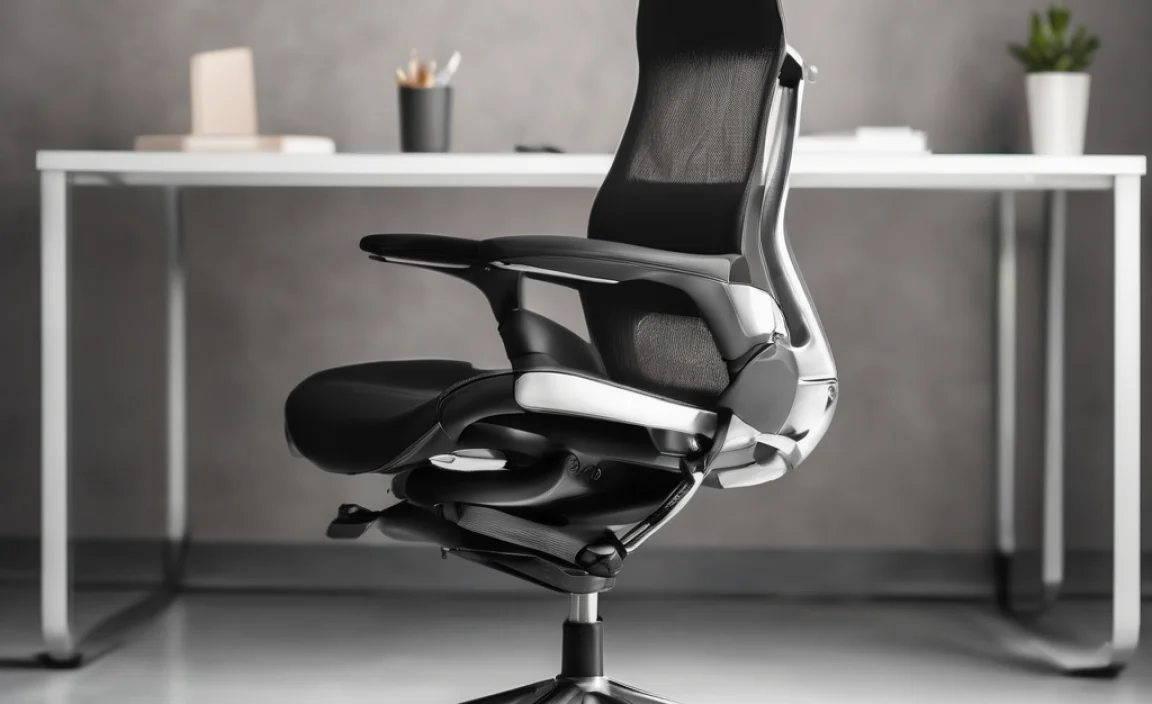
The Gas Cylinder Explained
The gas cylinder is filled with compressed gas, usually nitrogen. This gas is contained within a sealed chamber. When you pull the lever, you’re releasing a valve that allows the gas to move, raising or lowering the chair. Over time, the seals inside the cylinder can wear out, causing the gas to leak. When the gas leaks, your chair loses pressure and slowly sinks.
Other Potential Causes
While the gas cylinder is the most common cause, there are a couple of other possibilities:
- Loose Adjustment Lever: Sometimes, the lever that controls the gas cylinder can become loose. This can cause it to partially activate the valve, leading to slow sinking.
- Worn-Out Mechanism: In some cases, the entire chair mechanism, not just the cylinder, can be worn out. This is more common in older or lower-quality chairs.
Tools and Materials You’ll Need
Before you start, gather these tools and materials. Having everything ready will make the process smoother and faster.
- New Gas Cylinder: Make sure to buy the correct size for your chair. Measure the old cylinder before purchasing. You can find these at most office supply stores or online retailers.
- Rubber Mallet: This will help you remove the old cylinder without damaging the chair base or mechanism.
- Pipe Wrench or Adjustable Wrench: You might need this to grip and twist the old cylinder.
- Work Gloves: Protect your hands.
- Safety Glasses: Protect your eyes from debris.
- WD-40 or Penetrating Oil: This can help loosen any stuck parts.
- Measuring Tape: To measure the old cylinder’s length and diameter.
Step-by-Step Guide to Replacing Your Office Chair’s Gas Cylinder
Now, let’s get to the actual repair. Follow these steps carefully to replace your gas cylinder and get your chair back in working order.
Step 1: Prepare Your Workspace
Find a clear, open space to work. Cover the area with a drop cloth or old newspaper to protect the floor. Turn the chair upside down. This will give you access to the gas cylinder and the chair base.
Step 2: Remove the Chair Base
The chair base is usually attached to the gas cylinder with a friction fitting. Here’s how to remove it:
- Spray some WD-40 or penetrating oil around the point where the cylinder meets the base. Let it sit for a few minutes to loosen any rust or grime.
- Use the rubber mallet to gently tap around the base of the cylinder. Rotate the chair as you tap to ensure even pressure.
- If the base is still stuck, try using the pipe wrench or adjustable wrench to grip the cylinder while tapping the base with the mallet.
- Once the base is loose, pull it off the cylinder.
Step 3: Remove the Old Gas Cylinder from the Seat Mechanism
The top of the gas cylinder is attached to the seat mechanism, which is the part under the chair seat. This can sometimes be the trickiest part.
- Again, spray WD-40 or penetrating oil around the point where the cylinder meets the mechanism. Let it sit.
- Use the rubber mallet to gently tap around the mechanism where it connects to the cylinder.
- If it’s still stuck, use the pipe wrench or adjustable wrench to grip the cylinder firmly. Be careful not to damage the mechanism.
- Twist and pull the cylinder while tapping the mechanism with the mallet. It might take some effort, but it should eventually come loose.
Safety Tip: Wear safety glasses during this step. Sometimes, parts can suddenly release and send debris flying.
Step 4: Measure the Old Cylinder
Before installing the new cylinder, measure the length and diameter of the old one. This will ensure you’re using the correct replacement.
Step 5: Install the New Gas Cylinder
Now it’s time to install the new gas cylinder. This is usually a straightforward process.
- Insert the top of the new cylinder into the seat mechanism. Press firmly until it’s securely in place. You might hear a click.
- Place the chair base over the bottom of the cylinder.
- Press down firmly on the seat. This will secure the base to the cylinder. You might need to use the rubber mallet to gently tap the base until it’s fully seated.
Step 6: Test the Chair
Turn the chair right side up and test the height adjustment. The chair should now raise and lower smoothly without sinking. If it works, congratulations! You’ve successfully replaced the gas cylinder.
Troubleshooting Common Issues
Sometimes, things don’t go exactly as planned. Here are some common issues you might encounter and how to solve them.
Cylinder Won’t Come Loose
If the cylinder is stuck, don’t force it. Apply more penetrating oil and let it sit for a longer period. You can also try using a heat gun (on a low setting) to warm the area around the connection. This can help loosen any rust or grime.
New Cylinder Doesn’t Fit
If the new cylinder doesn’t fit, double-check the measurements. Make sure you ordered the correct size. If you did, compare the new cylinder to the old one to see if there are any differences. If necessary, return the new cylinder and order the correct one.
Chair Still Sinks
If the chair still sinks after replacing the cylinder, there might be another issue. Check the seat mechanism for any signs of damage or wear. It’s possible that the mechanism itself is faulty and needs to be replaced. If you’re not comfortable replacing the mechanism, you might want to consider buying a new chair.
Maintaining Your Office Chair
To keep your office chair in good condition and prevent future issues, follow these maintenance tips.
- Regular Cleaning: Clean your chair regularly to remove dust and debris. Use a vacuum cleaner with a brush attachment to clean the fabric or leather. Wipe down the base and frame with a damp cloth.
- Lubricate Moving Parts: Occasionally lubricate the moving parts of the chair, such as the swivel mechanism and the height adjustment lever. Use a silicone-based lubricant.
- Check for Loose Screws: Periodically check all the screws and bolts on the chair to make sure they’re tight. Tighten any loose screws to prevent wobbling or instability.
- Avoid Overloading the Chair: Don’t exceed the weight limit of the chair. Overloading can damage the gas cylinder and other components.
When to Consider Replacing the Entire Chair
Sometimes, the cost of repairing a chair can approach the cost of buying a new one. Here’s when it might be time to consider replacing the entire chair.
- Extensive Damage: If the chair has extensive damage to the frame, seat, or backrest, it might not be worth repairing.
- Multiple Issues: If the chair has multiple issues, such as a broken cylinder, torn fabric, and a wobbly base, it might be more cost-effective to replace it.
- Old Age: If the chair is very old, the parts might be difficult to find, and the overall condition might be deteriorating.
- Ergonomic Concerns: If the chair is not providing adequate support or is causing discomfort, it might be time to upgrade to a more ergonomic model.
Choosing the Right Replacement Gas Cylinder
Selecting the correct replacement gas cylinder is crucial for a successful repair. Here’s what to consider.
Measuring the Old Cylinder
As mentioned earlier, measure the length and diameter of the old cylinder. This will ensure that the new cylinder fits properly. Measure both the extended and compressed lengths to ensure the height range is suitable for your needs.
Cylinder Diameter
The standard gas cylinder diameter is typically 2 inches (50mm), but it’s always best to verify. If your chair uses a non-standard size, finding a replacement might be more challenging.
Cylinder Length
The length of the cylinder determines the height range of the chair. Choose a cylinder length that matches your original cylinder to maintain the same height adjustment range.
Weight Capacity
Check the weight capacity of the new cylinder. Make sure it’s sufficient for your weight. Exceeding the weight capacity can damage the cylinder and cause it to fail prematurely.
Quality and Reviews
Read reviews and choose a gas cylinder from a reputable brand. Higher-quality cylinders are more likely to last longer and provide reliable performance. Look for cylinders with good seals and durable construction.
| Factor | Considerations |
|---|---|
| Length | Match the extended and compressed lengths of the old cylinder |
| Diameter | Typically 2 inches (50mm), but verify |
| Weight Capacity | Ensure it exceeds your weight |
| Quality | Choose reputable brands with good reviews |
Alternative Solutions
If you’re not comfortable replacing the gas cylinder yourself, here are some alternative solutions.
Professional Repair
You can take your chair to a professional repair shop. They can replace the gas cylinder for you. This is a good option if you’re not confident in your DIY skills or if you don’t have the necessary tools.
Chair Repair Kits
Some companies offer chair repair kits that include a new gas cylinder and other replacement parts. These kits can be a convenient option, but make sure to choose a kit that’s compatible with your chair model.
Using a Chair Stabilizer
If you don’t want to replace the cylinder, you can use a chair stabilizer. This is a device that prevents the chair from sinking by locking the cylinder in place at a specific height. While it doesn’t fix the underlying problem, it can provide a temporary solution.
Safety Precautions
When working on your office chair, follow these safety precautions to prevent injuries.
- Wear Safety Glasses: Protect your eyes from debris.
- Wear Work Gloves: Protect your hands.
- Use the Right Tools: Use the correct tools for the job. Don’t try to force anything.
- Work in a Clear Space: Make sure you have enough room to work safely.
- Be Careful with Penetrating Oil: Penetrating oil can be flammable. Use it in a well-ventilated area and keep it away from open flames.
Cost Considerations
Before you start the repair, consider the cost of the replacement parts and tools. Here’s a breakdown of the typical costs.
- Gas Cylinder: $20-$50
- Rubber Mallet: $10-$20
- Pipe Wrench or Adjustable Wrench: $15-$30
- WD-40 or Penetrating Oil: $5-$10
If you already have some of the tools, the cost will be lower. However, if you need to buy everything, the total cost could be $50-$100. Compare this to the cost of a new office chair to see if it’s worth the repair.
Ergonomic Tips for Your Office Chair
Once you’ve fixed your chair, make sure it’s set up correctly for optimal ergonomics. Here are some tips.
- Adjust the Height: Adjust the chair height so that your feet are flat on the floor and your knees are at a 90-degree angle.
- Adjust the Backrest: Adjust the backrest so that it supports the natural curve of your spine.
- Adjust the Armrests: Adjust the armrests so that your elbows are at a 90-degree angle and your shoulders are relaxed.
- Use a Footrest: If your feet don’t reach the floor, use a footrest to support them.
- Take Breaks: Get up and move around every 20-30 minutes to prevent stiffness and fatigue.
FAQ About Sinking Office Chairs
Why does my office chair keep losing height?
The most common reason is a faulty gas cylinder. The seals inside wear out, letting the compressed gas leak, which causes the chair to sink.
Is it safe to use a sinking office chair?
It’s generally safe, but it’s not ideal for your posture. Constantly readjusting can be distracting and uncomfortable, so fixing it is best.
Can I fix a sinking office chair without replacing the cylinder?
Sometimes. Check if the adjustment lever is loose and tighten it. However, if the cylinder is leaking, replacement is usually necessary.
How much does it cost to replace an office chair gas cylinder?
A new gas cylinder typically costs between $20 and $50. The total cost depends on whether you do it yourself or hire a professional.
Where can I buy a replacement gas cylinder for my office chair?
You can find them at most office supply stores, hardware stores, or online retailers like Amazon.
How do I know what size gas cylinder to buy?
Measure the length and diameter of your old cylinder before ordering a replacement. The standard diameter is usually 2 inches (50mm).
Can I prevent my new gas cylinder from failing?
Avoid overloading the chair beyond its weight capacity. Also, avoid repeatedly and aggressively adjusting the height, as this can wear down the seals faster.
Conclusion
A sinking office chair can be a real pain, but it’s usually a problem you can fix yourself. By understanding the cause, gathering the right tools, and following these steps, you can replace the gas cylinder and get your chair back in working order. Don’t let a sinking chair ruin your workday. Take control and fix it yourself! You’ll save money and feel great about your DIY skills. Now, get back to work – comfortably!