Hey there, fellow home garden enthusiasts! Ever feel like you’re drowning in kitchen scraps and yard waste, wishing there was a simpler way to turn that “trash” into garden gold? You’re not alone! Composting can seem a little overwhelming at first, especially when you’re aiming for bigger batches.
But don’t worry, I’m Troy D Harn, and my mission is to break down these tasks into easy-to-follow steps. Today, we’re diving into windrow composting – a fantastic method for handling larger amounts of organic material. It’s a proven system, and by the end of this guide, you’ll have the confidence to set up and manage your own. Let’s get your garden the nutrient boost it deserves!
What is Windrow Composting and Why Should You Care?
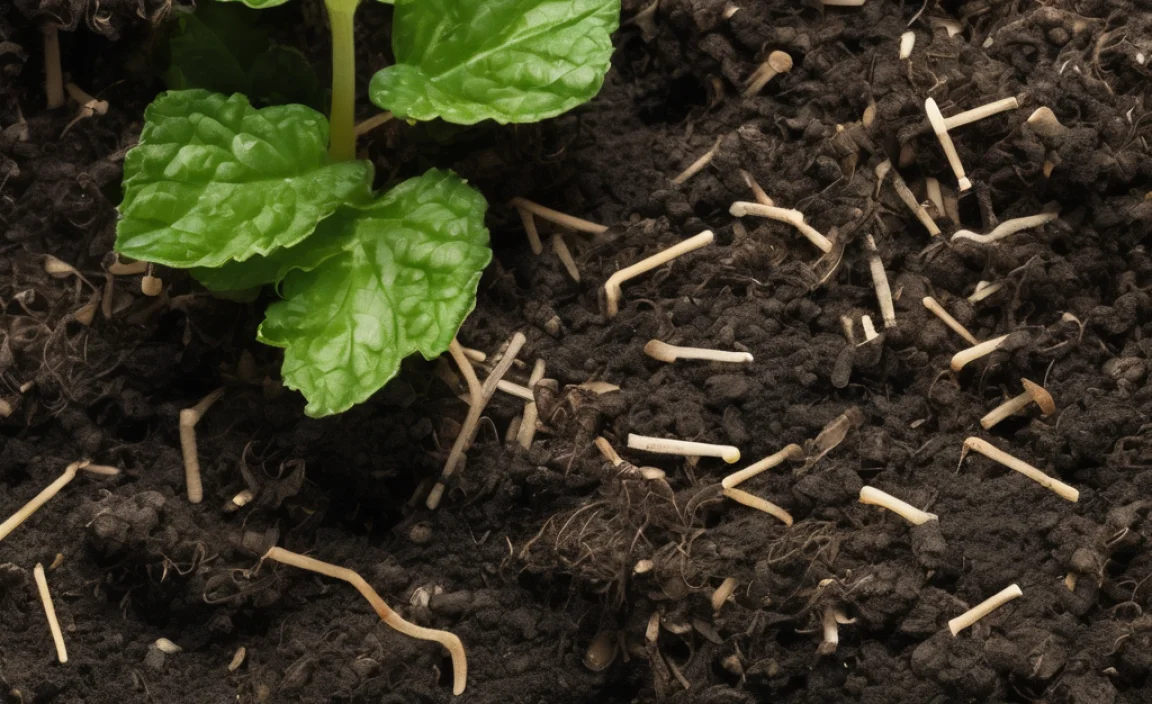
Windrow composting is basically a method of composting where organic materials are piled into long, narrow heaps, called windrows. Think of it like a long, organized compost pile. This technique is super popular because it’s efficient for dealing with larger volumes of waste, making it ideal for homeowners with substantial yards, community gardens, or even small farms. It allows for good aeration and moisture control, which are key to fast, healthy decomposition. Instead of a small bin, you’re creating a system that can churn out serious amounts of compost.
Why is this a big deal for your garden? Compost is like a superfood for your soil. It improves soil structure, helping it retain moisture better and drain well. It also adds vital nutrients that your plants will absolutely love, leading to healthier, more productive growth. Plus, it diverts a ton of waste from landfills, which is a win for the planet!
The Basics of Windrow Composting: What You Need to Know
The magic of windrow composting lies in its simplicity and scalability. Unlike smaller bin composting, windrows are designed to be turned and managed on a larger scale. The core idea is to create the right environment for microorganisms – the tiny workers that break down organic matter – to do their job efficiently.
Here are the key elements that make windrow composting work:
- Organic Materials: You need a good mix of “greens” (nitrogen-rich) and “browns” (carbon-rich) to feed the microbes.
- Aeration: Oxygen is crucial for the aerobic bacteria that break down waste quickly and without foul odors.
- Moisture: The compost pile needs to be damp, like a wrung-out sponge, but not soaking wet.
- Temperature: The center of the pile needs to get hot (130-160°F or 55-70°C) to kill weed seeds and pathogens.
- Turning: Regularly turning the pile mixes materials, adds oxygen, and helps regulate temperature and moisture.
Gathering Your Tools and Materials
You don’t need a fancy setup to start windrow composting. The beauty is in its straightforward approach. However, having the right basic tools will make the process much smoother and more efficient.
Essential Gear for Your Windrow
- Shovel or Pitchfork: For turning the compost and moving materials. A pitchfork is often preferred for its ability to aerate.
- Wheelbarrow: To transport your greens and browns to the windrow location.
- Water Source: A hose with a spray nozzle or even a watering can. You need to be able to add water evenly.
- Optional: Compost Thermometer: This isn’t strictly necessary for beginners, but it helps you monitor the internal temperature of your compost pile, ensuring it’s heating up properly. You can find good ones online or at garden supply stores.
- Optional: Tarp: A tarp can be useful for covering the windrow occasionally to retain moisture or heat, especially in dry or cold weather.
What to Compost (Greens & Browns)
The absolute foundation of good compost is a balanced mix of nitrogen-rich “greens” and carbon-rich “browns.” Aim for a ratio of about 2-3 parts browns to 1 part greens by volume. This isn’t an exact science, and you’ll get a feel for it over time!
Good “Greens” (Nitrogen-Rich):
- Vegetable and fruit scraps
- Coffee grounds and tea bags
- Grass clippings (use in thin layers to prevent matting)
- Plant trimmings (non-diseased)
- Manure from herbivores (cows, horses, rabbits, chickens – avoid cat or dog waste)
Good “Browns” (Carbon-Rich):
- Dry leaves
- Straw or hay
- Shredded newspaper or cardboard (avoid glossy paper)
- Sawdust from untreated wood
- Wood chips (in moderation, as they take longer to break down)
- Small twigs and branches
Avoid composting meat, dairy products, oily foods, diseased plants, pet waste (from carnivores), and chemically treated yard waste. These can attract pests, create odors, or introduce harmful substances into your compost.
Step-by-Step: Building Your First Windrow Compost Pile
Alright, it’s time to get your hands dirty and build that compost windrow! We’re going to break this down into simple, manageable steps. You’ve got this!
Step 1: Choose Your Location Wisely
Picking the right spot is more important than you might think. You want a place that’s:
- Accessible: Easy to get to with your wheelbarrow and tools.
- Well-drained: You don’t want your compost sitting in a puddle.
- Partially shaded: Full sun can dry it out too quickly, while full shade might keep it too cool and wet. Some dappled shade is often ideal.
- Away from structures: Give it some breathing room.
- Near a water source: Makes watering much easier.
For windrows, you’ll need a good amount of space. A common starter size is about 3-5 feet wide, 3-5 feet tall, and as long as you need it, depending on how much material you have. Remember, the height and width help the pile retain heat.
Step 2: Start Layering Your Materials
This is where your greens and browns come into play. The goal is to mix them as you build. A good strategy is to start with a base layer of coarser brown material (like twigs or straw) for aeration. Then, alternate layers of greens and browns. Don’t worry too much about perfect 2-3:1 ratios at this stage; just try to mix them as you go.
- Base Layer: Lay down a 4-6 inch layer of coarse browns (twigs, straw, wood chips). This helps air circulate from the bottom.
- Brown Layer: Add a layer of finer browns (dry leaves, shredded cardboard).
- Green Layer: Add your green materials (kitchen scraps, grass clippings).
- Repeat: Continue layering browns and greens until your windrow is built to your desired height (around 3-5 feet). Try to finish with a brown layer on top. This helps prevent odors and discourages flies.
If you have a lot of one type of material, like a huge batch of grass clippings, it’s best to mix them in moderation with browns or let them dry out a bit first to avoid them getting slimy and compacted.
Step 3: Add Water
Once your pile is built, it needs moisture. Water it thoroughly using your hose or watering can. You want the entire mass to be consistently damp, like a wrung-out sponge. If you grab a handful and squeeze, only a drop or two of water should come out. If it’s too dry, the decomposition process will slow way down. If it’s too wet, it can become anaerobic and smelly.
Step 4: Monitor and Turn Regularly
This is the heart of windrow composting. Turning the pile is what introduces oxygen, keeps the temperature optimal, and ensures even decomposition.
- Frequency: For hot composting, you’ll want to turn your windrow every 1-2 weeks. For a more laid-back, cold composting approach, you can turn it every 4-6 weeks.
- How to Turn: The goal is to move material from the outside to the inside and vice-versa. Use your shovel or pitchfork to toss the outer layers into the center and bring the center material to the outside. Break up any large clumps.
- Check Moisture: Each time you turn, check the moisture level. If it feels dry, add water as you turn. If it seems too wet, turn it more frequently and add more brown material.
The center of the pile should heat up significantly within a few days of building or turning, especially if you’re aiming for hot composting. This heat is a good sign that the microbes are working hard!
Understanding the Composting Process: Greens, Browns, and Microbes
Composting is a natural process driven by a diverse community of microorganisms – bacteria, fungi, actinomycetes – and larger organisms like worms and insects. These tiny helpers break down organic matter into a rich, soil-like material called humus.
The Role of Carbon and Nitrogen
Think of carbon (from browns) as the energy source for the microbes, and nitrogen (from greens) as their protein. A good balance ensures they have everything they need to thrive and multiply. Too much nitrogen, and the pile can become wet and smelly. Too much carbon, and the decomposition slows down significantly.
The ideal Carbon-to-Nitrogen ratio (C:N) for composting is often cited as around 25:1 to 30:1. While you don’t need to get out a calculator for every scrap, keeping the general 2-3 parts browns to 1 part greens rule of thumb in mind is usually sufficient for home composting.
Temperature Zones in Your Windrow
During the active phase of composting, especially in a well-managed windrow, you’ll experience different temperature zones:
| Temperature Range | Stage of Composting | What’s Happening |
|---|---|---|
| Mesophilic Phase (68-113°F / 20-45°C) | Initial Decomposition | Mesophilic (moderate-temperature) microbes begin to break down the easily digestible compounds. |
| Thermophilic Phase (131-160°F / 55-70°C) | Active Decomposition / “Hot” Composting | Thermophilic (heat-loving) microbes take over, rapidly breaking down complex organic matter. This high temperature is crucial for killing weed seeds and pathogens. This is why turning is important – to expose all material to these hotter zones. |
| Cooling/Curing Phase (below 104°F / 40°C) | Maturation | Temperatures drop as readily available food sources are depleted. Actinomycetes and fungi become more active, breaking down tougher materials. This stage can also involve mesophilic microbes re-colonizing. |
Monitoring the temperature with a compost thermometer can give you a good indication of what’s happening inside your windrow. If your pile isn’t heating up, it’s usually a sign of insufficient nitrogen, too little moisture, or a lack of aeration. If it gets too hot (above 160°F / 70°C), it can kill beneficial microbes, so turning is essential to regulate it.
Signs of Healthy and Unhealthy Compost
You’ll be able to tell if your windrow is happy and on the right track by observing a few things. Just like with gardening, paying attention is key to success!
Healthy Compost Indicators:
- Earthy Smell: Good compost smells like fresh soil or a forest floor.
- Even Temperature: The center is warm to hot (during active phase), and the outside is cooler.
- Moist Texture: Damp, but not waterlogged.
- Mixed Materials: You can still distinguish some of the original materials, but they are clearly breaking down.
- Activity: You might see earthworms or other beneficial organisms.
Warning Signs and What They Mean:
- Ammonia or Rotting Smell: This usually indicates too much nitrogen (too many greens), or the pile is too wet and becoming anaerobic.
- Fix: Turn the pile frequently and add more brown, carbon-rich materials like shredded paper, cardboard, or dry leaves.
- Pile Isn’t Heating Up: Could be too dry, too many browns (not enough nitrogen), or not enough material to generate heat.
- Fix: Add more greens (kitchen scraps, grass clippings), water the pile, or ensure your windrow is large enough (a minimum of 3x3x3 feet is often recommended for hot composting).
- Pests (Flies, Rodents): Often caused by exposed food scraps or improper composting of meat/dairy.
- Fix: Ensure food scraps are buried within the pile, cover the pile with browns, and avoid prohibited items. If rodents are a significant issue, consider a sturdier bin or a different method.
- Slimy or Matted Material: Usually from too many grass clippings or other wet greens being layered too thickly.
- Fix: Break up the matted material by turning thoroughly and mix in plenty of dry brown materials.
When is Compost Ready?
Compost is ready when it has transformed from recognizable scraps into a dark, crumbly, nutrient-rich material that smells earthy. You shouldn’t be able to identify the original food or yard waste anymore. This process can take anywhere from a few months (with diligent hot composting and turning) to a year or more (with cold composting). The curing phase is important for stabilizing the compost and allowing beneficial fungi and bacteria to thrive.
To speed up the curing process, you can screen your compost, removing any larger, undecomposed pieces for another pile. Use the finished compost by mixing it into your garden beds, using it as a mulch, or adding it to potting soil.
Tips for Success and Troubleshooting
Even with the best intentions, you might encounter a few hiccups. That’s totally normal! Here are some Pro Tips and common troubleshooting scenarios to help you keep your windrow composting journey smooth sailing.
Troy’s Top Tips for Windrow Warriors:
- Start Small, Grow Big: If you’re new to windrow composting, don’t feel pressured to build a massive 50-foot windrow. Start with a manageable size and get a feel for the process.
- Chop It Up: Smaller pieces break down faster. If you have large branches or bulky items, consider running them through a chipper or breaking them down.
- Mix It Up: The more you mix your greens and browns as you build the pile, the more even the decomposition will be.
- Don’t Over-Water: It’s easier to add water than to fix a waterlogged pile. Be mindful of how much you’re adding.
- Be Patient: Composting is a natural process. Even with optimal conditions, it takes time.
- Layering is Key: Aim for a good mix of greens and browns throughout. A thick layer of just one material can cause problems.
Common Troubleshooting Scenarios:
Let’s look at some common issues and how to fix them:
| Problem | Possible Cause | Solution |
|---|---|---|
| Pile is Smelly (Ammonia or Rotten Eggs) | Too much nitrogen, too wet, or lack of air. | Add more brown materials (leaves, cardboard). Turn the pile thoroughly to aerate. Ensure it’s not waterlogged. |
| Pile Isn’t Heating Up | Too dry, not enough nitrogen, too many browns, or pile is too small. | Add nitrogen-rich greens. Water the pile adequately. Turn and mix materials. Ensure the pile is at least 3x3x3 feet for optimal heat retention. |
| Attracting Pests (Rats, Flies) | Food scraps exposed, improper materials added (meat, dairy). | Bury food scraps deep within the pile. Cover the windrow with a layer of brown materials. Avoid composting meat, dairy, and oily foods. For severe rodent issues, consider fencing or a different containment method. |
| Pile is Too Wet and Soggy | Excessive rain, too many greens, or poor drainage. | Turn the pile frequently to |

I am passionate about home engineering. I specialize in designing, installing, and maintaining heating, ventilation, and air conditioning systems. My goal is to help people stay comfortable in their homes all year long.