Living in an apartment doesn’t mean you can’t have a thriving garden and reduce your food waste. Worm composting, also known as vermicomposting, is a fantastic way to turn kitchen scraps into nutrient-rich fertilizer right on your balcony. It might sound a little tricky at first, but I’m here to break it down. We’ll cover everything from picking the right bin to keeping your little wigglers happy. Get ready to transform your balcony into a mini composting powerhouse!
Worm Composting on Your Balcony: Your Green Thumb’s New Secret Weapon
Hey there! Troy D Harn from TopChooser here. So, you’ve got a balcony but dream of lopping off your kitchen scraps and turning them into gardening gold? You’re in the right place! Many folks think composting is only for big backyards, but that’s just not true. Worm composting is a game-changer for apartment dwellers. It’s clean, relatively odor-free, and produces amazing fertilizer for your potted plants. Let’s ditch the guilt about food waste and start a super simple, super effective worm composting system on your balcony.
Why Worm Composting is Perfect for Balconies
Worm composting uses specific types of worms (not the earthworms you find in your yard!) to break down your food scraps. They eat, process, and leave behind nutrient-rich castings, which are like superfood for your plants. Here’s why it’s a top choice for balcony living:
- Space-Saving: Most worm bins are compact and designed to fit neatly on a balcony.
- Odor Control: When done right, worm composting produces very little odor, unlike traditional compost piles.
- Nutrient-Rich Output: Worm castings are packed with essential nutrients that boost plant growth and soil health.
- Waste Reduction: You’ll significantly cut down on the amount of food waste going to landfills.
- Educational & Fun: It’s a rewarding process to watch your kitchen scraps transform!
Choosing Your Worm Composting Bin
The bin is your worms’ home, so picking the right one is key. For a balcony, you want something sturdy, not too big, and with good airflow. There are a few popular options:
1. Stackable Worm Farms
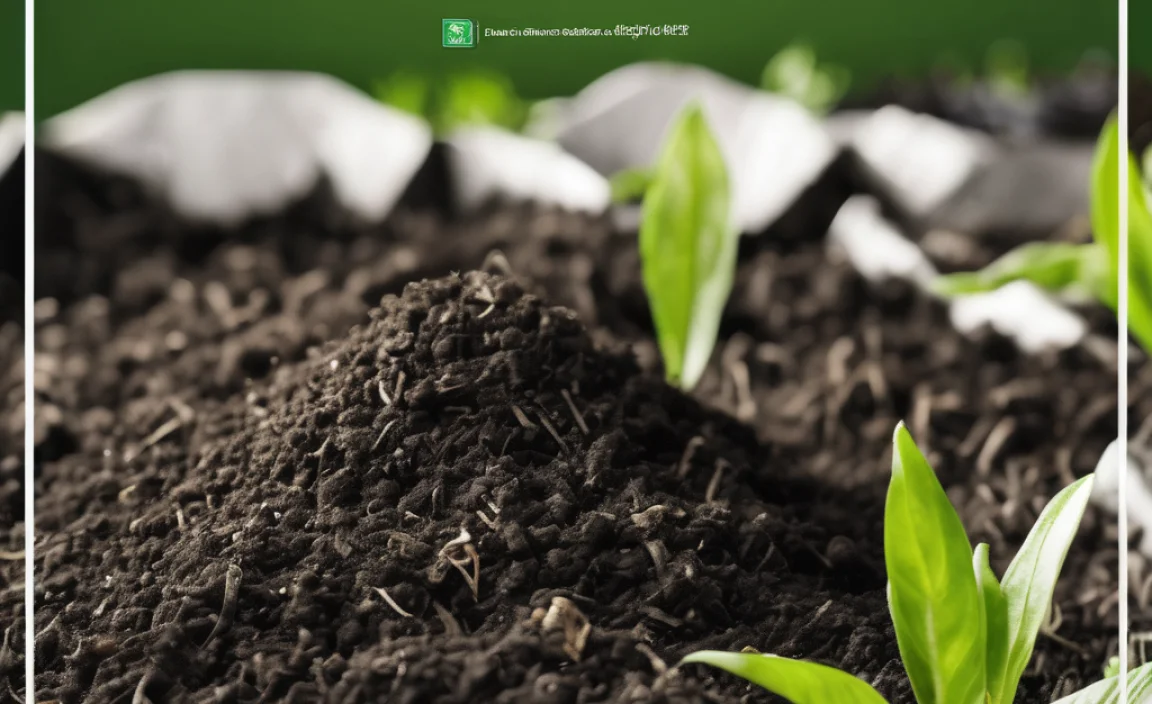
These are super popular for a reason. They usually come with multiple trays. As the worms eat the scraps in the bottom tray, they move up to the next tray to find more food, leaving their castings behind. This makes harvesting the compost easy. They’re also efficient and good for managing moisture.
2. DIY Worm Bins
If you’re handy, you can make your own! A common DIY method uses opaque plastic storage totes. You’ll need to drill holes for ventilation and drainage. It’s a budget-friendly option and allows you to customize the size.
3. Ready-Made Worm Bins
You can also buy pre-made worm composting bins online or at garden centers. These are often well-designed for airflow and drainage and come with instructions. Look for ones made from sturdy, food-grade plastic.
Pro Tip: Whatever bin you choose, make sure it has a lid. This keeps moisture in and pests out. Also, a tray underneath to catch any excess liquid (called “leachate”) is a good idea – this can be diluted and used as a liquid plant fertilizer!
What You Need to Get Started: Your Balcony Worm Composting Kit
Gathering your supplies before you start makes the whole process smoother. Here’s a checklist:
- A Worm Bin: (See choices above)
- Bedding Material: This is what your worms will live in. Good options include shredded newspaper, plain cardboard, coir (coconut fiber), or aged leaves. Avoid glossy paper or colored ink that isn’t soy-based.
- Composting Worms: You can’t just use any worm. Red wigglers (Eisenia fetida) are the superstars of vermicomposting. You can buy them online from reputable worm farms.
- Food Scraps: Your kitchen waste!
- Water: To keep the bedding moist.
- A Small Trowel or Scoop: For adding food and harvesting castings.
- Optional: A Spray Bottle: For misting the bedding.
Where to Buy Worms: Look for online suppliers that specialize in composting worms. They usually ship them safely packed with a bit of bedding. Reputable sources include Uncle Jim’s Worm Farm or Worm Farming Revealed. Always check reviews before buying.
Step-by-Step Guide to Setting Up Your Balcony Worm Bin
Ready to build your worm habitat? It’s easier than you think!
Step 1: Prepare Your Bin and Bedding
If you’re using a stackable bin, set up the bottom tray and the first working tray according to the instructions. If you’re DIYing, make sure your bin has drainage and air holes. For the bedding, shred your newspaper or cardboard into thin strips. Mix it with a little coir or some damp garden soil if you have it. The goal is to have bedding that holds moisture but isn’t soggy – like a wrung-out sponge. Moisten the bedding with water (use a spray bottle or gently pour and mix) until it’s damp throughout.
Step 2: Add the Bedding to the Bin
Fill your first working tray (or your DIY bin) with the moistened bedding. It should be several inches deep.
Step 3: Introduce Your Worms
Gently place your composting worms onto the surface of the bedding. They might burrow down at first, which is perfectly normal. Give them a day or two to settle in before you start adding food.
Step 4: Begin Feeding Your Worms
Start by adding only a small amount of food scraps. Bury the scraps under the bedding. This helps prevent odors and discourages pests. Your worms will eat the food and the bedding.
What to Feed Your Worms (The “Do’s”):
- Vegetable and fruit scraps (peels, cores, rinds – chop larger items)
- Coffee grounds and tea bags (remove staples and plastic tags)
- Crushed eggshells (add a little calcium and help balance pH)
- Plain cooked pasta or rice (in small quantities)
- Bread (in small quantities)
What to Avoid Feeding Your Worms (The “Don’ts”):
- Meat, fish, or dairy products (these attract pests and cause odors)
- Oily or greasy foods
- Spicy foods or citrus rinds in large quantities (can be too acidic)
- Onion skins or garlic (can be toxic in large amounts)
- Manure from dogs, cats, or diseased animals
- Treated wood or plastics
Step 5: Maintain Moisture and Aeration
Check the moisture level regularly. The bedding should always feel damp. If it’s too dry, mist it with water. If it’s too wet, add more dry bedding material or gently aerate it with a trowel. Proper airflow is crucial to prevent the bin from becoming anaerobic (lacking oxygen), which can lead to bad smells.
Balcony Placement Tip: Worms prefer moderate temperatures, ideally between 55-77°F (13-25°C). Avoid placing your bin in direct, hot sun, which can overheat it, or in areas that freeze. A shaded spot on your balcony is usually best. If your balcony gets very hot in summer or cold in winter, you might need to insulate the bin with blankets or move it indoors temporarily.
What to Feed Your Worms: A Deeper Dive
Knowing what your wigglers love to munch on is key to a successful compost system. Think of them as tiny, composting machines that thrive on a balanced diet. Here’s a more detailed look at their menu:
Worm Buffet – The Good Stuff
- Fruits and Veggies: Your everyday kitchen scraps are perfect. Chop them into smaller pieces to help them break down faster. This means your worms have less work to do!
- Coffee Grounds & Tea Bags: A favorite for many worm farmers. The grounds provide grit for their digestion, and the bags can be added too (just remove any staples or plastic strings).
- Eggshells: A great source of calcium. Rinse them, crush them finely, and add them to the bin. This also helps to neutralize acidic food scraps.
- Grains and Starches: Small amounts of cooked pasta, rice, or even bread can be given, but ensure they don’t form a dense paste that could attract pests or become anaerobic.
- Plant Trimmings: Small amounts of non-diseased, chopped-up green plant trimmings can be added.
Worm Diet – The “Avoid at All Costs” List
These items can cause smells, attract unwanted pests, or even harm your worms:
- Meat, Fish, and Dairy: These decompose slowly and can create foul odors, attracting flies and other scavengers. Save these for your regular garbage bin.
- Oils, Fats, and Greases: They coat the bedding, making it difficult for worms and microbes to breathe and can lead to anaerobic conditions.
- Citrus and Onions in Bulk: While small amounts of citrus peels or a bit of onion might be okay, large quantities can make the bin too acidic for the worms.
- Processed Foods: Foods with high salt content, artificial ingredients or preservatives are generally not good for worms.
- Pet Waste: Unsafe due to potential pathogens.
Tip: When in doubt, leave it out! It’s better to underfeed than to overfeed with a questionable item.
Managing Your Worm Composting System
Once your bin is set up and your worms are happy, you’ll need to do a little regular maintenance. It’s not demanding, but consistency is key.
Feeding Routine
Feed your worms every few days, depending on how much food waste you generate and how quickly they eat it. Always bury the new food under the bedding. If you notice uneaten food after a week, you’re probably feeding them too much or the conditions aren’t ideal. Reduce the amount of food until they catch up.
Moisture Levels
The bedding should be consistently moist but not soaking wet. If it feels dry, mist with water. If it feels too wet, add more dry bedding material (like shredded newspaper or cardboard) and gently mix it in. Good drainage is essential. If you have a collection tray for leachate, empty it regularly and dilute it for plant fertilizer.
Aeration
Lightly fluff the bedding with a trowel or fork every week or two. This helps with airflow and prevents compaction. Careful not to disturb the worms too much!
Temperature Control
As mentioned, worms are sensitive to extreme temperatures. On a hot balcony, your bin can cook. On a cold balcony, your worms can freeze. If temperatures are too extreme, consider:
- Insulating: Wrap the bin in a blanket or use a reflective tarp.
- Moving: Bring the bin indoors to a basement, garage, or even a cooler part of your apartment during harsh weather.
- Shade: Ensure the bin is in a shaded spot during the hottest parts of the day.
You can find more detailed temperature and environmental guidelines from resources like the U.S. Environmental Protection Agency (EPA) regarding composting practices.
Harvesting Your Worm Castings
The moment of triumph! After a few months, you’ll see dark, crumbly material – worm castings! How you harvest depends on your bin type.
Harvesting from Stackable Bins
Most stackable bins make this easy. As you add food to the top tray, the worms will migrate upwards, leaving the finished compost in the lower tray. Once you see the lower tray is mostly castings, you can remove it for harvesting.
Harvesting from Single or DIY Bins
This requires a bit more manual work:
- Stop adding food to one side of the bin for a week or two.
- Pile all the finished castings to one side.
- Start feeding only on the empty side. The worms will move to the food.
- After a few weeks, you can scrape off the top layer of castings from the side where you previously fed.
- Alternatively, you can “dump and sort.” Empty the entire bin contents onto a tarp in a sunny spot. The worms will burrow away from the light and heat. Scrape away the top layer of castings, then wait for the remaining worms to burrow deeper. Repeat until you’ve collected most of the castings. You can then “seed” your bin with a fresh batch of bedding and remaining worms.
Your worm castings are now ready! Mix them into your potting soil or top-dress your plants. They are a slow-release, amazing fertilizer.
Troubleshooting Common Worm Composting Problems
Even with the best intentions, you might run into a snag. Here are some common issues and how to fix them:
Problem: Bad Odors
Usually caused by overfeeding, too much moisture, or the wrong food.
Fix: Stop feeding for a week. Add dry bedding (shredded newspaper/cardboard). Gently aerate the bin. Ensure you haven’t added prohibited foods like meat or dairy.
Problem: Fruit Flies or Gnats
Attracted by exposed food scraps.
Fix: Bury food scraps completely under bedding. Make sure the lid is sealed tightly. You can also place a shallow dish of apple cider vinegar near the bin to trap them.
Problem: Worms Trying to Escape
This is a sign that something is wrong in their environment.
Fix: Check moisture (too wet or too dry?), temperature (too hot or too cold?), or pH balance (too acidic from too many citrus scraps). Ensure adequate ventilation and that bedding isn’t hydrophobic (repelling water).
Problem: Bin is Too Wet
Can lead to anaerobic conditions and odors.
Fix: Add more dry bedding material. Gently aerate the bin. Ensure drainage holes are not blocked.
Problem: Bin is Too Dry
Worms can dry out and won’t be active.
* Fix: Mist the bedding with water using a spray bottle. Add moist scraps or a little water directly to the bedding. Mix well.
Benefits of Worm Castings for Balcony Gardens
The “black gold” produced by your worms is incredible for potted plants. Here’s why:
- Nutrient-Rich: Castings are packed with nitrogen, phosphorus, and potassium, plus micronutrients your plants need.
- Improves Soil Structure: They help aerate soil and improve its ability to retain moisture.
- Beneficial Microbes: Castings contain beneficial bacteria and fungi that help plants absorb nutrients and fight off diseases.
- Gentle Fertilizer: It’s very difficult to over-fertilize with worm castings, making them safe for even delicate seedlings.
- Detoxifies Soil: They can help absorb toxins in the soil.
Use them by mixing them into your potting soil (about 10-20% castings to soil ratio) or by “top-dressing” – sprinkling a layer on top of your soil and gently watering it in.
Making the Most of Your Balcony Space
Your worm bin doesn’t have to be the only green thing on your balcony. Here are ideas to integrate it:
Companion Planting: Use your worm castings to enrich the soil for your herbs, vegetables, or flowers. Think cherry tomatoes, peppers, leafy greens, or even a dwarf fruit tree.
Vertical Gardening: Mount planters or hanging baskets on your balcony walls to maximize space. Use your worm castings to keep these plants healthy and productive.
Water Conservation: The improved soil structure from worm castings helps retain moisture, meaning you’ll water your plants less often – a great advantage on a balcony where water can dry out quickly.
Aesthetics: A well-maintained worm bin can actually look quite neat, especially if it’s a commercial unit. Plus, it’s quite satisfying to see your ecosystem at work!
Conclusion: Your Balcony Oasis Awaits!
See? Worm composting on your balcony is totally achievable and incredibly rewarding. You’re not just getting fantastic fertilizer for your plants; you’re actively reducing waste and creating a mini-ecosystem right outside your door. It’s amazing how a few simple steps can lead to such a positive impact, both for your garden and for the planet.
Remember to start slow, observe your worms, and don’t be afraid to adjust things as you go. Your balcony garden will thank you for the nutrient-rich boost, and you’ll feel great about your sustainable living efforts. Happy composting!
Frequently Asked Questions About Balcony Worm Composting
Q1: How much food waste can a worm bin handle?
A1: A general rule of thumb is that a pound of worms can eat about half their weight in food scraps per day. Start small and observe your worms. You can add more food as they become established. A typical 10-pound bin of worms can handle about 5 pounds of food waste per day.
Q2: Will my balcony worm bin smell bad?
A2: If managed properly, a worm bin should smell earthy, like a forest floor, not foul. Bad odors are usually a sign of overfeeding, anaerobic conditions (lack of air), or prohibited food items (like meat or dairy). Ensure good aeration and bury food scraps.
Q3: How often do I need to harvest worm castings?
A3: This depends on the size of your bin and how much you feed it. It can take anywhere from 2 to 6 months for a bin to be ready for harvesting. You’ll notice the lower trays filling with dark, crumbly material.
Q4: Can I put my worm bin outside all year round?
A4: This depends heavily on your climate. Worms prefer moderate temperatures (55-77°F / 13-25°C). If your balcony experiences freezing in winter or extreme heat in summer, you’ll need to protect the bin by insulating it, moving it indoors, or choosing a worm bin suited for outdoor use with proper temperature regulation.
Q5: What is leachate and what do I do with it?
A5: Leachate is the liquid that drains from the worm bedding. It can be a nutrient-rich “tea” for your plants. However, it can also be anaerobic if it sits in a stagnant pool. If it looks dark and smells bad, it’s best to discard it and check your bin’s drainage. If it’s light and smells fine, dilute it with water (about 1 part leachate to 10 parts water) and use it to water your plants.
Q6: How many worms do I need to start?
A6: A common starting point is 1/2 to 1 pound of composting worms (usually Red Wigglers). This is enough to begin processing household food scraps effectively without overwhelming the system.
Q7: Can I just use the worms I dig up from my garden?
A7: No, you should use specific composting worms like Red Wigglers (Eisenia fetida) or European Nightcrawlers (Eisenia hortensis). Garden earthworms are designed for different conditions and may not thrive or process waste efficiently in a worm bin.

I am passionate about home engineering. I specialize in designing, installing, and maintaining heating, ventilation, and air conditioning systems. My goal is to help people stay comfortable in their homes all year long.