Thinking about composting but feel a bit overwhelmed? Worm composting, or vermicomposting, is a fantastic way to turn kitchen scraps into rich, fertile soil right at home. It’s surprisingly simple, almost magical, and perfect for folks in Canada, no matter the size of your space or the climate outside. Forget complicated setups; we’ll break down this eco-friendly practice into easy, manageable steps. Ready to create some “black gold” with the help of some tiny wriggly friends? Let’s get started!
Why Worm Composting? The Canadian Advantage
Worm composting is a game-changer for Canadians looking to reduce waste and enrich their gardens. Unlike traditional composting, it works year-round, indoors, making it ideal for our diverse climates. You can do it in an apartment, a small backyard, or a large property. It’s a sustainable way to handle food scraps, cutting down on landfill waste and producing incredible fertilizer for your plants, whether they’re on a balcony or in a sprawling garden. Plus, it diverts organic materials that would otherwise produce methane, a potent greenhouse gas.
Getting Started: What You Need
Setting up your worm composting system is straightforward. You don’t need much, and many items can be found around the house or at a low cost.
Choosing Your Worm Bin
Your worm bin is your composting headquarters. It needs to keep your worms safe, provide airflow, and hold moisture. Here are a few popular options for Canadian conditions:
- DIY Bins: These are usually made from opaque plastic storage totes. They are budget-friendly and customizable. Look for totes with lids.
- Commercial Bins: These are readily available and often come with multiple trays for easy harvesting of compost. They are usually made of plastic and designed for good ventilation.
- Stacking Systems: These often have a collection tray for liquid fertilizer (worm tea) and multiple layers where the worms migrate upward as they process material.
What to Look for in a Bin:
- Opaque Material: Worms prefer the dark.
- A Lid: Keeps pests out and moisture in.
- Drainage: Essential to prevent excess moisture, which can harm the worms.
- Aeration: Worms need to breathe! Holes are key.
The Star Performers: Choosing Your Composting Worms
You won’t be using your garden-variety earthworms for vermicomposting. The best worms for the job are specific species that thrive in confined environments and love to munch on organic matter. The most common and recommended are:
- Red Wigglers (Eisenia fetida): These are the go-to worms for most home composters. They are voracious eaters and reproduce quickly, making them efficient composters. They can tolerate a range of temperatures, which is great for varying Canadian climates.
- European Nightcrawlers (Eisenia hortensis): Also known as Belgian worms, these are larger than red wigglers and can also be used. They tend to be a bit slower in processing but are hardy.
You can usually purchase composting worms online from specialized worm farms or potentially from local gardening centres, especially during the warmer months. When ordering, ensure they are shipped to your location in Canada with care, considering transit times and weather.
Bedding: A Cozy Home for Your Worms
Before your worms can start their work, they need a comfortable place to live. This is called bedding, and it’s much more than just shredded paper. It should be moist, airy, and provide initial food for the worms.
Good Bedding Materials:
- Shredded Newspaper: Black and white print is best. Avoid glossy paper.
- Shredded Cardboard: Corrugated cardboard in its plain brown form works well.
- Coconut Coir: A popular, sustainable choice available at garden centres. It holds moisture well.
- Peat Moss: Another option that holds moisture, though some prefer coir for environmental reasons.
- Aged Leaves: Fall leaves that have been broken down are excellent.
Preparing the Bedding:
- Shred your chosen materials into strips or small pieces.
- Moisten the materials thoroughly. The goal is to wring it out so that only a few drops of water come out when squeezed – like a wrung-out sponge.
- Fluff up the bedding to ensure it’s airy.
- Add this fluffy, moist bedding to your worm bin, filling it about halfway to two-thirds full.
Food for Your Worms
Worms are not picky eaters, but there are some food preferences and absolute no-nos. It’s best to start with a limited diet and gradually introduce more variety. Chop up food scraps into smaller pieces; this helps them break down faster.
Good Foods to Feed Your Worms:
- Fruit and vegetable scraps (peels, cores, rinds)
- Coffee grounds and tea bags (remove staples if present)
- Crushed eggshells (rinsed and crushed to a powder or small pieces)
- Plain cooked pasta and rice (in moderation)
- Crushed grain products (oatmeal, bread in small amounts)
Foods to Avoid:
- Meat, bones, and dairy: These attract pests and can create foul odours.
- Oily or greasy foods: They can create anaerobic conditions and smell bad.
- Spicy foods: Onions, garlic, and hot peppers can irritate worms.
- Citrus peels: In large quantities, they can make the bin too acidic.
- Diseased plants: You don’t want to spread plant diseases.
- Pet waste: Can contain pathogens.
Setting Up Your Worm Bin: Step-by-Step
Let’s get your worm bin prepped and ready for its inhabitants. Don’t worry; it’s a simple process!
Step 1: Prepare the Bin
If you’re using a DIY bin, drill small ventilation holes (about 1/8 to 1/4 inch) along the upper sides of the tote and in the lid. If using a commercial bin, follow the manufacturer’s instructions. Ensure there’s a way for liquid to drain if your bin has a collection tray. A shallow bin (6-10 inches deep) is usually sufficient for beginners.
Step 2: Add Bedding
Follow the bedding preparation instructions above. Fill your bin about halfway to two-thirds full with moist, fluffed bedding material. Create a small well or indentation in the centre for your first worm feeding.
Step 3: Introduce Your Worms
Gently place your composting worms (red wigglers or European nightcrawlers) onto the surface of the bedding. Don’t bury them! They will burrow down on their own. Leave the lid off for about 30-60 minutes to allow them to acclimate and settle in. Then, secure the lid.
Step 4: First Feeding
Take a small amount of your prepared food scraps and bury them in the small well you created in the bedding. This gives the worms something to seek out. You don’t need to feed them much initially, as they’ll be munching on the bedding.
Step 5: Placement
Find a suitable spot for your worm bin. Ideal temperatures for red wigglers are between 15-25°C (59-77°F). In Canada, this usually means keeping the bin indoors, away from direct sunlight and extreme temperature fluctuations. A basement, garage (if insulated and temperature-controlled), or even under a sink can work.
Maintaining Your Worm Bin: Keeping Your Worms Happy
Once your bin is set up and your worms are settled, regular maintenance is key to a thriving compost system. It’s less about strict schedules and more about observation.
Feeding Schedule
Begin by feeding your worms once a week. Start with a small amount, about 1/4 to 1/2 pound of food scraps per pound of worms. As your worm population grows and they consume food faster, you can increase the amount. Observe how quickly they are eating the food. If food remains from the previous feeding, feed less next time. You can alternate feeding spots within the bin to encourage worms to move around and process material evenly.
Moisture Levels
The bedding should remain consistently moist, like a wrung-out sponge. If it seems too dry, gently spray it with water and fluff it up. If it’s too wet, add more dry bedding material to absorb excess moisture. Proper ventilation also helps regulate moisture.
Temperature Control
As mentioned, a stable temperature is important. In colder Canadian winters, ensure your bin isn’t placed in an unheated garage or shed where it could freeze. In warmer months, avoid direct sunlight that can overheat the bin. If temperatures climb too high, you might need to move the bin to a cooler location or add frozen water bottles (wrapped in cloth to prevent direct contact with worms) to help cool it down.
Aeration
Gently stir the top layer of bedding every week or two to introduce air. Be careful not to disturb the worms too much. This prevents compaction and helps the composting process.
Harvesting Your Compost
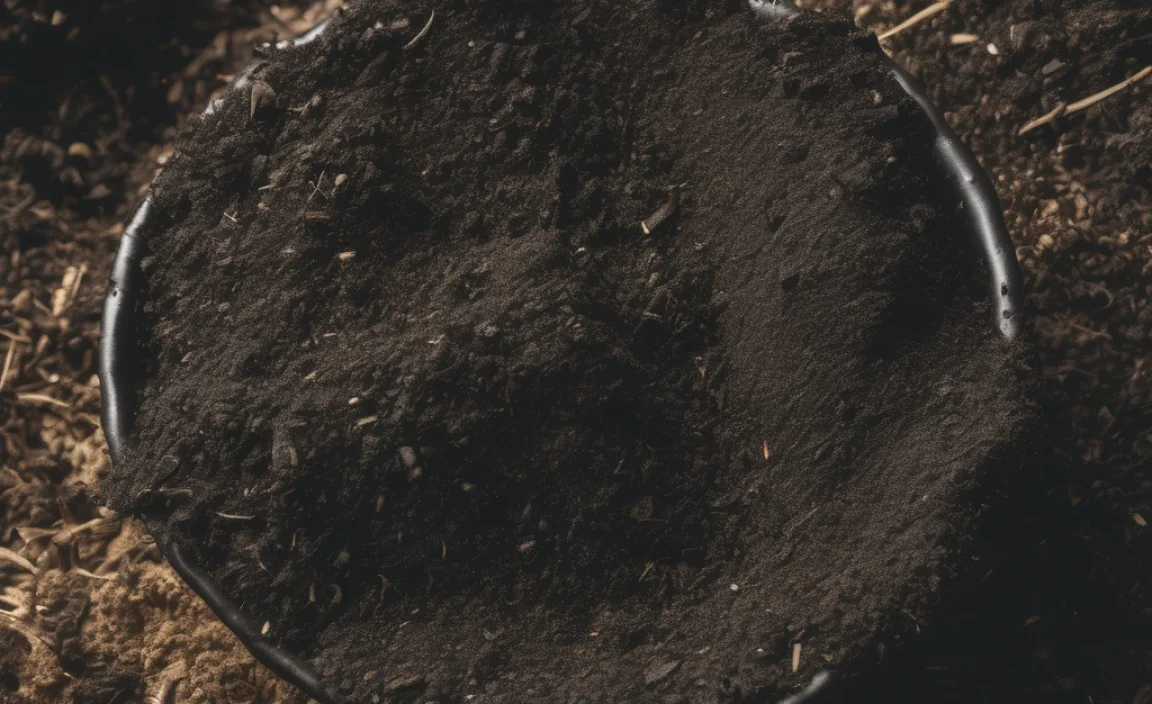
After a few months (typically 3-6), you’ll start to see dark, crumbly material – that’s your finished worm compost, often called “worm castings” or “black gold.” There are a few ways to harvest:
- Migration Method: Stop feeding one side of the bin for a few weeks. The worms will migrate to the other side where the fresh food is, leaving the finished compost ready for collection.
- Light Method: Dump the bin’s contents onto a tarp. Create small piles. The worms will burrow away from the light, allowing you to scoop off the compost from the top. Repeat this process until only worms remain.
- Sifting: For a finer compost, you can use a sieve or screen. This is optional.
Collecting Worm Tea
If your bin is designed to collect liquid (worm tea), you’ll find a nutrient-rich fertilizer. Dilute this liquid with water (about 1 part worm tea to 10 parts water) before using it on your plants. It’s a potent fertilizer!
Troubleshooting Common Worm Composting Issues
Even with the best intentions, you might encounter a few hiccups. Here’s how to tackle them:
1. Foul Odours
Cause: Too much food, too much moisture, or feeding prohibited items (meat, dairy, oils). The bin can become anaerobic (lacking oxygen).
Solution: Stop feeding for a week or two. Gently stir the bin to aerate. Add more dry bedding material to absorb moisture. Ensure you’re only feeding approved items. Bury food scraps completely under the bedding.
2. Fruit Flies or Gnats
Cause: Exposed food scraps on the surface.
Solution: Bury all food scraps about an inch or two below the bedding surface. Avoid overfeeding if food is not being consumed quickly. Some people try placing a small amount of apple cider vinegar in a shallow dish with holes poked in the lid near the bin to attract and trap them.
3. Worms Trying to Escape
Cause: Bin conditions are not right – too wet, too dry, too acidic/alkaline, too much food, or inadequate aeration.
Solution: Check and adjust moisture levels, temperature, and food. Ensure sufficient bedding and aeration. If you find worms on the surface, gently guide them back in and bury the food scraps.
4. The Bin is Too Wet
Cause: Overfeeding with very wet scraps (like melon rinds), lack of aeration, or high humidity.
Solution: Stop feeding for a while. Add plenty of dry bedding material (shredded newspaper or cardboard). Gently fluff the bedding to improve airflow.
5. The Bin is Too Dry
Cause: Not enough moisture in the bedding, poor lid seal leading to evaporation, or hot temperatures.
Solution: Gently spray the bedding with water using a spray bottle until it reaches the consistency of a wrung-out sponge. Ensure the lid is fitting snugly and consider adding moisture-retaining materials like coconut coir.
When to Harvest Your Worm Castings
You’ll know it’s time to harvest when the bin predominantly contains dark, crumbly material, and you see fewer distinct bedding shreds. The majority of the original bedding will have been processed. This typically takes 3-6 months for a beginner’s bin. You can start harvesting smaller amounts earlier if you wish, but waiting for a full cycle yields the best results.
Using Your Worm Castings and Worm Tea
Congratulations, you’ve made “black gold”! Worm castings and worm tea are incredibly beneficial for plants.
For Your Garden and Houseplants:
- Mix worm castings into your potting soil for a nutrient boost.
- Sprinkle castings directly onto the soil surface around established plants, then water them in.
- Use castings as a natural fertilizer for your vegetable garden, flower beds, and houseplants.
For Your Lawn:
- Spread a thin layer of castings over your lawn in the spring or fall.
- It helps improve soil structure, water retention, and provides slow-release nutrients.
Worm Tea:
- Always dilute worm tea with water (a 1:10 ratio of tea to water is a good starting point).
- Use it as a liquid fertilizer for plants, either by watering the soil or as a foliar spray.
Note on Safe Usage in Canada: While worm castings are natural and safe, always ensure your composting process has been completed successfully, avoiding the pitfalls of meat, dairy, or diseased materials. For vegetable gardens, especially those producing edible crops, ensure your composting practices are robust to prevent any pathogen transfer. The Government of Canada’s food safety guidelines are paramount for any food production.
Essential Worm Composting Supplies Recap
Here’s a quick rundown of what you’ll likely need, keeping your Canadian budget and accessibility in mind:
| Item | Description | Notes for Canadians |
|---|---|---|
| Worm Bin | Opaque plastic tote with lid, commercial bin, or stacking system. | Look for sturdy, food-grade plastic. Many hardware stores carry suitable totes. |
| Composting Worms | Red Wigglers (Eisenia fetida) or European Nightcrawlers. | Order online from reputable Canadian suppliers or specialized worm farms. Check local gardening groups. |
| Bedding Materials | Shredded newspaper, cardboard, coconut coir, peat moss. | Available at garden centres, office supply stores, or recycled from home. |
| Food Scraps | Fruits, vegetables, coffee grounds, tea bags, eggshells. | Collect from your kitchen! |
| Spray Bottle | For misting bedding. | Any basic spray bottle will do. |
| Small Hand Trowel/Fork | For mixing and burying food. | Useful for turning the top layer. |
| Optional: Sieve/Screen | For sifting finished compost. | Can be purchased online or made DIY. |
Conclusion: Happy Worms, Happy Planet!
Worm composting in Canada is an accessible, rewarding, and environmentally conscious practice. It transforms kitchen waste into a valuable resource for your plants, reducing your household’s environmental impact. By following these simple steps, understanding your worms’ needs, and observing your bin, you’ll be well on your way to success. Don’t be afraid to experiment and learn as you go—your composting worms will thank you for it with plenty of rich, life-giving compost. Happy composting!
FAQ: Your Worm Composting Questions Answered
Q1: How many worms do I need to start?
A1: A good starting point is 1/4 to 1/2 pound of composting worms. This is usually around 500-1000 worms, depending on their size. They will reproduce as their environment becomes healthy and food is abundant.
Q2: Can I compost meat and bones in a worm bin?
A2: No, absolutely not. Meat, bones, dairy products, and oily foods should never be added to a worm bin. They attract pests and cause foul odours.
Q3: What if my worm bin smells bad?
A3: A healthy worm bin should smell earthy. Bad smells usually indicate anaerobic conditions (lack of air) or the presence of decomposing “wrong” foods. Stop feeding, add dry bedding, and aerate the bin.
Q4: How often should I feed my worms?
A4: Start by feeding once a week. Observe how quickly they consume the food. If it’s gone within a few days, you can feed again. If food is still present, wait longer or feed less next time. Worms can go a couple of weeks without food if necessary.
Q5: Can worms survive the Canadian winter?
A5: Yes, if you manage their environment. Worm composting is typically done indoors during extreme cold. If you must keep the bin outdoors, it needs to be in a heavily insulated space or a heated enclosure to prevent freezing.
Q6: How do I know when the compost is ready?
A6: Finished worm compost looks like dark, rich soil. It should be crumbly and loose, with a pleasant earthy smell. You’ll see very little of the original bedding material.

I am passionate about home engineering. I specialize in designing, installing, and maintaining heating, ventilation, and air conditioning systems. My goal is to help people stay comfortable in their homes all year long.