Worm Composting DIY: Genius Effortless Guide
Want to turn kitchen scraps into amazing plant food without a fuss? Worm composting, also known as vermicomposting, might sound complicated, but it’s actually super simple! This guide is for anyone who wants to reduce waste and give their garden a nutrient boost. We’ll break it down step-by-step, so you can start your worm farm with confidence. Let’s get your worms working for you!
What is Worm Composting and Why Do It?
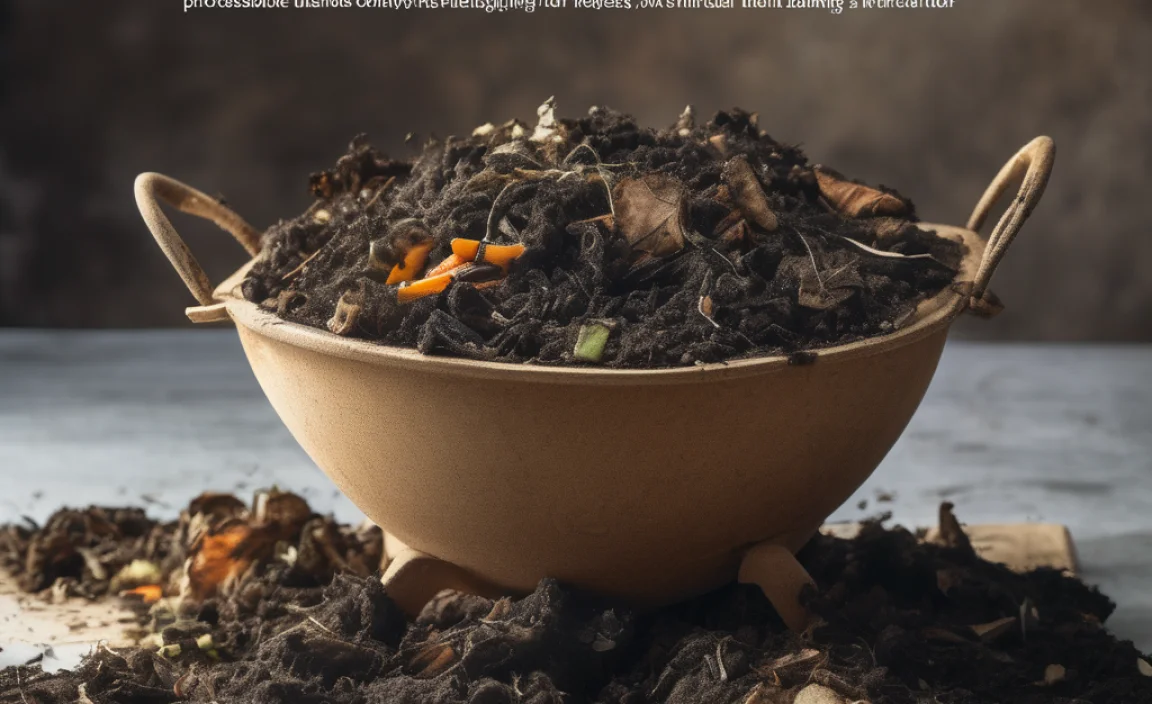
Worm composting is a method of recycling organic waste using specific types of worms, like red wigglers (Eisenia fetida), to break down food scraps and other organic materials. The result is a nutrient-rich soil amendment called worm castings, often called “black gold” by gardeners.
Why is this such a great idea? Well, here are a few reasons:
- Reduces Waste: It diverts a significant amount of food scraps from landfills, where they can produce methane, a potent greenhouse gas.
- Creates Rich Fertilizer: Worm castings are packed with nutrients that benefit plants, improving soil structure, aeration, and water retention. Your plants will thank you!
- Easy and Efficient: It’s a relatively quick composting method, and it can be done indoors or outdoors, making it perfect for apartments, small yards, or even RVs.
- Educational and Fun: It’s a fantastic way to learn about decomposition and the natural world, and can be a rewarding activity for the whole family.
- Cost-Effective: You’ll save money on fertilizers and compost products by making your own.
Getting Started: What You’ll Need
Setting up your worm farm is easier than you think. You don’t need fancy equipment. Here’s a simple rundown of what you’ll need for a successful DIY worm composting setup.
Your Worm Bin Options
The heart of worm composting is the bin. You have a few choices, ranging from DIY containers to store-bought systems. For a beginner-friendly, DIY approach, repurposing common household items is usually the most cost-effective and straightforward method.
Option 1: The DIY Storage Bin Method
This is the most popular and easiest DIY option. You can often find suitable opaque plastic storage bins at discount stores or even use one you already have on hand. Opaque bins are best because worms prefer the dark!
- Container: An opaque plastic storage bin with a lid. A 10-15 gallon size is a great starting point.
- Drill: For making air holes and drainage holes.
- Bedding Material: Shredded newspaper, cardboard, coconut coir, or aged leaves.
- Worms: Red wigglers (Eisenia fetida) are the best choice. Order them online from a reputable breeder.
- Food Scraps: Kitchen waste like fruit and vegetable peels, coffee grounds, tea bags (without staples), and crushed eggshells.
Option 2: Stackable Worm Bins
These systems often come as a kit or can be mimicked with multiple bins. The idea is that as the lower bin fills with finished compost, you add a new bin on top with fresh bedding and food. The worms migrate upwards to the new food source, leaving the finished compost behind in the lower bin. This makes harvesting easier.
What to Avoid in a Worm Bin
There are certain things that don’t belong in your worm bin. These can harm your worms or create unpleasant odors. You should avoid:
- Meat, dairy, and oily foods (they attract pests and smell bad).
- Spicy foods or citrus peels in large quantities (worms are sensitive to acidity).
- Diseased plants.
- Pet waste (cat or dog feces).
- Glossy paper or colored ink (can contain toxins).
Your Worm Crew: What Kind of Worms to Get
When it comes to worm composting, not just any earthworm will do. You need specific types that are excellent at munching through organic matter in their preferred habitat (a compost bin). The stars of the worm composting world are:
- Red Wigglers (Eisenia fetida): These are the most popular and highly recommended composting worms. They are voracious eaters, reproduce quickly, and thrive in the conditions of a compost bin. They are very different from the earthworms you find in your garden.
- European Nightcrawlers (Eisenia hortensis): Also known as dew worms, these are larger than red wigglers and can also be used. Some people find they are a bit slower at composting than red wigglers but are still effective.
Where to buy worms: You can typically purchase composting worms online from specialized worm farms or through gardening suppliers. Buying a starter kit often includes worms, bedding, and sometimes even a small amount of their “product” to help kickstart your bin.
Bedding Materials for Your Worms
Worms need a cozy, moist home to live in. This “bedding” provides shelter, absorbs moisture, and offers carbon to balance the nitrogen from your food scraps. Good bedding materials are:
- Shredded Newspaper: Black and white sections are best. Avoid glossy paper or colored inks.
- Shredded Cardboard: Plain corrugated cardboard is ideal. Tear it into small pieces.
- Coconut Coir (Eco-Coir): This is a popular choice made from coconut husks. It holds moisture well and is pH neutral.
- Aged Leaves: Fallen leaves that have started to decompose are also great.
- Peat Moss: While usable, it’s less sustainable than other options.
Important: Always moisten your bedding material before adding it to the bin. It should feel like a wrung-out sponge – damp, but not dripping wet.
Step-by-Step Guide to Setting Up Your Worm Bin
Ready to get your DIY worm farm going? Follow these simple steps. It’s straightforward and rewarding!
Step 1: Prepare Your Bin
If you’re using a standard plastic storage bin, you’ll need to create ventilation and drainage. Worms need air to breathe, and excess moisture needs a way to escape.
For a DIY Storage Bin:
- Drill Air Holes: Using a drill with a 1/8-inch to 1/4-inch bit, drill small holes spaced about 2-3 inches apart around the sides and the lid of the bin. You want plenty of airflow but not huge gaps.
- Drill Drainage Holes: In the bottom of the bin, drill several slightly larger holes (about 1/4-inch) to allow excess liquid to drain. If you want to collect this liquid (worm tea), you can place a shallow tray or another bin underneath the worm bin.
- Optional: Add a Spigot: If you plan on collecting a lot of “worm tea,” you can drill a hole near the bottom of the bin (above where the bedding will sit) and install a spigot for easy drainage.
For a Store-Bought or Stackable System: These bins usually come with pre-drilled holes or a design that addresses ventilation and drainage. Just follow the manufacturer’s instructions.
Step 2: Add the Bedding
Now it’s time to create a comfy home for your worms!
- Prepare Bedding: Take your chosen bedding material (shredded newspaper, cardboard, coir) and place it in a separate container or bucket.
- Moisten It: Gradually add water and mix until the bedding is uniformly damp, like a wrung-out sponge. It should hold its shape when squeezed but not drip water.
- Fluff and Fill: Fluff the moistened bedding and fill your prepared worm bin about 2/3 to 3/4 full.
- Add a Handful of Soil (Optional): Some people add a small handful of garden soil or sand. This is believed to help the worms digest their food.
Step 3: Introduce Your Worms
Your worms are ready to move in!
- Gently Add Worms: Place your composting worms (red wigglers) directly onto the surface of the bedding.
- Let Them Settle: Gently push them down into the bedding a little, or just leave them be. They will naturally burrow down into the dark, moist bedding as they adjust to their new home.
- Give Them Time: Leave them undisturbed for a day or two before feeding them to let them acclimate.
Step 4: Start Feeding Your Worms
Feeding time is one of the most exciting parts! Worms are not picky eaters, but they have some preferences and things to avoid (see section “What to Avoid in a Worm Bin”).
- Chop or Blend Food Scraps: Smaller pieces are easier for worms to digest. You can chop up vegetable peels, fruit cores, and other scraps. Blending them into a puree makes them even more accessible for the worms.
- Feed Sparingly at First: Don’t overfeed! Bury small amounts of food scraps under an inch or two of the bedding in one corner of the bin. This helps prevent odors and fruit flies, as the worms will eat it quickly.
- Observe and Adjust: Monitor how quickly the food disappears. If it’s gone within a few days, you can increase the amount slightly. If it’s sitting there and getting mushy, you’re feeding too much.
- Rotate Feeding Spots: As you continue feeding, move the feeding spot to a different section of the bin each time. This encourages worms to move around and process the entire bin.
What can worms eat?
Here’s a handy list of what your worm friends will love:
- Fruit and vegetable scraps (peels, cores, ends)
- Coffee grounds and tea bags (remove any staples)
- Crushed eggshells (rinsed and dried)
- Cooked pasta and rice (in small, plain quantities)
- Plain bread (in small quantities)
- Paper and cardboard scraps (non-glossy, black and white ink)
Step 5: Maintain Your Worm Bin
Regular check-ins will keep your worm farm happy and productive.
- Moisture Levels: Check the moisture of the bedding regularly. If it feels too dry, lightly mist it with water. If it’s too wet, add more dry bedding material.
- Aeration: Gently fluff the bedding with a hand trowel or fork every week or two. Be careful not to disturb the worms too much, especially when they are still settling in.
- Temperature: Worms thrive in temperatures between 55-77°F (13-25°C). Avoid placing your bin in direct sunlight or near extreme heat or cold sources.
- Troubleshooting: If you notice foul odors, it usually means you’re overfeeding or the bin is too wet. If you see fruit flies, bury the food scraps deeper and ensure the lid is sealed tightly.
Troubleshooting Common Worm Composting Issues
Even with the best intentions, you might run into a few hiccups. Here are some common problems and how to fix them, keeping things simple and stress-free.
| Problem | Cause | Solution |
|---|---|---|
| Foul Odors (Rotten Egg Smell) | Overfeeding, too much moisture, not enough air, acidic foods. | Stop feeding for a while. Gently aerate the bin. Add more dry bedding. Bury food scraps deeper. Avoid citrus and spicy foods in large amounts. |
| Fruit Flies or Gnats | Food scraps are exposed on the surface, bin is too wet. | Ensure food scraps are buried under bedding. Add more dry bedding. Keep the lid on tightly. A layer of paper or a worm bin topper can help. |
| Worms Trying to Escape | Bin conditions are not ideal: too wet, too dry, too acidic, too hot/cold, or they haven’t been fed recently. | Check moisture levels. Adjust if too wet or too dry. Ensure proper ventilation. Check temperature. Add a small, appealing food source buried in the bedding. |
| Slimy or Mushy Food Scraps | Worms are not eating fast enough, overfeeding. | Reduce the amount of food scraps you’re adding. Chop food into smaller pieces or blend it. Ensure good airflow and moisture. |
| Lack of “Tea” (Leachate) | Bin is not wet enough, holes are blocked, or not enough organic matter is being processed. | Lightly mist the bedding to increase moisture. Ensure drainage holes are clear. Continue adding food scraps and bedding; it takes time to produce liquid. |
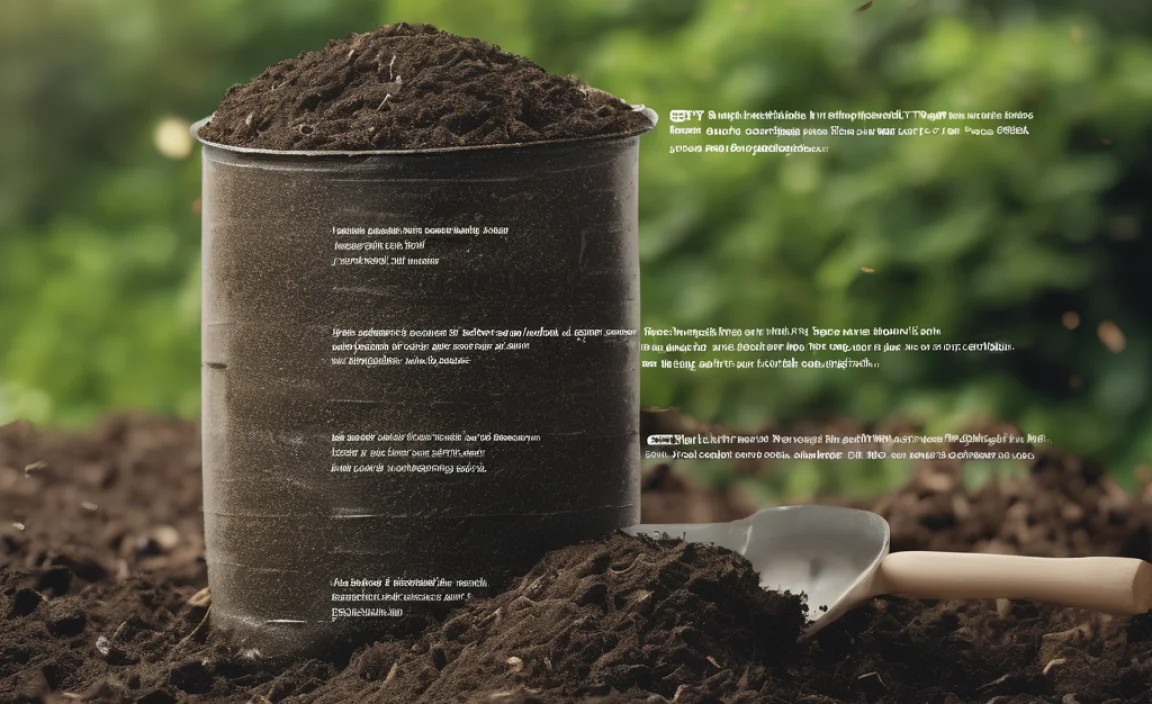
Harvesting Your Worm Castings
This is the moment you’ve been waiting for – collecting your “black gold”! Harvesting your worm castings is the payoff for your worm-wrangling efforts. There are a few simple methods to get your nutrient-rich compost.
Method 1: The Migration Method
This is often the easiest method, especially if you have a bin designed for it or are willing to do a little separation.
- Stop Feeding One Side: For about 2-3 weeks before you want to harvest, only add new food scraps to one half of the bin.
- Make a New Bedding Area: In the empty, unfed side of the bin, add fresh, moist bedding.
- Add Fresh Food: Bury a fresh batch of food scraps in the new bedding area.
- Wait for Migration: The worms will gradually migrate from the old side (where food is scarce) to the new side (with fresh food and bedding).
- Harvest the Old Side: After a couple of weeks, most of the worms should have moved to the new side. You can then carefully remove the finished castings from the original side. You’ll want to pick out any remaining worms by hand to return them to the bin.
Method 2: The Light Method
This method works because worms naturally dislike light and will burrow away from it.
- Empty the Bin: Dump the entire contents of your worm bin onto a tarp or a large plastic sheet in a brightly lit area (outdoors is best if the weather permits).
- Divide into Piles: Divide the material into several small piles.
- Wait for Worms to Burrow: The worms will burrow down to escape the light. Wait 5-10 minutes.
- Collect Castings: Carefully scrape off the top layer of castings from each pile.
- Repeat: Continue scraping off layers until you start seeing more worms than castings. At this point, you can collect the remaining worms and bedding and return them to your bin.
How to Use Your Worm Castings
Congratulations! You’ve made “black gold.” Here’s how to put it to good use:
- Soil Amendment: Mix castings directly into your potting soil for houseplants or garden beds. A ratio of 1 part castings to 4 parts soil is a good starting point.
- Top Dressing: Sprinkle a thin layer of castings around

I am passionate about home engineering. I specialize in designing, installing, and maintaining heating, ventilation, and air conditioning systems. My goal is to help people stay comfortable in their homes all year long.