Hey there, fellow home and garden enthusiasts! Troy D Harn here. Ever think about composting but worry about attracting unwanted guests? If the thought of “worm composting attracting rats” has you hesitating, you’re not alone. It’s a common concern, but I’ve got some good news. With the right setup and a few smart tricks, you can have a thriving worm farm without inviting those whiskered visitors. Stick around, and I’ll walk you through exactly how to do it, step-by-step, so you can get all the benefits of composting with total peace of mind.
Worm Composting and Rats: Busting the Myth
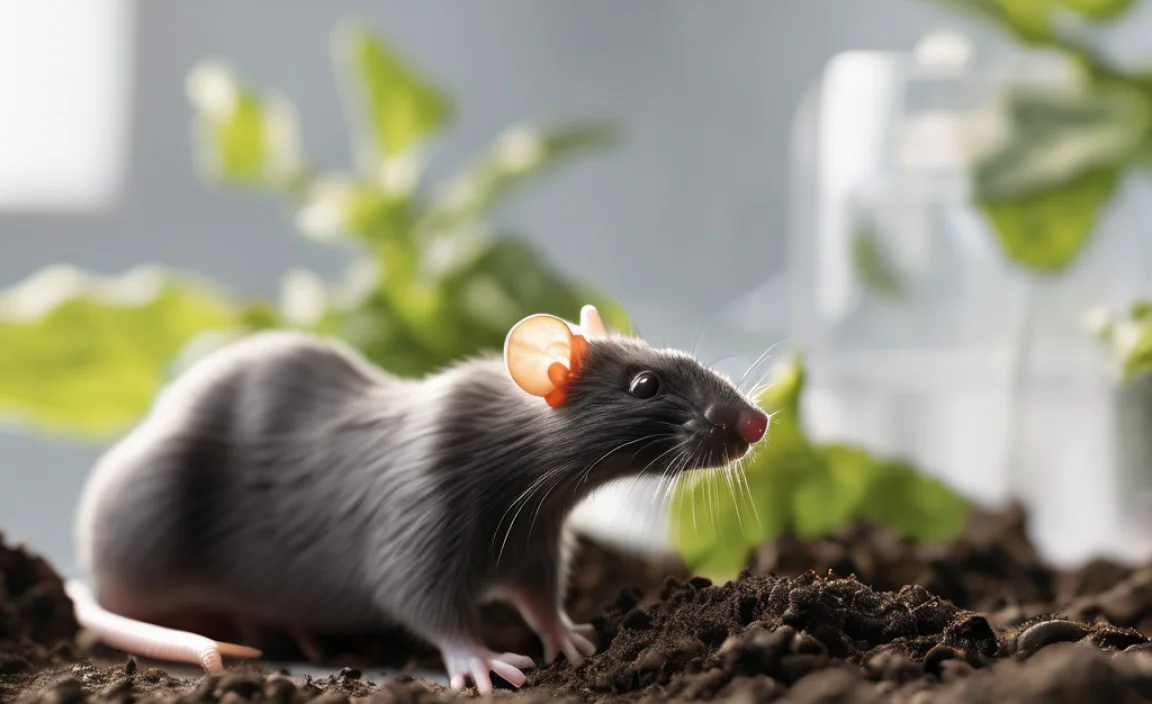
Let’s get straight to the heart of it: can worm composting attract rats? The short answer is yes, it can, but it’s usually due to a few common mistakes. Rats are opportunistic eaters, and any accessible food source can be tempting. However, when you set up and manage your worm composting system correctly, it becomes far less appealing to them, and often, completely inaccessible.
The key is understanding what draws rats in and then actively preventing those conditions. Think of it like pest-proofing your kitchen – you don’t leave food out, right? We’re going to apply similar principles to our worm bins.
This guide is all about showing you how to enjoy the amazing benefits of worm composting – nutrient-rich fertilizer for your garden, reducing food waste – without any of the stress of dealing with unwanted critters. We’ll cover everything from choosing the right bin to what you can and can’t feed your worms. Ready to compost with confidence? Let’s dive in!
Why Worm Composting is Awesome (Even with Rat Concerns!)
Before we get into the nuts and bolts of rat-proofing, let’s quickly remind ourselves why worm composting (also called vermicomposting) is such a fantastic practice. It’s a sustainable way to:
- Transform Food Scraps: Turn your kitchen scraps (like veggie peels, coffee grounds, and eggshells) into valuable “black gold” for your plants.
- Reduce Landfill Waste: Significantly cut down on the amount of organic waste you send to the landfill.
- Create Super Plant Food: Worm castings are packed with beneficial microbes and nutrients that your plants will absolutely love, leading to healthier growth and bigger harvests.
- It’s Convenient: You can do it right at home, indoors or outdoors, and it’s surprisingly low-effort once set up.
Knowing this makes it worth taking a few extra precautions to ensure a smooth, pest-free operation. The goal is to make your worm bin a “worm-only” buffet, not a rodent buffet!
Understanding What Attracts Rats to Composting Systems
Rats are primarily attracted to warmth, shelter, and, of course, readily available food. In the context of compost bins, they’re particularly keen on a few things:
- Open Access to Food Scraps: If your compost bin is easy to get into and overflowing with delicious-smelling kitchen waste, rats see it as an all-you-can-eat buffet.
- Smelly, Fermenting Materials: Meat, dairy, oily foods, and overly wet or unbalanced compost can develop strong odors that draw attention.
- Warm and Cozy Shelter: A compost bin that provides a protected, warm environment can seem like an ideal nesting spot.
- Uncovered or Accessible Bin: Any compost pile or bin that’s not properly enclosed is an open invitation.
- Poorly Managed Systems: Overfeeding, improper moisture levels, or lack of aeration can lead to anaerobic conditions, which smell and attract pests.
The good news is that by understanding these attractants, we can actively work to eliminate them and make our worm composting systems as unappealing to rats as possible.
Choosing the Right Worm Composting Bin: The First Line of Defense
The bin itself is your primary tool for keeping rats out. Not all worm bins are created equal when it comes to pest prevention. Here’s what to look for:
Types of Bins and Their Rat Resistance
- Enclosed Plastic Bins (Stacking Trays or Single Units): These are generally the best options. They have lids that close tightly and are made of smooth plastic, making it difficult for rats to chew through or climb. Stacking tray systems also allow leachate (liquid) to drain away, which helps prevent foul odors.
- DIY Bins from Plastic Totes: You can create your own effective bin using heavy-duty plastic storage totes with secure lids. The key is ensuring the lid fits snugly.
- Wooden Bin (with caution): While aesthetically pleasing, wooden bins can be chewable. If using wood, ensure it’s thick, rot-resistant, and reinforced with hardware cloth at any openings or potential entry points.rats can chew through thinner wood.
- Open Piles (Avoid!): Traditional open compost piles are the LEAST rat-resistant. They offer easy access and shelter, making them prime targets. For worm composting, always opt for an enclosed system.
Key Features for Rat-Proofing
- Secure Lid: This is non-negotiable. The lid must fit snugly and be difficult to lift or chew through. Look for bins with latches or heavy lids.
- Smooth, Chew-Proof Material: Hard plastics are excellent. Avoid thin materials or anything easily gnawed.
- No Large Holes or Gaps: Ensure there are no easy entry points. If your bin has ventilation holes, they should be small enough to prevent worms from escaping and rats from entering.
- Elevated Design: Bins that are slightly elevated off the ground make it harder for rodents to access.
For beginners, I highly recommend starting with a commercially available enclosed plastic worm bin. They are designed with these factors in mind and offer the easiest way to get started with confidence.
You can find excellent worm composting bins from reputable gardening supply stores. For instance, many sources like The U.S. Environmental Protection Agency (EPA) offer general composting guidance that emphasizes enclosed systems for efficiency and pest control.
Setting Up Your Rat-Proof Worm Bin: Step-by-Step
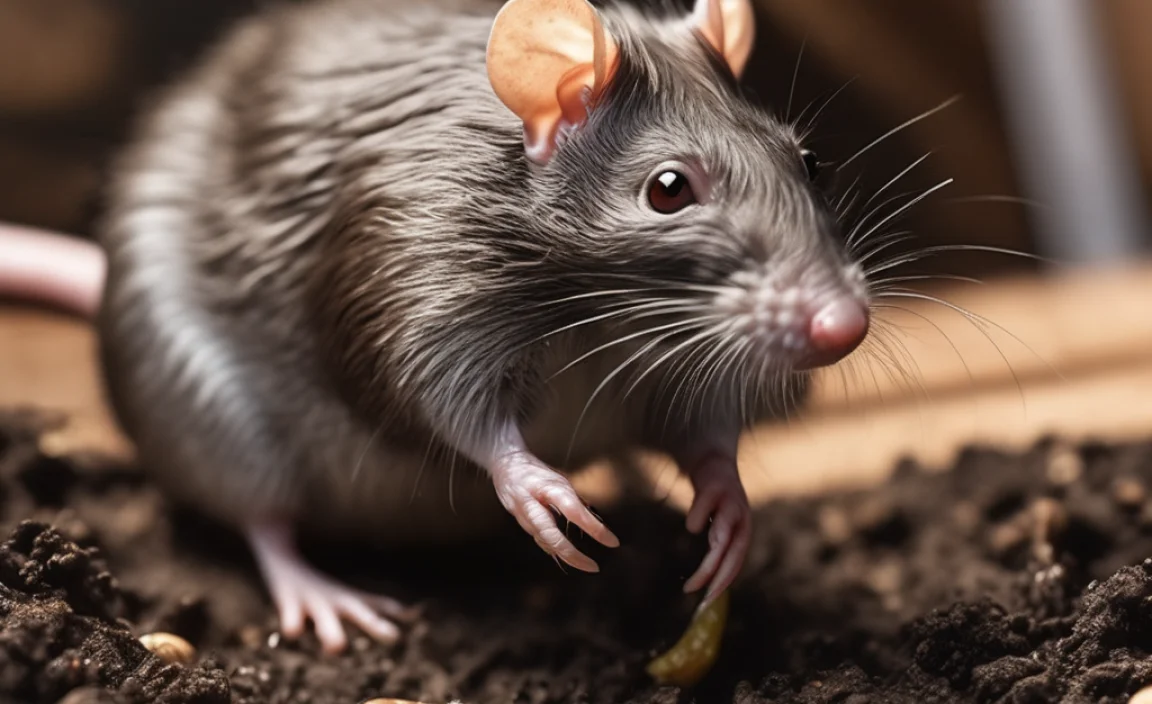
Once you’ve got your bin, let’s get it ready. This is where we build in those rat-repelling features from the start.
Step 1: Prepare Your Bin
- Assemble or Clean: Follow the manufacturer’s instructions for assembly. If you’re using a DIY tote, ensure it’s clean and free of any residues.
- Add Bedding: This is the cozy home for your worms! A good mix includes shredded newspaper (black and white print only – avoid glossy paper), shredded cardboard, coconut coir, or peat moss. Moisten the bedding until it’s about as damp as a wrung-out sponge. It should feel moist, but not dripping wet.
- Add Ventilation (if needed): Some plastic bins have built-in vents. If yours doesn’t, or if you’re using a DIY tote, you might need to drill a few small holes (pencil-tip size) near the top. Crucially, cover these holes INSIDE the bin with fine mesh hardware cloth (1/8 inch or 1/4 inch mesh) secured with strong tape or adhesive. This allows airflow but blocks pests.
Step 2: Introduce Your Worms
- Choose the Right Worms: You want Red Wigglers (Eisenia fetida) or European Nightcrawlers (Eisenia hortensis). These are composting specialists and not the earthworms you find in your garden.
- Acclimate Them: Gently place your worms on top of the bedding. Leave the lid slightly ajar or off for the first hour or so to allow them to migrate down into the cozy bedding. Once they’ve settled, close the lid securely.
Step 3: Secure the Lid and Placement
- Ensure a Tight Seal: This is critical. Check that the lid closes all the way around without any significant gaps. If your lid is a bit loose, consider placing a heavy object on top, or a bungee cord around the bin for extra security.
- Elevate the Bin (Optional but Recommended): Placing your bin on a sturdy stand, bricks, or even a sturdy plastic stool can make it harder for rodents to jump or climb onto it. Make sure it’s still easily accessible for you to add food and harvest compost.
- Choose a Good Location: While not directly related to rat-proofing the bin itself, placing the bin in a location that doesn’t offer rats easy shelter nearby is a good general practice. Avoid placing it directly next to dense bushes, woodpiles, or cluttered sheds where rodents might hide.
Step 4: Start Feeding (The Right Way!)
This is SUPER important for preventing unwanted visitors. We’ll cover this in more detail in the next section, but the basic rule is to feed your worms a balanced diet and avoid what they don’t like.
By taking these steps, you’re creating a secure, controlled environment that is inviting to your worms but highly unappealing to rats.
What to Feed Your Worms (and What to Avoid!)
The type of food you put into your worm bin is a huge factor in whether it attracts pests. Rats love the same things we do – especially things that are rich, fatty, or smelly. Worms, thankfully, have different tastes!
Worm-Approved Foods (In Moderation)
These are the staples of a healthy worm diet:
- Fruits and Vegetable Scraps: Most common kitchen scraps like apple cores, banana peels, carrot tops, lettuce, etc.
- Coffee Grounds and Tea Bags: A great nutrient boost!
- Crushed Eggshells: Provide calcium and help balance acidity.
- Plain Bread and Pasta (small amounts): Avoid anything with excessive grease or cheese.
- Crushed Cardboard and Paper: These are also used as bedding, but worms will eat them too.
- Grains and Porridge: Cooked grains like oatmeal are fine in small quantities.
Foods to AVOID (These Attract Pests!)
This list is crucial for rat-proofing. If you put these in your bin, you’re essentially sending out dinner invitations:
- Meat and Fish: The smell is irresistible to rodents.
- Dairy Products: Cheese, yogurt, milk, butter – very smelly and attractive.
- Oily or Greasy Foods: Salad dressings, fried foods, etc.
- Spicy Foods: Can harm your worms and increase odor.
- Citrus Peels (in large quantities): While a little is okay, too much can make the bin too acidic, which can smell and deter worms.
- Onions and Garlic (in large quantities): Similar to citrus, can be too potent and attract pests.
- Diseased Plants: Avoid anything that looks unhealthy.
- Pet Waste: Dog or cat feces can contain pathogens and attract pests.
Feeding Best Practices for Pest Prevention
- Chop It Up: Cut larger food scraps into smaller pieces. This helps them break down faster, reducing odors and the time they sit exposed.
- Bury the Food: When you add food scraps, don’t just leave them on top of the bedding. Gently dig a small pocket in the bedding, add the scraps, and then cover them completely with bedding. This hides the food source from view and smell.
- Don’t Overfeed: Overfeeding is a common mistake. Only add food when the previous feeding has been mostly consumed. A good rule of thumb is to offer about half the amount of food as you have worms to start. Overfed bins can become smelly and attract pests.
- Maintain Balance: Aim for a good balance of “greens” (fruit/veg scraps) and “browns” (bedding material like shredded paper). Too much “green” can lead to a wet, smelly bin.
By being mindful of what goes into your bin and how you introduce it, you make your worm farm a less tempting target for inquisitive rats.
Maintaining Your Worm Bin for Optimal Health and Rat Repellence
A well-maintained worm bin is a happy worm bin, and a happy worm bin is a rat-repellent bin. Here’s how to keep things running smoothly:
Moisture Levels
Your bedding should always be moist, like a wrung-out sponge. If it’s too dry, the worms can’t survive. If it’s too wet, it can become anaerobic (lacking oxygen) and start to smell, which can attract pests. If it’s too wet, add more dry bedding material. If it’s too dry, lightly mist it with water.
Aeration
Worms and the beneficial microbes in your bin need oxygen. Gently “fluff” the bedding every week or two with a small hand fork or trowel. Be careful not to disturb the worms too much. This also helps prevent odors.
Temperature
Red wigglers thrive in temperatures between 55-77°F (13-25°C). If your bin gets too hot or too cold, the worms can die or become inactive. If it’s too hot, you might need to move it to a cooler spot or add some frozen water bottles. If it’s too cold, insulate the bin or bring it indoors.
Harvesting Worm Castings
Regularly harvesting your worm castings (worm poop!) is essential. As the bin fills up, the composting process slows down, and it can become harder to manage. Harvesting also means you’re removing finished material, reducing the overall “food odor” potential. You can usually harvest every 3-6 months, depending on the size of your bin and how actively it’s being used.
Regular Inspection
Make it a habit to quickly check your bin a couple of times a week. Look for:
- Smell: Does it smell earthy and pleasant, or sour and foul?
- Moisture: Is the bedding damp?
- Worm Activity: Are the worms actively moving and eating?
- Pests: Are there any signs of fruit flies (common, usually harmless) or anything larger?
Catching issues early is key. A little bit of attention goes a long way in keeping your worm bin healthy and secure.
What If I See a Rat (or Signs of One)?
Despite your best efforts, you might occasionally spot a rat near your compost area or, in a worst-case scenario, signs of one trying to get into your bin. Don’t panic! This is usually a sign that something in your setup needs tweaking. Here’s what to do:
Immediate Actions
- Inspect Your Bin: Ensure the lid is sealed tightly. Check for any damage to the bin itself – chew marks, cracks, or holes.
- Review Your Feeding Habits: Are you feeding too much? Are you burying the food scraps completely? Are you accidentally adding forbidden foods (meat, dairy, grease)?
- Check the Surrounding Area: Remove any obvious food sources near the bin that might be attracting rats in the first place. This could include fallen birdseed, pet food, or unsecured garbage cans.
- Improve the Bin’s Security: If the lid is loose, add a bungee cord or a heavy object. If there are tiny gaps, you might need to patch them with sturdy hardware cloth or strong tape.
Longer-Term Strategies
- Elevate Your Bin: If it’s not already, place the bin on a sturdy platform or stand.
- Hardware Cloth Reinforcement: If you have a DIY bin or a wooden bin with any ventilation holes, ensure they are covered with at least 1/8-inch or 1/4-inch mesh hardware cloth, secured on the inside. Rats can squeeze through incredibly small openings. An article from USDA APHIS Wildlife Services discusses integrated pest management strategies that often involve physical barriers.
- Consider a Worm Blanket: A layer of burlap or thick cardboard placed on top of the worm bedding can further deter pests and maintain moisture.
- Be Patient: Often, simply improving your bin management and securing the lid is enough to make the rats look elsewhere.
Remember, the goal is to make your worm bin the least attractive food and shelter option available to them.
Table: Rat Attractants vs. Rat Repellents in Worm Composting
Here’s a quick reference guide to help you stay on the right track:
| Rat Attractants (What to AVOID) | Rat Repellents (What to DO) |
|---|

I am passionate about home engineering. I specialize in designing, installing, and maintaining heating, ventilation, and air conditioning systems. My goal is to help people stay comfortable in their homes all year long.
