Feeling a bit overwhelmed by food scraps piling up? You’re not alone! Many of us want to do our bit for the planet, turning kitchen waste into something useful. But where do you even start with composting, especially in sunny South Africa? Don’t worry, I’ve got your back! We’re going to dive into worm composting. It’s surprisingly simple and incredibly rewarding. Let’s transform those scraps into garden gold, the easy way.
Worm Composting in South Africa: Your Easy Guide to Turning Scraps into Garden Gold
Hey there, fellow South Africans! Troy D Harn here, your go-to guy for making home and garden projects simple and stress-free. If you’ve ever looked at your kitchen scraps and thought, “This feels like such a waste,” then you’re in the right place. Worm composting, also known as vermicomposting, is a fantastic way to tackle food waste right in your own home. It’s clean, it’s efficient, and it produces some of the best natural fertilizer you can get for your plants.
Forget stinking piles and complicated processes. Worm composting uses special types of worms to break down your organic waste into nutrient-rich compost, often called ‘worm castings’ or ‘vermicast’. It’s a brilliant eco-friendly solution, perfect for anyone, whether you have a sprawling garden or just a balcony overflowing with potted plants. Let’s get cracking and explore how you can start your own worm farm right here in South Africa!
Why Worm Composting is a South African Eco-Hero
In South Africa, we’re blessed with incredible biodiversity and stunning natural landscapes. But like everywhere else, landfill space is a concern, and our environment needs all the help it can get. Worm composting offers a powerful solution by:
- Reducing Landfill Waste: Food scraps and organic matter make up a significant portion of what we throw away. Worm composting diverts this waste, lessening the burden on our landfills.
- Creating Nutrient-Rich Soil Enhancer: Worm castings are packed with essential nutrients that boost plant growth, improve soil structure, and increase water retention. This means healthier, more vibrant plants for your garden or balcony.
- Being Environmentally Friendly: It’s a natural process that requires minimal energy and no harsh chemicals. You’re essentially helping nature do its job, but faster!
- Suitable for Small Spaces: Unlike traditional compost heaps, worm farms can be compact and neat, making them ideal for apartments, small yards, or even indoors.
- Educational and Rewarding: It’s a wonderful way to learn about decomposition and the natural cycle of nutrients. Plus, seeing your worm farm thrive is incredibly satisfying!
Your Worm Composting Starter Pack: What You’ll Need
Setting up a worm farm is much easier than you might think. You don’t need a lot of fancy gear. Here’s a breakdown of the essentials:
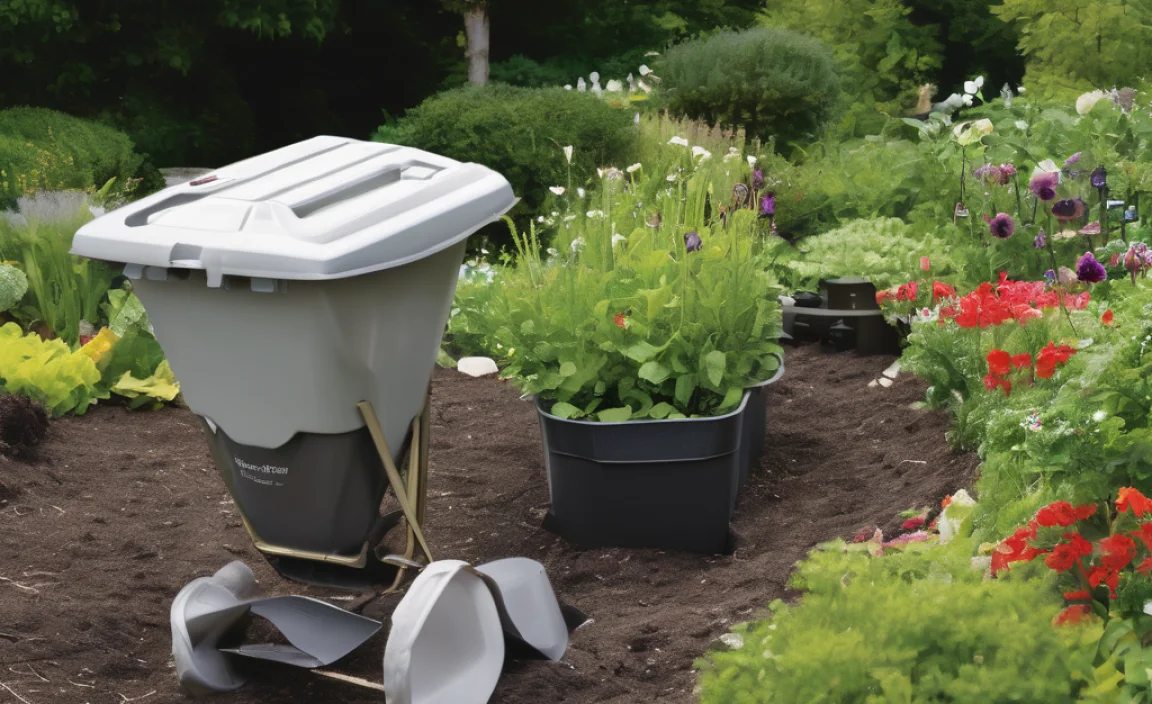
The Worm Bin
This is where your wiggly workers will live. You have a few options:
- Ready-Made Bins: You can buy purpose-built worm composting bins. These are often designed with multiple tiers for efficient harvesting and good ventilation. They are a great, no-fuss option.
- DIY Bins: You can easily make your own worm bin from plastic storage containers. Look for opaque containers (to keep out light, which worms dislike) with a lid. You’ll need to drill drainage holes and ventilation holes. A common and effective DIY method uses two identical tubs: one for collecting liquid “worm tea” and the other for the composting process itself.
- Types of Popular Bins in South Africa: While specific brands vary, look for bins that mention good airflow, drainage, and ease of use. Local garden centres and online retailers often stock suitable options.
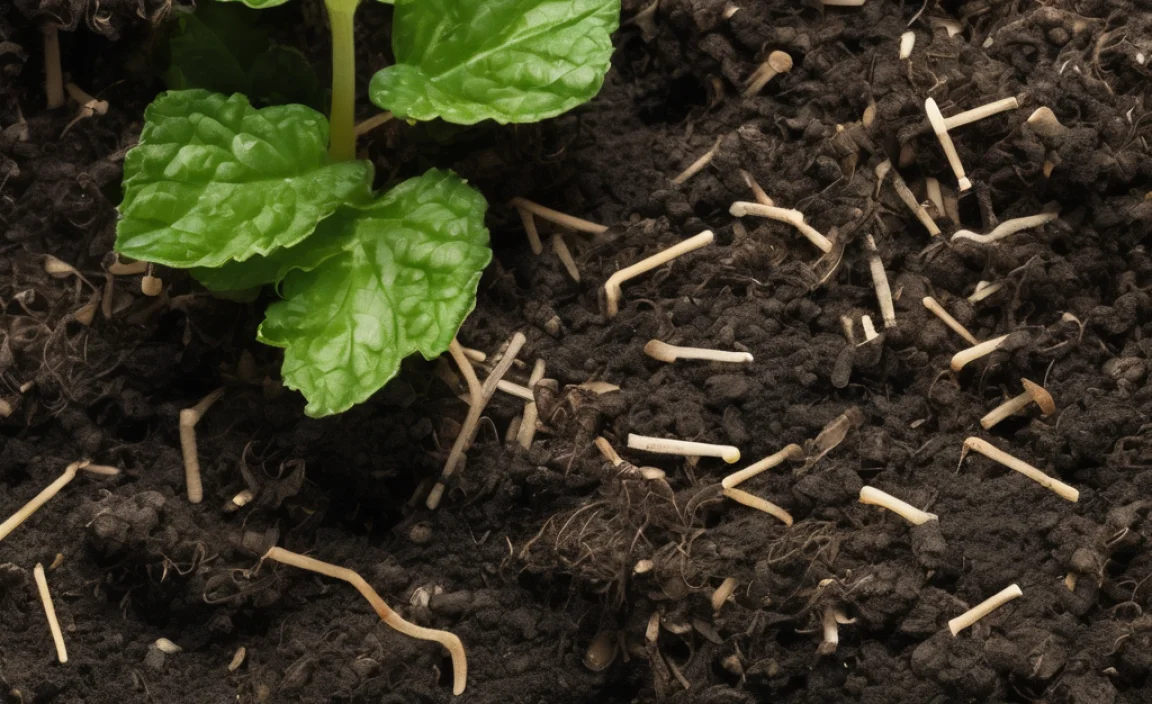
The Worms!
This is crucial! You can’t just use any old earthworm from your garden. You need specific composting worms, often called “red wigglers.” The most common and effective species for composting are:
- Eisenia fetida (Red Wiggler): These are the superstars of worm composting. They are voracious eaters, breed prolifically, and thrive in a compost environment.
- Eisenia andreii: Also known as the red worm, this species is very similar to Eisenia fetida and works just as well.
Where to buy worms in South Africa: You can purchase composting worms from dedicated worm farm suppliers online or from some gardening centres. They are usually sold by weight (e.g., 250g, 500g, 1kg). A good starting point is around 500g of worms for a standard-sized bin.
Bedding Material
Worms need a comfy, moist environment to live in. This bedding acts as their home and also provides initial food. Great bedding materials include:
- Shredded Newspaper: Black and white print is best. Avoid glossy paper.
- Shredded Cardboard: Corrugated cardboard is excellent.
- Coco Coir: This is a popular, sustainable option made from coconut husks.
- Peat Moss: Though less sustainable than coir or paper.
- Aged Leaf Litter: Partially decayed leaves from your garden.
Tip: Mix at least two types of bedding for a more diverse and beneficial habitat.
Food Scraps
This is what your worms will eat! They are detritivores, meaning they feast on decaying organic matter.
Good food scraps include:
- Fruit peels and cores (avoid citrus in large quantities)
- Vegetable scraps
- Coffee grounds and tea bags (remove staples and plastic tags)
- Crushed eggshells (helps with grit and adds calcium)
- Old bread and grains (in moderation)
- Stale cereal
What to avoid:
- Meat and dairy products (attract pests and can smell)
- Oily foods
- Spicy foods
- Citrus peels (in large quantities, as they can be too acidic)
- Onion and garlic skins (can be too strong for worms)
- Diseased plants
- Pet waste
Setting Up Your Worm Bin: A Step-by-Step Guide
Let’s get your worm farm ready for action. It’s a straightforward process that only takes about an hour!
-
Prepare the Bin
If you’re using a DIY bin, drill several small drainage holes (about 5-10mm) in the bottom of one bin. Then, drill more holes in the lid for airflow. If you have a two-bin system, the bottom bin will be for liquid collection, and the top bin (with the drainage holes) sits inside it.
-
Moisten the Bedding
Take your chosen bedding materials and place them in a separate bucket. Add water and mix until the bedding is damp, like a wrung-out sponge. It should not be dripping wet, but hold its shape when squeezed.
-
Fill the Bin with Bedding
Transfer the moistened bedding into your worm bin. Fill it about halfway to two-thirds full. Fluff it up a bit to create air pockets.
-
Introduce Your Worms
Gently place your composting worms on top of the bedding. Leave the lid off for about 30 minutes to an hour. Worms prefer the dark, so they should naturally burrow down into the bedding. This is a good sign they’re happy!
-
Add a Little Food (Optional for First Day)
You can add a small amount of food scraps right away, or wait a day or two. Bury a small handful of chopped-up food scraps under the bedding in one corner of the bin. This gives them something to munch on as they settle in.
-
Add the Lid
Place the lid securely on the bin. Make sure the airflow holes are not blocked.
-
Choose a Location
Place your worm bin in a location with a stable temperature, ideally between 15°C and 25°C. Avoid direct sunlight, which can overheat the bin, and freezing temperatures. A shaded patio, balcony, garage, or even under the kitchen sink can work well.
Feeding Your Worms: What and How Often
Worms are efficient eaters, but they can’t eat unlimited food. Overfeeding is one of the most common mistakes beginners make. Here’s how to feed them right:
- Start Slowly: When you first get your worms, feed them sparingly. A good rule of thumb is to feed them no more than half their weight in food per day, but often it’s wise to start even slower.
- Chop It Up: Smaller pieces of food break down faster. Chop or blend your kitchen scraps to give your worms a head start.
- Bury the Food: Always bury food scraps under the bedding material. This prevents pests and smells. Rotate where you bury the food each time to distribute their activity.
- Observe and Adjust: The best way to know if you’re feeding them correctly is by checking on your bin. If food is disappearing within a few days, you can increase the amount. If there’s a lot of uneaten food, reduce the amount.
- Avoid Overfeeding: If you see a lot of uneaten food, or the bin starts to smell sour or ammonia-like, you’ve likely overfed them. Stop feeding for a week or two and let them catch up. Ensure good airflow and moisture levels.
Maintaining Your Worm Farm: A Simple Checklist
Worm farms are generally low-maintenance, but a little attention keeps them happy and productive.
Here’s what to check regularly:
- Moisture Levels: The bin should consistently feel like a damp sponge. If it’s too dry, add some water or moist bedding. If it’s too wet, add dry bedding material and ensure drainage holes are clear.
- Temperature: Keep an eye on the temperature. If it gets too hot, move the bin to a cooler spot or add some frozen water bottles. If it’s too cold, insulate the bin with blankets or move it indoors.
- Aeration: Ensure air can circulate. Gently fluff the bedding occasionally, but avoid disturbing the worms too much.
- pH Levels: Worms prefer a neutral pH (around 6.5-7.5). Very acidic or alkaline food (like too much citrus or coffee) can throw this off. Adding crushed eggshells can help buffer the pH.
- Pest Management: If you notice fruit flies, it’s usually a sign of exposed food or overfeeding. Bury food scraps deeply and ensure the lid is on tight. A few beneficial insects like springtails can actually help break down waste.
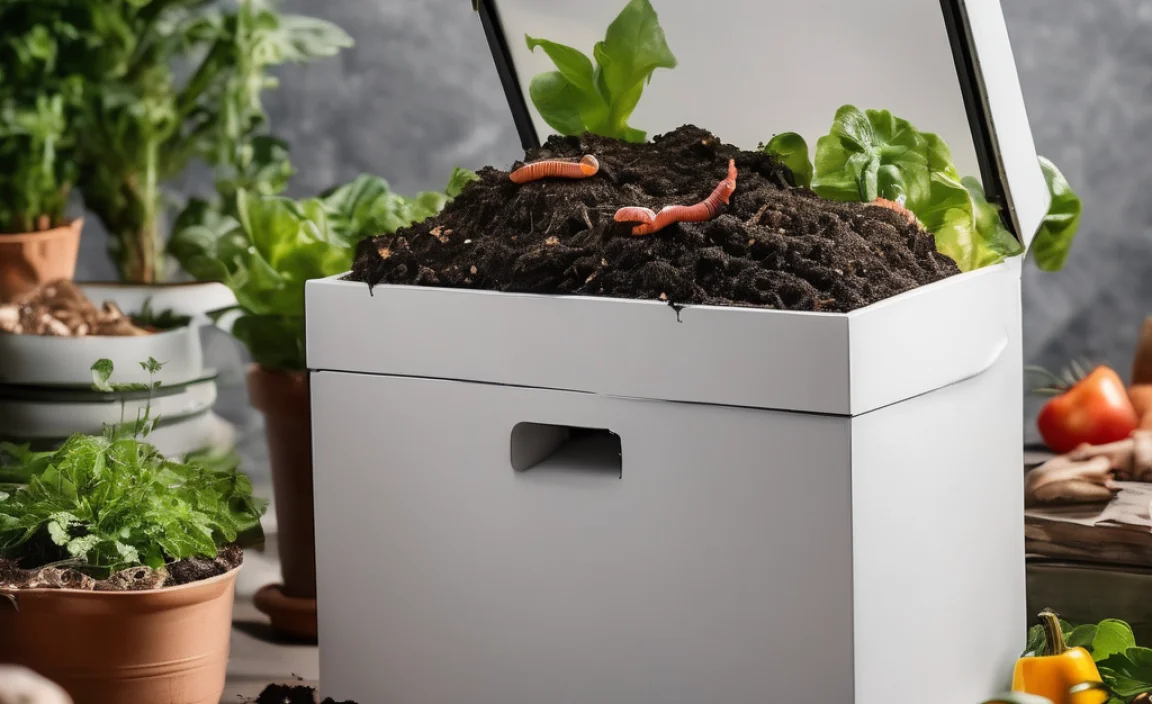
Harvesting Your Worm Castings and Worm Tea
This is the rewarding part! Your worms will produce two valuable resources: worm castings and liquid “worm tea.”
Harvesting Worm Castings
Worm castings are the dark, crumbly, earthy-smelling material left behind by your worms. They are a superfood for your plants!
There are several methods for harvesting:
-
Migration Method (for multi-tier bins)
In tiered systems, you add new bedding and food to the top tray. The worms will migrate upwards towards the fresh food, leaving the mature compost behind in the lower trays. Once the lower trays are mostly worm-free, you can harvest the castings.
-
Light Method
Spread the contents of your bin thinly onto a plastic sheet in direct sunlight. Worms hate light, so they will burrow downwards. After about 10-15 minutes, scrape off the top layer of castings. Repeat this process several times, gradually exposing more worms until they are all concentrated at the bottom. Collect the worms and return them to your bin.
-
Simple Straining
Sieve the contents of your bin through a coarse sieve or mesh. This separates the larger castings from any uncomposted material and adult worms, which can be returned to the bin. This method is best for smaller batches.
Using Your Worm Castings
Once harvested, your worm castings are ready to use:
- As a Soil Amendment: Mix castings directly into your potting soil or garden beds. A ratio of 1 part castings to 4 parts soil is a good starting point.
- As a Top Dressing: Sprinkle a little around the base of your plants.
- In Seed Starting Mixes: Add to your seed-starting mix for healthy root development.
Harvesting Worm Tea
Worm tea is the liquid that drains from the bottom of your worm bin. It’s a nutrient-rich liquid fertilizer. If you have a single-bin system, you might need to manually drain it or soak up excess liquid with a sponge. In a two-bin system, the liquid collects in the bottom tray.
Important Note:
- “Leachate” vs. “Worm Tea”: The liquid collected from a worm bin is often called “leachate.” If your bin is properly aerated and the moisture is right, this leachate is beneficial. However, if the bin is anaerobic (lacking oxygen, often due to overfeeding or poor drainage), it can produce unpleasant-smelling, potentially harmful liquid. Always ensure your bin smells earthy, not foul, and has good drainage.
- Dilute Before Use: The collected liquid should be diluted with water before applying to plants. A common dilution is 1 part worm tea to 10 parts water. Pour it around the base of plants or use it as a foliar spray.
- Fresh is Best: Use your worm tea within a few weeks of harvesting for maximum benefit.
Troubleshooting Common Worm Composting Issues
Even with the best intentions, you might encounter a few bumps in the road. Here’s how to tackle them:
| Problem | Possible Cause | Solution |
|---|---|---|
| Foul Odor (Ammonia or Rotten Egg Smell) | Overfeeding, anaerobic conditions (lack of air), too much moisture. | Stop feeding for a while. Add dry bedding material like shredded newspaper or coco coir to absorb excess moisture. Ensure drainage holes are clear and add aeration by gently fluffing. Bury food scraps deeper from now on. |
| Fruit Flies or Gnats | Exposed food scraps, bin not sealed properly. | Always bury food scraps under the bedding. Ensure the lid is tightly sealed, but allows for airflow. You can place a layer of bedding or a piece of cardboard directly on top of the food layer to deter pests. |
| Worms Trying to Escape | Bin is too wet, too dry, too acidic/alkaline, poor ventilation, or too much food. | Check and adjust moisture levels. Add more bedding if too wet, or a little water if too dry. Add crushed eggshells to buffer acidity. Ensure good airflow. If overfeeding is suspected, reduce food input. |
| Slow Composting Rate | Worms haven’t established, temperature too low, food is too large. | Be patient, especially with new worms. Ensure bin is within the ideal temperature range (15-25°C). Chop food scraps into smaller pieces. Add healthy, active worms if possible. |
| Slimy or Mushy Bedding | Too much moisture, not enough aeration, food breaking down too quickly. | Add dry bedding and mix gently. Ensure drainage is working. Reduce the amount of wet food scraps you add. |
Wiggly Worms: A Comparison with Traditional Composting
It’s useful to see how worm composting stacks up against its traditional compost heap cousin.
| Feature | Worm Composting (Vermicomposting) | Traditional Composting (Hot/Cold Piles) |
|---|---|---|
| Speed | Relatively fast, especially for household waste. Harvests can be ready in 2-4 months. | Can be fast (hot composting) but often slower (cold composting), taking 6-12 months or more. |
| Space Requirements | Compact, ideal for small spaces, balconies, or indoors. | Requires more space for a pile or bin, usually a garden or yard. |