Ever look at your fresh grass clippings after mowing and wonder if they’re going straight to the trash or the yard waste bin? You’re not alone! It feels like a waste, right? Well, good news! You absolutely can compost grass clippings, and it’s a fantastic way to turn lawn “waste” into garden gold. This guide will show you exactly how to do it, so you can start making your own nutrient-rich compost with ease. Let’s get started!
Can You Compost Grass Clippings? The Simple Answer is YES!
As Troy D Harn from TopChooser, I’ve helped tons of folks simplify their home and garden projects. Composting can sound complicated, but it’s really just helping nature do its thing. And grass clippings? They’re a superstar ingredient for your compost pile!
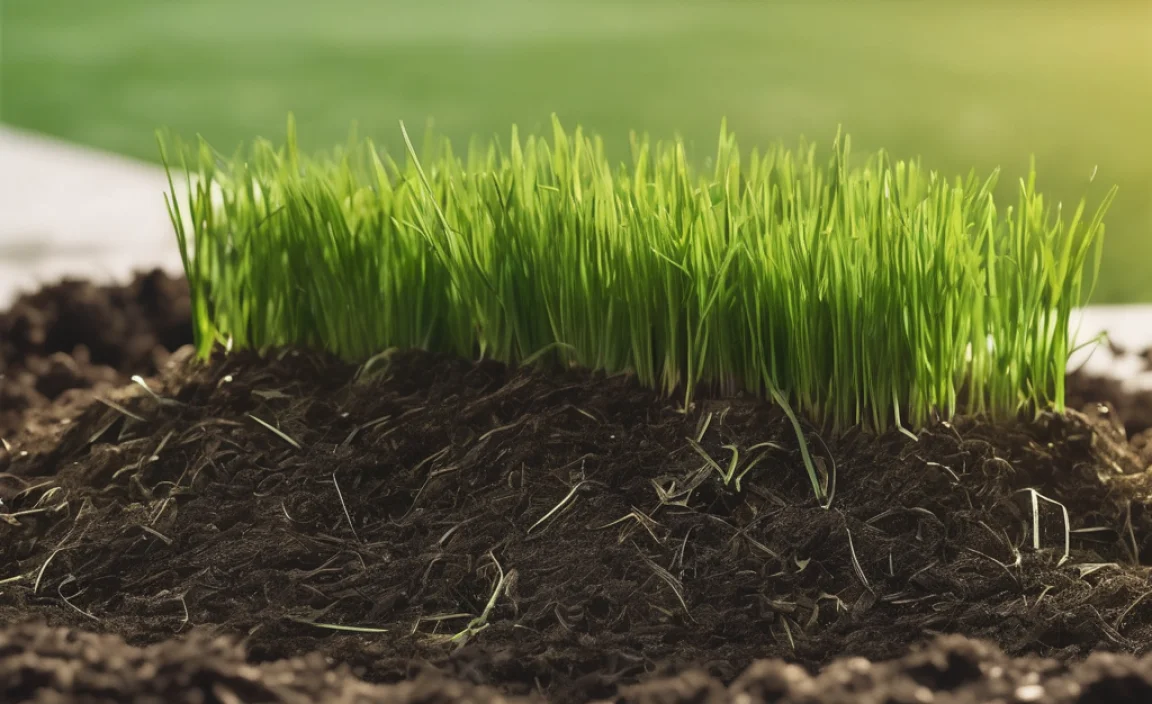
Think of your compost pile as a mini ecosystem. You’ve got tiny critters like bacteria and fungi working hard to break down organic materials. Grass clippings are packed with nitrogen, which these little workers love – it really speeds up the decomposition process. So, instead of bagging them up and sending them to a landfill (where they can cause problems like methane gas), you can use them to enrich your garden soil.
Why Compost Grass Clippings? The Benefits
Using your grass clippings in a compost pile offers a heap of advantages:
- Nutrient-Rich Compost: Grass clippings are a fantastic source of nitrogen, often called the “green” component in composting. This nitrogen fuels the microbes that break down organic matter, making your compost richer and more beneficial for your plants.
- Reduces Waste: It’s a fantastic way to divert organic material from landfills. Less waste in the landfill means fewer greenhouse gases like methane, which is a big win for the environment. Plus, your local waste management might thank you!
- Saves Money: Why buy expensive soil amendments or fertilizers when you can create your own for free? Your compost will improve soil structure, water retention, and nutrient content, saving you money on garden supplies.
- Healthier Garden: Applying compost to your garden beds provides slow-release nutrients, improves soil aeration, and helps plants resist diseases and pests. It’s like giving your plants a superfood boost!
- Improves Soil Structure: Compost helps clay soils drain better and sandy soils retain moisture and nutrients more effectively. It’s a universal soil conditioner!
The “Brown to Green” Ratio: Your Composting Secret Sauce
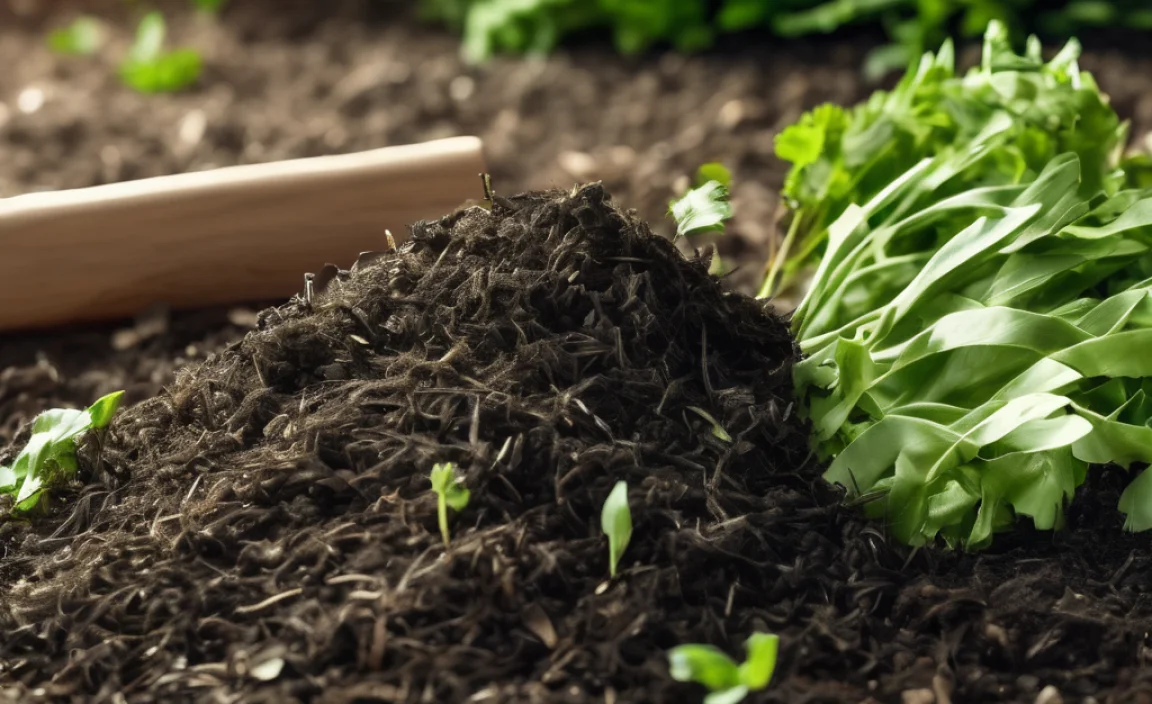
The key to successful composting, especially with grass clippings, is balance. Composting relies on a mix of “green” materials (nitrogen-rich) and “brown” materials (carbon-rich). Grass clippings are definitely “green.”
Here’s a simple breakdown:
- Green Materials (Nitrogen-rich): Grass clippings, fruit and vegetable scraps, coffee grounds, tea bags, plant trimmings. These provide the energy for the microbes.
- Brown Materials (Carbon-rich): Dry leaves, straw, shredded cardboard, newspaper, twigs, wood chips. These provide the bulk and carbon the microbes need.
Too much green (like a giant pile of grass clippings) and your compost can become slimy, smelly, and anaerobic (lacking oxygen). Too much brown and it will break down very slowly. A good general rule of thumb is to aim for a ratio of about 2 to 3 parts brown to 1 part green by volume. For grass clippings, this means you’ll need to mix them well with plenty of brown materials.
How to Compost Grass Clippings: A Step-by-Step Guide
Ready to get composting? It’s easier than you think. Let’s break it down:
Step 1: Choose Your Composting Method
You have a few options for where to compost:
- Compost Bin: These can be purchased or built. They keep your compost tidy and contained. Many are designed for good airflow.
- Compost Pile: A simple, open pile in a corner of your yard. This is the most basic approach and works well if you have space.
- Tumbler Composter: These are enclosed, rotating bins that make turning the compost easy and can speed up decomposition. They’re great for smaller yards or if you want to minimize mess.
Step 2: Gather Your Materials
You’ll need:
- Grass Clippings: Freshly mown is fine.
- Brown Materials: Dry leaves are ideal, but shredded newspaper, cardboard, straw, or small twigs will also work.
- A Pitchfork or Shovel: For turning and mixing.
- Water Source: A hose or watering can.
Step 3: Start Building Your Pile
Think layers!
- Base Layer: Start with a layer of coarse brown material, like small twigs or straw. This helps with aeration.
- Adding Greens: Spread a layer of grass clippings on top. Crucially, don’t add thick layers of grass clippings all at once. A layer a few inches thick is usually best.
- Adding Browns: Cover the grass clippings with a thicker layer of brown materials. This is key to preventing that matted, smelly mess.
- Moisten: Lightly water each layer. The compost should be as damp as a wrung-out sponge, not soggy.
Step 4: Mix and Turn Regularly
This is where the magic happens. Turning your compost pile introduces oxygen, which is vital for the aerobic bacteria that break down material efficiently and without foul odors. Aim to turn your pile at least once a week.
- How to Turn: Use your pitchfork or shovel to mix the materials thoroughly. Try to move material from the outside to the inside and vice versa.
- Observe: Pay attention to how your compost is breaking down. If it feels dry, add some water. If it smells like ammonia, it’s too green – add more brown material and turn it.
Step 5: Patience and Monitoring
Compost doesn’t happen overnight. Depending on the materials, the temperature, and how often you turn it, compost can be ready in anywhere from a few weeks to a few months.
Your compost is ready when:
- It looks dark, crumbly, and earthy.
- It smells like fresh soil, not like rotting food or grass.
- You can no longer recognize the original materials.
You can learn more about the science behind composting from resources like the EPA’s composting page, which provides excellent foundational knowledge.
Tips for Composting Grass Clippings Without Issues
Even though grass clippings are great, they can be a bit tricky if not managed properly. Here are my best tips to avoid common pitfalls:
- Thin Layers are Key: This is the most important tip! Never dump a thick layer of fresh grass clippings onto the pile. Spread them thinly, just a few inches, and immediately cover with brown material.
- Mix Thoroughly: Don’t just layer; mix! After adding a layer of grass and brown material, give it a good stir with your pitchfork.
- Don’t Compost Treated Grass: Avoid composting grass that has been treated with herbicides or pesticides, especially recently. These chemicals can linger and harm your garden or the composting microbes your plants. Always check the product label for advice on when it’s safe to compost.
- Let it Dry Slightly (Optional but Helpful): If you have a lot of grass coming off the mower, you can let it sit for a day or two to dry out a bit before adding it to the pile. This makes it less likely to mat together.
- Balance is Everything: Always remember the brown-to-green ratio. If you’ve had a big mowing day, you might need to go on a “leaf hunt” or raid your recycling bin for cardboard to balance things out.
- Aerate Frequently: Turn, turn, turn! Good airflow prevents the anaerobic conditions that lead to foul smells and slow decomposition.
- Consider Your Mulching Mower: If you have a mulching mower, you can often leave the clippings on the lawn. They break down quickly and return nutrients directly to the soil.
What NOT to Compost
While grass clippings are great, not everything belongs in your compost pile:
Materials to Avoid Why Meat, bones, dairy, oily foods Attract pests, can smell bad, take a long time to break down. Diseased plants May spread disease to your garden. Weeds gone to seed Seeds can survive composting and sprout in your garden. Pet waste (dog, cat) Can contain harmful pathogens. Chemically treated lawn clippings Chemicals can harm beneficial microbes and your plants. Coal or charcoal ash Can contain harmful substances. Troubleshooting Common Composting Problems
Composting is a learning process, and things can go wrong. Here are a few common issues and how to fix them:
Problem: My compost smells bad (like rotten eggs or ammonia).
Cause: Too much nitrogen (too many greens, like grass clippings) and not enough oxygen. This is anaerobic decomposition.
Solution:
- Turn the pile thoroughly to introduce air.
- Add a generous amount of brown materials (leaves, shredded cardboard) to balance out the nitrogen.
- Ensure your pile isn’t too wet.
Problem: My compost pile is not heating up and is breaking down very slowly.
Cause: Not enough nitrogen (too many browns), insufficient moisture, or lack of aeration.
Solution:
- Add more green materials, like grass clippings, kitchen scraps, or coffee grounds.
- Moisten the pile if it feels dry.
- Turn the pile to mix materials and introduce oxygen.
Problem: My compost is slimy and matted.
Cause: Thick layers of grass clippings that have clumped together, preventing airflow.
Solution:
- Break up the matted clumps with your pitchfork.
- Mix in plenty of brown, bulky materials to help separate the grass and improve airflow.
- Consider letting future grass clippings dry slightly or adding them in much thinner layers mixed with browns.
Problem: There are flies or other pests in my compost.
Cause: Usually due to exposed food scraps or a pile that’s too wet, attracting insects and rodents.
Solution:
- Bury food scraps deeper in the pile.
- Ensure a good covering of brown material over any greens.
- Turn the pile regularly.
- Avoid adding meat, dairy, or oily foods.
- Make sure your compost bin is secure if pests are a significant problem.
When Is Compost Ready to Use?
You’ll know your compost is ready when it’s:
- Dark brown and crumbly in texture.
- Smells earthy and pleasant – like the forest floor after rain.
- You can no longer identify the original materials (e.g., you won’t see recognizable grass blades or vegetable peels).
The exact time it takes can vary greatly. A well-managed, actively turned hot compost pile can be ready in as little as 4-8 weeks. A slower-moving, cooler pile might take 6 months to a year. For a great overview and different composting methods, the USDA has extensive resources on composting practices.
How to Use Your Compost:
- As a Soil Amendment: Mix a few inches of compost into your garden beds before planting.
- As a Top Dressing: Spread a thin layer around existing plants, shrubs, and trees.
- In Potting Mix: Mix compost with other ingredients like peat moss or coir and perlite for custom potting soil.
- For Lawns: Rake a thin layer over your lawn in the spring or fall to improve soil health and give your grass a boost.
Conclusion
So, there you have it! Composting grass clippings is not only possible but highly beneficial for your garden and the environment. By understanding the “brown to green” balance, adding clippings in thin, well-mixed layers, and turning your compost pile regularly, you can easily avoid common pitfalls like bad odors and slimy mats. You’ll be well on your way to creating your own free, nutrient-rich soil amendment. Happy composting!
Frequently Asked Questions (FAQ) about Composting Grass Clippings
Q1: Can I just dump all my grass clippings into a compost bin?
A1: No, it’s best to add grass clippings in thin layers, no more than a few inches at a time. Always cover them with brown materials like dry leaves or shredded cardboard to prevent matting and odor.
Q2: My grass clippings are making my compost smell bad. What should I do?
A2: This usually means you have too much nitrogen (grass) and not enough air. Turn your compost pile thoroughly and add plenty of brown, carbon-rich materials like shredded paper, cardboard, or dry leaves. Ensure the pile is moist but not soggy.
Q3: How much grass clipping can I add to my compost at once?
A3: Aim for a layer of grass clippings that is only a few inches thick when spread out. Never add a thick, compacted layer. It’s always better to add them in smaller amounts and mix them well with plenty of brown materials.
Q4: Can I compost grass clippings treated with weed killer?
A4: It’s generally not recommended. Herbicides and pesticides can persist in the clippings and potentially harm your compost microbes or, worse, your plants when you use the compost. Check the herbicide label for information on when it’s safe to compost treated grass, which can be several weeks or longer.
Q5: Do I need to let my grass clippings dry out before composting?
A5: It can be helpful! Letting clippings dry for a day or two can make them less likely to clump together and create a dense, wet layer. However, fresh clippings can also be composted if they are added in thin layers and mixed well with dry, brown materials.
Q6: How do I know if my compost is too wet or too dry?
A6: Your compost should feel like a wrung-out sponge – moist but not dripping. If it’s too wet, it might smell bad and be slimy. If it’s too dry, decomposition will slow down significantly. Add water if dry, and add brown materials and turn if too wet.
Q7: Won’t grass clippings just turn into a slimy mess?
A7: They can, if not managed correctly! The key is balance. Always mix grass clippings with more volumes of brown, carbon-rich materials like dry leaves or shredded cardboard. Turning the pile regularly also ensures good airflow, preventing that slimy, anaerobic condition.
.lwrp.link-whisper-related-posts{
margin-top: 40px;
margin-bottom: 30px;
}
.lwrp .lwrp-title{
}.lwrp .lwrp-description{
}
.lwrp .lwrp-list-container{
}
.lwrp .lwrp-list-multi-container{
display: flex;
}
.lwrp .lwrp-list-double{
width: 48%;
}
.lwrp .lwrp-list-triple{
width: 32%;
}
.lwrp .lwrp-list-row-container{
display: flex;
justify-content: space-between;
}
.lwrp .lwrp-list-row-container .lwrp-list-item{
width: calc(25% – 20px);
}
.lwrp .lwrp-list-item:not(.lwrp-no-posts-message-item){
max-width: 150px;
}
.lwrp .lwrp-list-item img{
max-width: 100%;
height: auto;
object-fit: cover;
aspect-ratio: 1 / 1;
}
.lwrp .lwrp-list-item.lwrp-empty-list-item{
background: initial !important;
}
.lwrp .lwrp-list-item .lwrp-list-link .lwrp-list-link-title-text,
.lwrp .lwrp-list-item .lwrp-list-no-posts-message{
}@media screen and (max-width: 480px) {
.lwrp.link-whisper-related-posts{
}
.lwrp .lwrp-title{
}.lwrp .lwrp-description{
}
.lwrp .lwrp-list-multi-container{
flex-direction: column;
}
.lwrp .lwrp-list-multi-container ul.lwrp-list{
margin-top: 0px;
margin-bottom: 0px;
padding-top: 0px;
padding-bottom: 0px;
}
.lwrp .lwrp-list-double,
.lwrp .lwrp-list-triple{
width: 100%;
}
.lwrp .lwrp-list-row-container{
justify-content: initial;
flex-direction: column;
}
.lwrp .lwrp-list-row-container .lwrp-list-item{
width: 100%;
}
.lwrp .lwrp-list-item:not(.lwrp-no-posts-message-item){
max-width: initial;
}
.lwrp .lwrp-list-item .lwrp-list-link .lwrp-list-link-title-text,
.lwrp .lwrp-list-item .lwrp-list-no-posts-message{
};
}
Related Posts
- Composting For Farmers Best: Proven Benefits

Which of the Following Accurately Describes Passive Heat Sinks?- Ultimate Compost Bin Guide: Transform Waste to Gold!
- Bokashi Composting In India: Essential & Genius

Does Insurance Cover Urine Drug Screen? Smart Guide- Ultimate Backyard Composting Guide: Transform Waste!
- Sheet Composting Odor: Essential Solution
- Transform School Balconies: Easy Composting Guide

I am passionate about home engineering. I specialize in designing, installing, and maintaining heating, ventilation, and air conditioning systems. My goal is to help people stay comfortable in their homes all year long.