Can You Compost Manure? Your Essential Guide for a Healthier Garden
Lots of us wonder about using “that” stuff from our furry (or not-so-furry) friends in the garden. It seems like a natural fit, right? But then comes the worry: Is it safe? Will it hurt my plants? It’s a common question, and if you’ve got animals or can get your hands on some manure, you’ve probably asked yourself, “Can you compost manure?” The good news is, yes, you absolutely can! And when done right, it’s fantastic for your plants. This guide will walk you through everything you need to know, making composting manure simple and super effective. Let’s dig in!
What Makes Manure Great for Composting?
Manure is like a hidden treasure chest of nutrients for your garden. Think of it as nature’s way of recycling! It’s packed with nitrogen, phosphorus, and potassium, often called NPK, which are the big three for plant growth. Beyond that, it’s loaded with other trace elements that help your soil become more alive and healthy. When you compost it, you’re not just feeding your plants; you’re improving the entire soil structure, helping it retain water better and allowing air to get to plant roots.
Turning raw manure into compost is key. Fresh manure can be too potent for plants. It has a high salt content and can burn delicate roots. It can also contain weed seeds and, in some cases, harmful pathogens. Composting these things through this natural process breaks them down, kills off bad stuff, and turns it into a rich, beneficial soil amendment that your garden will love.
A Quick Look at Different Types of Manure
Not all manure is created equal! The type of animal it comes from makes a big difference in how you should compost it and how quickly it can be ready to use. Some are considered “hot” and need more careful handling, while others are “cooler” and more forgiving for beginners.
Here’s a simple rundown:
- Horse Manure: Often considered a “hot” manure because horses eat a lot and their manure has a good amount of nitrogen. It also tends to have a lot of bedding material (like straw) mixed in, which is great for the carbon-to-nitrogen ratio in compost.
- Cow Manure: This is a “cooler” manure. Cows are ruminants, meaning they digest their food multiple times, making their manure less potent. It’s rich in nitrogen and other nutrients.
- Chicken Manure: This is a “hot” manure and very high in nitrogen and phosphorus. It needs careful composting to avoid burning plants. It also tends to have fewer weed seeds than other manures because chickens often eat their seeds.
- Sheep and Goat Manure: These are “cooler” in comparison to horse and chicken but still nutrient-rich. Their pellets are small and break down well.
- Rabbit Manure: This is a fantastic “hot” manure that is often called “gardener’s gold.” It’s rich in nitrogen, phosphorus, and potassium, and unlike other hot manures, it’s often considered safe enough to add to your compost pile without extensive aging, though composting is still recommended for best results. It also doesn’t typically produce the strong ammonia smell that other hot manures can.
- Dog and Cat Feces: These are generally NOT recommended for composting for garden use. They can contain pathogens that are harmful to humans and require very specific composting methods (high heat for a long time) to be safe, which is typically beyond a home composting setup.
Is It Safe to Compost Manure? Understanding the Risks and How to Mitigate Them
The main concerns with using fresh manure are twofold: potential pathogens and the risk of burning your plants. But don’t let that scare you – composting is the solution!
Pathogens: Raw manure can contain bacteria like E. coli and Salmonella, which can be harmful. When you compost properly, the heat generated within the compost pile (ideally reaching 131-160°F or 55-71°C) for a sustained period will kill off these harmful organisms. This is why proper composting is so important for safety.
Plant Burn: Fresh manure is concentrated and has a high salt content. If you were to spread fresh manure directly on your garden beds, it could damage or kill your plants. Composting breaks down these compounds, reduces the salt concentration, and makes the nutrients available in a form that plants can easily absorb without harm.
Weed Seeds: Many animals eat seeds that pass through their digestive system intact. If you use fresh manure, you risk introducing those weed seeds to your garden and having a much bigger weeding job later. The high temperatures in composting also help to eliminate most viable weed seeds.
To ensure safety and effectiveness, always aim to compost manure thoroughly. A well-managed compost pile is your best friend here.
The “Hot” vs. “Cool” Manure Debate
You’ll often hear manure described as “hot” or “cool.” This isn’t about temperature, but rather its nutrient content, especially nitrogen, and its potential to “burn” plants.
Hot Manures: These are high in nitrogen and tend to break down quickly. Examples include chicken, rabbit, and horse manure. Because they are so potent, they require a longer composting period or careful balancing with “green” (nitrogen-rich) and “brown” (carbon-rich) materials to avoid becoming too hot and damaging plants. Adding plenty of carbon-rich materials like straw, dried leaves, or wood chips is crucial when composting these types.
Cool Manures: These have a lower concentration of nutrients and are less likely to burn plants. Examples include cow, sheep, and goat manure. While they are less “risky” for direct application (though still not recommended without composting), they can still benefit from the composting process to become more readily available to plants and improve soil structure.
Regardless of whether it’s hot or cool, the general consensus from gardening experts is to always compost manure before adding it to your garden. It’s the safest and most effective way to utilize its benefits.
How to Compost Manure: A Step-by-Step Guide
Ready to turn that animal waste into garden gold? It’s a straightforward process. The key is to create a balanced compost pile.
Step 1: Gather Your Materials
You’ll need your manure, of course, and a good mix of “greens” and “browns” to balance it out. A good rule of thumb is to aim for a C:N (Carbon to Nitrogen) ratio of about 25:1 to 30:1. Manure is usually high in nitrogen (green), so you’ll need a lot of carbon-rich (brown) materials to balance it.
- Manure (Green Material): From herbivores like horses, cows, chickens, rabbits, sheep, or goats. Avoid dog and cat waste.
- Carbon-Rich Materials (Browns):
- Dried leaves
- Straw or hay
- Shredded cardboard or newspaper (avoid glossy paper)
- Wood chips or sawdust (use sparingly, they break down slowly)
- Twigs and small branches
- Nitrogen-Rich Materials (Greens – optional besides manure):
- Grass clippings (use in thin layers to avoid matting)
- Vegetable scraps from the kitchen
- Coffee grounds
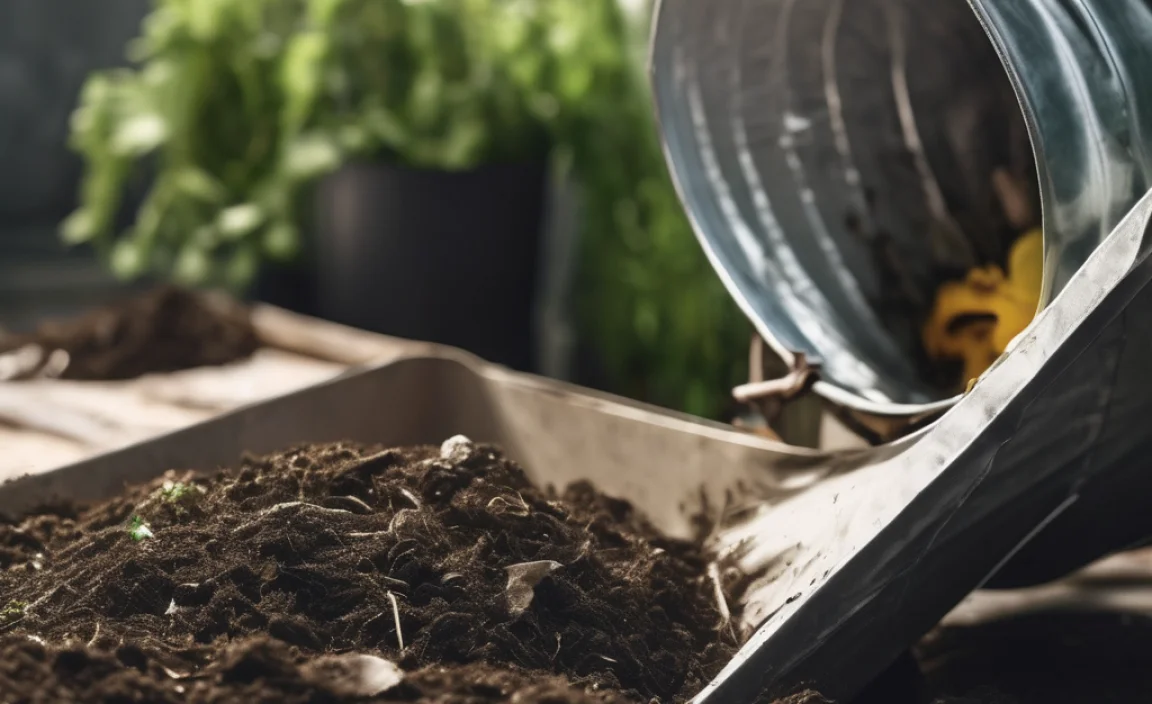
Step 2: Choose Your Composting Method
You have a few options for where to compost:
- Compost Bin: This helps contain the materials and can speed up the process. You can buy or build many types. A simple wire bin or a wooden pallet bin works well.
- Compost Pile: A simple heap in a corner of your yard. This is the easiest if you have space.
- Tumbler: These are rotating bins that make turning easier and can speed up composting.
For manure, it’s generally recommended to use a contained system like a bin or tumbler rather than an open pile, especially if neighbors are close, to manage any odors.
Step 3: Build Your Pile – The Layering Technique
This is where the magic happens. Layering helps create the right environment for decomposition.
- Start with a Base Layer: Begin with a coarse layer of brown material (like twigs or straw) at the bottom. This helps with aeration and drainage.
- Add Manure: Add a layer of your manure. If it’s “hot” manure (chicken or horse), keep this layer relatively thin, perhaps 2-4 inches. For “cooler” manures (cow, sheep), you can potentially use a bit more.
- Top with Browns: Cover the manure layer generously with a thick layer of brown materials (dried leaves, straw, shredded paper). This is crucial for absorbing excess moisture, controlling odors, and balancing the nitrogen. Aim for at least a 2:1 or 3:1 ratio of browns to greens by volume.
- Add Greens (Optional): If you have other nitrogen-rich kitchen scraps or grass clippings, you can add a thin layer here and cover it well with browns.
- Repeat: Continue layering manure, browns, and any other greens. Always finish with a good layer of browns on top to deter pests and odors.
Important Note on Bedding: If your manure comes with a lot of bedding (straw, wood shavings), this is already contributing to your brown material, which is great! Just ensure you’re not adding too much fresh bedding material if the manure is already well-mixed.
Step 4: Monitor Moisture and Aeration
Your compost pile needs to be moist, but not waterlogged. Think of a wrung-out sponge. If it’s too dry, decomposition slows down. If it’s too wet, it can become anaerobic and smelly.
- Moisture: If the pile seems dry, water it thoroughly. If it’s too wet, add more dry brown materials.
- Aeration: This is vital for decomposition and preventing foul odors. The pile needs air. The easiest way to do this is by turning your compost pile.
Step 5: Turn Your Compost
Turning mixes the materials, introduces oxygen, and helps the pile heat up evenly. This speeds up composting and ensures pathogens and weed seeds are destroyed.
How often? For faster compost, turn it every 1-2 weeks. If you can’t turn it that often, turn it every 3-4 weeks or whenever you add a significant batch of material. If you have a compost tumbler, give it a few turns every few days.
When you turn, try to move material from the outside to the inside, and vice-versa.
Step 6: Know When It’s Ready
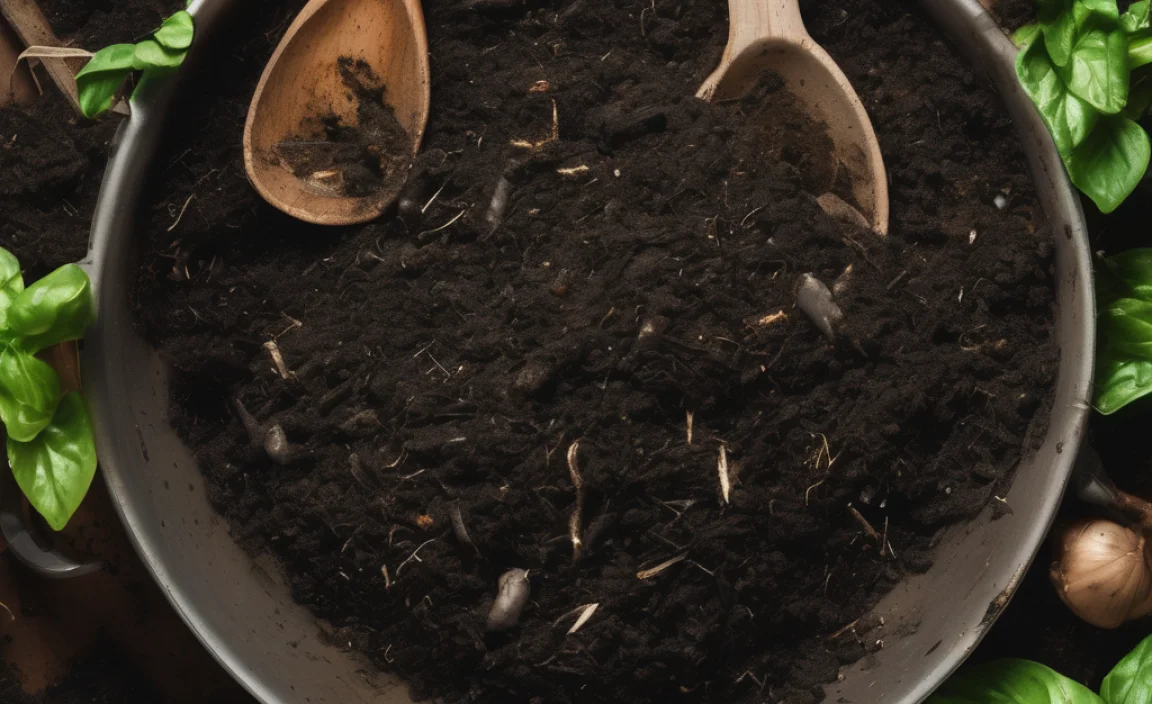
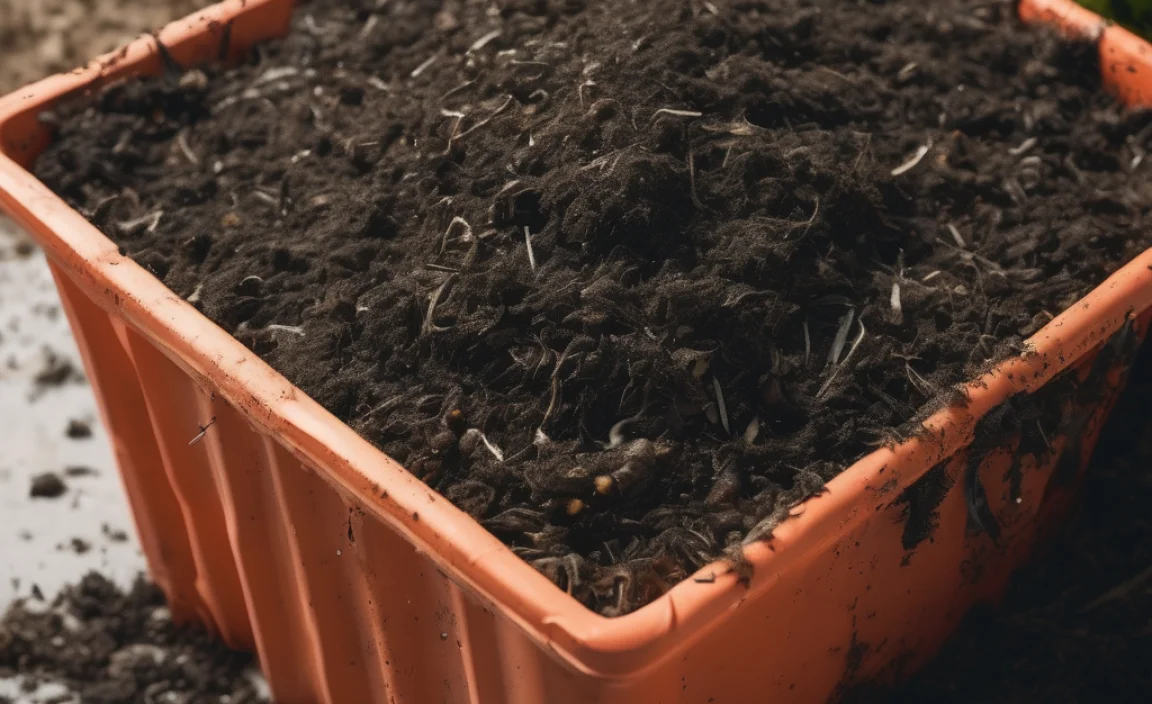
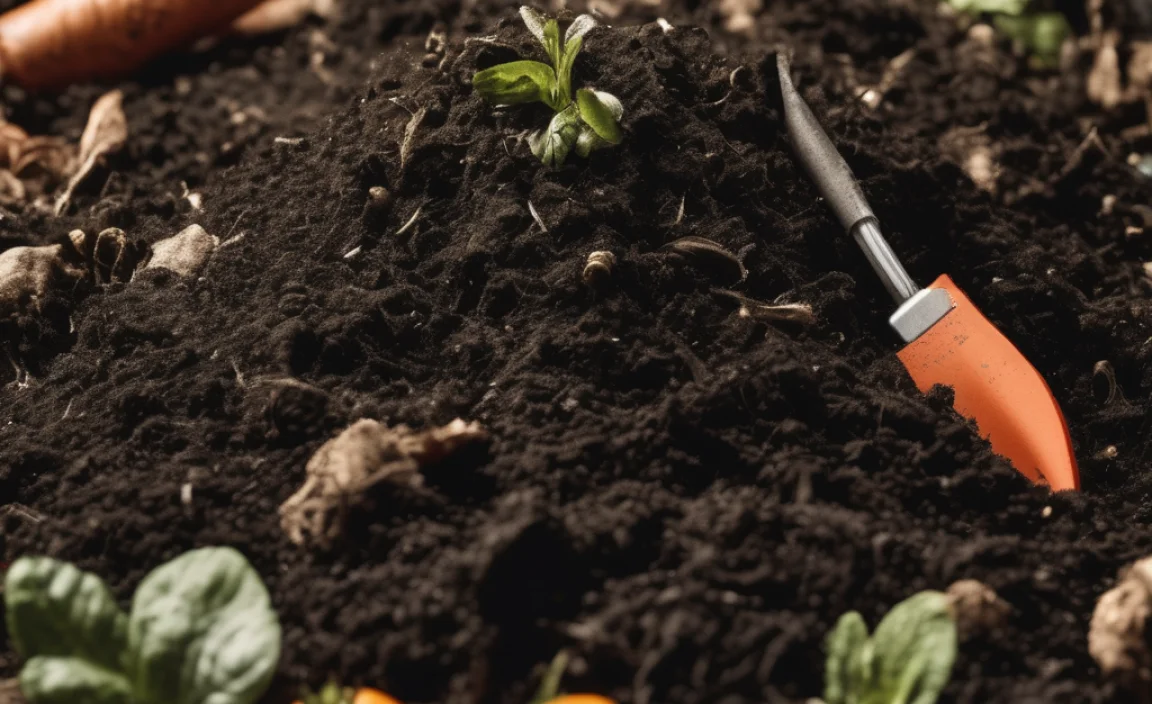
Compost is ready when it’s dark, crumbly, and smells earthy – like a forest floor after rain. You shouldn’t be able to recognize the original materials (like manure or straw).
The time it takes varies greatly depending on your materials, how often you turn it, temperature, and moisture, but typically:
- Fast composting (hot pile, frequent turning): 1-3 months
- Slow composting (less turning): 6-12 months or longer
If you’ve composted manure, it should be safe to use. A good sign is the absence of any strong ammonia smell.
Factors Affecting Composting Speed and Success
Several things influence how well and how quickly your manure compost breaks down:
| Factor | Impact on Composting | How to Optimize |
|---|---|---|
| Particle Size | Smaller pieces break down faster. | Shred leaves, chop straw, break up clumps of manure. |
| Moisture Level | Too dry = slow decomposition. Too wet = anaerobic and smelly. | Maintain a “damp sponge” consistency. Add water if dry, browns if wet. |
| Aeration (Oxygen) | Essential for aerobic microbes that break down material quickly and without odor. | Turn the pile regularly. Ensure good drainage with a base layer. |
| Temperature | Higher temperatures (131-160°F / 55-71°C) kill pathogens and weed seeds and accelerate decomposition. | Balance greens and browns, ensure adequate moisture, and turn. Large piles heat up better. |
| Carbon-to-Nitrogen (C:N) Ratio | Microbes need both carbon (energy) and nitrogen (protein) to thrive. Too much nitrogen causes ammonia smell; too much carbon slows things down. | Aim for a ratio of 25-30 parts carbon to 1 part nitrogen by volume. Manure is rich in nitrogen, so balance with plenty of browns. |
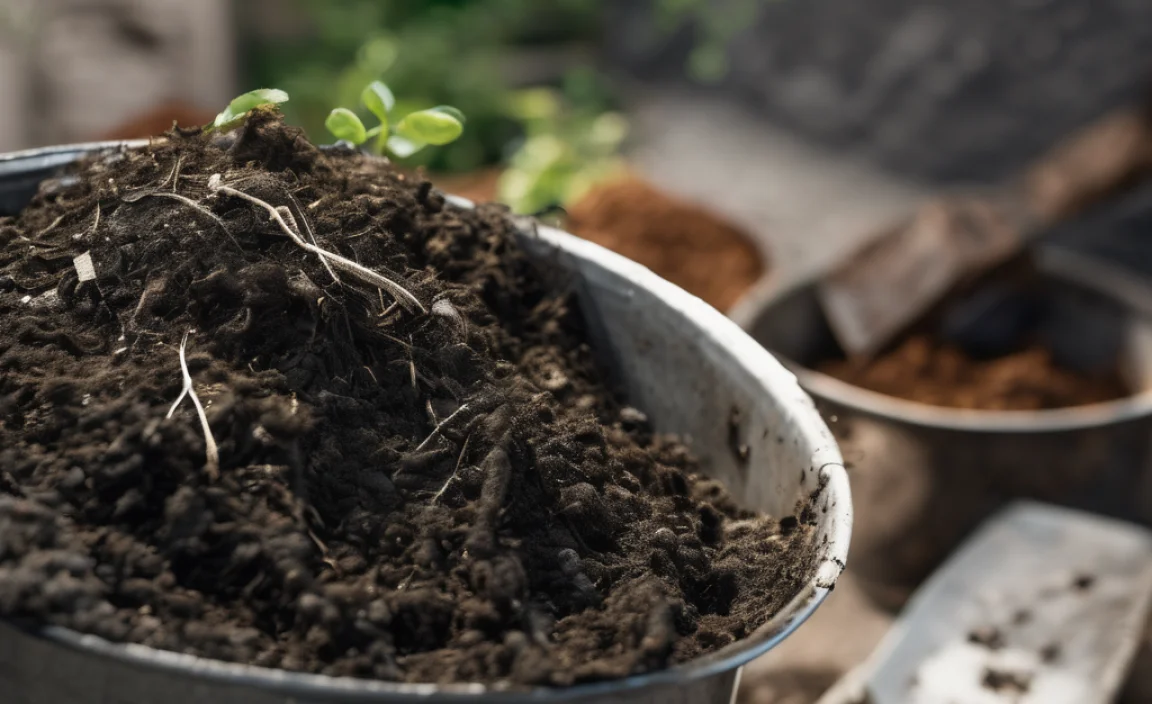
How to Use Your Finished Manure Compost
Once your compost is ready, it’s like black gold for your garden. Here are a few ways to use it:
- Soil Amendment: Mix a few inches of compost into your garden beds before planting. This improves soil structure, fertility, and moisture retention. It’s great for vegetable gardens, flower beds, and around trees and shrubs.
- Top Dressing: Spread a layer of compost around existing plants and trees. As it rains or you water, the nutrients will slowly leach into the soil. Avoid piling it directly against plant stems.
- Potting Mix: You can incorporate compost into your homemade potting mix for containers. A common ratio is 1/3 compost, 1/3 peat moss or coir, and 1/3 perlite or vermiculite.
- Lawn Dressing: In the spring or fall, you can spread a thin layer of compost over your lawn to improve its health and greenness. You can do this after aerating your lawn.
Remember, compost is a supplement, not a fertilizer in the conventional sense. It builds soil health over time. For heavy feeders, you might still need supplemental organic fertilizers. The U.S. Department of Agriculture’s Natural Resources Conservation Service offers excellent resources on composting manure for agricultural and horticultural uses, highlighting its role in sustainable soil management.
Creating a Healthy Compost Environment: Tips for Success
Beyond the basics, a few extra tips can make your composting journey smoother and more successful:
- Start Small: If you’re new to this, start with a smaller compost bin or pile. You can always expand as you get more comfortable.
- Chop It Up: The smaller the pieces of your materials, the faster they will decompose. Take a few extra minutes to chop up larger items before adding them.
- Balance is Key: Always remember the green (nitrogen) and brown (carbon) balance. Too much of one can lead to problems like odor or slow decomposition.
- Patience, Young Grasshopper: Composting is a natural process. While you can speed it up, it still takes time. Don’t get discouraged if it’s not ready in a month.
- Worms Are Your Friends: If you see earthworms in your compost, that’s a very good sign! They are excellent decomposers. This is a sign of healthy, aerobic activity.
- Avoid Problematic Materials: As mentioned, steer clear of meat, dairy, oily foods, diseased plants, and pet waste from carnivores and omnivores. These can attract pests, cause odors, and spread disease.
Troubleshooting Common Composting Problems
Even with the best intentions, you might run into a few hiccups. Here’s how to fix them:
- Ammonia Smell: This means your pile has too much nitrogen (too many “greens”).
- Fix: Add a generous amount of carbon-rich “brown” materials like dried leaves, straw, or shredded cardboard. Turn the pile to mix them in.
- Rotten Egg Smell: This means your pile is too wet and has become anaerobic (lacking oxygen).
- Fix: Add more brown materials to absorb excess moisture and turn the pile thoroughly to introduce air. Ensure good drainage at the base.
- Pile Isn’t Heating Up: It could be too small, too dry, or lack nitrogen.
- Fix: Ensure the pile is at least 3x3x3 feet for good insulation. Check moisture levels and add water if needed. Add more nitrogen-rich materials (like manure or grass clippings) and turn to mix.
- Pests

I am passionate about home engineering. I specialize in designing, installing, and maintaining heating, ventilation, and air conditioning systems. My goal is to help people stay comfortable in their homes all year long.