Wasting food is a big bummer. Not only does it feel like you’re throwing money in the trash, but all that rotting stuff in landfills isn’t great for our planet. But what if I told you there’s a super simple way to turn those scraps into garden gold? That’s where zero waste composting comes in. It’s not as complicated as it sounds! We’ll walk through how you can get started easily, no matter your space. Ready to make a difference, one banana peel at a time?
The Genius of Zero Waste Composting: Why It’s Essential for Our Future
Hey there, TopChooser community! Troy D Harn here. We’ve all got a bin in our kitchen, right? And usually, by the end of the week, it’s full of things we’ve scraped off our plates or found a bit past their prime in the fridge. It feels like a shame to just toss it all out, and honestly, it is! That’s where the idea of “zero waste composting” really shines. It’s not just a trendy buzzword; it’s a super smart, practical way to handle our organic waste that’s becoming absolutely essential for a healthier planet and even a healthier garden.
Think about it: in the US alone, food waste is a massive problem. According to the EPA, more food is thrown away than plastic, paper, metal, or glass. A lot of this ends up in landfills, where it decomposes without oxygen. This anaerobic decomposition creates methane, a powerful greenhouse gas that’s way worse for the environment than carbon dioxide. That’s a serious environmental concern. Zero waste composting offers a brilliant solution by diverting this organic material from landfills and turning it into something incredibly valuable: nutrient-rich compost.
This isn’t about being perfect overnight. It’s about making small, manageable changes that add up. For anyone wanting to live a bit more sustainably, reduce their environmental footprint, and even boost their gardening game, composting is a game-changer. It’s accessible, effective, and frankly, it’s a pretty genius way to close the loop on our food system, reducing waste and creating resources. We’ll break down exactly how you can join this movement, starting today.
What Exactly is Zero Waste Composting?
Let’s clear up what “zero waste composting” really means. At its heart, it’s about minimizing the amount of waste you send to the landfill. When we talk about “zero waste,” it’s an ideal, a goal. For most of us, achieving absolute zero waste is tough. But composting plays a HUGE part in getting us closer to that goal, especially concerning our kitchen scraps and yard trimmings.
So, instead of tossing your apple cores, coffee grounds, or wilted lettuce into the trash, you’re collecting them to create compost. Compost is essentially decomposed organic matter that’s perfect for enriching soil. Think of it as a superfood for your plants! By composting, you’re actively diverting a significant portion of your household waste from the landfill. This process:
- Reduces methane emissions from landfills.
- Creates a valuable soil amendment for gardens and houseplants.
- Decreases the need for chemical fertilizers.
- Improves soil health and water retention.
It’s a win-win situation: you’re being kinder to the environment, and you’re producing fantastic nourishment for your plants. It’s a cycle of goodness!
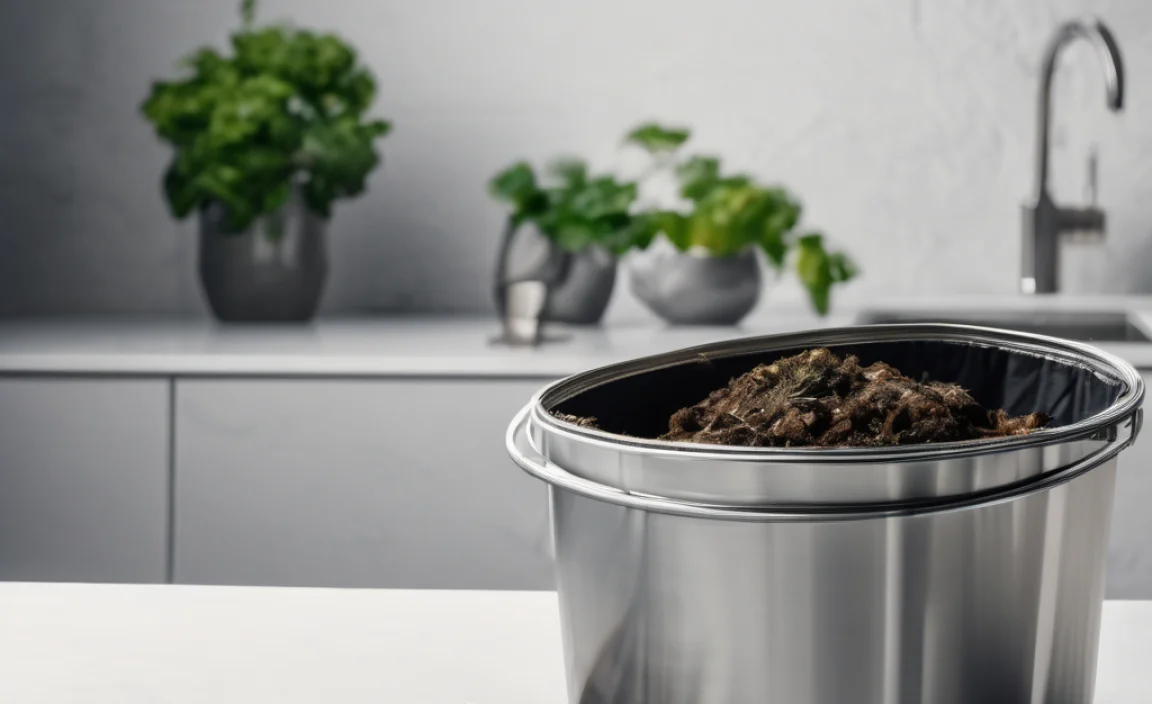
Getting Started: Your Composting Toolkit
Okay, ready to get your hands (cleanly!) dirty? You don’t need a huge backyard or fancy equipment to start composting. There are options for everyone, from apartment dwellers to homeowners. Let’s look at the basic gear you might need, depending on your chosen method.
Choosing Your Composting Method:
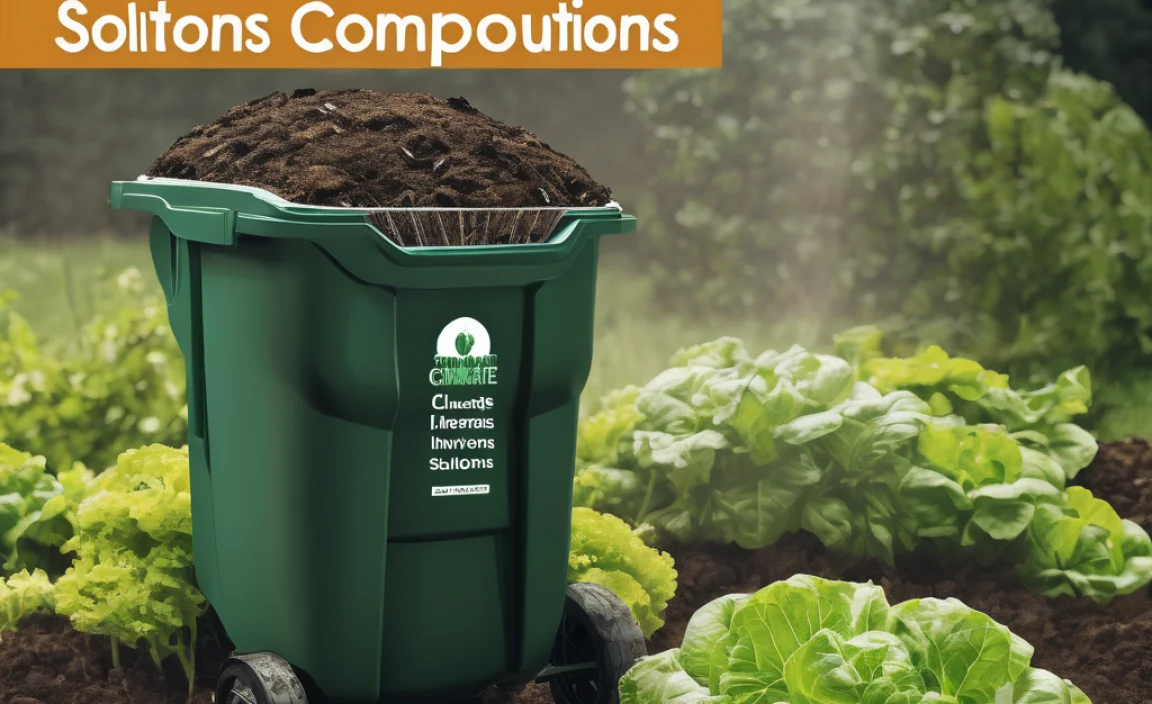
The best method for you depends on where you live and how much space you have. Here are a few popular options:
- Outdoor Compost Bin/Pile: This is the classic method. You can buy a tumbling composter, a stationary bin, or even just create a pile in a corner of your yard. Great for those with more outdoor space.
- Worm Composting (Vermicomposting): Perfect for smaller spaces, including apartments! Red wiggler worms do the heavy lifting in a contained bin, breaking down food scraps efficiently.
- Bokashi Composting: This is an indoor pre-composting method that ferments your food waste using special bran. It can handle things other methods can’t, like meat and dairy, and it’s quick. The fermented material then needs to be buried in soil or added to a traditional compost bin to fully break down.
- Electric Composters: These countertop appliances use heat and aeration to quickly dehydrate and grind food scraps into a nutrient-rich powder in a matter of hours. They are fast but require electricity and aren’t technically “composting” in the traditional sense, though the end product can be added to soil.
Essential Tools:
Regardless of the method, a few things will make your composting journey smoother:
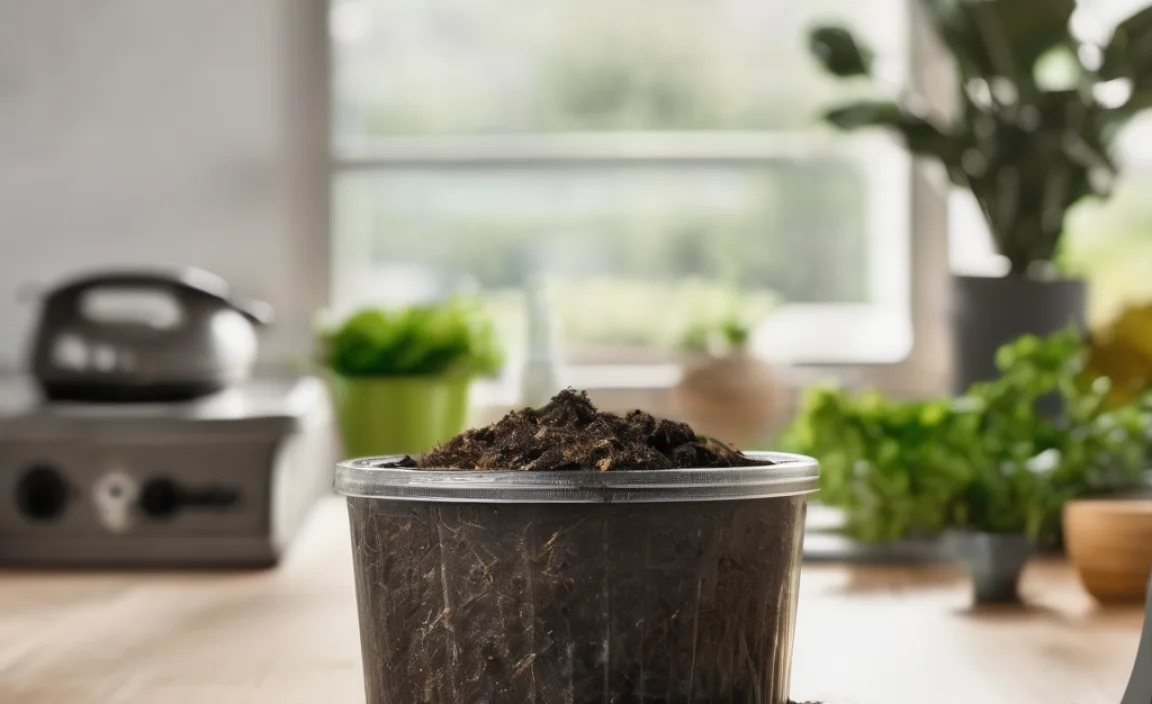
- Kitchen Countertop Pail: A small container with a lid to collect your food scraps indoors on a daily basis. Look for one with a charcoal filter to help with odors.
- Pitchfork or Compost Aerator Tool: Essential for turning and aerating outdoor compost piles or bins. This helps speed up decomposition and prevent smelly anaerobic conditions.
- Gloves: To keep your hands clean when handling compost or turning the bin.
- Shovel: Useful for moving finished compost or adding new layers to a larger bin.
- Watering Can or Hose: Compost needs to be moist, like a wrung-out sponge.
For a more in-depth look at choosing the right composter for your needs, you might find resources on sustainable living blogs or gardening forums helpful. They often have real-world reviews and comparisons.
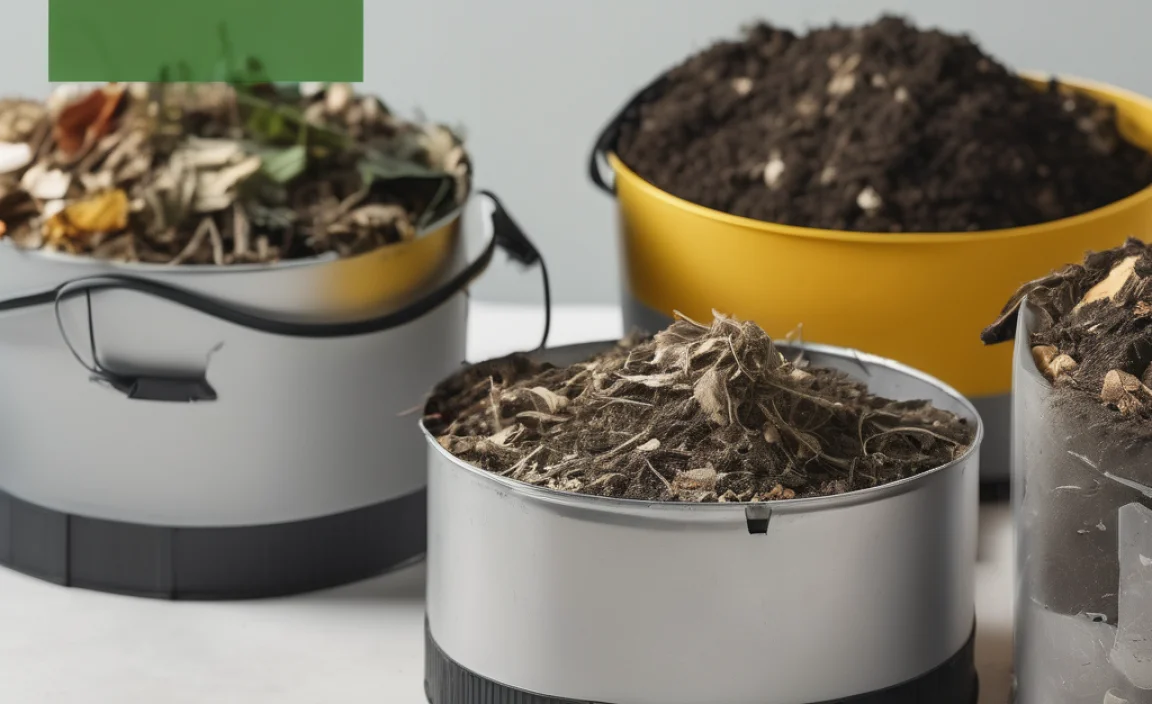
The “Greens” and “Browns”: Balancing Your Compost Recipe
A common frustration for beginners is when their compost smells bad or just sits there, not breaking down. The secret to happy, healthy compost lies in getting the right balance of “greens” and “browns.” It sounds simple, and it really is!
Think of it like making a good meal – you need different ingredients for the best result. Your compost needs a mix of nitrogen-rich materials (greens) and carbon-rich materials (browns).
What are Greens?
Greens are typically moist, nitrogen-rich materials. They provide the nitrogen that microorganisms need to thrive and heat up your compost pile. Most kitchen scraps fall into this category:
- Fruit and vegetable scraps
- Coffee grounds and tea bags (without staples)
- Grass clippings (in thin layers to avoid matting)
- Plant trimmings (non-diseased)
- Eggshells (crushed)
What are Browns?
Browns are carbon-rich, dry materials. They provide the carbon that microorganisms need for energy and help improve aeration in the pile, preventing it from becoming too dense and wet. These are often yard waste and paper products:
- Dry leaves
- Shredded newspaper or cardboard (avoid glossy or colored inks)
- Straw or hay
- Twigs and small branches (chopped)
- Sawdust from untreated wood
- Paper towels and napkins (if not soiled with grease or chemicals)
The Ideal Ratio:
A good rule of thumb is to aim for a ratio of about 2 to 3 parts Browns to 1 part Greens by volume. This might seem like a lot of browns, but don’t worry too much about exact measurements at first. You’ll learn to recognize the signs of a happy compost pile.
If your compost is too wet and smelly, you likely need more browns. If it seems dry and is breaking down very slowly, you probably need more greens. It’s an iterative process, and you’ll get the hang of it quickly!
What to Compost vs. What NOT to Compost
This is super important to avoid attracting pests and creating an unpleasant experience. While composting is versatile, some items are best left out of your bin.
Compost These (Greens & Browns):
As we discussed, your fresh kitchen scraps and carbon-rich yard waste are compost champions.
Kitchen Scraps (Greens):
- Fruit peels and cores
- Vegetable scraps
- Coffee grounds and filters
- Tea leaves and bags (remove staples)
- Eggshells (crushed)
- Stale bread, pasta, rice (in moderation)
Yard Waste & Other (Browns):
- Dry leaves
- Grass clippings (thin layers)
- Shredded newspaper/cardboard (non-glossy)
- Straw and hay
- Soiled paper products (napkins, paper towels)
- Twigs and small branches
- Sawdust (from untreated wood)
DO NOT Compost These:
These items can attract pests, spread disease, or simply won’t break down properly, hindering your composting efforts. Bokashi is an exception for some of these, but for traditional composting, best to avoid.
- Meat, fish, and bones: Attract pests and can create foul odors.
- Dairy products (cheese, yogurt, milk): Similar to meat, they attract pests and smell.
- Oily or greasy foods: Can create anaerobic conditions and slow decomposition.
- Diseased plants: You risk spreading plant diseases back into your garden.
- Weeds that have gone to seed: Seeds can survive the composting process and sprout when you use the compost.
- Pet waste (dog and cat feces): Can contain harmful pathogens.
- Inorganic materials: Plastics, metals, glass, synthetic fibers – these don’t break down.
- Chemically treated wood or yard waste: Can leach harmful chemicals into your compost.
- Coal ash or charcoal briquettes: Can contain harmful substances.
When in doubt, it’s always safer to leave an item out of your compost bin and dispose of it in your regular trash or recycling. For more detailed lists and guidelines, checking out local municipal waste management websites or university extension office gardening guides can be very informative.
Step-by-Step: How to Build Your Compost Pile (Outdoor Bin/Pile Method)
Ready to build your first compost pile? It’s easier than you think! We’ll focus on the classic outdoor bin or pile method, as it’s a common starting point for many.
Step 1: Choose Your Location
Select a spot that’s convenient for you to access but not right next to your living space. It should be on bare soil (to allow for drainage and access for beneficial organisms) and have decent sun exposure, which can help heat the pile. Partial shade is also okay. Aim for an area that’s easy to reach with your kitchen pail and garden tools.
Step 2: Start with a Base Layer (Browns)
Begin by laying down a 4-6 inch layer of coarse brown materials like twigs, straw, or chopped-up cardboard. This helps with air circulation from the very bottom.
Step 3: Add Your First Layer of Greens
Now, add a layer of your collected kitchen scraps and other green materials on top of the browns. Don’t make this layer too thick, maybe 2-3 inches.
Step 4: Add Another Layer of Browns
Cover the green layer with an equal or slightly thicker layer of brown materials (leaves, shredded paper). This “sandwich” approach helps manage moisture and odors. The browns act as a lid for the greens, deterring pests and preventing that composting smell.
Step 5: Continue Layering
Keep adding layers of greens and browns as you collect them. Aim for that roughly 2-3 parts browns to 1 part greens ratio. Chop larger items into smaller pieces to speed up decomposition.
Step 6: Moisten the Pile
As you build, and periodically afterwards, you’ll want to moisten the pile. It should feel like a wrung-out sponge – damp, but not soaking wet. If it’s too dry, decomposition slows down. If it’s too wet, it can become anaerobic and smelly. Rain often helps, but you might need to water it during dry spells.
Step 7: Aerate (Turn) Your Compost
This is crucial for speeding up the process and ensuring good aeration. Use a pitchfork or compost aerator tool to turn the pile every 1-4 weeks. Mix the outer layers into the center and the center layers to the outside. This introduces oxygen, which the microbes need, and helps distribute moisture and heat.
A well-managed compost pile can produce finished compost in as little as 2-3 months, though it can also take 6-12 months depending on conditions and how often you turn it. You’ll know it’s ready when it’s dark, crumbly, and smells earthy.
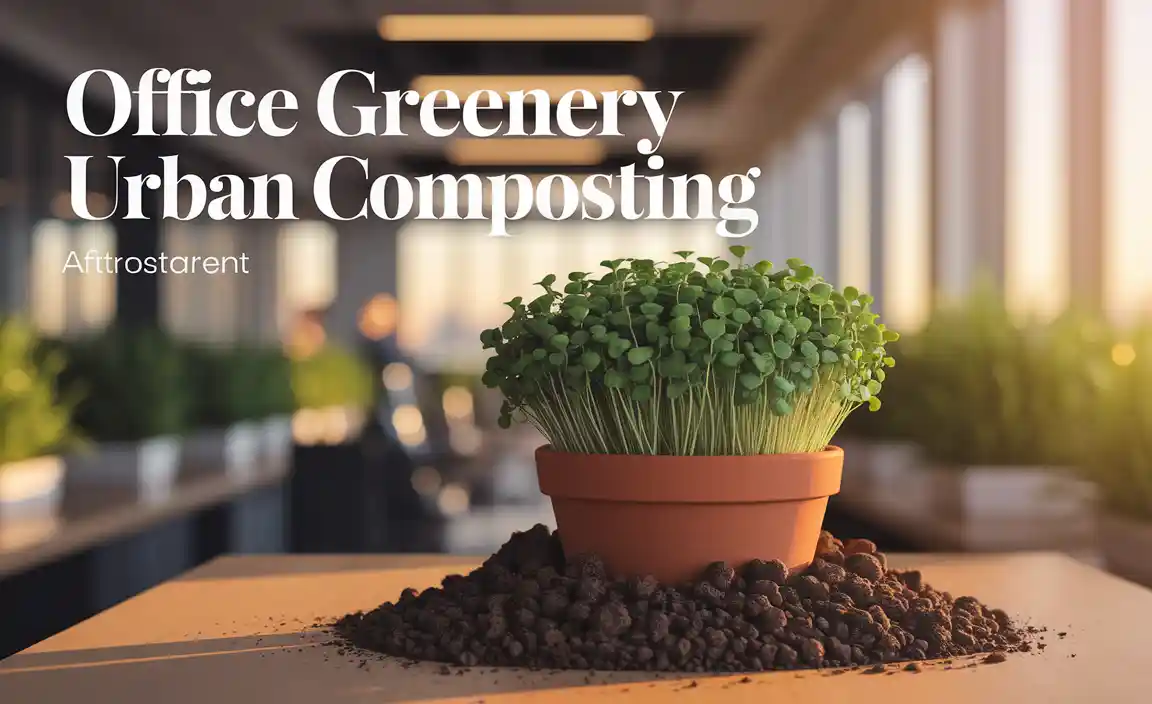
Composting Indoors: Worms & Bokashi Simplified
Don’t have a yard? No problem! Indoor composting methods are fantastic and just as effective for reducing waste.
Worm Composting (Vermicomposting) Made Easy
Worm bins are cool, compact, and incredibly efficient. You’ll need a special worm bin (you can buy one or make a simple one from storage totes) and red wiggler worms (these are not garden worms! They are specialized for composting). A good supplier for these worms is often found through gardening or vermicomposting specific websites.
How it Works:
- Set up your bin: Add bedding like shredded newspaper, coconut coir, or peat moss. Moisten this bedding until it’s damp.
- Introduce the worms: Gently place your red wigglers onto the moist bedding. They will burrow down.
- Start feeding: Begin by adding small amounts of chopped food scraps (mostly veggie and fruit bits) into a designated corner of the bin. Bury the scraps under the bedding.
- Feed regularly: As the worms consume the food, they produce castings (worm poop!), which is incredibly nutrient-rich fertilizer. Feed them every few days, making sure not to overfeed.
- Harvest castings: After a few months, you can harvest the worm castings. There are various methods to separate worms from finished compost, like creating a migration zone or simply moving finished compost to one side and feeding only on the other.
Worm composting is great for apartments, produces excellent fertilizer, and is relatively odor-free if managed properly. A key is not to overfeed and to maintain the right moisture level.
Bokashi: The Indoor Fermenter
Bokashi is a bit different. It’s a fermentation process that pickles your food waste using a special bran inoculated with effective microorganisms (EM). This can handle almost all food scraps (including meat and dairy, which you’d avoid in traditional composting) without odor because it’s anaerobic (no oxygen).
How it Works:
- Collect scraps: Place food scraps into your airtight Bokashi bin.
- Add Bokashi bran: Sprinkle a tablespoon or two of Bokashi bran over the scraps. This bran contains the microbes that start the fermentation.
- Compact and seal: Press down the contents to remove air, then seal the lid tightly.
- Repeat: Continue adding scraps and bran until the bin is full.
- Ferment: Let the full bin sit for two weeks. The waste will ferment, not rot.
- Bury or compost further: The fermented product is acidic and still needs to fully break down. You can bury it in your garden (it breaks down quickly once exposed to soil), add it to a traditional compost pile, or add it to a worm bin.
Bokashi systems also produce a liquid “tea” that can be drained off. Diluted, this tea can be a fantastic liquid fertilizer for your plants. While it’s an extra step, Bokashi is a brilliant way to tackle food waste indoors very effectively.
Troubleshooting Common Composting Problems
Even with the best intentions, you might run into a few quirks with your compost. Don’t get discouraged! Most problems have simple solutions.
Problem: My compost smells bad (like rotten eggs or ammonia).
Cause: Too much green material (nitrogen) or too much moisture, leading to anaerobic conditions (lack of oxygen).
Solution:
- Add more brown materials (leaves, shredded paper).
- Turn the pile to aerate it.
- If it’s too wet, try to gently squeeze some excess water out, or add more browns to absorb it.
.lwrp.link-whisper-related-posts{
margin-top: 40px;
margin-bottom: 30px;
}
.lwrp .lwrp-title{
}.lwrp .lwrp-description{
}
.lwrp .lwrp-list-container{
}
.lwrp .lwrp-list-multi-container{
display: flex;
}
.lwrp .lwrp-list-double{
width: 48%;
}
.lwrp .lwrp-list-triple{
width: 32%;
}
.lwrp .lwrp-list-row-container{
display: flex;
justify-content: space-between;
}
.lwrp .lwrp-list-row-container .lwrp-list-item{
width: calc(25% – 20px);
}
.lwrp .lwrp-list-item:not(.lwrp-no-posts-message-item){
max-width: 150px;
}
.lwrp .lwrp-list-item img{
max-width: 100%;
height: auto;
object-fit: cover;
aspect-ratio: 1 / 1;
}
.lwrp .lwrp-list-item.lwrp-empty-list-item{
background: initial !important;
}
.lwrp .lwrp-list-item .lwrp-list-link .lwrp-list-link-title-text,
.lwrp .lwrp-list-item .lwrp-list-no-posts-message{
}@media screen and (max-width: 480px) {
.lwrp.link-whisper-related-posts{
}
.lwrp .lwrp-title{
}.lwrp .lwrp-description{
}
.lwrp .lwrp-list-multi-container{
flex-direction: column;
}
.lwrp .lwrp-list-multi-container ul.lwrp-list{
margin-top: 0px;
margin-bottom: 0px;
padding-top: 0px;
padding-bottom: 0px;
}
.lwrp .lwrp-list-double,
.lwrp .lwrp-list-triple{
width: 100%;
}
.lwrp .lwrp-list-row-container{
justify-content: initial;
flex-direction: column;
}
.lwrp .lwrp-list-row-container .lwrp-list-item{
width: 100%;
}
.lwrp .lwrp-list-item:not(.lwrp-no-posts-message-item){
max-width: initial;
}
.lwrp .lwrp-list-item .lwrp-list-link .lwrp-list-link-title-text,
.lwrp .lwrp-list-item .lwrp-list-no-posts-message{
};
}
Related Posts

I am passionate about home engineering. I specialize in designing, installing, and maintaining heating, ventilation, and air conditioning systems. My goal is to help people stay comfortable in their homes all year long.