But guess what? Turning that “waste” into super-rich compost for your garden is totally achievable. We’re going to walk through it step-by-step. Think of this as your friendly neighborhood guide to making amazing compost, the easy way.
Ready to dig in and create some garden gold? Let’s get started!
Quick Summary: This guide unlocks the secrets of aerobic composting, an efficient method for turning organic waste into nutrient-rich soil. We’ll cover what aerobic composting is, why it’s great, the tools you’ll need, how to build your pile, what to add, and how to keep it going strong. Learn to feed your soil, not the landfill!
What Exactly is Aerobic Composting?
Let’s break down “aerobic composting.” The key word here is “aerobic,” which means “with air.” Simply put, aerobic composting is a process where tiny living things, like bacteria and fungi, munch on your organic materials. The magic? They need oxygen to do their work!
Unlike some composting methods that can get a bit stinky because they lack air (anaerobic), aerobic composting is all about keeping things breezy. This air flow helps the good microbes thrive, breaking down your scraps quickly and neatly. It’s like throwing a party for beneficial microorganisms, and the main course is your kitchen and yard waste!
Why Choose Aerobic Composting? The Awesome Benefits
So, why should you become an aerobic composting enthusiast? It’s a pretty sweet deal for your garden and the planet. Here are some of the top reasons:
- Fast & Efficient: Because it has plenty of oxygen, aerobic composting is typically much faster than other methods. You can get usable compost in a matter of weeks or months, not years.
- Less Smelly: When done right, with good air flow, aerobic compost piles have a pleasant, earthy smell, or no smell at all. No more stinky bins!
- Healthier Compost: The hot temperatures reached in a well-managed aerobic pile kill off weed seeds and harmful pathogens, giving you a safer, more beneficial soil amendment.
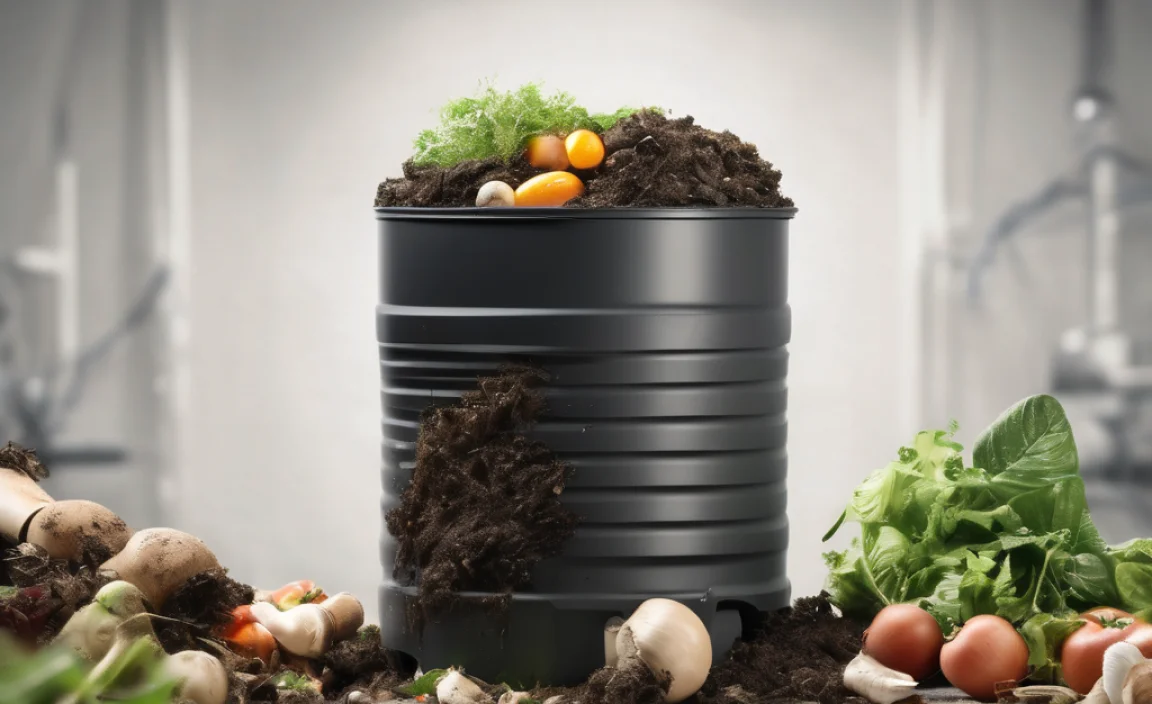
- Reduces Waste: It’s a fantastic way to keep food scraps and yard debris out of landfills, which reduces methane gas emissions and saves valuable landfill space.
- Gardener’s Best Friend: The finished compost is like a superfood for your plants. It improves soil structure, adds essential nutrients, helps retain moisture, and encourages beneficial soil life.
- Cost-Effective: You’re turning “trash” into treasure, saving money on fertilizers and soil amendments for your garden.
Getting Started: What You’ll Need
Don’t worry, you don’t need a fancy lab or a huge budget to start aerobic composting. Most of what you need is probably already around your house or can be easily acquired. Here’s a rundown:
The Bin (or No Bin!)
You can buy a compost bin, build one, or even just make a pile. The main goal is to contain your compost and allow for air circulation.
- Store-Bought Bins: These are convenient and often designed for good airflow. Tumblers are great for easy turning, while stationary bins are simple and effective.
- DIY Bins: You can build a bin using wooden pallets, wire mesh, or cinder blocks. The key is to allow plenty of gaps for air to get in. A simple three-sided bin against a wall works well.
- Open Piles: If you have space, a simple open pile is perfectly fine for aerobic composting. Just aim for a good size – at least 3 feet by 3 feet by 3 feet – to help it heat up.
Tools for the Job
These are basic tools that will help you manage your compost and make your life easier:
- Pitchfork or Garden Fork: Essential for turning your compost pile. This helps aerate it, mix materials, and keep the decomposition process moving.
- Shovel: Useful for adding materials, moving compost, and turning larger amounts.
- Watering Can or Hose with Nozzle: Like us, the microbes in your compost need water to live and work. You’ll need to keep the pile moist.
- Gloves: For keeping your hands clean and protecting them.
- Thermometer (Optional but Recommended): A compost thermometer helps you monitor the temperature. Higher temperatures (130-160°F or 55-70°C) are ideal for killing pathogens and weed seeds.
The Magic Recipe: What Goes In Your Aerobic Compost Pile
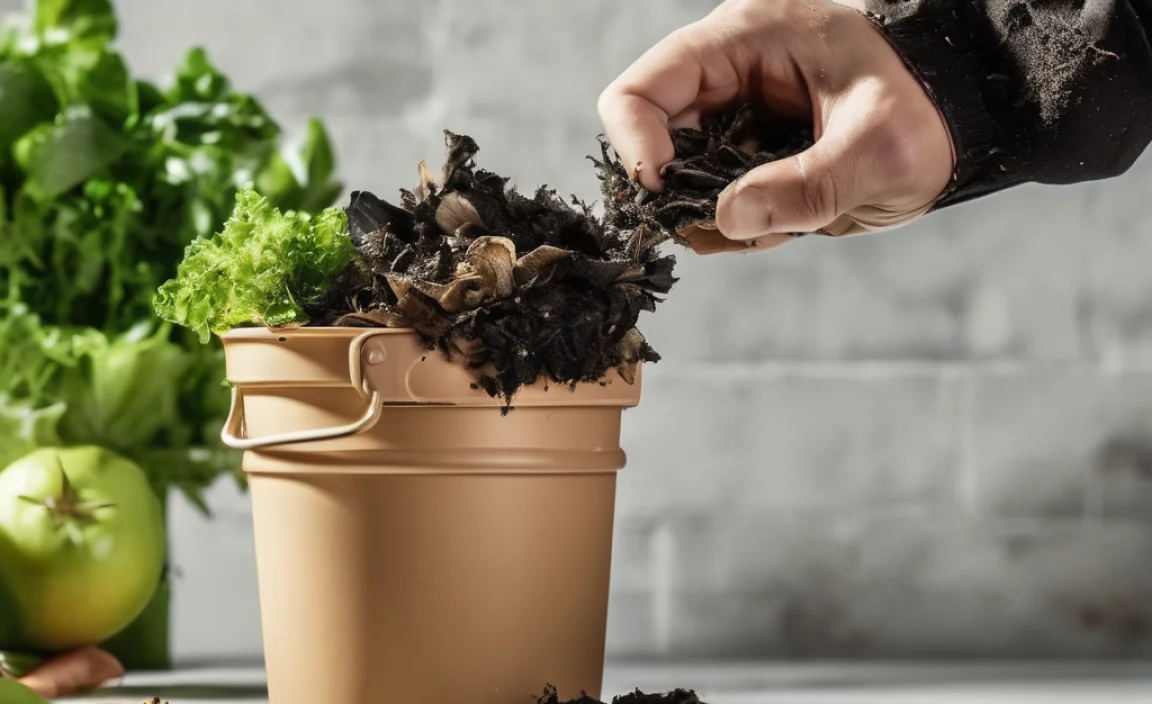
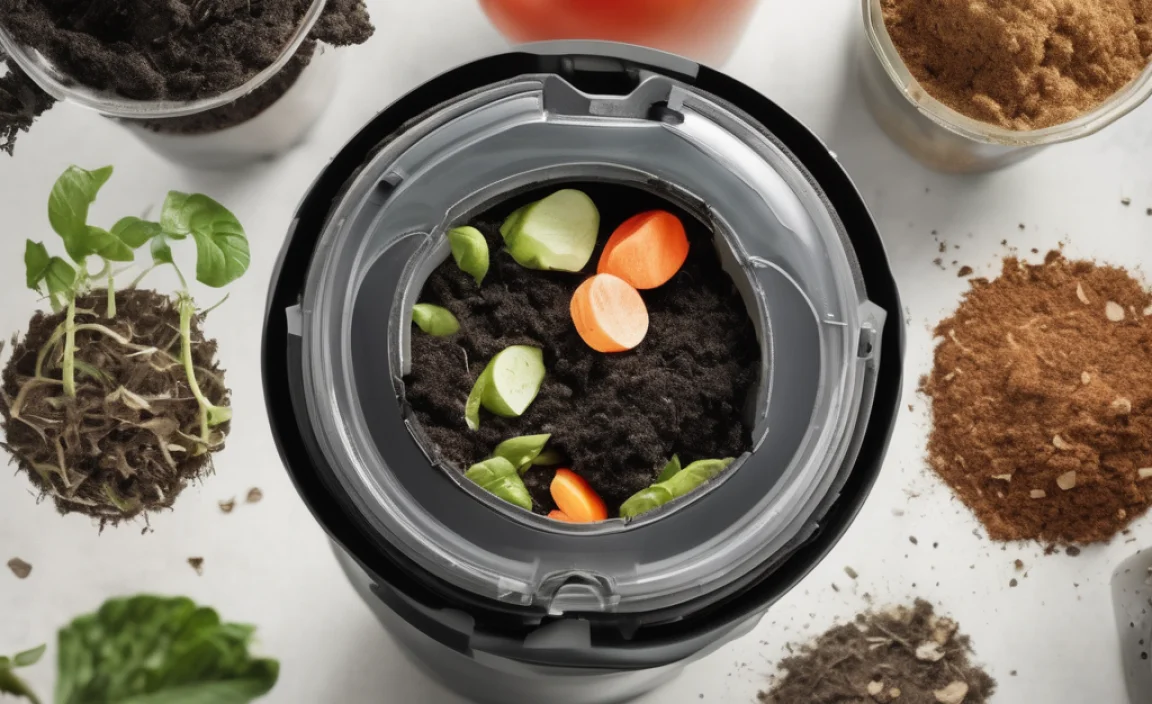
The secret to successful aerobic composting is a good balance of “greens” and “browns.” Think of it like a balanced diet for your compost microbes!
Greens (Nitrogen-Rich Materials)
Greens are moist, nitrogen-rich materials that provide the “fuel” for the microorganisms. They help the pile heat up.
- Fruit and vegetable scraps
- Coffee grounds and tea bags
- Grass clippings (in thin layers to avoid matting)
- Plant trimmings (non-woody parts)
- Eggshells (crushed)
- Manure from herbivores (like chickens, rabbits, cows, horses – avoid pet waste)
Browns (Carbon-Rich Materials)
Browns are dry, carbon-rich materials that provide the “bulk” and allow air to move through the pile. They prevent the greens from becoming a soggy, smelly mess.
- Dry leaves
- Straw or hay
- Shredded newspaper or cardboard (avoid glossy paper)
- Small twigs and wood chips (chopped up)
- Sawdust (untreated wood only, in moderation)
- Paper towel rolls and toilet paper rolls
- Pine needles (use in moderation as they can be acidic)
What to Avoid (and Why)
Not everything belongs in your compost pile:
- Meat, fish, and dairy products: These can attract pests and create foul odors.
- Oily or greasy foods: They break down slowly and can also cause odors and attract pests.
- Diseased plant material: You don’t want to spread plant diseases to your garden.
- Weeds gone to seed: Unless your pile gets very hot, these seeds might survive and sprout in your garden.
- Pet waste (dog and cat): Can contain harmful pathogens.
- Treated wood or coal ash: Contain harmful chemicals.
- Synthetic materials: Plastics, metals, glass – they won’t break down.
It’s a good idea to check with your local waste management or master gardener program for specific guidelines on what’s compostable in your area. For instance, the EPA provides general composting guidelines.
Building Your Aerobic Compost Pile: Step-by-Step
Ready to get your hands dirty (but not too dirty!)? Here’s how to build your first aerobic compost pile. We’ll aim for a good mix to get things cooking.
Step 1: Choose Your Location
Find a level spot in your yard that’s convenient to access. It should be well-drained and have some sun and shade. Full sun can dry it out too fast, while deep shade might keep it too wet. Partial shade is often ideal.
Step 2: Start with a Base Layer of Browns
Begin by placing a layer of coarse, brown materials (like twigs, straw, or wood chips) at the bottom. This helps with drainage and airflow right from the start. Aim for about 4-6 inches.
Step 3: Add Your Greens
Now, add a layer of your nitrogen-rich “greens” on top of the browns. This could be kitchen scraps, grass clippings, or plant trimmings. About 2-3 inches should do.
Step 4: Cover with Browns
Top the green layer with another layer of brown materials. This is crucial for preventing odors and deterring pests. Aim for a generous layer, about 4-6 inches thick. The goal is to keep the greens mostly covered.
Step 5: Add Water
Lightly water each layer as you build. The goal is for the materials to be as damp as a wrung-out sponge – moist, but not dripping wet. If you squeezed a handful, only a drop or two of water should come out.
Step 6: Repeat and Build
Continue adding alternating layers of greens and browns, watering each layer lightly, until your pile is about 3-5 feet high. A pile this size will insulate itself well, helping it heat up more effectively.
Step 7: The First Turn (After a Few Days)
After about 3-7 days, your pile should start to heat up. You can check this by sticking your hand into the center – it should feel warm. Now, it’s time to turn it! Use your pitchfork to mix the outer materials into the center of the pile and the hot center materials to the outside. This turns the whole ingredients over, ensuring it gets enough air.
Maintaining Your Aerobic Compost Pile: Keeping the Magic Alive
Building the pile is just the first step. Keeping it alive and well is where the real composting happens. Here’s what you need to do:
The Goldilocks Principle: Moisture Levels
As we mentioned, moisture is key. Your compost pile should feel like a damp sponge. Too dry? The microbes slow down. Too wet? It can become anaerobic and smelly. Check the moisture regularly, especially after turning. If it feels dry, add water as you turn. If it’s too wet, add more brown materials and turn it to help it dry out.
Turn, Turn, Turn!
Regular turning is the heart of aerobic composting. Aim to turn your pile every 1-2 weeks, or more often if you want faster results. This is what provides the essential oxygen for the microbes and mixes the materials, helping everything break down evenly. You’ll notice the piles reduce in size quite a bit as they decompose.
Temperature Check (Optional but Helpful)
If you have a compost thermometer, aim for your pile’s core to reach 130-160°F (55-70°C). This “hot composting” phase is great for killing weed seeds and pathogens. Once the temperature drops below 100°F (38°C), it’s time to turn the pile again to reintroduce oxygen and kickstart the heating process.
Patience is a Virtue
Even with a healthy, active pile managed by great aerobic composting techniques, it still takes time. Depending on your materials, how often you turn, and your climate, you can have finished compost in anywhere from 1 to 6 months.
Diagnosing and Fixing Common Compost Problems
Even with the best intentions, compost piles can sometimes throw a curveball. Don’t get discouraged! Most problems have simple solutions. Here’s a quick troubleshooting guide:
| Problem | Possible Cause(s) | Solution |
|---|---|---|
| Pile is too wet and slimy | Too many greens, not enough browns, excessive rain. | Add plenty of dry brown materials (leaves, shredded cardboard). Turn the pile to increase airflow and help it dry. Consider covering the pile during heavy rain. |
| Pile is dry and not decomposing | Not enough moisture, too many browns, pile is too small. | Water the pile thoroughly while turning. Add more nitrogen-rich green materials. Ensure the pile is at least 3x3x3 feet. |
| Pile smells bad (ammonia or rotten eggs) | Too many greens (ammonia smell), lack of oxygen / anaerobic conditions (rotten egg smell). | Add more brown materials to balance the nitrogen. Turn the pile to introduce air. Break up any matted-down or clumpy areas. For ammonia, add browns and turn; for rotten egg, lack of air is the main culprit, so turn vigorously. |
| Attracting pests (flies, rodents) | Exposed food scraps, presence of meat/dairy/oily foods. | Ensure all food scraps are buried well within the pile and covered by a layer of browns. Avoid adding prohibited items like meat, dairy, and oils. Use a compost bin with a lid to deter larger critters. |
| Pile isn’t heating up | Pile too small, not enough greens, too dry, or too wet. | Ensure the pile is at least 3x3x3 feet. Add more nitrogen-rich green materials. Check and adjust moisture levels. Turn to aerate. |
When is Compost Ready? Signs of Garden Gold
How do you know when your compost is ready to use? It’s an exciting moment! Finished compost will have a look, feel, and smell that’s quite different from the raw materials:
- Appearance: It will be dark brown or black, crumbly, and resemble rich soil. You shouldn’t be able to recognize the original ingredients (like banana peels or lettuce leaves).
- Texture: It should be moist but not soggy, and loose and crumbly.
- Smell: It will have a pleasant, earthy aroma, like a forest floor after rain. Any sour or “off” smells mean it’s not quite ready or needs a turn.
- Temperature: A finished compost pile will have cooled down.
You can sift your compost through a screen (like a 1/2-inch hardware cloth stapled to a wooden frame) to get a finer texture, though this isn’t strictly necessary. Any larger, undecomposed bits can go back into your active compost pile.
Using Your Homemade Compost
Congratulations, you’ve made compost! Now for the best part: using it. Here are a few ways to enrich your garden:
- Soil Amendment: Mix compost into garden beds before planting. It improves soil structure, aeration, and water retention for both sandy and clay soils. A common recommendation is to work in a layer of 2-4 inches.
- Top Dressing: Spread a layer of compost around established plants, trees, and shrubs. This feeds the soil and helps retain moisture.
- Potting Mix: Combine compost with other ingredients like perlite or vermiculite to create a nutrient-rich potting mix for containers.
- Lawn Care: Spread a thin layer of compost over your lawn in the spring or fall to revitalize the grass.
Using compost is one of the most effective ways to build healthy, living soil for your garden. For more detailed advice on soil health, you might find resources from university extension offices helpful, like those provided by Extension Foundation.
Frequently Asked Questions About Aerobic Composting
Q1: How long does aerobic composting take?
It can take anywhere from 1 to 6 months, depending on the materials you use, how often you turn the pile, and your climate. Well-managed, hot compost piles can produce usable compost in as little as 4-6 weeks.
Q2: My compost pile smells. What did I do wrong?
A bad smell usually means it’s either too wet and lacking air (anaerobic), or it has too much nitrogen (greens). Try adding more dry brown materials and turning the pile to get air into it.
Q3: Can I compost everything from my kitchen?
Almost! You can compost most fruits, vegetables, coffee grounds, and tea bags. However, avoid meat, fish, dairy products, and oily foods as they can attract pests and smell bad.
Q4: How much water should my compost pile have?
Your compost pile should be consistently moist, like a wrung-out sponge. If you grab a handful and squeeze, only a few drops of water should come out. Too much water leads to a smelly pile; too little slows down decomposition.
.lwrp.link-whisper-related-posts{
margin-top: 40px;
margin-bottom: 30px;
}
.lwrp .lwrp-title{
}.lwrp .lwrp-description{
}
.lwrp .lwrp-list-container{
}
.lwrp .lwrp-list-multi-container{
display: flex;
}
.lwrp .lwrp-list-double{
width: 48%;
}
.lwrp .lwrp-list-triple{
width: 32%;
}
.lwrp .lwrp-list-row-container{
display: flex;
justify-content: space-between;
}
.lwrp .lwrp-list-row-container .lwrp-list-item{
width: calc(25% – 20px);
}
.lwrp .lwrp-list-item:not(.lwrp-no-posts-message-item){
max-width: 150px;
}
.lwrp .lwrp-list-item img{
max-width: 100%;
height: auto;
object-fit: cover;
aspect-ratio: 1 / 1;
}
.lwrp .lwrp-list-item.lwrp-empty-list-item{
background: initial !important;
}
.lwrp .lwrp-list-item .lwrp-list-link .lwrp-list-link-title-text,
.lwrp .lwrp-list-item .lwrp-list-no-posts-message{
}@media screen and (max-width: 480px) {
.lwrp.link-whisper-related-posts{
}
.lwrp .lwrp-title{
}.lwrp .lwrp-description{
}
.lwrp .lwrp-list-multi-container{
flex-direction: column;
}
.lwrp .lwrp-list-multi-container ul.lwrp-list{
margin-top: 0px;
margin-bottom: 0px;
padding-top: 0px;
padding-bottom: 0px;
}
.lwrp .lwrp-list-double,
.lwrp .lwrp-list-triple{
width: 100%;
}
.lwrp .lwrp-list-row-container{
justify-content: initial;
flex-direction: column;
}
.lwrp .lwrp-list-row-container .lwrp-list-item{
width: 100%;
}
.lwrp .lwrp-list-item:not(.lwrp-no-posts-message-item){
max-width: initial;
}
.lwrp .lwrp-list-item .lwrp-list-link .lwrp-list-link-title-text,
.lwrp .lwrp-list-item .lwrp-list-no-posts-message{
};
}


I am passionate about home engineering. I specialize in designing, installing, and maintaining heating, ventilation, and air conditioning systems. My goal is to help people stay comfortable in their homes all year long.