Composting can sometimes feel like a puzzle, right? You want healthy soil for your garden, but the bins get smelly or just don’t seem to work. Many folks struggle with the usual ways of making compost. This guide is here to help! We’ll break down a proven method that’s essential for many situations. Get ready to turn waste into wonder, step-by-step.
Anaerobic Composting Review: Turning Waste Without the Fuss
Hey there, Green Thumbs and Home Keepers! Troy D Harn here from TopChooser. Today, we’re diving into something that might sound a bit technical but is actually super practical: anaerobic composting. If you’ve ever taken a whiff of a typical compost pile and thought, “Yikes!”, or found your compost just sits there for ages, then this method might be your new best friend. We’re going to break down what anaerobic composting is, how it works, and why it’s considered an essential method for certain jobs. Think of me as your friendly neighbor explaining how to fix a leaky faucet – simple, straightforward, and we’ll get it done!
What Exactly is Anaerobic Composting?
Let’s start with the basics. “Anaerobic” simply means “without air.” So, anaerobic composting is a process that breaks down organic matter in an environment with very little to no oxygen. This is different from the more common “aerobic” composting, which relies on oxygen-loving microbes to do the work. Aerobic composting is what most backyard compost bins do, like how a well-aerated pile of leaves breaks down.
In anaerobic composting, different types of bacteria, fungi, and other microorganisms take over. They thrive in oxygen-deprived conditions. While aerobic composting is great for producing nutrient-rich compost quickly in ideal conditions, anaerobic composting has its own unique advantages and applications. It’s often used in larger-scale operations like enclosed composting systems or even in natural environments like swamps.
How Does Anaerobic Composting Work?
The magic (or science!) behind anaerobic composting lies in the types of microorganisms that are active in a low-oxygen environment. These microbes, often called anaerobes, break down organic materials through a process called fermentation. This fermentation happens in stages:
- Hydrolysis: Large organic molecules are broken down into smaller, soluble ones.
- Acidogenesis: These smaller molecules are converted into volatile fatty acids, alcohols, and other intermediate compounds.
- Acetogenesis: Volatile fatty acids are further broken down into acetic acid, hydrogen, and carbon dioxide.
- Methanogenesis: Finally, methane-producing archaea convert these compounds into methane and carbon dioxide, which are the main gases produced.
This process is very similar to how some foods are fermented, like in making yogurt or sauerkraut, but on a larger scale with composting materials. The result can be a compost-like material, sometimes called humus or digestate, depending on the specific process and duration.
What’s interesting is that anaerobic decomposition can happen much faster in certain enclosed systems than aerobic composting. It also produces biogas, which is a mixture of methane and carbon dioxide. In large-scale anaerobic digestion, this biogas can be captured and used as a renewable energy source. For home gardeners, while biogas capture isn’t usually a primary goal, understanding the process helps us appreciate why it’s different.
Why is Anaerobic Composting Essential? (And When to Use It)
While aerobic composting is the go-to for many home gardeners, anaerobic composting isn’t just an alternative; it’s often an essential method for specific situations and benefits. Here’s why:
1. Odor Control (When Done Right)
This might sound counterintuitive since anaerobic processes are sometimes associated with smells. However, a well-managed anaerobic system can actually be nearly odorless. If you’ve ever had a smelly aerobic compost pile, it’s often because pockets of the pile have gone anaerobic (low oxygen) due to poor aeration and too much moisture, leading to unpleasant odors from incomplete decomposition. A properly designed anaerobic system, like a sealed digester, can contain these reactions and limit odors. Think of it as controlling the process, not letting it run wild.
2. Speed of Decomposition
Under the right temperature conditions (often warm), anaerobic digestion can break down organic matter remarkably fast. In large-scale biodigesters, food scraps can be processed in a matter of weeks. While home-scale anaerobic piles might not be as rapid as industrial digesters, they can often outpace a neglected aerobic pile. This speed is a huge advantage when dealing with large volumes of organic waste.
3. Handling Specific Waste Streams
Anaerobic digestion is particularly effective at breaking down wet organic materials, like food scraps, manure, and sewage sludge. These materials can sometimes be too wet or dense for efficient aerobic composting, becoming waterlogged and anoxic (lacking oxygen). Anaerobic systems are designed to handle this moisture.
4. Biodigesters and Biogas Production
This is where anaerobic composting really shines as an essential method. Biodigesters are enclosed systems specifically designed for anaerobic digestion. They are crucial for treating manure from livestock farms, food waste from restaurants and processing plants, and even municipal organic waste. The primary output, besides a nutrient-rich digestate, is biogas (methane). This biogas can be captured and used to generate electricity, heat homes, or fuel vehicles. Renewable energy production from waste is a massive environmental benefit, making anaerobic digestion an essential technology globally.
For example, the U.S. Environmental Protection Agency (EPA) highlights that anaerobic digesters at farms and wastewater treatment plants are key to producing renewable energy and managing waste.
5. Reduced Greenhouse Gas Emissions (in some contexts)
When organic matter decomposes in a landfill, it does so anaerobically, releasing methane, a potent greenhouse gas. By capturing and utilizing this methane through controlled anaerobic digestion, we can significantly reduce emissions compared to landfilling. The digestate produced is also often a valuable fertilizer, reducing the need for synthetic fertilizers which have their own environmental impacts.
Types of Anaerobic Composting Systems
When we talk about anaerobic composting, it’s usually within a more controlled environment than just a pile of scraps. Here are a couple of common approaches:
1. Enclosed Biodigesters
These are the systems most people think of when discussing efficient anaerobic digestion. They are sealed containers designed to contain the organic material and prevent oxygen from entering. They can range from small, home-scale units designed to process kitchen scraps for biogas and fertilizer, to massive industrial facilities.
Pros:
- High efficiency in breaking down waste.
- Can produce usable biogas.
- Good odor control when properly sealed.
- Speed of decomposition can be faster.
Cons:
- Initial setup cost can be higher.
- Requires specific materials and construction for effective sealing.
- Temperature management is important for optimal performance.
- May require more technical knowledge to operate and maintain.
2. “Sour” or Pit Composting (Less Ideal for Home, but Illustrative)
This is a more basic, less controlled form of anaerobic decomposition often seen in some traditional or less managed composting methods. It’s essentially a pile or pit where organic matter is buried or enclosed, with limited air. It can be slower and more prone to undesirable odors if not managed carefully.
Pros:
- Very low-tech and inexpensive to start.
- Can be effective for burying waste that shouldn’t be in visible piles.
Cons:
- Can produce strong, unpleasant odors.
- Decomposition is slow and less efficient.
- The end product might not be as high quality or consistent.
- Methane can escape into the atmosphere.
For most home gardeners looking for a practical composting solution or a review of anaerobic composting, focusing on well-designed systems (like those that can be adapted from DIY plans or purchased) is more beneficial. The “sour pit” method is more of a historical or very basic approach.
What Can You Compost Anaerobically?
Just like aerobic composting, anaerobic systems work best with a mix of “greens” and “browns.” However, they are particularly adept at handling wetter materials.
Good “Greens” (Nitrogen-Rich):
- Fruit and vegetable scraps
- Coffee grounds and tea bags
- Grass clippings (in moderation to avoid matting)
- Manure from herbivores (cow, horse, rabbit, chicken)
- Food waste (cooked or uncooked, though avoid meat/dairy in some home systems)
Good “Browns” (Carbon-Rich):
- Dried leaves
- Shredded newspaper and cardboard (avoid glossy or colored inks where possible)
- Straw or hay
- Wood chips or sawdust (in moderation)
- Paper napkins and paper towels
What to Avoid (in most home systems):
- Meat, fish, and bones (can attract pests and create strong odors)
- Dairy products (same reasons as meat)
- Oily or greasy foods
- Diseased plants
- Weeds that have gone to seed (they might survive the process)
- Pet waste (from cats and dogs, due to potential pathogens)
- Treated wood products
- Synthetics and plastics
Setting Up a Simple Anaerobic System (DIY Focus)
While professional biodigesters are complex, you can create simpler, sealed systems at home for managing food scraps. These might not produce significant biogas, but they can compost waste more quickly and with less fuss for some.
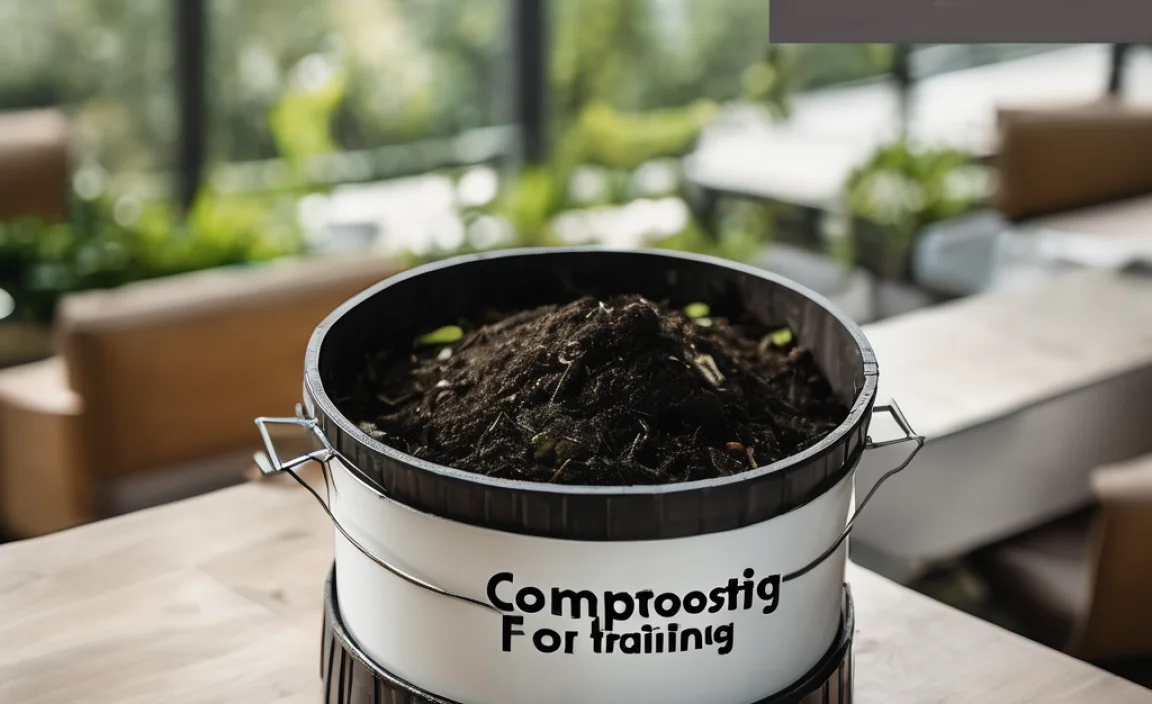
DIY Anaerobic Composting Bin Example: The “Plastic Drum” Method
This method focuses on creating a sealed environment. It’s not a true, high-efficiency biodigester but uses anaerobic principles for faster decomposition of certain materials.
Materials You Might Need:
- A large, food-grade plastic drum with a tight-fitting lid. (Check local food suppliers or online for these. Aim for 55-gallon or similar.)
- Drill with various bit sizes.
- Sealant (e.g., silicone caulk)
- Optional: A small valve or airlock for gas release if you suspect pressure build-up.
- Optional: Insulation for colder climates.
Steps:
- Clean the Drum: Thoroughly wash and dry the plastic drum. Ensure it’s food-grade to avoid contamination.
- Create an Inlet: You’ll need a way to add materials. You can cut a flap or a larger opening that can be sealed shut. Alternatively, if the drum has a removable lid on top, that can serve as your main access.
- Add Drainage Holes (Carefully): This is where it gets tricky for truly anaerobic systems. Traditional anaerobic digesters manage liquid but don’t usually have “drainage” holes that let oxygen in. For a simpler home version aimed at speeding up decomposition and containing it, you might drill a few very small holes near the bottom and then insert and seal short lengths of tubing into these holes. These can act as regulated outlets for excess liquid. Ensure these are very small to minimize air intake.
- Seal Everything: Use sealant around any drilled holes or seams to ensure the drum is as airtight as possible. If you’re using a valve for gas release, install and seal that too.
- Add Your Materials: Start adding your “greens” and “browns.” Chop larger items into smaller pieces to speed up decomposition. Don’t fill it more than 75-80% full to allow for some air and movement.
- Mix and Seal: Give the contents a good mix if possible (hard in a drum, so layering is often better). Seal the lid or flap securely.
- Location: Place the drum in a location that receives some sun if possible, as warmth aids decomposition.
- Maintenance: Check periodically for excess liquid escaping from the small tubes. If you installed a gas valve, a tiny puff of gas might be released, but it shouldn’t be significant in a small home system. The key is to disturb it as little as possible to maintain anaerobic conditions.
- Unearthing the Compost: Depending on the materials and temperature, it might take anywhere from 1 to 3 months for the contents to break down significantly. You’ll know it’s ready when it looks like dark, crumbly soil and the original materials are no longer recognizable. You might need to let it cure for a few more weeks in a more open pile to stabilize.
Important Note: This DIY drum method is a simplified approach leaning on anaerobic principles. It’s more about containing decomposition and potentially speeding it up compared to a loose pile, rather than optimized biogas production. For true, efficient anaerobic digestion with biogas capture, you’d look at specialized home biodigester kits or larger municipal systems.
Pros and Cons of Anaerobic Composting (in a Home Context)
Let’s sum up the advantages and disadvantages you might encounter trying this approach at home.
Pros:
- Can be faster: Especially for wet organic waste.
- Less turning required: Once sealed, there’s little need to aerate.
- Good for wet waste: Handles food scraps and moist materials well.
- Odor containment: A properly sealed system can minimize smells.
- Space-saving: Enclosed systems are more compact.
Cons:
- End product can vary: The compost might be less stable or need curing.
- Potential for strong odors: If the system isn’t sealed or managed well, smells can be worse than aerobic.
- Higher initial setup: Compared to a simple open bin, a sealed system can cost more to build or buy.
- Pathogen concerns: Some anaerobic processes might not kill all pathogens as effectively as hot aerobic composting.
- Lower temperatures: If not managed in warm conditions, decomposition can slow down.
Anaerobic vs. Aerobic Composting: A Quick Comparison
Understanding how anaerobic composting differs from aerobic composting will help you choose the right method for your needs.
| Feature | Anaerobic Composting | Aerobic Composting |
|---|---|---|
| Oxygen Requirement | Little to none | Plenty of oxygen needed |
| Microorganisms | Anaerobic bacteria and archaea | Aerobic bacteria and fungi |
| Primary Process | Fermentation | Oxidation |
| Common Odors | Can be putrid if unmanaged (e.g., sour smell) | Earthy, pleasant smell (when balanced) |
| Speed | Can be fast, especially in warm, enclosed systems. May produce biogas. | Can be fast with proper aeration and turning. |
| Turning/Aeration | Not required or even detrimental | Crucial for speed and odor control |
| Best for Home Use | Enclosed systems (biodigesters) for specific needs or faster breakdown of wet waste. | Open piles or bins; generally easier for beginners for typical yard waste and kitchen scraps. |
| End Product | Compost or digestate; may require curing. | Finished compost; typically ready to use. |
| Example Systems | Sealed drums, commercial biodigesters | Open-air bins, tumblers, three-bin systems |
Tips for Success with Anaerobic Composting
If you’re looking to try an anaerobic approach, especially a contained, DIY version, here are a few tips to keep things running smoothly:
- Start Small: Don’t try to build a massive system right away. A smaller drum or container is easier to manage and learn from.
- Chop It Up: The smaller the pieces of organic matter, the faster they will break down, regardless of the method.
- Balance Your Greens and Browns: While anaerobic systems handle moisture well, a good carbon-to-nitrogen ratio is still important for efficient decomposition. Aim for roughly 25-30 parts carbon to 1 part nitrogen. A visual guide is about equal parts by volume of “greens” and “browns,” but leaning more towards browns if things seem too wet or smelly.
- Maintain Warmth: Anaerobic digestion works best in warmer temperatures. If you live in a

I am passionate about home engineering. I specialize in designing, installing, and maintaining heating, ventilation, and air conditioning systems. My goal is to help people stay comfortable in their homes all year long.


