Quick Summary: Most toilet fill valves are designed to be universal, fitting standard toilet tanks. However, compatibility can vary based on tank size, shape, and inlet valve opening. Always check product specifications and measure your existing valve before purchasing a replacement to ensure a proper fit. When in doubt, a trip to your local hardware store with your old valve in hand is always a good idea!
Is your toilet running constantly, or is it filling too slowly? Replacing the fill valve is often the solution. It sounds intimidating, but it’s a simple DIY project. The good news is that most fill valves are made to fit most toilets. However, it’s not always a perfect world. This guide will walk you through how to determine if a new fill valve will fit your toilet and what to do if it doesn’t. We’ll cover how to measure, what to look for, and how to install a new valve with confidence. Let’s get started and stop that running toilet!
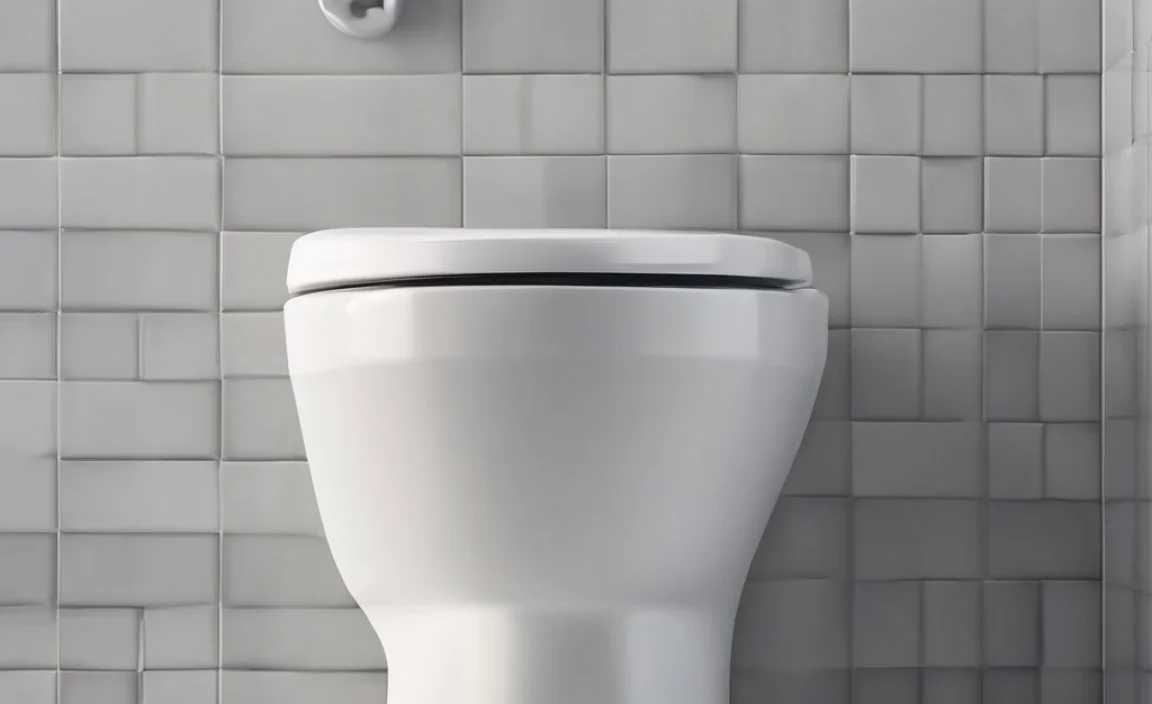
Are Toilet Fill Valves Universal? Understanding Compatibility
The question of whether toilet fill valves are universal is a common one for homeowners. While many fill valves are designed to fit a wide range of toilets, it’s not always a one-size-fits-all situation. Understanding the factors that affect compatibility will help you choose the right replacement for your toilet.
Standard Toilet Designs and Fill Valves
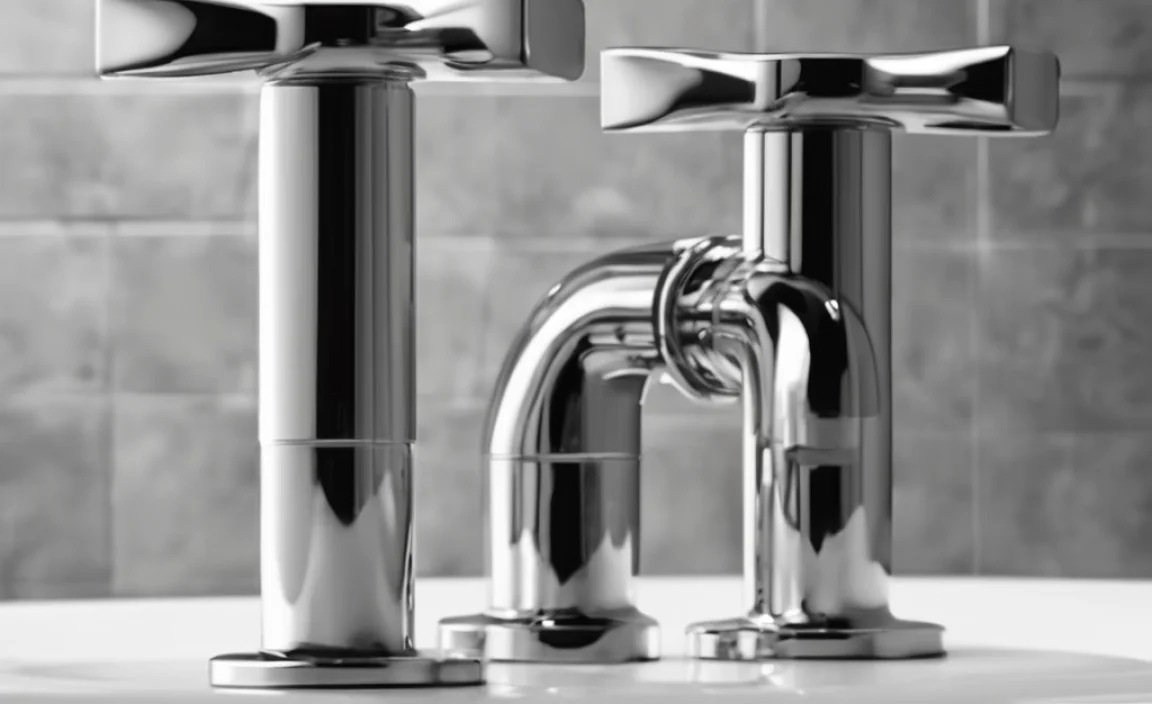
Most toilets in North America follow a standard design, which makes fill valve replacement relatively straightforward. These toilets typically have a 2-inch flush valve opening and a standard-sized tank. Fill valves are designed to attach to the tank with a universal threaded connection, usually ½ inch or 7/8 inch. This standardization makes many fill valves compatible across different brands and models.
Factors Affecting Compatibility
Several factors can influence whether a fill valve will fit your toilet:
- Tank Size and Shape: Toilets come in various sizes and shapes, including compact, elongated, and corner models. Some tanks may have limited space, requiring a more compact fill valve.
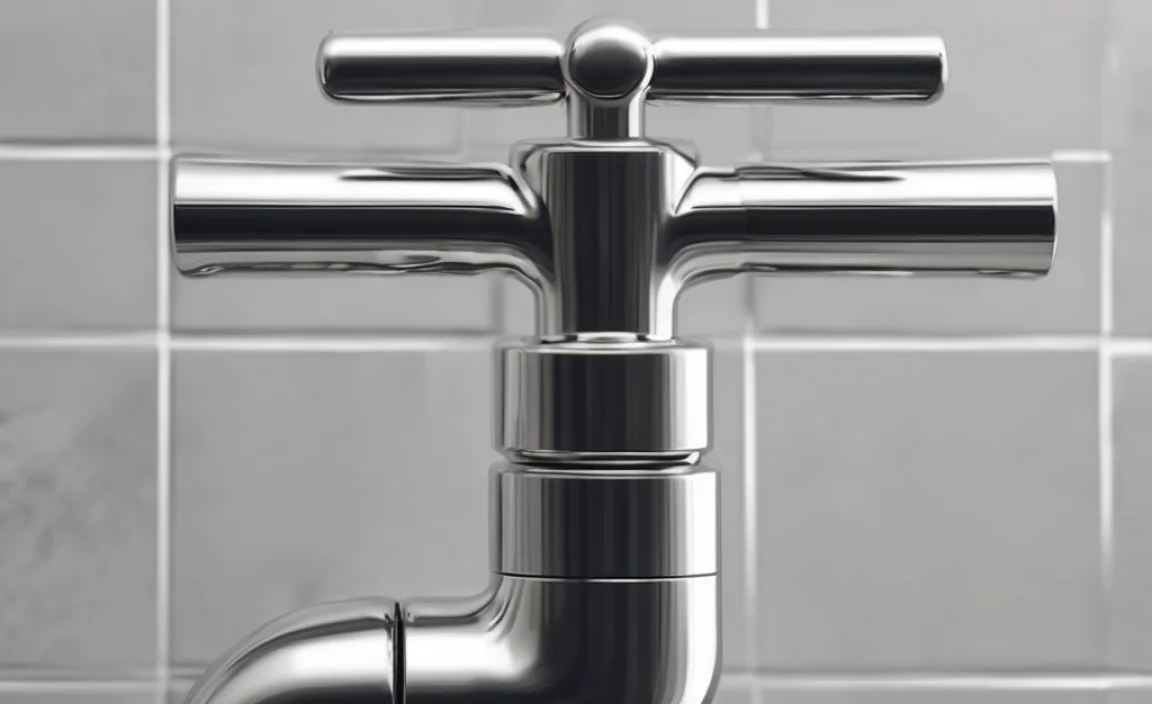
- Inlet Valve Opening: The size of the opening where the fill valve connects to the water supply can vary. Most are ½ inch or 7/8 inch, but older toilets may have different sizes.
- Water Supply Connection: The location and type of water supply connection can also affect compatibility. Some toilets have connections on the bottom, while others have them on the side.
- Brand-Specific Designs: While many parts are standardized, some toilet manufacturers use proprietary designs that require specific fill valves.
How to Determine If a Fill Valve Will Fit
Before purchasing a new fill valve, take these steps to ensure compatibility:
- Measure the Tank: Measure the height and width of your toilet tank to ensure the new fill valve will fit comfortably.
- Check the Inlet Valve Opening: Determine the size of the opening where the fill valve connects to the water supply. You can usually find this information in your toilet’s manual or by measuring the existing valve.
- Identify the Water Supply Connection: Note the location and type of water supply connection (bottom or side).
- Consider the Brand and Model: If possible, identify the brand and model of your toilet and check the manufacturer’s recommendations for replacement parts.
Step-by-Step Guide to Replacing a Toilet Fill Valve
Replacing a toilet fill valve is a simple DIY project that can save you money on plumber fees. Here’s a step-by-step guide to help you through the process.
Tools and Materials You’ll Need
- New toilet fill valve kit
- Adjustable wrench
- Pliers
- Screwdriver (Phillips and flathead)
- Small bucket or towel
- Gloves
- Safety glasses
Step 1: Turn Off the Water Supply
The first and most important step is to turn off the water supply to your toilet. Locate the shut-off valve behind the toilet, usually near the floor. Turn the valve clockwise until it’s completely closed. Flush the toilet to empty the tank as much as possible.
Step 2: Disconnect the Water Supply Line
Use an adjustable wrench to disconnect the water supply line from the bottom of the toilet tank. Have a small bucket or towel handy to catch any remaining water in the line. Once disconnected, set the supply line aside.
Step 3: Remove the Old Fill Valve
Inside the tank, you’ll see a large nut or clip holding the fill valve in place. Use pliers or an adjustable wrench to loosen and remove this nut or clip. Once it’s removed, you should be able to lift the old fill valve out of the tank.
Step 4: Prepare the New Fill Valve
Take the new fill valve out of the packaging and read the instructions carefully. Most fill valve kits come with adjustable height settings. Adjust the height of the new valve to match the height of the old one or slightly shorter. This will ensure the tank fills to the correct level.
Step 5: Install the New Fill Valve
Insert the new fill valve into the tank, making sure the rubber washer is properly seated. From underneath the tank, attach the nut or clip that came with the new valve and tighten it securely. Be careful not to overtighten, as this could crack the tank.
Step 6: Reconnect the Water Supply Line
Reconnect the water supply line to the bottom of the new fill valve. Use an adjustable wrench to tighten the connection, but again, be careful not to overtighten. Make sure the connection is snug to prevent leaks.
Step 7: Adjust the Float
The float controls the water level in the tank. Adjust the float according to the manufacturer’s instructions. The water level should be about an inch below the top of the overflow tube. You can adjust the float by squeezing the clip and sliding it up or down the rod.
Step 8: Turn On the Water Supply and Test
Slowly turn the water supply valve counterclockwise to turn the water back on. Watch for any leaks around the fill valve and water supply line connections. If you see any leaks, tighten the connections slightly. Flush the toilet several times to make sure the fill valve is working properly and the tank is filling to the correct level.
Troubleshooting Common Fill Valve Problems
Even with careful installation, you may encounter some common problems with your new fill valve. Here are some troubleshooting tips to help you resolve these issues.
Problem: The Toilet Is Still Running
If the toilet is still running after replacing the fill valve, the problem could be:
- Float Height Too High: Adjust the float to a lower position so the water shuts off before reaching the overflow tube.
- Chain Too Short or Tangled: Make sure the chain connecting the flush valve to the handle has some slack but isn’t tangled.
- Flush Valve Seal: The flush valve seal at the bottom of the tank may be worn or damaged. Consider replacing the flush valve as well.
Problem: The Tank Fills Too Slowly
If the tank is filling too slowly, the issue might be:
- Water Supply Valve Not Fully Open: Make sure the water supply valve is fully open.
- Clogged Fill Valve: Debris or sediment may be clogging the fill valve. Try cleaning the valve or replacing it.
- Low Water Pressure: Low water pressure in your home can also cause slow filling.
Problem: Leaks Around the Fill Valve
Leaks around the fill valve usually indicate a problem with the connections:
- Loose Connections: Tighten the nuts and connections, but be careful not to overtighten.
- Worn Washers: Replace any worn or damaged washers.
- Cracked Tank: Inspect the tank for cracks. If you find any, you may need to replace the entire toilet.
Choosing the Right Fill Valve: Brands and Features
With so many fill valves on the market, choosing the right one can be overwhelming. Here are some popular brands and features to consider.
Top Brands
- Fluidmaster: A well-known brand that offers a wide range of fill valves, known for their reliability and ease of installation.
- Korky: Another popular brand that makes durable and efficient fill valves.
- American Standard: A trusted brand for complete toilet systems and replacement parts.
Key Features to Look For
- Adjustable Height: Ensures the fill valve can fit different tank sizes.
- Anti-Siphon Design: Prevents contaminated water from flowing back into the water supply.
- Water-Saving Features: Some fill valves have features that help conserve water.
- Easy Installation: Look for models that are easy to install with clear instructions.
Table: Comparing Popular Toilet Fill Valve Brands
| Brand | Model | Key Features | Price Range |
|---|---|---|---|
| Fluidmaster | 400A Universal Toilet Fill Valve | Adjustable height, anti-siphon design | $10 – $15 |
| Korky | 528 QuietFILL Toilet Fill Valve | Quiet operation, adjustable height | $12 – $18 |
| American Standard | 3174.000-0070A Champion Fill Valve | Designed for Champion toilets, powerful flush | $20 – $30 |
Maintaining Your Toilet Fill Valve for Longevity
Proper maintenance can extend the life of your toilet fill valve and prevent common problems. Here are some tips to keep your fill valve in good working condition.
Regular Inspections
Inspect your fill valve regularly for signs of wear and tear, such as cracks, leaks, or corrosion. Check the float and chain to make sure they are functioning properly.
Cleaning
Over time, mineral deposits and debris can accumulate in the fill valve, causing it to malfunction. Clean the fill valve periodically to remove these deposits. You can use a mild cleaner or vinegar to dissolve mineral buildup.
Replacing Worn Parts
If you notice any worn or damaged parts, such as washers or seals, replace them promptly. Replacement parts are usually available at your local hardware store.
Water Softeners
If you have hard water, consider installing a water softener to reduce mineral buildup in your plumbing system, including your toilet fill valve. According to the EPA, water softeners can help extend the life of your plumbing and appliances.
When to Call a Plumber
While replacing a toilet fill valve is a DIY-friendly project, there are times when it’s best to call a plumber. Consider hiring a professional if:
- You’re not comfortable working with plumbing.
- You encounter unexpected problems during the installation.
- You suspect there may be underlying plumbing issues.
- You’re dealing with a complex toilet system.
A plumber can diagnose and resolve plumbing problems quickly and efficiently, ensuring the job is done right.
Cost Considerations: DIY vs. Hiring a Plumber
One of the main reasons homeowners choose to replace a toilet fill valve themselves is to save money. Here’s a breakdown of the cost considerations for DIY vs. hiring a plumber.
DIY Costs
- Fill Valve Kit: $10 – $30
- Tools: If you don’t already have them, you may need to purchase an adjustable wrench, pliers, and screwdriver (around $20 – $50).
Total DIY Cost: $30 – $80
Hiring a Plumber Costs
- Service Call Fee: $50 – $100
- Fill Valve Replacement: $100 – $200 (including parts and labor)
Total Plumber Cost: $150 – $300
As you can see, doing it yourself can save you a significant amount of money. However, if you’re not comfortable with plumbing or encounter unexpected problems, hiring a plumber may be the best option.
FAQ: Toilet Fill Valves
Are all toilet fill valves the same size?
No, while many are designed to be universal, they come in different sizes to fit various tank dimensions. Check your toilet’s specifications before buying.
How long do toilet fill valves typically last?
A good quality fill valve can last for 5 to 10 years, depending on water quality and usage.
Can I replace a toilet fill valve myself?
Yes, it’s a relatively simple DIY project. Just follow the steps in this guide and take your time.
What happens if I install the wrong fill valve?
If the fill valve doesn’t fit properly, it can cause leaks, poor flushing, or damage to the toilet tank.
How do I know if my toilet fill valve needs replacing?
Common signs include a constantly running toilet, slow filling, or no water filling at all.
Do I need any special tools to replace a fill valve?
You’ll need an adjustable wrench, pliers, and a screwdriver. Gloves and safety glasses are also recommended.
Can hard water affect my toilet fill valve?
Yes, hard water can cause mineral buildup, which can clog the fill valve and reduce its lifespan. Consider installing a water softener if you have hard water.
Conclusion
So, are toilet fill valves universal? The answer is mostly yes, but with a few important considerations. While many fill valves are designed to fit standard toilets, it’s crucial to check compatibility based on your tank size, shape, and inlet valve opening. By following the steps outlined in this guide, you can confidently replace your toilet fill valve and keep your toilet running smoothly. Remember to take your time, follow the instructions carefully, and don’t hesitate to call a plumber if you encounter any problems. With a little effort, you can save money and enjoy a properly functioning toilet for years to come!