Want to turn your kitchen scraps and yard waste into gardening gold? It sounds like a lot, but backyard composting is simpler than you think! Many folks feel overwhelmed by the idea, wondering if they’ll make a stinky mess or just end up with a pile of wet leaves. But don’t worry! I’m here to walk you through the whole backyard composting process, step-by-step, so you can easily create nutrient-rich compost for your garden. Get ready to become a composting pro!
What in the Compost World is Going On?
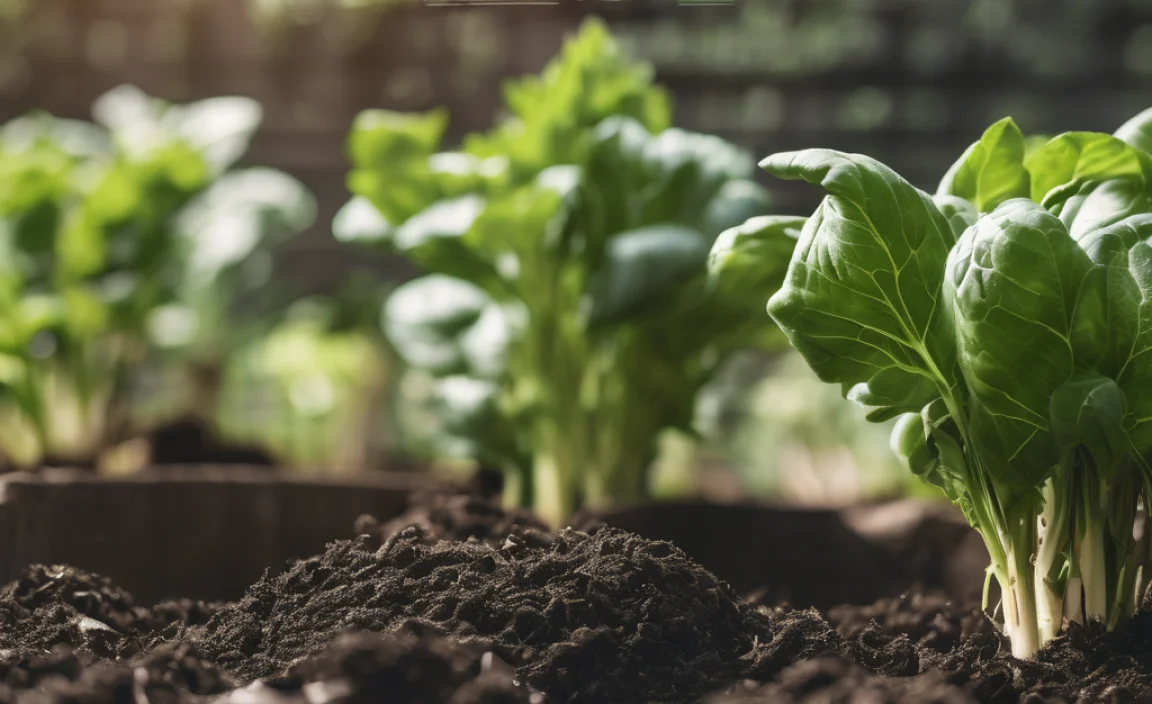
At its heart, backyard composting is nature’s recycling program. It’s about taking organic materials – things that were once alive – and helping them break down into a rich, dark, soil-like substance called compost. This “black gold” is amazing for your garden. It improves soil structure, helps it hold water better, and provides essential nutrients for your plants to thrive. Plus, it dramatically reduces the amount of waste you send to the landfill. Pretty neat, right?
Why Bother Composting? The Awesome Benefits
Let’s break down why composting is such a smart move for your home and garden:
- Feeds Your Plants: Compost is packed with nutrients. When you add it to your garden soil, you’re giving your plants a natural, slow-release food source. They’ll thank you with bigger flowers and tastier veggies.
- Improves Soil Health: Got clay soil that drains poorly? Or sandy soil that dries out too fast? Compost helps with both! It aerates heavy soils and helps sandy soils retain moisture. It’s like a soil spa treatment.
- Reduces Waste: Think about all the banana peels, coffee grounds, and grass clippings you toss out. Composting diverts this from landfills, which helps reduce methane gas emissions – a potent greenhouse gas.
- Saves Money: You’ll buy fewer fertilizers and soil amendments. Over time, this can add up, and you get fantastic results for free!
- Environmentally Friendly: It’s a fantastic way to close the loop in your household and contribute positively to the environment.
Getting Started: Your Composting Tool Kit
You don’t need fancy gear to start composting. The basics are simple:
1. The Composter Itself
This is where the magic happens. You have a few options:
- Open Piles: The simplest method. Just pile your materials in a designated spot in your yard. It’s free and easy, but might take a bit longer to break down and can look a little messy.
- Enclosed Bins: These can be purchased or built. They help retain heat and moisture, speed up decomposition, and keep critters out. Many come with lids and doors for easy access. Look for options made from recycled plastic or untreated wood.
- Tumblers: These are rotating bins. You load them up, turn the handle, and the contents mix and aerate themselves. They’re great for speed and convenience but can be more expensive.
For beginners, a simple enclosed bin or even a well-managed open pile is a great starting point. You can find excellent composting bins at most garden centers or online retailers. For example, the Environmental Protection Agency (EPA) offers great resources on composting methods and bin types.
2. A Pitchfork or Garden Fork
You’ll need this for turning your compost pile. Turning helps introduce oxygen, which is crucial for the microorganisms that break down the material. Not turning creates anaerobic conditions, which can lead to smelly compost.
3. A Watering Can or Hose
Compost needs moisture. Think of it like a wrung-out sponge – damp, but not soggy. You’ll use this to add water as needed.
4. Your “Greens” and “Browns”
This is the fun part! You’ll be collecting organic materials to feed your compost pile. We’ll get into the specifics of what goes where next.
The “Greens” and “Browns” Recipe: The Secret to Great Compost
The key to successful composting is balancing two types of materials: “greens” and “browns.” Think of this like a chef balancing flavors in a dish.
What are Greens?
Greens are your nitrogen-rich materials. They provide the “fuel” for the microorganisms that break down your compost. They tend to be moist and break down quickly.
- Fruit and vegetable scraps (peels, cores, rinds)
- Coffee grounds and tea bags
- Grass clippings (in thin layers, or they’ll get slimy)
- Plant trimmings (non-woody)
- Eggshells
What are Browns?
Browns are your carbon-rich materials. They provide the “structure” and “air pockets” for your compost pile. They break down more slowly and help prevent the pile from getting too wet and smelly.
- Dry leaves
- Straw or hay
- Shredded newspaper or cardboard (avoid glossy paper)
- Twigs and small branches (chopped or shredded)
- Sawdust (from untreated wood)
- Paper towels and napkins (unsoiled with grease or chemicals)
The Ideal Ratio
A good general rule of thumb is to aim for a ratio of about 2 to 3 parts Browns to 1 part Greens by volume. So, if you add a bucket of kitchen scraps (greens), try to add two or three buckets of dry leaves or shredded paper (browns). Don’t stress too much about exact measurements; it’s more of a guideline. If your pile is too wet and smells funky, you probably need more browns. If it’s dry and not breaking down, add more greens and water.
Here’s a quick cheat sheet:
| Item Type | Examples | Primary Nutrient | Moisture Content | Decomposition Speed |
|---|---|---|---|---|
| Greens (Nitrogen) | Fruit & veggie scraps, coffee grounds, grass clippings, plant trimmings | Nitrogen | High | Fast |
| Browns (Carbon) | Dry leaves, straw, shredded paper/cardboard, twigs, sawdust | Carbon | Low |
The Backyard Composting Process: Step-by-Step
Ready to get your hands dirty (figuratively speaking, of course)? Here’s how to build and maintain your compost pile:
Step 1: Choose Your Location
Find a good spot for your compost bin or pile. It should be:
- Convenient: Easy to access from your kitchen and garden.
- Well-drained: You don’t want water pooling around or under your compost.
- Partially Shaded: Too much direct sun can dry it out, while too much shade might keep it too cool and wet. A balance is good.
- On Bare Earth (if possible): This allows worms and other beneficial microorganisms to enter your compost pile from the soil.
Step 2: Start Layering
Begin building your compost pile. It’s best to start with a layer of bulky browns, like twigs or straw. This helps with airflow at the bottom. Then, alternate layers of greens and browns, just like making a lasagna.
- Start with 4-6 inches of browns (twigs, straw, shredded cardboard).
- Add a 2-4 inch layer of greens (kitchen scraps, grass clippings).
- Top with another 4-6 inch layer of browns.
- Continue layering until your bin is about half to two-thirds full. Aim for that 2-3:1 brown-to-green ratio as you build.
Tip: Chop up larger items, like melon rinds or large vegetable stalks. Smaller pieces break down much faster!
Step 3: Add Water
Once you have a few layers down, give the pile a good watering. It should be as damp as a wrung-out sponge. Don’t soak it! Moisture is essential for the microbes to work their magic.
Step 4: The Turning Routine (Aeration)
This is where your pitchfork comes in. Aim to turn your compost pile every 1-2 weeks. Use your fork to mix the outer layers into the center and the bottom layers to the top. This introduces oxygen, which the “good” aerobic bacteria need to thrive and break down the material efficiently without creating odors. Tumblers make this step super easy – just give them a spin!
If you notice foul odors (like rotten eggs), it’s usually a sign of too much moisture or not enough air. Add more browns and turn the pile. If it seems too dry and slow, add some water and more greens, then turn.
Step 5: Watch It Work!
Over time, you’ll see your compost pile shrink. The materials will break down, and the temperature might even rise in the center – an indicator that the decomposition process is in full swing. This is normal and a good sign!
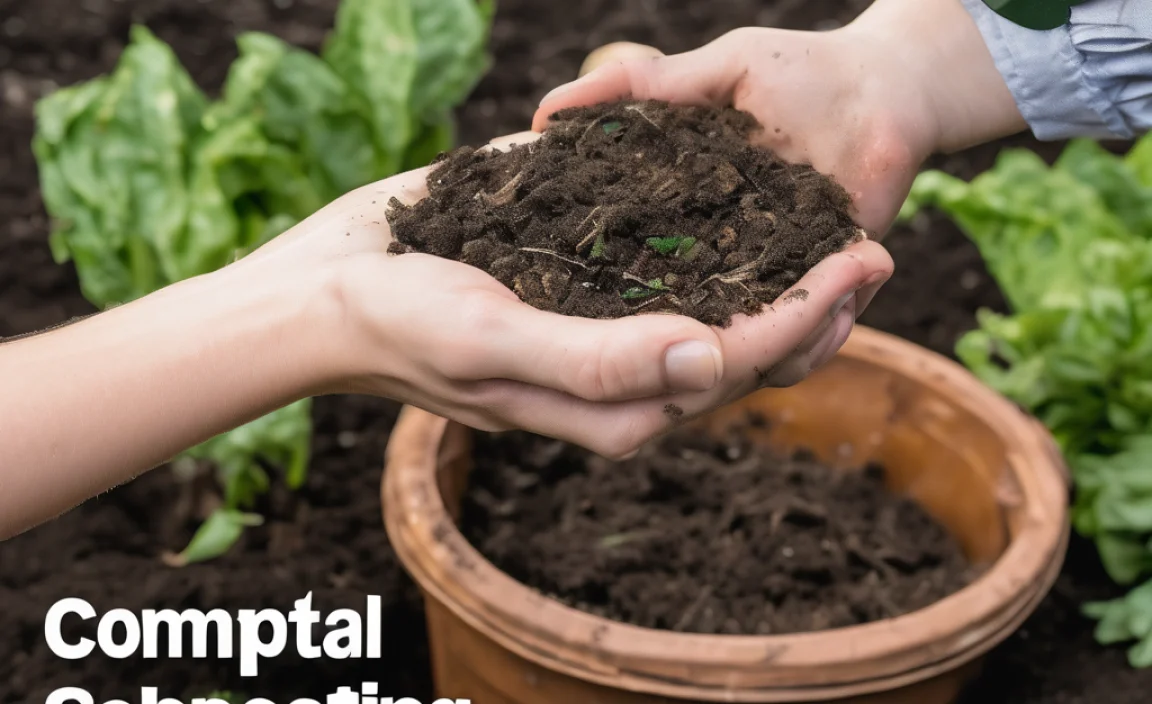
Step 6: Harvesting Your Compost
Your compost is ready when it’s dark, crumbly, and smells earthy, like a forest floor. You shouldn’t be able to recognize the original materials. This process can take anywhere from a few months to a year, depending on how well you manage your greens, browns, moisture, and aeration.
To harvest:
- If you have an open pile, you can simply fork off the finished compost from the bottom and sides, leaving unfinished material to continue decomposing.
- Many bins have a hatch at the bottom for easy access to finished compost.
- For tumblers, you usually just empty the whole batch once it’s ready.
Sift the compost through a screen (like hardware cloth) if you want a finer texture for potting mixes or seed starting. You can return any larger, unfinished pieces back to your active compost pile.
What NOT to Compost (And Why)
While compost is a great recycler, there are some things you should leave out to avoid problems:
- Meat, fish, and dairy products: These can attract pests (like rodents) and create strong odors. They also break down slowly and can harbor harmful pathogens.
- Oily or greasy foods: Similar to meat, these attract pests and can slow down decomposition.
- Diseased plants: If you compost plants that had diseases, you risk spreading those diseases back into your garden when you use the compost.
- Weeds that have gone to seed: The composting process might not get hot enough to kill all weed seeds, meaning you’ll be planting weeds in your garden.
- Pet waste (dog, cat): These can contain harmful pathogens and parasites that are not reliably killed in home compost piles.
- Chemically treated wood or yard waste: Chemicals can contaminate your compost and harm your plants.
- Synthetic materials: Plastics, metals, and synthetically produced fabrics won’t break down.
When in doubt, it’s usually best to throw it out into your regular trash or recycling if it’s not obviously compostable. For more detailed information on what to compost, you can refer to university extension websites, like those from University of Maryland Extension, which often have excellent, localized guides.
Troubleshooting Common Composting Problems
Even with the best intentions, you might run into a few snags. Here are some common issues and how to fix them:
Problem: My compost smells bad (like rotten eggs or ammonia).
Cause: Too much nitrogen (greens) or not enough air (compaction, too wet).
Solution: Add more brown materials (leaves, shredded paper). Turn the pile thoroughly to aerate it. If it’s too wet, add dry browns and turn.
Problem: My compost isn’t breaking down and is just sitting there.
Cause: Too dry, not enough nitrogen (greens), or pile is too small.
Solution: Add water and mix. Add more green materials. Turn the pile. If it’s a small pile, consider adding more material or combining it with another batch if possible.
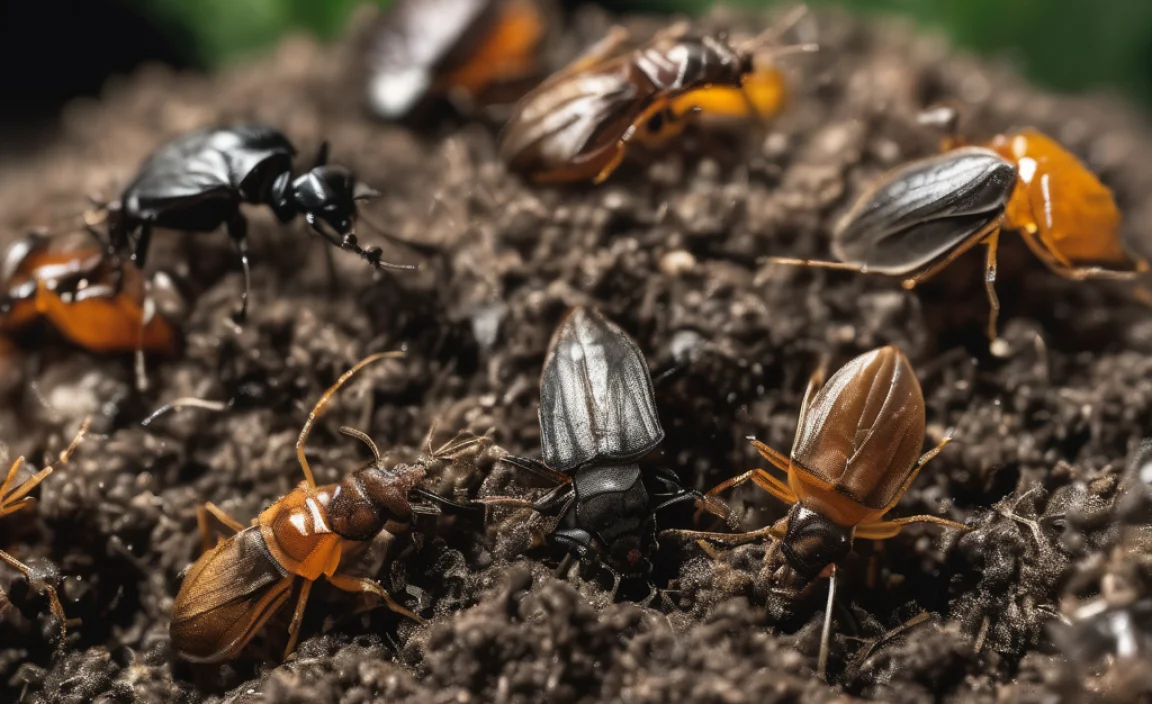
Problem: My compost is attracting pests (flies, rodents).
Cause: You’re adding materials you shouldn’t be (meat, dairy, oils), or your compost is too wet and exposed.
Solution: Stop adding forbidden food items. Ensure your bin is secure or covered. Bury kitchen scraps deep within the pile and always cover them with a layer of browns. Turn the pile regularly to keep it active and less appealing to pests.
Problem: My compost is too wet and slimy.
Cause: Too many greens, not enough browns, or excessive rain.
Solution: Add plenty of dry brown materials like shredded cardboard, dry leaves, or sawdust. Turn the pile to fluff it up and improve aeration. If rain is an issue, consider covering your bin temporarily.
Conclusion: Your Garden’s Best Friend Awaits!
See? Backyard composting isn’t some complex science experiment. It’s a practical, rewarding way to enrich your soil, reduce waste, and become a little more self-sufficient. By understanding the balance of greens and browns, keeping things moist, and giving your pile a regular turn, you’ll be well on your way to producing beautiful, nutrient-rich compost. So grab a bin, start collecting those scraps, and get ready to witness nature’s incredible transformation. Your garden will thank you for it!
Frequently Asked Questions About Backyard Composting
Q1: How long does it take to make compost?
A1: It can take anywhere from 2 months to over a year. Factors like the size of your materials, the balance of greens and browns, moisture levels, and how often you turn it all play a big role.
Q2: Do I need to buy a special compost bin?
A2: No, not necessarily! You can start with an open pile, or build your own bin from salvaged materials like pallets. Purchased bins offer convenience and pest control, but aren’t essential for success.
Q3: My compost pile smells. Is that bad?
A3: A healthy compost pile should smell earthy, like a forest. A foul, rotten smell usually indicates too much moisture or not enough air, meaning you need to add browns and turn it.
Q4: Can I compost yard waste like grass clippings and leaves?
A4: Absolutely! Grass clippings are great “greens,” and leaves are fantastic “browns.” Just be sure to add grass clippings in thin layers to avoid matting, and mix them with browns.
Q5: Will composting attract rodents and other pests?
A5: It can, especially if you add meat, dairy, or oily foods. To avoid pests, stick to approved materials, bury kitchen scraps deeply in the pile, and make sure your bin is secure.
Q6: Can I compost in the winter?
A6: Yes! While decomposition slows down in very cold weather, it doesn’t stop completely. You can continue adding materials, and the activity will pick up again in the spring. Some people even insulate their bins for winter composting.

I am passionate about home engineering. I specialize in designing, installing, and maintaining heating, ventilation, and air conditioning systems. My goal is to help people stay comfortable in their homes all year long.