Got kitchen scraps piling up? Don’t want to spend a fortune on fancy compost bins? You’re in the right place! Bokashi composting is a fantastic way to turn waste into garden gold, and doing it cheaply is totally doable. Forget complicated setups; we’ll show you how to get started without emptying your wallet. Get ready for an effortless eco-win that your plants will thank you for!
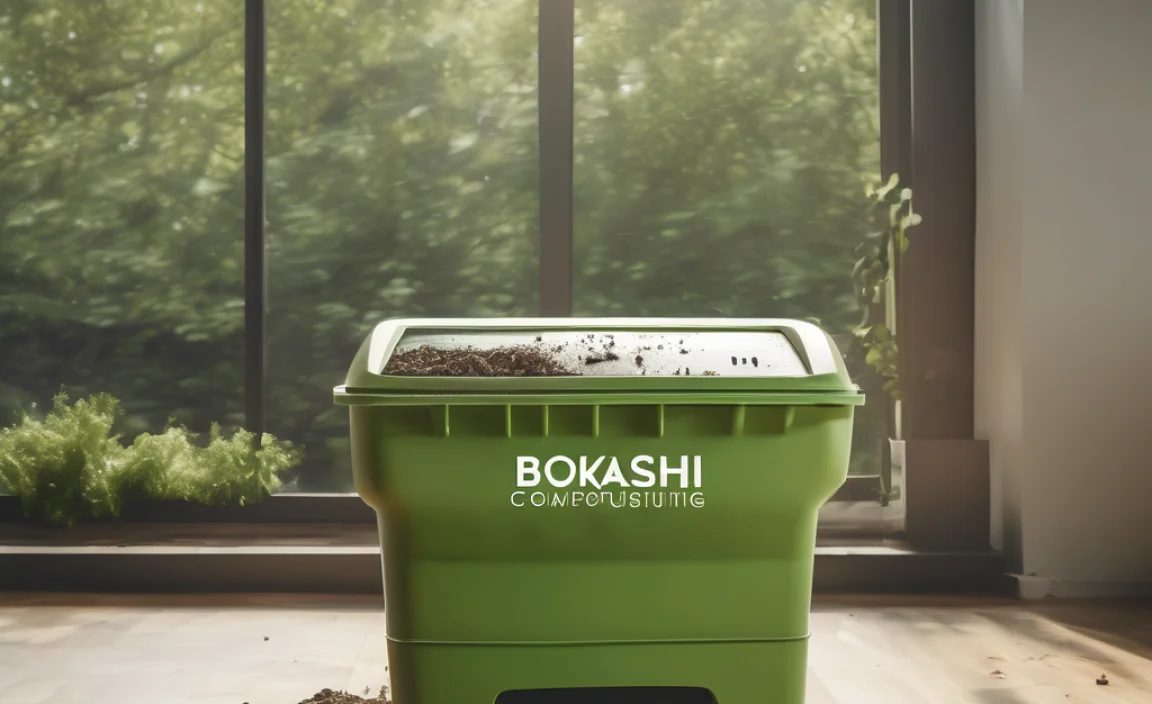
Bokashi Composting Cheap: Effortless Eco-Win
Hey there, DIY enthusiasts and aspiring eco-warriors! Troy D Harn here, your go-to guy for making home projects and sustainable living easy and affordable. Today, we’re diving into the wonderful world of Bokashi composting – and the best part? We’re going to do it on a budget. If you’ve ever looked at composting and thought, “That seems complicated and expensive,” I’ve got some good news for you. Bokashi is different, and with a few smart, low-cost choices, you can transform your food waste into nutrient-rich soil amendments without breaking the bank.
Why Bokashi? Well, unlike traditional composting that relies on turning piles of yard waste, Bokashi uses a fermentation process. This means it can handle a wider range of food scraps, including meat, dairy, and oils, which are often a no-go for hot composting. Plus, it works indoors or outdoors, making it perfect for apartment dwellers and homeowners alike. The process is quick, relatively odorless (when done right!), and produces a fantastic liquid fertilizer as a bonus.
So, how do we make this eco-friendly process even more wallet-friendly? Let’s break down the “Bokashi composting cheap” strategy. We’ll cover the essential components, how to source them affordably, and the simple steps to get your fermentation party started. You’ll be amazed at how little you need to invest to start making a big difference for your garden and the planet.
What Exactly IS Bokashi Composting? A Quick Cheatsheet
Before we get to the cheap part, let’s quickly cover what Bokashi composting actually is. Think of it as a pickling process for your food scraps. Instead of letting them rot aerobically (with air), Bokashi uses anaerobic fermentation (without air) to break them down.
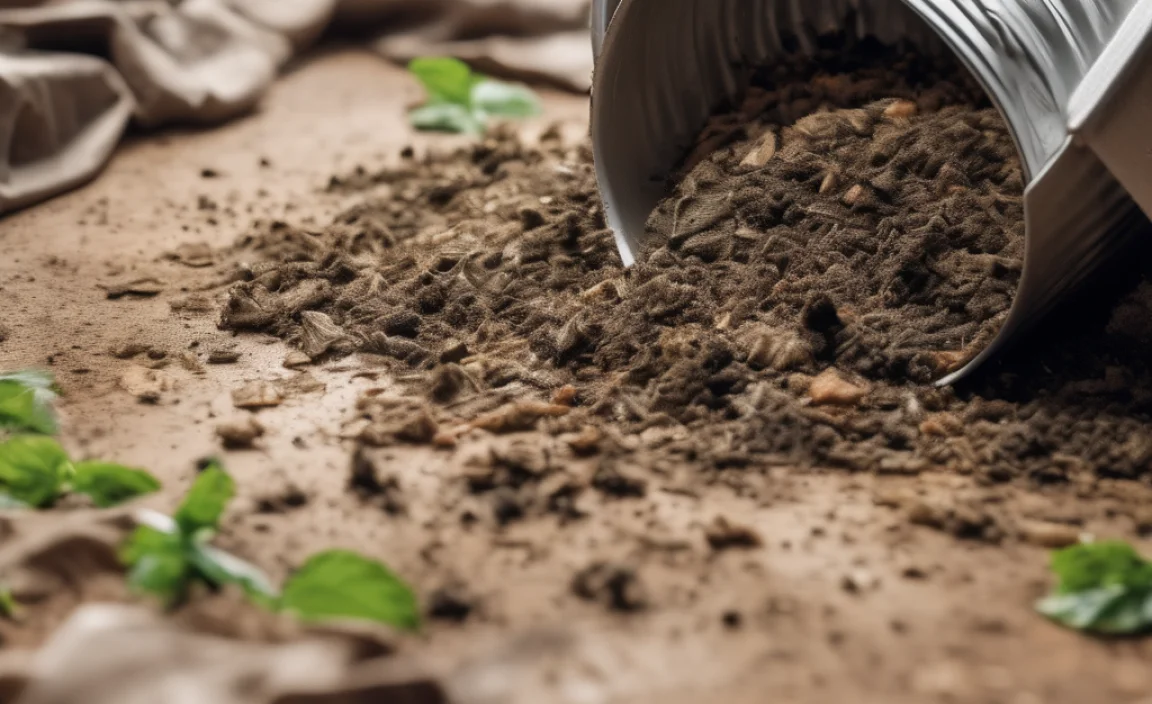
Here’s the magic ingredient: Bokashi bran. This is a special blend of organic matter inoculated with Effective Microorganisms (EM). These beneficial microbes get to work when you add your food scraps to an airtight container. They don’t “eat” the scraps in the traditional sense; instead, they ferment them, preserving them and preparing them for easy decomposition in the soil later.
The whole process happens in two main stages:
- Fermentation: You layer your food scraps and Bokashi bran in an airtight bucket. The microbes work their magic, fermenting the waste. This typically takes about two weeks. During this time, you’ll drain off a liquid called “Bokashi tea,” which is a potent fertilizer.
- Burial/Composting: After fermentation, you bury the pickled waste in your garden, add it to a traditional compost bin, or mix it with soil in a planter. It will then break down fully in about 4-6 weeks.
The “Bokashi Composting Cheap” Toolkit: What You Really Need
The good news is you don’t need much to start Bokashi composting cheaply. The core items are a container and the Bokashi bran. Let’s look at how to get these without spending a lot.
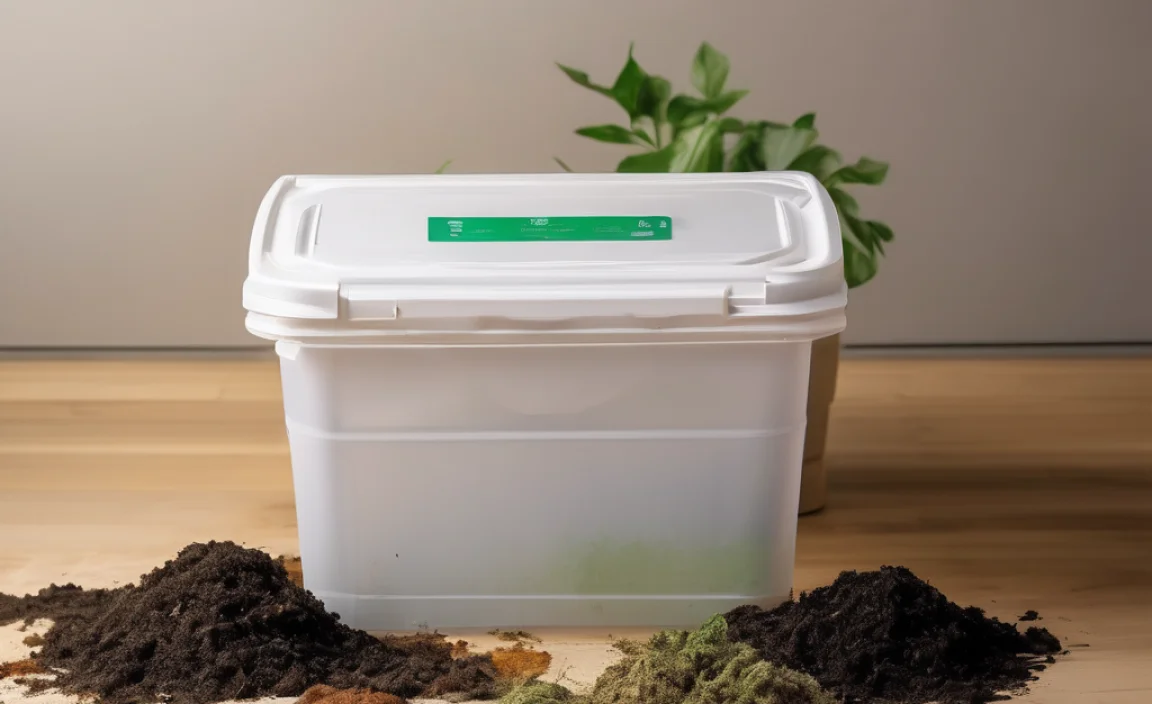
1. The Airtight Container: Your Fermenation Vessel
The key to Bokashi is keeping air out. This allows the anaerobic fermentation to happen. You can buy dedicated Bokashi bins, but they can be a bit pricey. Here are some budget-friendly alternatives:
- The Two-Bucket Method (Most Popular Cheap Option): This is a classic DIY approach. You’ll need two identical 5-gallon buckets, preferably with airtight lids. One bucket will be your active fermentation bin, and the other will be for storage while the first one is fermenting, or it can serve as a spare.
- How to modify buckets:
- Drill a series of small holes (about 1/4 inch) in the bottom of one bucket. This is your “inner” bucket where the scraps go.
- The second bucket acts as the outer “catch” bucket to collect the Bokashi tea.
- Ensure the lids seal tightly. This is crucial! You might need to add some weather stripping or a thick rubber gasket if they are loose.
- Glass Jars or Food-Grade Plastic Containers: For very small amounts of scraps (like if you live in a tiny apartment), large glass jars with clamp lids, or small food-grade plastic tubs with good seals, can work. Just make sure they’re opaque (or stored in a dark place) as light can affect the microbes.
- Repurposed Food Containers: Look for sturdy plastic containers with good latching lids from things like large cookie tubs, ice cream containers, or bulk food packaging. Clean them thoroughly and ensure they have a tight seal.
Where to find them cheap:
- Hardware Stores: 5-gallon buckets are usually very inexpensive, often just a few dollars each.
- Restaurant Supply Stores: They often sell food-grade buckets and containers in bulk.
- Online Marketplaces: Check sites like Craigslist, Facebook Marketplace, or local buy/sell groups for used food-grade buckets or containers. People often give them away or sell them for very cheap.
- Ask Around: Local bakeries, cafes, or delis might have empty food-grade buckets they’d be happy to let you have for free. Always ask first!
2. Bokashi Bran: The Microbial Powerhouse
This is the ingredient that makes Bokashi, well, Bokashi. It’s a carrier material (often sawdust, rice hulls, or wheat bran) infused with the Effective Microorganisms (EM). You can buy starter kits, but these can add up. Here’s how to get it affordably:
- Buy in Bulk: Buying larger bags of Bokashi bran is significantly cheaper per pound than buying small starter kits. Many online retailers offer bulk discounts.
- Make Your Own (Advanced & Cheapest Option): This requires a bit more effort and sourcing specific ingredients. You can find recipes online for making your own Bokashi bran if you’re feeling adventurous. It typically involves inoculating a mixture of dry organic material (like bran, sawdust, or coffee grounds) with a liquid EM solution and letting it ferment for a week or two. This is the ultimate “Bokashi composting cheap” route but requires a bit more commitment to research and sourcing. For beginners, buying is often easier.
- Look for Sales and Discount Codes: Many sustainable living and gardening websites sell Bokashi products. Sign up for their newsletters to get sale notifications or discount codes.
- Check Local Gardening Centers or Co-ops: Some local stores might carry Bokashi bran or have it made by local producers, which can sometimes be more affordable than online options if you factor in shipping.
Important Note: Ensure the Bokashi bran you buy is fresh. The microbes are living organisms, and their effectiveness diminishes over time. Check the expiration date or manufacturing date if provided.
3. Optional (but helpful) Accessories:
While not strictly necessary for the core process, a few small additions can make things easier and still keep costs low:
- A Small Scoop: For measuring and adding the Bokashi bran. An old yogurt cup or measuring cup works perfectly.
- A Kitchen Caddy: An old ice cream tub or a small covered bin for collecting scraps in your kitchen before taking them to your main Bokashi bin.
- A Stick or Stick: To press down the food scraps. A piece of wood or even a sturdy dowel is fine.
- A Small Spigot (for dedicated bins): If you buy a dedicated set of Bokashi bins, they often come with a spigot to easily drain the Bokashi tea. If you’re using the two-bucket method, you’ll simply lift the inner bucket out and pour the liquid from the outer one.
Your Step-by-Step Guide to “Bokashi Composting Cheap”

Ready to get your hands (cleanly!) dirty? Here’s how to actually use your budget-friendly Bokashi setup.
Step 1: Prepare Your Bucket
If you’re using the two-bucket method, take your inner bucket (the one with the holes drilled in the bottom) and place it inside the outer bucket. Ensure the lid seals tightly onto the inner bucket. You’ve now created your airtight fermentation system!
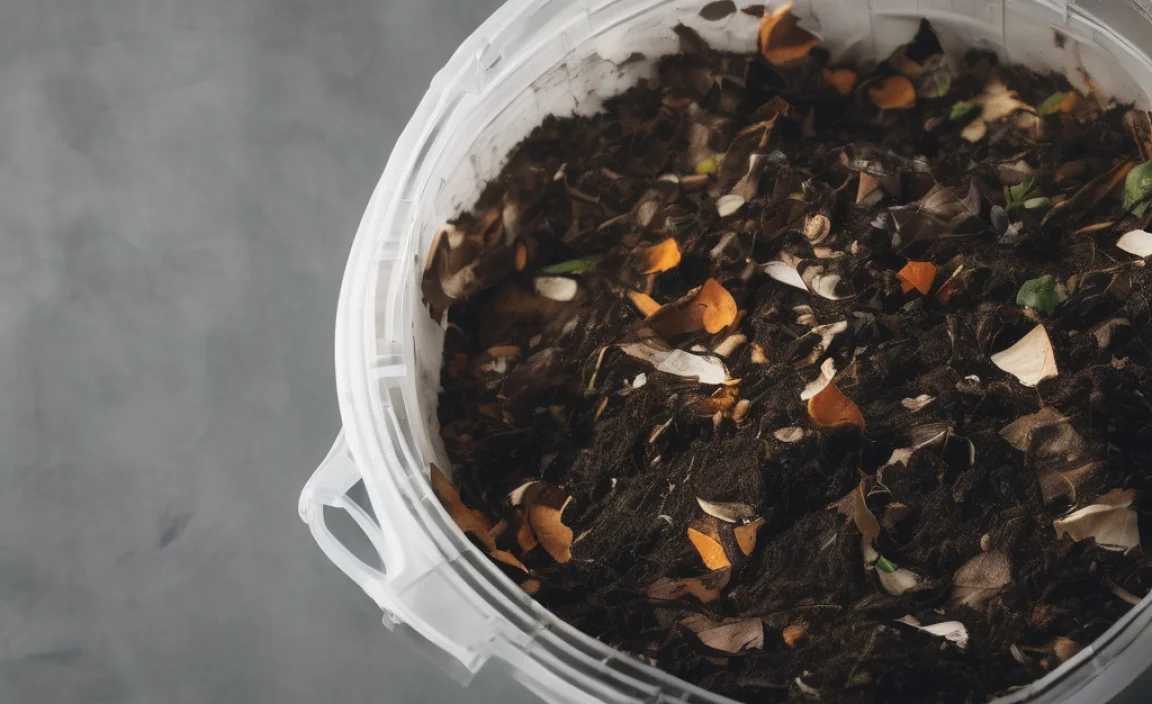
Step 2: Add Your First Layer of Scraps
Start adding your kitchen scraps. Remember, Bokashi can handle almost all food waste:
- Vegetable and fruit scraps
- Coffee grounds and tea bags
- Cooked and uncooked meat, fish, and bones
- Dairy products (cheese, yogurt)
- Bread and grains
- Eggshells
What to avoid (or chop finely):
- Large bones (chop them as small as possible)
- Excessive liquids (like soup broth); drain them first.
- Paper and cardboard (unless shredded very finely, as they can absorb too much moisture and hinder fermentation. Some people do add small amounts.)
- Diseased plants
Try to chop larger scraps into smaller pieces (about 1-2 inches). This helps the microbes work more efficiently.
Step 3: Sprinkle in the Bokashi Bran
This is where the magic starts! After you’ve added a layer of food scraps (about an inch or two deep), sprinkle about 1-2 tablespoons of Bokashi bran evenly over the scraps. Don’t go crazy; too much bran can cause problems. You want enough to inoculate the scraps.
Step 4: Press Down the Scraps
Once the bran is sprinkled, gently press down on the food scraps. This helps remove air pockets and ensures the scraps are in good contact with the bran. You can use your hands, a small plate, or a piece of wood. The goal is to compact them slightly, making the environment more anaerobic.
Step 5: Repeat and Close
Continue layering food scraps and Bokashi bran, pressing each layer down. Once your bucket is full, or you’re done adding scraps for the day, give the top layer a good sprinkle of bran, press it down firmly, and then close the lid tightly. It’s crucial that the lid is sealed to prevent air from getting in.
Step 6: Let the Fermentation Happen (and Drain the Tea!)
Now, let the bucket sit in a warm-ish place (room temperature is usually fine) for about two weeks. During this time, the Effective Microorganisms are fermenting your food waste.
Drain the Bokashi Tea: This is a byproduct of the fermentation process. If you’re using a dedicated Bokashi bin with a spigot, drain it every 2-3 days. If you’re using the two-bucket method, after a few days, you’ll see liquid accumulating in the bottom bucket. Simply lift out the inner bucket and pour off the liquid from the outer bucket. Don’t worry if it has a slightly sweet, sour, or yeasty smell – that’s normal.
What to do with Bokashi Tea: This liquid is packed with nutrients! Dilute it with water (usually 1:100 ratio – 1 part tea to 100 parts water) and use it as a fantastic liquid fertilizer for your houseplants, garden beds, or lawns. It’s like liquid gold for your plants! If you don’t dilute it, it can be too strong and potentially harm plants. It can also be poured into drains to help keep them clear and odor-free!
Step 7: Bury or Compost Your Fermented Scraps
After about two weeks, your Bokashi bin will be full, and the contents will look pickled rather than rotten. They will have a mild, fermented, vinegary smell. It’s time for stage two!
- Burying in the Garden: Dig a hole in your garden bed (at least 8-12 inches deep) and add the fermented contents. Cover them completely with soil. The scraps will continue to break down in the soil over the next 4-6 weeks, enriching it.
- Adding to a Compost Pile: You can add the fermented Bokashi material to your existing compost bin. Because it’s already partially broken down and inoculated with beneficial microbes, it can help speed up the decomposition of your regular compost.
- Container Gardening: If you don’t have a garden, you can mix the fermented Bokashi with potting soil in a large container or planter. Let it sit for a few weeks before planting.
Ensure the fermented material is no longer visible and is well-covered with soil or compost. You can then wash out your Bokashi bin and start the process again.
Why Bokashi is a Smart, Cheap Eco-Win
Let’s recap why this “Bokashi composting cheap” approach is such a win-win:
- Reduces Landfill Waste: Diverts a significant amount of food scraps from landfills, where they produce methane, a potent greenhouse gas.
- Creates Valuable Soil Amendment: Turns waste into a nutrient-rich material that improves soil health and structure.
- Produces Liquid Fertilizer: The Bokashi tea is a potent, free fertilizer for your plants.
- Handles More Waste Types: Unlike some other composting methods, Bokashi can handle meat, dairy, and oils.
- Fast (Fermentation Stage): The fermentation process is relatively quick (about two weeks).
- Odor Control: When done correctly with an airtight seal, the process is minimally smelly, often just a mild, pleasant fermented scent.
- Low Cost Entry: As we’ve shown, you can start with very inexpensive, readily available materials.
Comparing Bokashi to Other Composting Methods (Budget Focus)
It’s always helpful to see how a method stacks up against others, especially when cost is a factor. Here’s a quick look:
| Method | Initial Cost (Low-End DIY) | Ease of Use (Beginner) | Waste Types Handled | Space Required | Odor Potential |
|---|---|---|---|---|---|
| Bokashi (Cheap) | $10 – $30 (Buckets, Bran) | Easy to start, requires consistent process | Kitchen scraps, meat, dairy, oils | Small indoor/outdoor space | Low to mild (fermented smell) |
| Traditional Hot Composting (DIY Pile) | $0 – $50 (Materials for bin, often free if self-built) | Requires turning, managing moisture/air | Greens (food scraps, grass) & Browns (leaves, cardboard) | Larger outdoor space | Low if managed well, can smell if unbalanced |
| Vermicomposting (Worm Bin) | $50 – $100 (Bin, bedding, worms) | Requires specific bedding, temperature control, worm care | Primarily fruit/veg scraps | Small – medium indoor/outdoor space | Very low to none if managed well |
| Tumbler Composter (Pre-made) | $100 – $300+ | Easy to turn, but can be heavy when full | Greens & Browns | Medium outdoor space | Low if managed well |
As you can see from the table, the initial cost for Bokashi, especially the cheap DIY bucket method, is significantly lower than purchasing a tumbler or even starting a robust worm bin. While traditional composting can be done for free, it requires more space and a different ‘recipe’ of materials, often involving a lot of yard waste that some people may not have readily available. Bokashi excels in its ability to handle a wide range of food scraps in a compact, indoor-friendly system without a high initial investment.
Troubleshooting Common “Bokashi Composting Cheap” Issues
Even with the simple process, a few things can crop up. Here’s how to fix them:
Issue: My Bokashi bin smells bad (rotten, not fermented).
Cause: Usually, this means air has gotten in, or you’ve added too much wet material without enough bran. It could also be that the scraps weren’t pressed down well.
Solution: Ensure your lid is truly airtight. Add a bit more Bokashi bran. Try to press down the layers really well. If the smell is truly foul, you might have to bury it as is and start a fresh batch.

I am passionate about home engineering. I specialize in designing, installing, and maintaining heating, ventilation, and air conditioning systems. My goal is to help people stay comfortable in their homes all year long.