Ever felt a pang of guilt tossing food scraps into the trash? You’re not alone! It’s frustrating to think all that organic stuff just heads to a landfill. But what if there was a super simple way to turn your kitchen waste into something amazing for your garden, even if you have limited space and don’t want any hassle? Bokashi composting is that genius solution. It’s different from regular composting and surprisingly easy to get started. Stick around, and I’ll show you how to make it work for you, step-by-step.
What is Bokashi Composting? Why It’s a Game-Changer
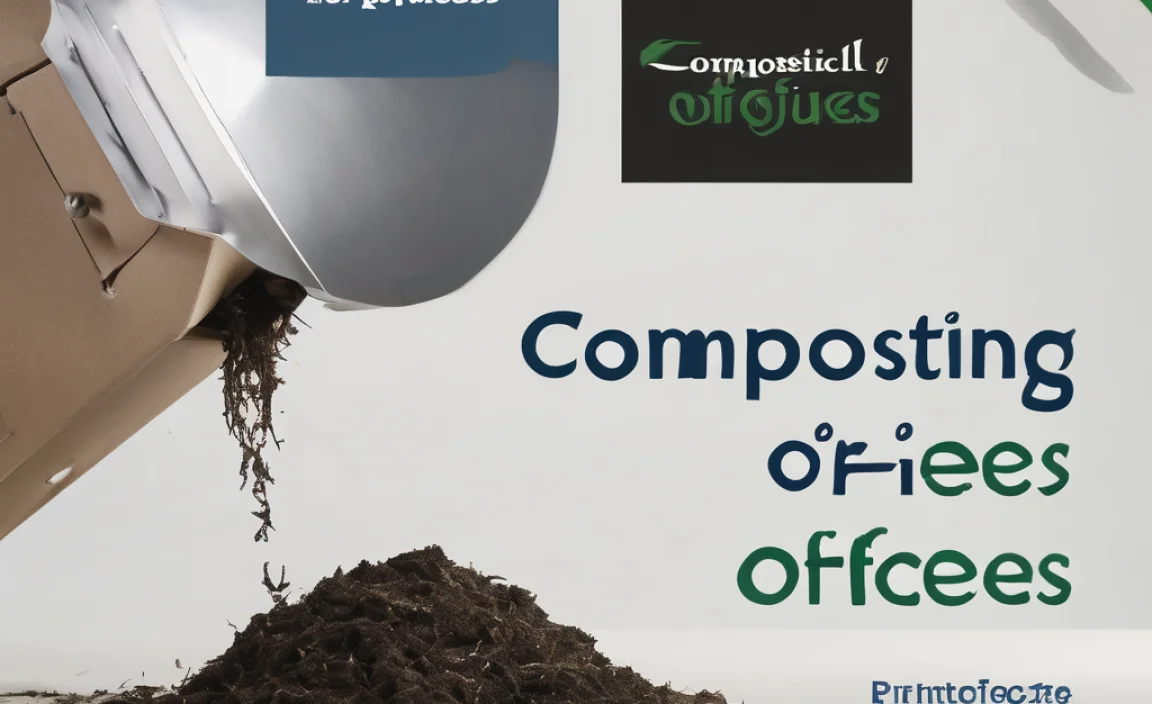
So, what exactly is this “Bokashi” thing? Think of it as fermented composting. Unlike traditional composting that relies on oxygen and decomposition by microbes, Bokashi uses a special process with anaerobic microbes (meaning they work without air) and an inoculant to pickle your food scraps. This fermentation breaks down even things like meat and dairy, which usually can’t go into a regular compost bin. It all happens in an airtight bucket, minimizing smells and making it perfect for small kitchens or apartments.
This method is brilliant because:
- It’s fast: The initial fermentation is quick.
- It’s space-saving: Bokashi bins are compact and can live indoors.
- It handles more waste: You can compost cooked foods, meat, and dairy.
- It produces a nutrient-rich liquid: This “Bokashi tea” is a fantastic plant fertilizer.
- It reduces landfill waste: A huge win for the environment!
Bokashi Composting Vs. Traditional Composting: What’s the Difference?
Many people are familiar with backyard compost piles. They’re great, but they have limitations. Bokashi composting offers a fantastic alternative or complement to traditional methods. Here’s a quick rundown so you know what you’re getting into:
| Feature | Bokashi Composting | Traditional Composting |
|---|---|---|
| Process | Anaerobic fermentation (pickling) | Aerobic decomposition (rotting with air) |
| What You Can Compost | All food scraps, including meat, dairy, oils, bones | Fruit & vegetable scraps, leaves, grass clippings, paper (no meat, dairy, oils) |
| Odor | Slightly sweet, pickled smell (minimal if sealed properly) | Earthy, compost smell (can be unpleasant if not managed) |
| Speed | Fast initial fermentation (2-4 weeks), then needs further breakdown | Slower; can take months to produce finished compost |
| Equipment | Airtight Bokashi bin, Bokashi bran (inoculant) | Compost bin/pile, turning fork |
| Output | Fermented material, “Bokashi tea” (liquid fertilizer) | Finished compost |
| Space Needs | Compact, suitable for indoors or small spaces | Requires outdoor space for bin or pile |
As you can see, Bokashi is incredibly versatile. It tackles waste that traditional composting struggles with and does it all in a tidy, indoor-friendly way. It’s not about replacing your garden compost pile if you have one, but often about filling in gaps and making composting accessible to more people.
Getting Started with Bokashi: Your Genius “Buy It” Toolkit
The beauty of Bokashi is its simplicity. You don’t need a fancy setup. Here’s what you’ll need to get going:
1. The Bokashi Bin System
This is your core piece of equipment. A standard Bokashi setup includes two stackable buckets and tight-fitting lids. Why two? One is for filling while the other is fermenting. Most bins also have a spigot at the bottom to drain off the “Bokashi tea” (more on that later!). You can buy these online or at many gardening stores. Look for one that’s sturdy and seals well. Brands like Bokashi Living or various generic kits on Amazon work well for beginners.
2. Bokashi Bran (Inoculant)
This is the magic ingredient! Bokashi bran is a special mixture of wheat bran or rice bran, molasses, and beneficial microorganisms (like Effective Microorganisms or EM). You sprinkle this bran on top of your food scraps with each addition to the bin. You can buy this online. A bag usually lasts for months. Make sure to store it in a cool, dry place, and always follow store-bought recommendations for application rates.
3. Your Food Scraps!
This is the fun part – all your kitchen waste! You can add:
- Fruit and vegetable peels, cores, and scraps
- Cooked food (rice, pasta, bread)
- Meat scraps and bones
- Dairy products (cheese rinds, yogurt)
- Coffee grounds and tea bags
- Eggshells
- Small amounts of greasy food
- Even things like cigarette butts or pet waste (though some prefer to avoid these)
Chop larger items like bones or large vegetable chunks into smaller pieces. This helps them break down faster during the initial fermentation.
Optional but Handy Items:
- A small kitchen bin with a lid to collect scraps before taking them to the main Bokashi bin.
- A small shovel or scoop for the Bokashi bran.
- A small container to collect the Bokashi tea if you don’t have a spigot.
Bokashi Composting: Step-by-Step Genius (Effortless Action Plan)
Ready to dive in? It’s easier than you think. Follow these simple steps, and you’ll be a Bokashi pro in no time.
-
Step 1: Prepare Your Bin
Make sure your Bokashi bin is clean. If it has a spigot, ensure it’s securely in place.
-
Step 2: Add Your First Layer of Scraps
Start by adding a layer of your kitchen scraps to the bottom of the bin. Try to chop up any large pieces to maximize surface area for fermentation.
-
Step 3: Sprinkle the Bokashi Bran
Evenly sprinkle about 1-2 tablespoons of Bokashi bran over the food scraps. The amount might vary slightly depending on your bin size and the bran manufacturer’s instructions, so it’s always good to check the packaging. You want to ensure good coverage.
-
Step 4: Press Down the Scraps
Once you’ve added your scraps and bran, press down on them. This helps to remove as much air as possible, which is crucial for the anaerobic fermentation process.
-
Step 5: Seal the Lid Tightly
Close the lid of the Bokashi bin securely. This is vital to keep air out and create the anaerobic environment needed for the microorganisms to work their magic. A good seal prevents smells from escaping and unwanted pests from entering.
-
Step 6: Repeat Daily
Continue adding your kitchen scraps, bran, pressing, and sealing every day as you accumulate waste. Each time you add new scraps, sprinkle bran on top and press down.
-
Step 7: Drain the Bokashi Tea
Over time, liquid will start to collect at the bottom of your bin. This is your “Bokashi tea.” Open the spigot every 1-2 days to drain it off. Don’t let it build up, as it can spoil the fermentation. You can dilute this tea with water (about 1:100 ratio, so 1 part tea to 100 parts water) and use it as a rich liquid fertilizer for your plants. It’s packed with nutrients!
Tip: Un-diluted Bokashi tea can be very strong for plants, so definitely dilute it before use. If it smells foul or looks off, it’s best to discard it.
-
Step 8: Once the Bin is Full, Let it Ferment
Once your first bin is full, stop adding scraps. Leave the lid sealed tightly, and let it sit in a warm place for about 2 weeks to complete the fermentation process. You might notice a slightly sweet, tangy, or yeasty smell. This is normal fermentation!
-
Step 9: The “Second Stage” Breakdown
After the 2-week fermentation, your material is not finished compost yet. It’s fermented food waste. You now need to bury it in soil or add it to a traditional compost pile to break down fully. The easiest way for beginners is to dig a trench in your garden, about 6-12 inches deep, bury the fermented contents, and cover it with soil. It will break down within another 2-4 weeks. You can also add the fermented contents to an existing compost bin. It will speed up the breakdown process there.
Important Note: Because the Bokashi process is anaerobic, the material will look much like what you put in, but it will be softened and no longer rot. It needs the aerobic microbes in the soil or traditional compost to finish the job.
-
Step 10: Start Again!
While your first bin is fermenting and then breaking down, you can start filling your second bin. This ensures a continuous system.
Genius Bokashi Composting Ideas for Effortless Application
Beyond the basic steps, there are some smart ways to integrate Bokashi into your life that make it even easier and more effective.
Indoor Bokashi: The Apartment Dweller’s Dream
This is where Bokashi truly shines. No backyard? No problem! Your Bokashi bin can live happily under your kitchen sink, in a pantry, or even on a balcony. The sealed nature of the bin keeps smells to a minimum, making it perfectly domestic. When it’s time for the second stage of breakdown, you have a few options:
- Community Gardens: Many community gardens are happy to take fermented Bokashi material to add to their larger compost piles.
- Container Gardening: If you have container plants on a balcony or patio, you can bury the fermented waste in very large pots (ensure they are deep enough) and mix it with soil.
- Local Farms: Some local farms might accept your fermented material.
- Worm Farms: While not ideal to mix directly, well-fermented Bokashi can be a good initial additive for some worm composting setups once it’s broken down a bit.
For apartment dwellers, the Bokashi tea is your golden ticket. Diluted and used on houseplants, it provides a fantastic nutrient boost. Check out resources from university extension offices about safe fertilizer practices for indoor plants, like those from Oregon State University.
Outdoor Bokashi: Supercharging Your Garden Prep
Even if you have a large garden and a traditional compost pile, Bokashi can be a fantastic supplement:
- Pre-Composting Tough Items: Use Bokashi to ferment meat scraps, dairy, and oily foods before adding them to your main compost pile. This prevents attracting pests and odors to your outdoor system.
- Accelerating Compost: Add your fermented Bokashi contents to your existing compost pile. The microbes introduced by the bran can help kickstart the decomposition process in your main pile, making your finished compost available faster.
- Fall Garden Bed Prep: In the fall, dig trenches in your garden beds and bury the fermented Bokashi material. By spring, it will have broken down beautifully, enriching your soil without the risk of “burning” plants that can sometimes happen with fresh compost.
Bokashi Tea: Beyond the Garden
That nutrient-rich liquid isn’t just for plants:
- Boost Your Lawn: Diluted Bokashi tea can be used on your lawn to give it a healthy green boost.
- Compost Tea Brews: Some people use diluted Bokashi tea as a base for more complex compost teas, adding other organic and beneficial microbial food sources.
- Septic Systems: A very diluted solution of Bokashi tea can sometimes help introduce beneficial microbes to septic systems. (Always check with a professional before doing this if you have concerns.)
The “Set It and Forget It” Approach
Once you get into the rhythm of filling your bin, the process is very hands-off. The fermentation does its work in the sealed bucket. The main actions are adding scraps, sprinkling bran, pressing, and draining the tea. It requires minimal physical effort compared to turning a traditional compost pile.
Troubleshooting Common Bokashi Puzzles
While Bokashi is generally straightforward, you might run into a few hiccups. Here’s how to solve them:
Problem: My Bokashi bin smells really bad.
Solution: A properly working Bokashi bin should have a mildy sweet, yeasty, or pickled smell, not a foul, rotten odor. If it smells truly awful, it likely means:
- Too much air: The lid isn’t sealing properly, or you’re not pressing out the air.
- Too much moisture: You’re not draining the Bokashi tea regularly, or you added very wet ingredients without balancing them.
- Wrong ingredients: You might have added something that’s not suitable or too much of something.
- Check your lid seal and ensure it’s airtight.
- Drain the tea more frequently.
- If you’ve added a lot of wet waste, try adding a bit more bran or some drier material like shredded paper or sawdust (though traditional composters prefer to avoid sawdust).
Problem: There’s mold growing in my bin.
Solution: A bit of white mold on the surface of the scraps might be okay and is sometimes a sign of fermentation. However, if you see fuzzy, colored mold (like black, green, or pink), it’s usually a sign of too much air or insufficient bran. Ensure the lid is sealed tightly and you’re using enough bran with each addition. If it’s extensive, you might need to discard the batch and start fresh, carefully evaluating your process.
Problem: The Bokashi tea is murky or looks strange.
Solution: If the tea is a light yellowish-brown and smells slightly vinegary or yeasty, it’s generally fine. If it’s thick, black, or smells rancid, it might indicate spoilage. Avoid using this tea on plants. Ensure you’re draining it regularly and that your bin isn’t over-full or leaking air.
Problem: My fermented material isn’t breaking down in the soil.
Solution: This usually happens in two scenarios:
- Too cold: Decomposition slows down significantly in cold weather. If you bury it in winter, it will take much longer.
- Too dry: The soil needs some moisture for the breakdown process. Ensure the buried area is kept somewhat moist.
Also, remember that it needs to be buried in active soil with microbes or added to a compost pile. Just leaving it on top of the soil won’t work. If you’re using the fermented Bokashi material in a traditional compost pile, ensure the pile is moist and actively decomposing.
Problem: I can’t find Bokashi bran easily.
Solution: While more common now, Bokashi bran can still be a niche item depending on your location. The easiest way to get it is online from specialized composting suppliers or large online retailers. If you’re really stuck and have some existing active compost or a reliable source of beneficial microbes, some DIY recipes exist, but buying pre-made bran is the most reliable and easiest starter method. Here’s a great resource that often has information on suppliers and methods: Bokashi.com.
Frequently Asked Questions About Bokashi Composting
Can I really compost meat and dairy with Bokashi?
Yes, absolutely! This is one of Bokashi’s biggest advantages. The fermentation process breaks down fats, proteins, and other compounds in meat and dairy that would typically cause odor and attract pests in traditional composting.
How long does the Bokashi process take?
The initial fermentation in the bin takes about 2-4 weeks once the bin is full. After you bury or add the fermented material to soil or a compost pile, it takes another 2-4 weeks to fully break down into finished compost.

I am passionate about home engineering. I specialize in designing, installing, and maintaining heating, ventilation, and air conditioning systems. My goal is to help people stay comfortable in their homes all year long.