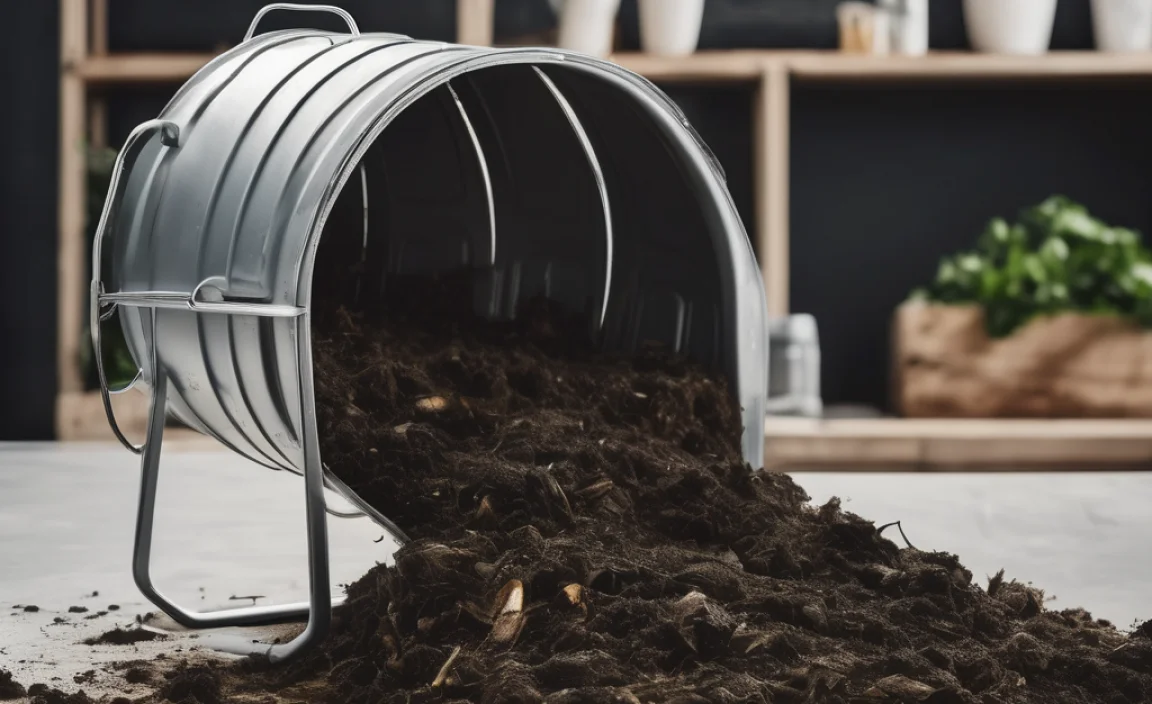
Hey there, fellow home improvers and garden enthusiasts! Troy D Harn here from TopChooser. Ever stared at your kitchen scraps or yard waste and thought, “There’s gotta be an easier way than lugging this to the curb every week?” You’re not alone! Many of us want to compost, but the thought of a messy, smelly pile seems daunting. Well, get ready to say goodbye to that hassle. We’re diving into a super simple composting method that’s practically effortless. Let’s unlock the secrets of cold composting, step by step!
Cold Composting Step by Step: Genius & Effortless
Composting can feel like a magic trick, turning your everyday discards into nutrient-rich soil for your garden. But sometimes, the traditional “hot” composting methods, which require a lot of turning and precise balancing of materials, can feel like a chore. That’s where cold composting shines! It’s a patient, low-effort approach that works wonders without all the fuss. Think of it as a “set it and forget it” system for your organic waste. If you’re looking for a genuinely easy way to start composting, you’ve found it. We’ll walk you through everything you need to know, from getting started to harvesting your finished compost.
What is Cold Composting?

Cold composting, also known as passive composting, is a method where you simply pile organic materials together and let nature take its course. Unlike hot composting, which relies on rapid decomposition driven by heat-generating microbes, cold composting is a slower process. It doesn’t require strict carbon-to-nitrogen ratios (often called “greens” and “browns”) or frequent turning. The microorganisms and larger organisms, like worms and insects, will eventually break down the materials over time. It’s perfect for those who have limited time or space, or who prefer a hands-off approach to composting.
Why Choose Cold Composting? The Genius of Effortless
So, why is this “genius and effortless” approach so appealing? Let’s break down the main benefits:
- Low Effort: This is the BIG one. No constant turning, no worrying if your pile is hot enough. You just add materials as you generate them.
- Simplicity: It’s incredibly beginner-friendly. You don’t need to be a composting expert to get started.
- Less Odor (Usually): When done correctly with a good mix of materials, a cold compost pile tends to be less smelly than a neglected hot compost pile.
- Works with Various Materials: While hot composting can be picky, cold composting is more forgiving with a wider range of organic waste.
- Ideal for Busy Lives: If you love gardening but have a packed schedule, this method fits right in.
The main “downside,” if you can call it that, is that it takes longer for the materials to break down compared to hot composting. We’re talking months, sometimes up to a year or more, depending on your climate and what you put in. But if patience isn’t a problem, the reward of healthy compost is well worth it.
Cold Composting vs. Hot Composting: A Quick Look
To truly appreciate cold composting, it helps to see how it differs from its speedier sibling, hot composting. Here’s a quick comparison:
| Feature | Cold Composting (Passive) | Hot Composting (Active) |
|---|---|---|
| Effort Level | Very Low (add materials, minimal turning) | High (frequent turning, temperature monitoring) |
| Speed of Decomposition | Slow (6 months to 2+ years) | Fast (1-3 months) |
| Temperature | Ambient (cooler) | High (130-160°F / 55-71°C) |
| C:N Ratio Management | Not critical, self-balances over time | Crucial for heat generation |
| Weed Seeds/Pathogens | May not be killed | Killed by high temperatures |
| Ideal For | Beginners, busy people, slow production needs | Experienced composters, fast results, high volume needs |
As you can see, cold composting wins hands-down for ease of use and minimal effort. So, if your goal is simply to reduce waste and create some good soil over time without a lot of work, cold composting is your best bet.
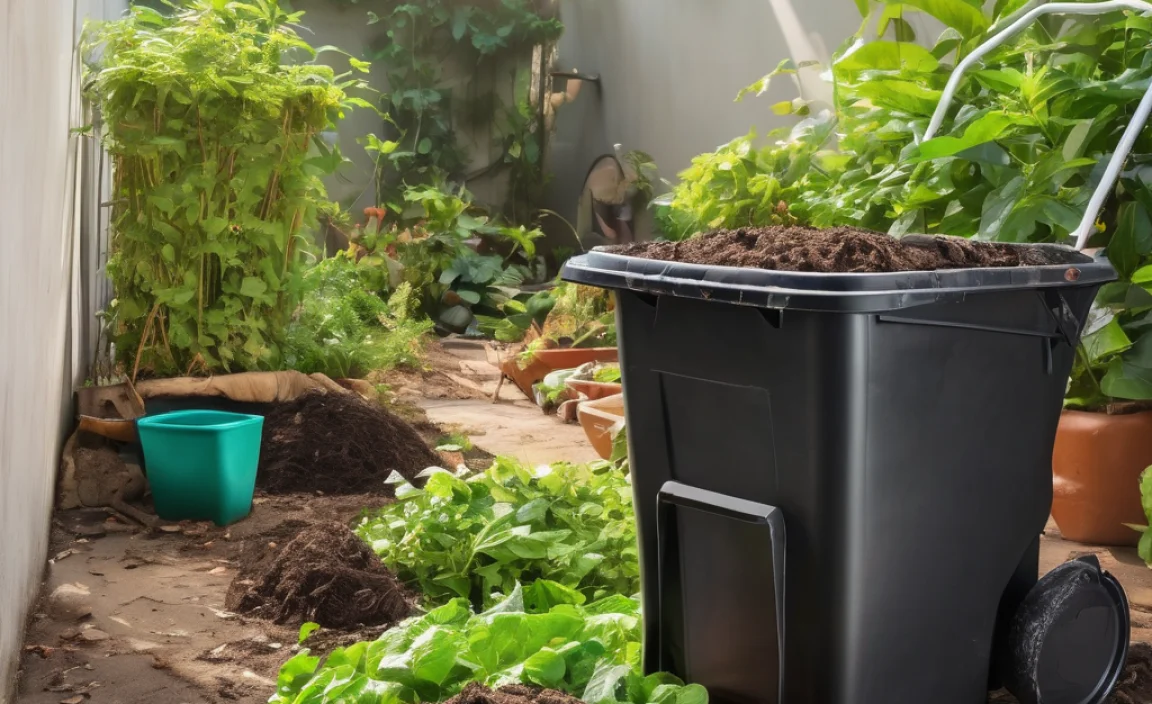
Getting Started with Cold Composting: What You’ll Need

The beauty of cold composting is its minimal equipment requirements. You don’t need fancy bins or specific tools to get started. Here’s a breakdown:
1. A Location
Choose a spot in your yard that is:
- Convenient: Easy to access from your kitchen and garden.
- Level: So your compost pile doesn’t slide.
- Well-drained: You don’t want your compost sitting in a puddle.
- Partially Shaded (Optional but Recommended): This helps keep the pile from drying out too much in hot weather.
You can simply start a pile directly on the ground, or you can use a simple bin. Options for bins include:
- Wire Mesh Bin: Easy to build and allows good airflow.
- Wooden Pallet Bin: Recycled and very sturdy.
- Simple Pile: Just heap materials in your chosen spot.
- Commercial Compost Bins: Many are designed for passive composting.
For beginners, simply starting a pile directly on the ground or using a simple wire or pallet bin is often the most straightforward and cost-effective way to begin. These allow materials and microbes easy access.
2. Your Organic Materials
The key to any composting is the right mix of “greens” (nitrogen-rich) and “browns” (carbon-rich). In cold composting, you don’t need to be as precise, but a good general mix helps speed things along and reduce odors.
What to Add (Greens – Nitrogen Rich):
- Fruit and vegetable scraps
- Grass clippings (in thin layers to avoid matting)
- Coffee grounds and tea bags
- Plant trimmings (non-diseased)
- Eggshells
- Manure from herbivores (cow, horse, chicken, rabbit – fresh is fine in cold composting)
What to Add (Browns – Carbon Rich):
- Dry leaves
- Shredded newspaper or cardboard (avoid glossy or colored inks)
- Straw or hay
- Small twigs and branches (chopped or chipped)
- Sawdust (from untreated wood)
- Wood chips
What to Avoid (Generally):
- Meat, bones, and dairy products (can attract pests and create odors)
- Oily or greasy foods
- Diseased plants (can spread disease)
- Weeds that have gone to seed (though cold composting might not kill them anyway)
- Pet waste (dog or cat – often contains pathogens)
- Treated wood
- Coal or charcoal ash
3. A Pitchfork or Shovel (Optional)
While not strictly necessary for passive composting, a pitchfork or shovel can be helpful for turning the pile occasionally or for moving finished compost. If you’re going full “set it and forget it,” you might not need these.
Cold Composting Step-by-Step: Your How-To Guide

Ready to get your pile going? It’s simpler than you might think. Here’s the easy process:
Step 1: Prepare Your Base
If starting a pile directly on the ground, clear the area of any grass or weeds. You can loosen the soil underneath a bit if you like, which helps with drainage and worm access. If using a bin, simply place it in your chosen spot.
Step 2: Start Layering (the “Lasagna” Method)
This is where you begin adding your materials. The most common and effective way to start a cold compost pile is by layering “greens” and “browns.” Think of it like making a lasagna.
- Brown Layer First: Start with a layer of bulky brown materials, like twigs, straw, or shredded cardboard. This helps with air circulation at the bottom. A layer about 4-6 inches thick is good.
- Green Layer: Add a layer of your kitchen scraps, grass clippings, or coffee grounds on top of the browns. About 2-4 inches is usually plenty.
- Brown Layer Again: Cover the green layer with another layer of brown materials. This is crucial for controlling odors and preventing the greens from becoming a slimy mess. Aim for a layer that’s about as thick as the green layer or slightly thicker.
- Repeat: Continue alternating layers of greens and browns as you accumulate them.
Tip for Beginners: Don’t stress too much about perfect layers. The main goal is to mix them in. If you have a lot of kitchen scraps one day, just add them and cover them with some dry leaves or shredded paper you’ve collected.
Step 3: Add Moisture
Compost needs moisture to break down, but not too much. A good rule of thumb is for the pile to be as damp as a wrung-out sponge. If your materials are dry (like fallen leaves or shredded paper), you’ll need to add water as you build the pile. If you’re adding a lot of wet kitchen scraps, you might not need much extra water initially.
How to Check Moisture: Grab a handful of compost from the center of the pile. Squeeze it firmly. A few drops of water should come out. If it’s watery, it’s too wet. If it feels dry and crumbly, add more water.
Step 4: Consider “Activators” (Optional)
While not required for cold composting, some people like to add a layer of finished compost, garden soil, or even a commercial compost starter every now and then. These introduce beneficial microorganisms that can help kick-start the decomposition process. However, if you don’t have these handy, don’t worry! Microbes from the air, soil, and your original materials will eventually find their way in.
Step 5: Let Nature Do Its Work (The “Passive” Part)
This is the easiest step: do nothing! Simply continue adding your kitchen scraps and yard waste to the pile as you generate them. Always try to add a layer of brown material on top of new kitchen scraps to keep the pile covered. This helps deter pests and reduces odors.
Step 6: Occasional Turning (Optional but Recommended)
While it’s called “cold” or “passive” composting, giving your pile an occasional turn can significantly speed up the process and help it break down more evenly. Even once or twice a year can make a difference. Use a pitchfork to move the outer materials into the center and vice-versa. This helps aerate the pile and mix materials.
If you’re truly going for the “effortless” approach and don’t plan to turn it, that’s perfectly fine. It will just take longer to decompose.
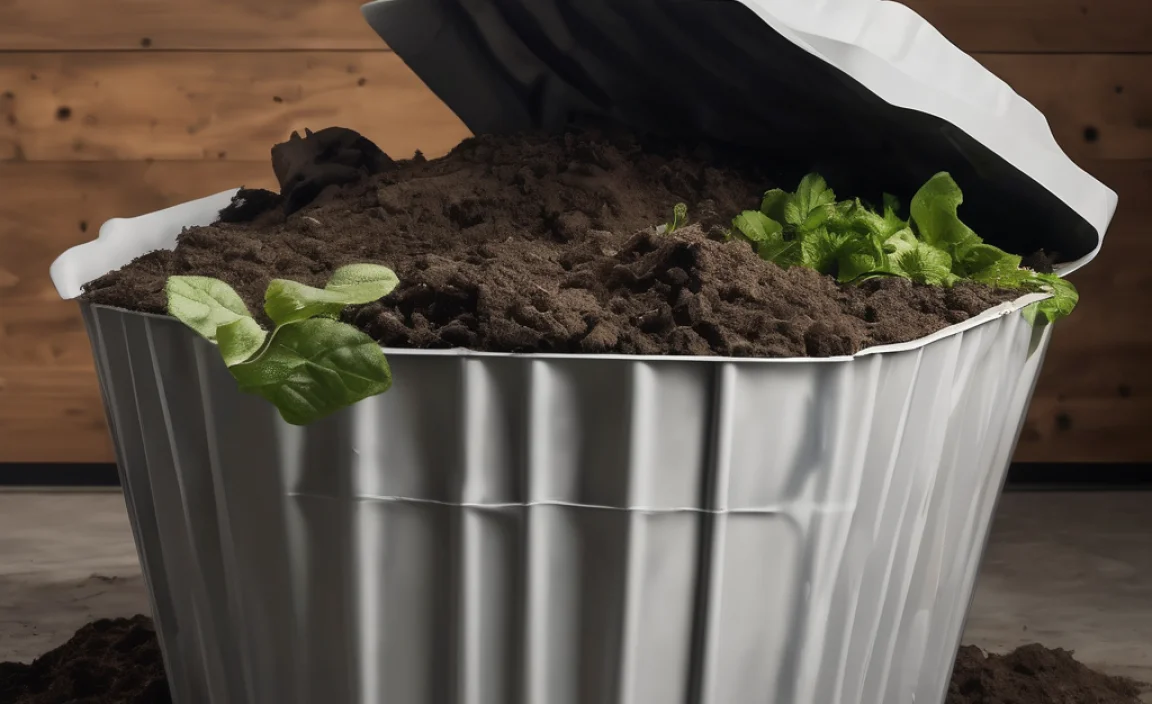
Step 7: Harvesting Your Black Gold
This is the most rewarding part! How do you know when your compost is ready? Look for these signs:
- Appearance: It will be dark brown or black, crumbly, and earthy-smelling.
- Texture: You shouldn’t be able to recognize most of the original materials you put in.
- Temperature: The pile should have cooled down.
The time it takes for compost to be ready in a cold pile can range from about 6 months to 2 years. This depends on factors like the size of your pile, the materials you’ve added, your climate, and whether you’ve turned it.
To harvest, you can simply dig into the bottom and sides of the pile, where decomposition happens fastest. You might find some materials that haven’t fully broken down; you can simply throw these back into a new, active compost pile.
Tip: You can use a simple screen (hardware cloth tacked onto a wooden frame) to sift your compost, separating larger pieces from the fine, finished material. This is especially helpful if you want a uniform texture for potting mixes or fine garden top-dressing.
Troubleshooting Common Cold Composting Issues
Even with an effortless system, you might run into a few snags. Here’s how to fix them:
Issue 1: My compost pile smells bad (like rotten eggs or ammonia).
Cause: This usually means too many “greens” (nitrogen) and not enough “browns” (carbon) or not enough air. It can also indicate the pile is too wet.
Solution:
- Add more brown materials like dry leaves, shredded newspaper, or straw. Try to bury the smelly bits with browns.
- If it’s very wet, turn the pile to introduce air and help it dry out.
- If you have a bin, ensure it has adequate air vents.
Issue 2: My compost pile is too dry and nothing seems to be happening.
Cause: Not enough moisture. This is common in hot, dry climates or if you’re mostly adding dry materials.
Solution:
- Gradually add water while turning the pile to ensure it’s evenly moist. Remember, damp like a wrung-out sponge!
- Add more “green” materials, which are usually wetter.
- Cover the pile with a tarp during very dry spells, but allow for some air circulation.
Issue 3: My compost pile is attracting pests (flies, rodents, etc.).
Cause: Exposed food scraps or adding forbidden items like meat or dairy.
Solution:
- Always bury kitchen scraps under a good layer of brown material.
- Avoid adding meat, bones, dairy, or oily foods to your compost pile.
- If using a bin, ensure it has a lid and that the mesh is fine enough to deter rodents.
- Consider a compost tumbler or a sturdier bin design if pests are a persistent problem.
Issue 4: Nothing is breaking down, and it’s been months.
Cause: The pile might be too small, too dry, too wet, or lack essential microorganisms.
Solution:
- Ensure your pile is at least 3 feet x 3 feet x 3 feet (1 cubic yard) for optimal decomposition. Smaller piles decompose slower.
- Check moisture levels and adjust as needed.
- If you haven’t already, try adding a shovel-full of finished compost or garden soil to introduce microbes.
- Even with cold composting, occasional turning can help things along.
The Long-Term Benefits of Cold Composting
Besides the immediate satisfaction of reducing waste, the compost you create is incredibly valuable. It acts as a soil amendment, much like a vitamin boost for your garden. When you add compost to your soil:
- Improves Soil Structure: It helps sandy soils retain moisture and nutrients, and it loosens up heavy clay soils, improving drainage and aeration. Check out resources from the U.S. Environmental Protection Agency (EPA) for more on the benefits of composting.
- Increases Nutrient Content: Compost slowly releases essential nutrients that plants need to grow, reducing the need for synthetic fertilizers.
- Boosts Microbial Life: It introduces beneficial bacteria, fungi, and other microorganisms that help plants thrive and suppress soil-borne diseases.
- Enhances Water Retention: Your garden will need less watering, which is a great benefit for both the environment and your water bill.
- Reduces Landfill Waste: You’re diverting significant amounts of organic material from landfills, where it decomposes anaerobically and produces methane, a potent greenhouse gas.
Building a compost pile is an investment of a little space and time, but the returns for your garden and the environment are immense. And with cold composting, that investment is surprisingly small!
Frequently Asked Questions about Cold Composting
Q1: How long does cold composting actually take?
A: Cold composting is a slow process. It can take anywhere from 6 months to over two years for materials to fully break down into usable compost. This depends on your climate, the materials you add, and
.lwrp.link-whisper-related-posts{
margin-top: 40px;
margin-bottom: 30px;
}
.lwrp .lwrp-title{
}.lwrp .lwrp-description{
}
.lwrp .lwrp-list-container{
}
.lwrp .lwrp-list-multi-container{
display: flex;
}
.lwrp .lwrp-list-double{
width: 48%;
}
.lwrp .lwrp-list-triple{
width: 32%;
}
.lwrp .lwrp-list-row-container{
display: flex;
justify-content: space-between;
}
.lwrp .lwrp-list-row-container .lwrp-list-item{
width: calc(25% – 20px);
}
.lwrp .lwrp-list-item:not(.lwrp-no-posts-message-item){
max-width: 150px;
}
.lwrp .lwrp-list-item img{
max-width: 100%;
height: auto;
object-fit: cover;
aspect-ratio: 1 / 1;
}
.lwrp .lwrp-list-item.lwrp-empty-list-item{
background: initial !important;
}
.lwrp .lwrp-list-item .lwrp-list-link .lwrp-list-link-title-text,
.lwrp .lwrp-list-item .lwrp-list-no-posts-message{
}@media screen and (max-width: 480px) {
.lwrp.link-whisper-related-posts{
}
.lwrp .lwrp-title{
}.lwrp .lwrp-description{
}
.lwrp .lwrp-list-multi-container{
flex-direction: column;
}
.lwrp .lwrp-list-multi-container ul.lwrp-list{
margin-top: 0px;
margin-bottom: 0px;
padding-top: 0px;
padding-bottom: 0px;
}
.lwrp .lwrp-list-double,
.lwrp .lwrp-list-triple{
width: 100%;
}
.lwrp .lwrp-list-row-container{
justify-content: initial;
flex-direction: column;
}
.lwrp .lwrp-list-row-container .lwrp-list-item{
width: 100%;
}
.lwrp .lwrp-list-item:not(.lwrp-no-posts-message-item){
max-width: initial;
}
.lwrp .lwrp-list-item .lwrp-list-link .lwrp-list-link-title-text,
.lwrp .lwrp-list-item .lwrp-list-no-posts-message{
};
}


I am passionate about home engineering. I specialize in designing, installing, and maintaining heating, ventilation, and air conditioning systems. My goal is to help people stay comfortable in their homes all year long.