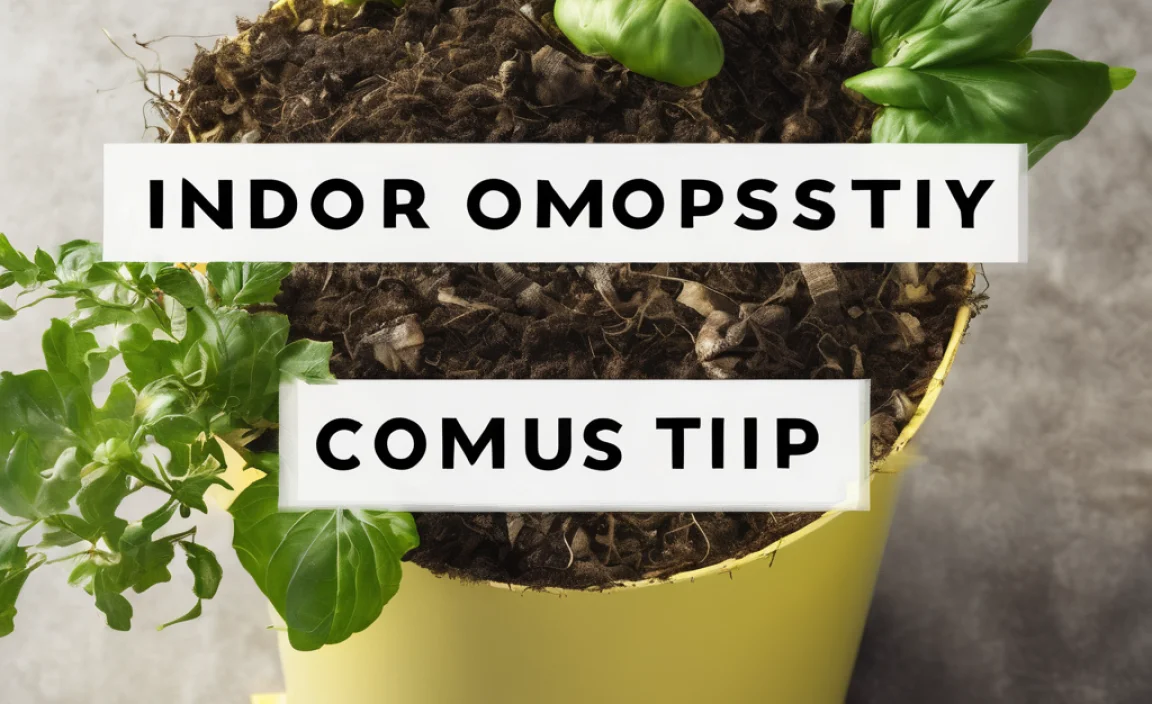
Got kitchen scraps? Food waste piling up? Don’t toss it all in the trash! Composting is a fantastic way to help the planet and your garden. But fancy compost bins can cost a pretty penny. No worries! You can build an amazing, affordable compost bin yourself. This guide will show you how. We’ll keep it simple and wallet-friendly.
Compost Bin Affordable: Your Genius, Essential Solution
Hey there, DIY friends! Troy D Harn here from TopChooser. Are you looking to dive into the wonderful world of composting without breaking the bank? I get it. Some of those store-bought compost bins look slick, but the price tag? Ouch! The truth is, you don’t need a fancy setup to turn your kitchen scraps and yard waste into black gold for your garden. An affordable compost bin is not just a smart choice; it’s an essential one for budget-conscious, eco-friendly living.
Many people think composting is complicated or requires expensive equipment. That’s just not true! With a few basic materials and a little bit of effort, you can create a highly effective compost bin that works wonders. We’re talking simple designs, readily available materials, and results that’ll make your plants sing. This isn’t about reinventing the wheel; it’s about making a tried-and-true system accessible to everyone. Stick with me, and I’ll walk you through how to build a compost bin that’s both budget-friendly and incredibly functional. Let’s get started on this rewarding journey!
Why an Affordable Compost Bin is a Game-Changer
Composting is a cornerstone of sustainable living. It diverts waste from landfills, reduces greenhouse gas emissions, and creates nutrient-rich soil amendment for your garden. But when the cost of entry feels too high, it can be a real buzzkill. That’s where the beauty of an affordable compost bin truly shines.
Saving Your Wallet, Saving the Planet:
- Reduce Waste: Less goes to the landfill, which is good for everyone.
- Enrich Your Soil: Homemade compost is packed with nutrients your plants will love, cutting down on the need for store-bought fertilizers.
- Save Money: By avoiding expensive bins and fertilizers, you keep more cash in your pocket.
- Fewer Smells: A well-managed compost bin controls odors, unlike open piles.
- Boost Garden Health: Healthier soil means healthier, more vibrant plants.
An affordable compost bin solution empowers you to participate in these benefits without the financial strain. It’s about making eco-friendly choices accessible and practical for everyday folks like us.
Understanding the Basics of Composting
Before we get our hands dirty building, let’s cover what makes composting work. Think of it as a recipe for decomposition. You need a good mix of “greens” (nitrogen-rich materials) and “browns” (carbon-rich materials), plus air and moisture. The microorganisms that do the heavy lifting thrive on this balanced diet.
Greens (Nitrogen-Rich):
- Fruit and vegetable scraps
- Coffee grounds and tea bags
- Grass clippings
- Plant trimmings
- Eggshells
Browns (Carbon-Rich):
- Dry leaves
- Shredded newspaper and plain cardboard
- Straw and hay
- Small twigs and wood chips
- Sawdust (untreated wood only)
Aim for a ratio of about 2 parts browns to 1 part greens. This balance is key to avoiding a slimy, smelly mess and promoting efficient decomposition.
Choosing Your Affordable Compost Bin Style
When we talk about an affordable compost bin, we’re often thinking DIY. These methods are typically much cheaper than buying a pre-made unit. Here are a few popular and effective DIY styles:
1. The Simple Wire Mesh Bin
This is arguably the easiest and most affordable compost bin to make. It’s essentially a cylinder of wire mesh that allows for excellent airflow.
- Pros: Super cheap, incredibly easy to build, great aeration, easy to turn compost.
- Cons: Can look a bit rustic, might dry out faster in hot climates, small critters could potentially access it if not managed carefully.
2. The Pallet Compost Bin
If you can get your hands on some free wooden pallets, you can construct a sturdy, multi-sided bin. This is a fantastic way to repurpose materials.
- Pros: Very affordable (often free materials), sturdy, good size, can build one, two, or three chambers for different stages of compost.
- Cons: Requires basic tools and a bit more assembly than wire mesh, can be heavy to move.
3. The Cinder Block or Brick Bin
For a more permanent and robust solution, stacking cinder blocks or bricks can create a durable compost bin. You can leave gaps for airflow or use wire mesh inserts.
- Pros: Extremely durable, can look neat and tidy, good thermal mass (holds heat).
- Cons: More labor-intensive, materials can add up in cost if not sourced second-hand, less portable.
4. The Plastic Bin Conversion
Got an old trash can or storage tote? With a few modifications, you can turn it into a functional compost bin.
- Pros: Uses recycled materials, relatively contained, good for smaller spaces.
- Cons: Requires drilling many holes for aeration, can be difficult to turn compost, may not hold as much material.
For our primary build, we’ll focus on the wire mesh bin and the pallet bin, as they offer the best balance of affordability, ease of construction, and composting effectiveness for beginners.
How to Build an Affordable Wire Mesh Compost Bin
This is my go-to recommendation for a super-simple, budget-friendly compost bin. It’s quick, effective, and looks surprisingly good!
Materials You’ll Need:
- Hardware Cloth or Wire Mesh: A roll of sturdy wire mesh. Look for a mesh size of about 1/2 inch to 1 inch. You’ll want a height of around 3 feet and a length that’s enough to form a cylinder (around 10-12 feet long for a good-sized bin). You can often find this at garden centers or hardware stores. Gardens Alive! offers good resources on hardware cloth.
- Wire or Zip Ties: To secure the mesh. Heavy-duty zip ties work well, or you can use galvanized wire.
- Wire Cutters/Pliers: To cut the mesh and secure it.
- Work Gloves: Essential for protecting your hands from sharp wire edges.
- Stakes (Optional): A few wooden or metal stakes to help anchor the bin if needed.
Step-by-Step Assembly:
- Measure and Cut: Decide on the diameter of your bin. A diameter of about 3 feet is a good starting point, creating a bin roughly 3 feet tall and 3 feet wide. Calculate the circumference (Circumference = π × diameter) – for a 3-foot diameter, that’s about 9.42 feet. Add a little extra for overlap when joining the ends. So, cut a length of about 10-12 feet from your wire mesh roll.
- Form the Cylinder: Wearing your gloves, carefully unroll the wire mesh. Stand it up and bend it into a cylinder shape. Overlap the cut ends by several inches.
- Secure the Seam: Use your wire cutters and pliers to attach the overlapped ends. Weave pieces of wire through the mesh openings, or use heavy-duty zip ties, every few inches along the seam. Make sure it’s snug and secure.
- Position Your Bin: Choose a level spot in your yard for the compost bin. It should be easily accessible but not in the way. Partial sun is ideal – too much sun can dry it out, while deep shade might keep it too cool and damp.
- Anchor (Optional): If the bin feels flimsy, you can drive a couple of stakes into the ground just inside the rim and secure them to the wire mesh with more ties.
- Start Composting: That’s it! You’ve built your wire mesh compost bin. Now you can start adding your greens and browns.
Pro Tip: To make turning easier, you can even make two or three of these bins side-by-side. Once one is full, you can start filling the next while the first one breaks down.
How to Build an Affordable Pallet Compost Bin
This is a fantastic option if you can get free pallets. They make a sturdy, good-sized compost bin, and you can even create multiple sections for different stages of compost.
Materials You’ll Need:
- Wooden Pallets: 3 or 4 standard-sized wooden pallets (approx. 40″ x 48″). Look for heat-treated (HT) pallets, not those treated with chemicals (MB – Methyl Bromide). Many businesses give them away for free. Check online marketplaces or local industrial areas.
- Hardware Cloth (Optional but Recommended): To line the inside of the pallets and prevent material from falling out, and to deter pests. About a 1/2-inch or 1-inch mesh is good.
- Strong Wire or Zip Ties: For assembling the pallets and attaching hardware cloth.
- Heavy-Duty Gloves: Pallets can have splinters and rough edges.
- Work Apron: To protect your clothes.
- Saw (Optional): If you need to adjust pallet sizes.
- Drill with Large Bit (Optional): For creating pilot holes if screwing pallets together.
- Screws or Lag Bolts (Optional): For a more permanent and sturdy attachment, use screws or lag bolts instead of just wire.
- Hinges (Optional): If you want one side to open like a gate.
Step-by-Step Assembly:
Option 1: Simple 3-Sided Bin
- Prepare Pallets: Inspect your pallets. Remove any loose nails or broken boards. If desired, you can lightly sand down rough edges.
- Position the Back Pallet: Stand one pallet upright. This will be the back of your bin.
- Attach Side Pallets: Stand two more pallets upright on either side of the back pallet, forming the side walls. The edges of the side pallets should meet the edges of the back pallet.
- Secure the Frame: Use heavy-duty wire or large zip ties to tightly lash the side pallets to the back pallet at the corners. Wrap the wire or ties around the vertical support beams of the pallets multiple times and twist or cinch them securely. If you want a super strong build, you can drill pilot holes and use lag bolts or sturdy screws to connect the pallets.
- Add Interior Lining (Optional): If you have thin gaps between the pallet boards, staple or wire hardware cloth to the inside of the three pallets. This helps contain your compost materials.
- Position Your Bin: Place your new bin in its desired location.
Option 2: 4-Sided Bin with Removable Front
- Assemble 3 Sides: Follow steps 1-4 above to create a 3-sided structure (back and two sides).
- Prepare the Front Pallet: This front pallet will be removable for easy access to turn or harvest compost. You can attach it last.
- Secure the Front Pallet Loosely: Instead of permanently attaching the front pallet, you can secure it with wire loops that can be unhooked, or use sturdy carabiners, or even simple hook-and-eye latches. Some people just wedge it in place.
- Line and Position: Line with hardware cloth if desired, and place in its spot.
Option 3: Multi-Bay System
For a more advanced setup, you can create a 2 or 3-bay system. This is great for having one bay for fresh materials, one for actively composting, and one for maturing compost.
- Assemble Back Wall: Use 2 or 3 pallets side-by-side for the back.
- Add Dividers: Attach two more pallets perpendicularly to the back wall to create the dividers between bays.
- Add Front Sections: Construct removable front sections for each bay as described above.
Safety Note: Always wear gloves when handling pallets. Ensure you are using heat-treated (HT) pallets and not those marked with MB (Methyl Bromide), which have been treated with toxic chemicals.
Where to Place Your Affordable Compost Bin
Location, location, location! Even the most affordable compost bin needs a good spot to work its magic.
- Accessibility: You need to be able to easily add materials and turn your compost. Near your garden and kitchen entrance is ideal.
- Drainage: The spot should drain well. You don’t want your compost sitting in a puddle.
- Sunlight: Partial shade is best. Full sun can dry out your compost too quickly, while deep shade can keep it too cool and slow down the process. Ideal is about 6 hours of sun per day.
- Water Source: It’s helpful to be within reach of a hose or water source, as compost needs to be kept moist like a wrung-out sponge.
- Proximity to Neighbors: While a well-managed bin shouldn’t smell, it’s usually best to place it away from direct property lines or your neighbor’s patio.
A good rule of thumb is a spot that gets some sun but is also protected from the harshest midday rays, and easy to get to with your kitchen scraps and garden trimmings. For pallet bins, level ground is important for stability. For wire mesh bins, a slight slope is okay if it drains well.
Filling Your Compost Bin: The Green and Brown Balance
Now for the fun part – filling your new compost bin! Remember our recipe: greens and browns, air, and moisture.
Layering is Key:
- Start with Browns: Begin with a layer of brown materials about 4-6 inches thick at the bottom. This helps with drainage and aeration.
- Add Greens: Next, add a layer of green materials.
- Alternate Layers: Continue alternating layers of browns and greens.
- Tuck in Scraps: Bury fresh kitchen scraps in the center of the pile, between layers of brown material. This helps contain odors and speeds up decomposition.
- Moisture Check: As you add materials, mist them lightly with water if they seem dry. The goal is for the compost to feel like a damp sponge – moist, but not soaking wet.
What NOT to Compost:
- Meat, fish, bones, dairy products (can attract pests and create odors)
- Oily or greasy foods
- Diseased plants
- Weeds that have gone to seed (you might end up with weeds in your garden!)
- Pet waste (from cats and dogs – can contain pathogens)
- Treated wood or coal ash
Maintaining Your Composting System
An affordable compost bin doesn’t mean low effort. A little maintenance goes a long way in getting great compost.
Turning Your Pile
Turning your compost introduces oxygen, which is crucial for the aerobic bacteria that do the composting work. It also helps mix the materials and distributes moisture evenly.
- Wire Mesh Bins: These are the easiest to turn. You can literally lift the entire cylinder off your compost pile, set it next to the pile, and then fork the compost back into the bin, mixing it as you go.
- Pallet Bins: Use a pitchfork or compost aerator to mix the materials. Try to move material from the outside to the inside, and from the top to the bottom.
- Frequency: Aim to turn your compost every 1-4 weeks. The more you turn it, the faster it will decompose.
Moisture Management
Your compost pile should be moist like a wrung-out sponge. If it’s too dry, decomposition slows down. If it’s too wet, it can become anaerobic and smelly.
- Too Dry: Add water and turn the pile.
- Too Wet: Add more brown materials (leaves, shredded cardboard) and turn the pile to improve aeration. Covering the bin during heavy

I am passionate about home engineering. I specialize in designing, installing, and maintaining heating, ventilation, and air conditioning systems. My goal is to help people stay comfortable in their homes all year long.