Ever stare at your kitchen scraps and wonder, “What now?” It’s a common puzzle! You want to do right by your garden and the planet, but the whole composting thing can seem… well, complicated. Don’t sweat it! We’re going to break down compost bin time into simple, doable steps. You’ll be turning waste into garden gold before you know it. Ready to get started?
Compost Bin Time: Your Easy Guide to Creating Garden Gold
Hey there, neighbor! Troy D Harn here, your go-to guy for making home projects, gardening, and yes, even messy stuff like composting, totally stress-free. So, you’ve heard about composting and think it’s the bee’s knees for your garden and the environment? You’re right! But maybe the thought of setting up a compost bin feels a bit overwhelming. I get it. It can seem like there’s a secret handshake or a complex science involved. The good news? It’s way simpler than you think, and I’m here to walk you through it, step-by-step. We’ll cover choosing the right bin, what to toss in, what to keep out, and how to speed up the process so you can enjoy the fruits (and veggies!) of your labor. Let’s turn those food scraps and yard waste into black gold for your plants!
Why Bother with a Compost Bin Anyway?
Before we roll up our sleeves, let’s quickly chat about why composting is such a fantastic habit. It’s not just about reducing what goes into the landfill (though that’s a huge plus!). Compost is like a superfood for your soil. It:
- Improves soil structure, making it easier for plant roots to grow.
- Helps soil retain moisture, meaning less watering for you!
- Provides essential nutrients that your plants will absolutely love.
- Can help suppress plant diseases and pests.
- Reduces the need for chemical fertilizers, which is great for your wallet and the environment.
Think of it as giving your garden a healthy, natural boost. Plus, it’s incredibly satisfying to see waste transform into something so valuable.
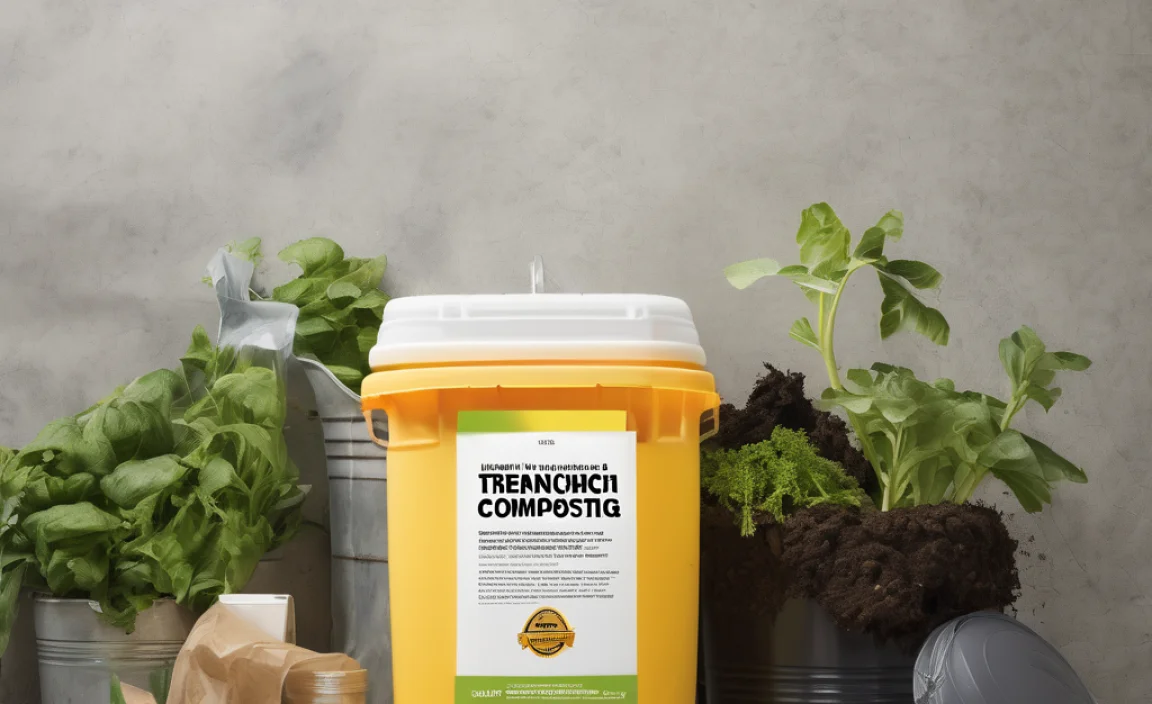
Choosing Your Compost Bin: The Right Home for Your Scraps
The first big decision is where your composting action will happen. You’ve got a few main options, and the best one for you depends on your space, how much waste you produce, and how hands-on you want to be. We’ll break down the most popular types:
1. The Stationary Bin (or Pile)
This is the classic. It can be a store-bought bin with no moving parts, or you can even build one yourself (we’ll touch on that later!). It’s basically a designated spot for your compost materials to break down over time. These are great for larger yards and for those who don’t need compost in a hurry. They are generally less expensive upfront.
- Pros: Simple, can handle large volumes, often the most budget-friendly option.
- Cons: Slower decomposition, can sometimes be harder to aerate (turn), might attract pests if not managed well.
2. The Tumbler Bin
These are the fancy rolling drums. You just toss your materials in, close the lid, and give it a good spin every few days. The tumbling action mixes and aerates the compost, dramatically speeding up the decomposition process. They’re also usually enclosed, which helps keep pests out and contains odors. They can be a bit pricier but are fantastic for faster results.
- Pros: Faster composting, easy to mix and aerate, typically pest-resistant and odor-controlled.
- Cons: Can be more expensive, might have a smaller capacity than stationary bins, can sometimes get too wet if not balanced.
3. The Multi-Chamber Bin
This is for the serious composter or those who want a continuous supply. These bins have two, three, or even four compartments. You fill one, then move on to the next. As the compost in the first bin matures, you start a new batch in the second. This system allows for a constant flow of finished compost. They are usually stationary and can be purchased or built.
- Pros: Continuous supply of compost, allows for different stages of decomposition simultaneously.
- Cons: Requires more space, can be more expensive if purchased, building one can be a project.
4. The Worm Composter (Vermicomposting)
This is a specialized bin that uses red wiggler worms to break down your food scraps. It’s perfect for apartment dwellers or anyone with very limited outdoor space, as it can be done indoors or on a balcony. Worm compost (called “castings”) is incredibly rich in nutrients.
- Pros: Great for small spaces, produces nutrient-rich compost quickly, can be done indoors.
- Cons: Requires specific types of worms, a bit more management to keep the worms happy, can’t handle large volumes of yard waste.
What to Consider When Choosing:
- Space: How much room do you have? A small balcony needs a different solution than a large backyard.
- Volume of Waste: How much kitchen and yard waste do you generate? A busy family will need a larger bin than a single person.
- Speed: Do you need compost fast, or are you happy to wait? Tumblers are best for speed.
- Budget: Prices can range from free (DIY) to a couple of hundred dollars for features tumblers.
- Effort: How much turning and maintenance are you willing to do?
No matter which type you choose, make sure it’s accessible for adding materials and for turning or harvesting the finished compost. A good spot is level, has decent drainage, and gets some sun (but not baking hot all day, which can dry it out too much).
The Magic Ingredients: What Goes INTO Your Compost Bin?
This is where the “magic” really happens! Think of your compost bin like a sophisticated digestive system for your organic waste. It needs a good mix of “greens” and “browns” to work properly. This balance is key to avoiding smells and getting good, rich compost.
Greens (Nitrogen-Rich Materials):
These are generally moist, fresh materials that provide nitrogen, which is crucial for the microorganisms that break down the compost. They are often the “fresh” food scraps.
- Fruit and vegetable scraps (peels, cores, rinds)
- Coffee grounds and tea bags
- Grass clippings (in moderation, they can compact)
- Plant trimmings (non-diseased)
- Eggshells (crushed)
- Manure from herbivores (like rabbits, chickens, cows – avoid pet waste)
Browns (Carbon-Rich Materials):
These are typically dry, woody materials that provide carbon. They help with aeration and absorb excess moisture. They’re often the “structural” elements of your compost.
- Dry leaves
- Shredded cardboard and paper (avoid glossy or colored inks)
- Straw or hay
- Small twigs and branches (chopped up)
- Sawdust (from untreated wood)
- Paper towels and napkins (if not greasy)
The Ideal Blend: Aim for roughly a 2:1 or 3:1 ratio of browns to greens by volume. So, for every scoop of kitchen scraps (greens), add two or three scoops of dry leaves or shredded paper (browns). This sounds like a lot of browns, but you’ll get the hang of it. Don’t stress about perfection here; nature is pretty forgiving!
A good resource for understanding nutrient content in compostable materials comes from the Environmental Protection Agency (EPA), which outlines what can and cannot be composted.
What to Keep OUT of Your Compost Bin
Just as important as knowing what to add is knowing what to avoid. Certain items can cause problems, attract pests, or introduce harmful contaminants into your finished compost. Here’s the “no-fly” list:
- Meat, fish, and dairy products: These can attract pests, create foul odors, and potentially harbor harmful bacteria.
- Oily or greasy foods: Similar to meat and dairy, these attract pests and can slow down decomposition.
- Diseased plants: You don’t want to spread plant diseases into your garden through your compost.
- Weeds that have gone to seed: Unless your compost gets very hot (which is tricky for beginners), these seeds can survive and sprout in your garden.
- Pet waste (dog and cat feces): These can contain pathogens harmful to humans. Manure from herbivores (rabbits, chickens, cows) is generally safe.
- Inorganic materials: Plastics, metals, glass, synthetic fabrics – these will not break down and just contaminate your compost.
- Coal or charcoal ash: Can contain harmful compounds. Wood ash from fireplaces or fire pits is okay in very small amounts, but can raise soil pH.
- Chemically treated wood products.
When in doubt, it’s often best to leave it out. You can always compost these items separately if you have a system for higher composting temperatures or a dedicated “scraps bin” for things you’re unsure about.
Setting Up Your Compost Bin: Step-by-Step
Ready to get your hands dirty? Let’s set up your compost haven!
- Choose Your Location: Find a spot that’s level, has decent drainage, and is relatively easy to access from both your kitchen and your garden. Partial sun is ideal – it helps the pile heat up without drying out too quickly.
- Prepare the Base: For stationary bins or piles, you can lay down a layer of coarse twigs or branches at the bottom. This helps with drainage and aeration from the start. If you’re building a bin, ensure it has good ventilation (gaps between slats, holes).
- Start Layering: Begin with a generous layer (4-6 inches) of “browns.” This could be dry leaves, shredded cardboard, or straw. This forms the base and helps prevent the dreaded “soggy bottom.”
- Add Your First “Greens”: Now, add a layer of your kitchen scraps and other nitrogen-rich materials. Make sure to chop larger items into smaller pieces – they’ll break down faster.
- Cover and Continue: Always finish with a layer of “browns” on top. This helps to insulate the pile, retain moisture, and, most importantly, deter pests and odors.
- Add Water (if needed): Your compost pile should be about as damp as a wrung-out sponge. If it’s dry, sprinkle some water on it as you add new materials. If it’s too wet, add more browns to absorb the excess moisture.
- If Using a Tumbler: Follow the manufacturer’s instructions. Usually, you add materials, close the door, and give it a spin daily or every other day. You’ll likely still want to aim for a good mix of greens and browns inside the tumbler as you add them.
Active Composting: Feeding and Turning Your Pile
Once your bin is set up, the real work (which is really just a little bit of fun!) begins. Composting is an active process, and a little attention goes a long way.
Adding New Materials:
Whenever you have kitchen scraps (greens), add them to the bin. Try to bury them a bit under the existing material, and always top off with a layer of browns. This is key to keeping things from smelling and attracting unwanted visitors. Don’t add too much of one thing at once; mix it up!
Turning Your Compost:
This is crucial for aeration. Microbes need oxygen to do their job efficiently. Turning your compost pile mixes the materials, introduces air, and helps distribute moisture and heat. This is where different bin types make a difference:
- Stationary Bins/Piles: Use a pitchfork or compost aerator tool to turn the pile every 1-2 weeks. Try to move the outer material to the inside and vice-versa.
- Tumbler Bins: Simply spin the barrel for a few minutes every 2-3 days. This is the easiest part!
Signs your compost needs turning: Stinky smells (like ammonia or rotten eggs) usually mean it’s too wet and/or lacking air. If it seems dry and slow, it might need more greens or moisture. A healthy compost pile should smell earthy.
Moisture Management:
As mentioned, aim for that “wrung-out sponge” consistency. If your compost is too dry, add water. If it’s too wet, add more browns and turn it to help it dry out and aerate.
How Long Does Compost Bin Time Take?
Ah, the million-dollar question! The truth is, it varies. Several factors influence how quickly your organic treasures turn into garden gold:
- Materials Used: Blenders and tumblers speed things up. Large woody items take longer.
- Size of Pieces: Smaller pieces break down much faster. Chop, shred, and mince!
- Aeration (Turning): Regular turning means faster compost.
- Moisture: Too dry or too wet slows things down.
- Ratio of Greens to Browns: A balanced mix is essential for microbial activity.
- Temperature: Warmer piles decompose faster (aiming for temps between 130-160°F or 55-70°C is ideal for “hot composting,” but don’t worry if yours doesn’t get that hot – it will still compost, just slower).
General Timelines:
- Hot Composting (with frequent turning and ideal conditions): Can produce finished compost in as little as 4-8 weeks. This requires diligent management, often in large piles or specialized bins.
- Cold Composting (passive, less turning): This is what most home composters achieve. It can take anywhere from 3-12 months, sometimes longer, depending on the factors above.
- Tumblers: Typically fall in the middle, often producing usable compost in 2-4 months with regular turning.
How to Tell When It’s Ready: Finished compost is dark, crumbly, and smells earthy, like a forest floor. You shouldn’t be able to recognize the original materials. Any remaining large twigs or unfinished bits can be screened out and added back to a new compost pile.
Troubleshooting Common Compost Bin Problems
Even with the best intentions, you might run into a few hiccups. Here are common issues and how to fix them:
| Problem | Possible Cause | Solution |
|---|---|---|
| Bad Odors (Ammonia/Rotten Eggs) | Too many “greens” (nitrogen) or too wet; lack of air. | Add more “browns” (carbon materials like dry leaves, shredded paper). Turn the pile to aerate. Ensure good drainage. |
| Pile is Too Wet / Slimy | Too much moisture, not enough “browns.” | Add generous amounts of dry “browns” (sawdust, shredded cardboard, dry leaves). Turn to mix and aerate. |
| Pile is Too Dry / Not Heating Up | Not enough moisture, too many “browns,” or not enough “greens.” | Add water (sprinkle or hose lightly) while turning. Add more nitrogen-rich “greens” (kitchen scraps, grass clippings). |
| Attracting Pests (Rodents, Flies) | Exposed food scraps, including meat/dairy/oily items. | Bury all food scraps deep within the pile and always cover with a layer of browns. Avoid adding meat, dairy, and oils. Use a pest-proof bin or tumbler. |
| Slow Decomposition | Pile is too small, too dry, lacks greens, or isn’t being turned. | Ensure pile is at least 3x3x3 feet for good heat retention (if possible). Add moisture or greens. Turn more frequently. Break down materials into smaller pieces. |
The U.S. Department of Agriculture (USDA) provides extensive research on composting methods and soil science, which can offer deeper insights into optimizing your compost’s health, including a focus on microbial activity and temperature for faster decomposition.
Using Your Finished Compost: The Reward!
Once your compost is dark, crumbly, and smells like fresh earth, it’s ready to

I am passionate about home engineering. I specialize in designing, installing, and maintaining heating, ventilation, and air conditioning systems. My goal is to help people stay comfortable in their homes all year long.