Ever wondered if there’s a simpler, more natural way to speed up your compost pile? You might have heard about special compost enzymes that promise to turn your kitchen scraps into rich soil faster. But what if those aren’t readily available, or you’re looking for budget-friendly options? Don’t worry! There are plenty of fantastic, all-natural alternatives that work just as well. We’ll break down how to give your compost a natural boost without needing fancy products.
Compost Enzymes Alternative: Your Natural Boosting Guide
Hey there, fellow home composters! Troy D Harn here, your go-to guy for making all sorts of DIY, gardening, and home projects feel super simple. Today, we’re diving into the world of compost enzymes and, more importantly, what you can use instead if you can’t find them or just want a more natural approach. We all want that beautiful, nutrient-rich compost for our gardens, right? Sometimes, it feels like it’s taking forever. Special compost activators, often containing enzymes, are marketed to speed things up. But honestly, nature has its own powerful enzymes, and we can harness them easily!
This guide is all about giving your compost pile a natural kick-start using things you might already have or can easily get. We’ll explore what enzymes do in composting, why you might want an alternative, and the best natural ingredients to include. By the end, you’ll feel confident in making your compost work smarter, not harder, for a healthier garden.
What Exactly Are Compost Enzymes and Why Do We Care?
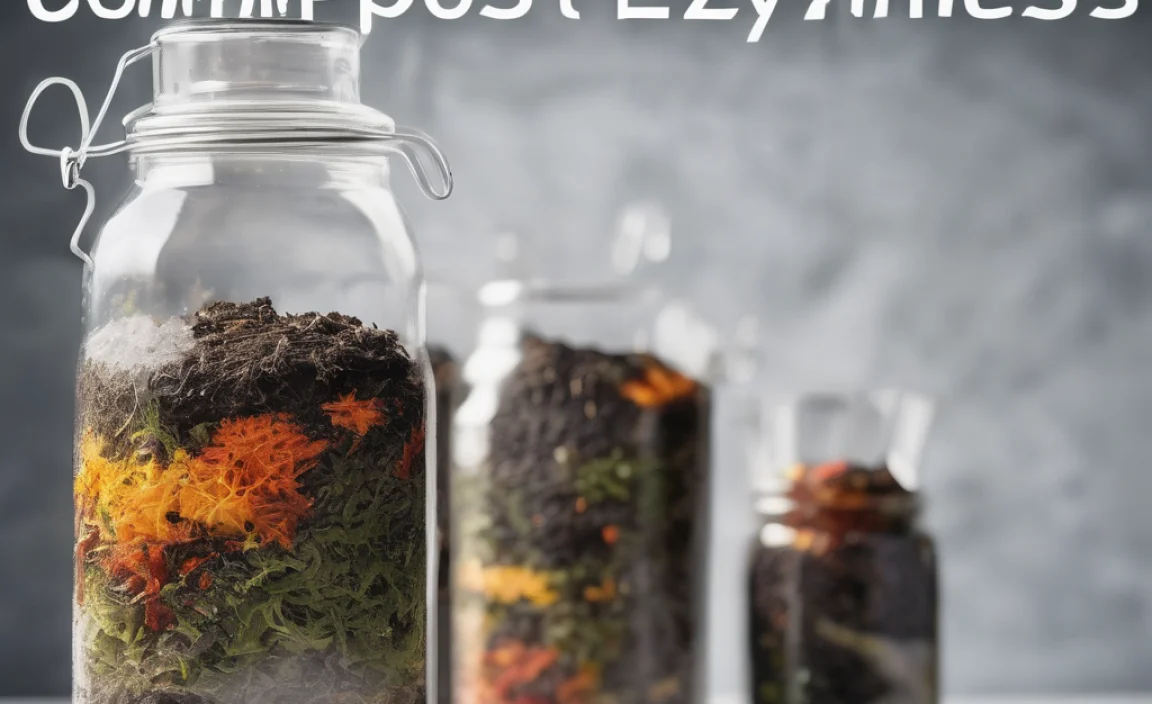
Think of enzymes as tiny biological helpers. In a compost pile, they are naturally produced by microorganisms like bacteria and fungi. Their main job is to break down the complex organic materials in your compost (like leaves, grass clippings, and food scraps) into simpler substances. These simpler substances are then easier for other microbes to consume, and this whole process leads to finished compost.
Enzymes are protein molecules that act as catalysts for chemical reactions. In composting, they target large molecules like cellulose, hemicellulose, and lignin (found in plant matter) and break them down into sugars and other compounds. This speeds up decomposition significantly.
Why Look for a Compost Enzymes Alternative?
There are a few good reasons why you might be searching for alternatives to commercially produced compost enzymes:
- Cost: Sometimes, these specialized products can add up, especially if you have a large compost bin or a big garden project.
- Availability: Depending on where you live, finding specific compost enzyme activators might be difficult.
- Natural Approach: Many gardeners prefer to keep things as close to nature as possible, relying on natural materials and processes rather than manufactured additives.
- DIY and Simplicity: You might just enjoy the challenge and satisfaction of creating your own effective compost boosters from everyday materials.
The good news is that a healthy, well-managed compost pile naturally produces plenty of enzymes. Adding certain materials can simply enhance the environment for these natural enzyme-producing microbes to thrive.
The Science Behind Natural Composting Boosters
When we talk about compost enzymes alternatives, we’re really talking about adding materials that either:
- Introduce more beneficial microbes: More microbes mean more natural enzyme production.
- Provide readily available food for microbes: This encourages them to multiply and work faster.
- Help balance the carbon-to-nitrogen ratio (C:N): This is crucial for optimal microbial activity.
- Improve aeration and moisture levels: These are essential for microbes to survive and function.
Essentially, we’re creating the perfect five-star hotel for our composting microorganisms!
Top Natural Compost Enzymes Alternatives
Let’s get down to the good stuff! Here are some of the best natural ingredients you can add to your compost pile to give it a boost, acting as fantastic compost enzymes alternatives:
1. Good Quality, Mature Compost
This might sound a bit circular, but adding a shovel-full of finished, mature compost to a new or struggling pile is one of the best ways to inoculate it with a diverse population of beneficial microbes, including those that produce enzymes. Think of it as giving your new pile a head start with experienced compost workers.
- How it works: Introduces a rich array of bacteria, fungi, and other microorganisms directly into the new material, kicking off the decomposition process faster.
- How to use: Mix a small amount of finished compost throughout your new compost layers. You don’t need a lot – just a scoop or two every so often.
2. Alfalfa Meal
Alfalfa meal is a gardener’s secret weapon! It’s a nitrogen-rich powerhouse derived from dried, ground alfalfa plants. It also contains natural growth stimulants and a good mix of nutrients that microbes love.
- How it works: High in nitrogen, which is fuel for the microbes that break down your compost. It also has natural compounds that encourage microbial growth and activity.
- How to use: Sprinkle about 1-2 cups of alfalfa meal over each new layer of compostable material you add. Don’t go overboard, as too much nitrogen can also cause issues like ammonia smells.
- Where to find: Garden centers or online gardening supply stores.
3. Manure (Aged, Not Fresh!)
Aged manure from herbivores like cows, horses, chickens, or sheep is fantastic for compost. Fresh manure is too “hot” and can burn your plants or create unpleasant odors and unhelpful microbes. Aged manure, however, is teeming with beneficial microbes and provides a good balance of nitrogen and organic matter.
- How it works: Packed with microorganisms and nutrients that fuel the composting process. It adds diversity to your microbial community.
- How to use: Add aged manure in thin layers, mixing it with your greens and browns. Ensure it’s well-rotted; it should be dark, crumbly, and earthy-smelling.
- Important Note: Always ensure manure is well-aged. If you’re unsure, compost it thoroughly until it’s no longer recognizable as fresh manure.
4. Grass Clippings (Aged Slightly or in Moderation)
Fresh grass clippings are great “greens” for compost, providing nitrogen. However, if you add too many at once, they can mat down, block airflow, and create anaerobic (low-oxygen) conditions, which slows decomposition and can cause bad smells. Slightly composted or dried grass clippings are even better for inoculating the pile.
For a “boost” effect, consider letting your grass clippings dry out for a day or two before adding them, or mix them with a good amount of “browns” (like dry leaves or shredded cardboard). This prevents matting and encourages aerobic decomposition.
- How it works: Provides nitrogen and introduces microbes from the soil where the grass grew. Proper layering ensures good airflow, supporting aerobic bacteria.
- How to use: Add in thin layers, no more than a few inches thick, and always mix with brown materials.
5. Coffee Grounds and Tea Bags
These everyday kitchen items are compost gold! Coffee grounds are rich in nitrogen and contain compounds that can stimulate microbial activity.
- How it works: High nitrogen content fuels microbes. Many coffee grounds already contain residual yeast and bacteria from the brewing process ready to get to work.
- How to use: Add directly to your compost bin. They are considered a “green” material.
- Tip: If you buy coffee grounds in bulk from a local coffee shop, they might already be partially composted, giving them an extra boost!
6. Yeast (Baker’s or Brewer’s)
Yeast is a single-celled fungus, and it’s incredibly active in breaking down sugars. A small amount of active yeast can give your compost a microbial kick.
- How it works: Yeast are powerful decomposers that multiply rapidly. They break down simple sugars, making them available for other microbes.
- How to use: Mix a packet or two of active dry yeast with a cup of warm water. Let it sit for about 10-15 minutes until it gets foamy. Pour this mixture over your compost pile, especially if it seems slow. You can also sprinkle dry yeast directly onto layers. Use sparingly – a little goes a long way.
- Safety: This is very safe for compost.
7. Molasses (Diluted)
Molasses, particularly blackstrap molasses, is a good source of sugars and trace minerals. When diluted, it can provide a quick energy source for the microbes in your compost pile, encouraging them to multiply and work faster.
- How it works: Provides easily digestible sugars that feed the microbial population, leading to a surge in activity.
- How to use: Mix about 1/4 cup of molasses with a gallon of warm water. Pour this solution over your compost pile. Do this every few weeks or if your compost seems sluggish.
- Tip: Avoid using too much, as it can make the compost too wet or attract pests if left exposed.
Here’s a quick look at how some of these natural additives compare:
| Alternative Additive | Primary Benefit | Best Used For | Ease of Use |
|---|---|---|---|
| Mature Compost | Microbial Inoculation | Starting new piles, reviving slow piles | Very Easy |
| Alfalfa Meal | Nitrogen & Growth Stimulants | Balancing browns, boosting decomposition | Easy |
| Aged Manure | Microbial Diversity & Nutrients | Enriching compost, speeding up breakdown | Moderate (ensure it’s aged) |
| Grass Clippings | Nitrogen | Adding “green” material, boosting activity | Easy (manage layers well) |
| Coffee Grounds/Tea Bags | Nitrogen & Microbes | Everyday additions, general boost | Very Easy |
| Yeast (Diluted) | Microbial Activity Spike | Reviving sluggish piles | Easy |
| Molasses (Diluted) | Quick Energy for Microbes | Kick-starting slow decomposition | Easy |
Creating the Ideal Composting Environment
While adding boosters is great, remember that the environment of your compost pile is the biggest factor in how well it works. These natural alternatives work best when:
- Balanced Greens and Browns: Aim for a ratio of about 2 parts “browns” (carbon-rich materials like dry leaves, shredded paper, twigs) to 1 part “greens” (nitrogen-rich materials like food scraps, grass clippings, coffee grounds). This ratio helps bacteria thrive.
- Moisture: Your compost pile should be as damp as a wrung-out sponge. Too dry stops microbial activity; too wet leads to anaerobic conditions and bad smells. Add water if dry, add more browns if too wet.
- Aeration: Microbes need oxygen! Turn your compost pile regularly (every 1-4 weeks) with a pitchfork or compost aerator to introduce air. This also helps mix materials and distribute moisture. For a great tool that helps with aeration, check out compost aerators – they make turning much easier!
- Particle Size: Smaller pieces break down faster. Chop up large kitchen scraps and shred cardboard or leaves.
These fundamental composting practices are the foundation upon which any additive, natural or otherwise, works best. If your pile is correctly managed, these natural alternatives will amplify its natural composting power.
How to “Activate” Your Compost Pile Naturally
Think of “activating” your compost pile as giving it a good, balanced encouragement to get going. Here’s a simple step-by-step approach using natural compost enzymes alternatives:
- Start with a Base Layer: Begin your compost bin with a layer of coarse brown material, like small twigs or straw. This helps with drainage and airflow from the bottom.
- Add Greens and Browns: As you add kitchen scraps (greens), layer them with carbon-rich materials (browns). Aim for that 2:1 brown-to-green ratio.
- Inoculate Early: If you have mature compost, mix a shovel-full into your first few layers. If not, this is where you can add your first boost. Sprinkle a small amount of alfalfa meal or a handful of coffee grounds onto a layer of greens and browns.
- Hydrate Properly: Lightly water your layers as you build them. If you’re using a molasses or yeast mixture, you can lightly dampen the pile with this instead of plain water if it seems slow.
- Turn Regularly: Once your pile is established, turn it about every 1-4 weeks. If you notice it slowing down, give it a good turn.
- Add Boosters as Needed: If your pile seems sluggish after turning, consider adding another sprinkle of alfalfa meal, a bit more aged manure, or another yeast/molasses drink.
- Monitor Moisture and Air: Continually check if the pile is too dry or too wet and adjust by adding water or browns. Ensure good airflow through turning.
Consistency is key. Don’t overthink it, just follow the basic composting principles, and your natural additives will do the rest!
Comparing Natural Boosters to Commercial Enzyme Products
Commercial compost activators often contain a blend of enzymes, microbes, and sometimes nutrients designed to speed up decomposition. They can be effective, but natural alternatives offer several advantages for the beginner or budget-conscious composter.
| Feature | Commercial Enzyme Products | Natural Compost Enzymes Alternatives |
|---|---|---|
| Source | Manufactured, often lab-produced enzymes and microbes | Naturally occurring in organic materials |
| Cost | Can be expensive, ongoing cost | Often free or very low cost (using kitchen scraps, yard waste) |
| Availability | Requires purchase from specific stores or online | Widely available from garden centers, grocery stores, or your own yard |
| Effectiveness | Can be highly effective, precise formulations | Highly effective when used in a balanced system; relies on natural microbial activity |
| Added Benefits | Usually none beyond speeding decomposition | Enrich soil with nutrients, improve soil structure, add organic matter |
| “Natural” Factor | May contain additives; may not be seen as purely natural | Completely natural, organic, and sustainable |
For most home composting needs, especially for beginners, relying on a well-managed pile with natural additions is more than sufficient and often more rewarding. The commercial products can be a shortcut, but the journey with natural alternatives is often more instructive and yields incredibly rich soil.
Troubleshooting Common Composting Issues with Natural Boosters
Even with the best intentions and natural boosters, sometimes piles can be a bit stubborn. Here’s how to handle common issues:
- Pile is Smelly (Rotten Eggs/Ammonia): This usually means it’s too wet and/or has too much nitrogen (too many “greens”) leading to anaerobic conditions.
- Fix: Turn the pile thoroughly to introduce air. Add more “brown” materials like shredded cardboard, dry leaves, or straw to absorb excess moisture and balance the carbon-to-nitrogen ratio. A sprinkle of alfalfa meal is great here for balancing.
- Pile is Not Heating Up or Decomposing: This often means it’s too dry, lacks nitrogen, or isn’t getting enough oxygen.
- Fix: Check moisture levels and water if dry (remember the wrung-out sponge!). Add more “green” materials like kitchen scraps or grass clippings, or a nitrogen boost like alfalfa meal or coffee grounds. Turn the pile to aerate it. Consider adding a yeast/molasses mixture to introduce more active microbes.
- Pile is Attracting Pests (Rodents, Flies): This can happen if you’re adding things you shouldn’t or if food scraps are exposed.
- Fix: Bury fresh food scraps deep within the pile, covering them with browns. Avoid adding meat, dairy, oily foods, or diseased plants. Ensure your bin is secure if rodents are a big problem. A healthy, active pile usually deters pests on its own.
- Materials Still Look Like What They Were: This is a sign the decomposition process is very slow.

I am passionate about home engineering. I specialize in designing, installing, and maintaining heating, ventilation, and air conditioning systems. My goal is to help people stay comfortable in their homes all year long.