Looking to make a compost heap but not sure where to start? It can feel a bit overwhelming with all the different options out there. But don’t worry, turning kitchen scraps and yard waste into garden gold is easier than you think! We’ll break down the best compost heap ideas for beginners, so you can start feeding your garden the good stuff in no time. Get ready to transform your waste into nutrient-rich soil!
Compost Heap Ideas: Your Essential Guide
Why Start a Compost Heap?
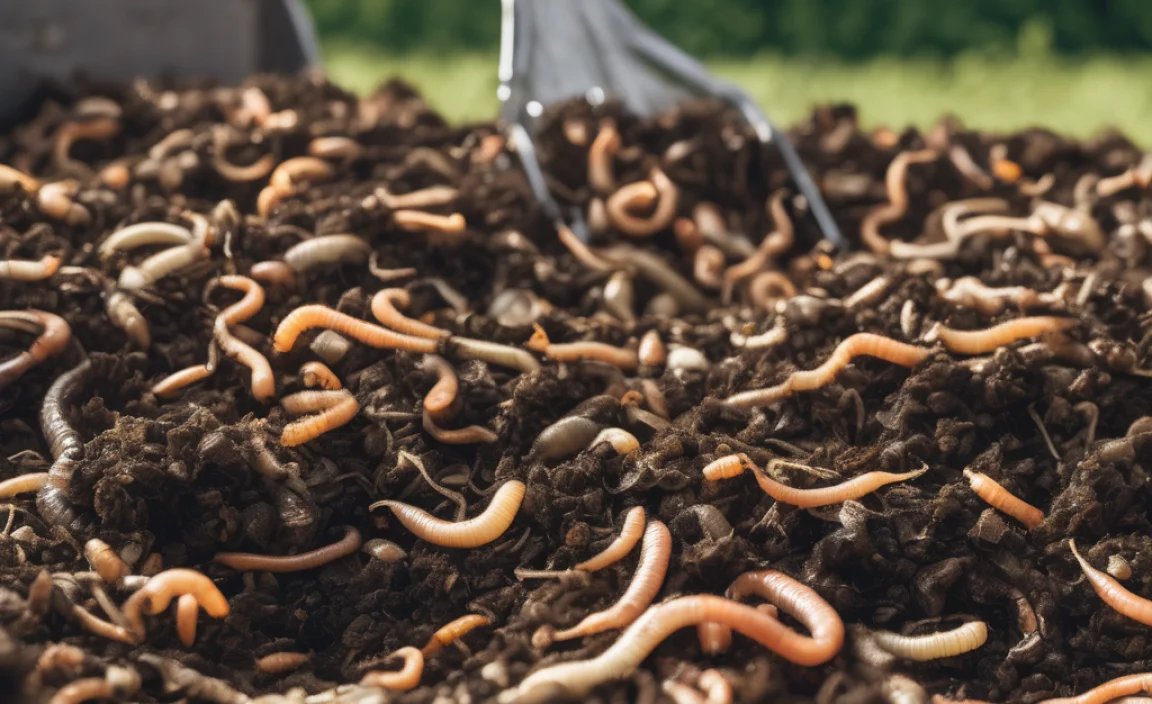
Composting is like nature’s recycling program, and it’s fantastic for your garden. Instead of throwing away food scraps and yard clippings, you can turn them into a nutrient-rich material that makes your soil healthier and happier. This “black gold” helps plants grow stronger, reduces your garbage bin waste, and saves you money on store-bought fertilizers. Plus, it’s a rewarding way to get a little more connected to the natural cycle of things.
Understanding the Basics: What Can You Compost?
Before we dive into heap ideas, let’s quickly cover what you can and can’t compost. Think of it as a balance between “greens” (nitrogen-rich) and “browns” (carbon-rich). Getting this mix right is key to efficient composting.
What to Add (Greens – Nitrogen Rich):
- Fruit and vegetable scraps
- Coffee grounds and tea bags
- Grass clippings (in thin layers)
- Plant trimmings (non-diseased)
- Eggshells
What to Add (Browns – Carbon Rich):
- Dry leaves
- Cardboard and paper (shredded, avoid glossy print)
- Wood chips and sawdust (untreated wood)
- Straw and hay
- Twigs and small branches
What to Avoid:
- Meat, fish, and dairy products (can attract pests and create odors)
- Oily or greasy foods
- Diseased plants
- Weeds that have gone to seed (they might sprout in your compost)
- Pet waste (from cats or dogs, can contain pathogens)
- Treated wood or coal ash
Essential Tools for Composting
You don’t need a lot of fancy equipment to start composting. Here are a few helpful items:
- A Pitchfork or Compost Aerator: For turning and mixing your compost pile. This helps introduce oxygen, which speeds up decomposition and prevents smells.
- A Shovel: Useful for moving materials and turning the pile.
- Gloves: To keep your hands clean and protected.
- A Kitchen Countertop Pail: For collecting food scraps before taking them to your main compost bin.
- Watering Can or Hose: Compost needs to be moist, like a wrung-out sponge.
Compost Heap Ideas: Choosing Your System
Now for the fun part: where will your mighty compost heap live? There are several ways to set up your composting system, from simple piles to enclosed bins. The best choice for you depends on your yard size, how much waste you generate, and how quickly you want compost. Let’s explore some popular options.
1. The Simple Compost Pile
This is the most basic and often the easiest way to start. It’s perfect if you have plenty of yard space and aren’t too concerned about aesthetics.
How it works: You simply create a heap in a corner of your yard. Layer your greens and browns directly onto the ground. The sides will naturally break down, and the middle will decompose.
Pros:
- No cost for containers.
- Can accommodate large volumes of material.
- Easy to add new materials.
Cons:
- Can look messy.
- More exposed to the elements (rain, sun) which can dry it out or make it too wet.
- Might attract pests more readily if not managed well.
- Can take longer to break down compared to enclosed systems.
Best for: Homes with large gardens, those who generate a lot of yard waste, and beginners who want to try composting with zero upfront cost.
2. DIY Wooden Compost Bin
If you’re a bit handy and want something a little tidier than a simple pile, a wooden bin is a great option. You can build one yourself or even use reclaimed wood.
How it works: This usually involves creating a box structure with open sides or a slatted design to allow airflow. You can build one, two, or even three bays, allowing you to turn compost from one batch to the next.
DIY Bin Design Idea: A Simple Three-Sided Box
You’ll need four corner posts and several horizontal planks. Leave gaps between the planks or use wire mesh for ventilation. One side can remain open for easy access.
Materials:
- (4) 4×4 posts (about 4-6 feet long, depending on desired height)
- Wooden planks (untreated lumber like pine or cedar are good choices)
- Screws or nails
- Wire mesh (optional, for better containment and pest deterrence)
Basic Steps:
- Sink the posts into the ground about 1-2 feet deep to make them stable. Ensure they are square and level.
- Attach horizontal planks to the posts, leaving about a 1-inch gap between each plank for airflow.
- Build three sides, leaving the front open or with a removable front section for easy turning and harvesting.
- If using wire mesh, staple it to the inside of the structure.
Pros:
- Tidier appearance than a free-form pile.
- Better containment of materials.
- Can be built to any size.
- DIY aspect can be cost-effective if using scrap wood.
Cons:
- Requires some DIY skills and tools.
- Wood will eventually rot, though treated wood or durable hardwoods will last longer.
Best for: Those who enjoy DIY projects, want a neater look, and have some woodworking skills.
3. Pallet Compost Bin
This is a fantastic budget-friendly and eco-conscious DIY option for a compost heap.
How it works: Free or low-cost wooden pallets can be easily fashioned into sturdy compost bins. You’ll typically use three or four pallets.
DIY Pallet Bin Design Idea: The Square Bin
This is incredibly simple and effective.
Materials:
- 4 wooden pallets of similar size
- Zip ties, wire, or screws to connect them
Basic Steps:
- Stand three pallets on their edges to form three sides of a square.
- Connect the corners securely using strong zip ties, wire, or screws.
- If using a fourth pallet as the front, attach it loosely with wire or hinges so you can open it to turn or remove compost. Alternatively, leave the front open for easiest access.
Pros:
- Very inexpensive, often free.
- Quick to assemble.
- Good size and sturdy.
- Excellent airflow through the pallet slats.
Cons:
- Can be visually rough, depending on the condition of the pallets.
- Ensure pallets haven’t been treated with harmful chemicals (look for the HT stamp – Heat Treated). Avoid those marked “MB” (Methyl Bromide).
Best for: Budget-conscious individuals, those who want a quick setup, and anyone looking to reuse materials.
4. Tumbler Composters
For those who want speed and convenience, a compost tumbler is a popular choice. These are enclosed barrels that rotate on an axis.
How it works: You add your green and brown materials to the enclosed drum. When it’s time to mix, you simply turn the handle or kick the drum to tumble the contents. This aeration and mixing speed up the decomposition process considerably.
Pros:
- Very fast composting times (can be as little as 4-6 weeks).
- Enclosed design deters pests and rodents effectively.
- Neat and contained, good for smaller yards or patios.
- Easy to turn and mix.
Cons:
- Can be expensive to purchase.
- Limited capacity compared to open piles or bins.
- May require more frequent attention and balancing of greens/browns to avoid stickiness or dryness.
- Adding new material can disrupt the batch composting process if you’re trying to get finished compost from one side.
Best for: People who want compost quickly, have limited space, want to keep pests out, and don’t want to physically turn a pile.
5. Plastic Compost Bins (Store-Bought)
These are readily available at garden centers and online. They are typically durable, enclosed plastic bins, often with a lid and a door at the bottom for harvesting finished compost.
How it works: You add materials through the top opening. The enclosed nature helps retain heat and moisture, and many designs have ventilation holes. The bottom door makes it easy to scoop out the finished compost from the bottom, while new material continues to be added on top.
Pros:
- Relatively inexpensive and durable.
- Neat and contained, good for smaller yards.
- Helps retain heat and moisture, which can speed up decomposition.
- Keeps pests out well.
Cons:
- Capacity can be smaller than DIY bins or piles.
- Some models can be difficult to turn or aerate effectively.
- Turning new material into mature compost can be tricky if the bin isn’t designed for it.
Best for: Beginners who want a straightforward, effective system without DIY, and those with smaller yards looking for a tidy solution.
6. Worx Aerocart (with attachments) / Advanced Multi-Tools
While not a “heap” in the traditional sense, specialized tools can make composting easier. Some innovative tools, like the Worx Aerocart, have attachments that can assist with composting tasks. Though primarily a wheelbarrow/dolly, innovative gardening tools are expanding to assist with various tasks. For composting, dedicated tools include compost aerators (mentioned earlier) and specialized forks.
How it works: These tools are designed to simplify specific composting tasks, like turning the pile, aerating it, or moving materials. While not a system on its own, using them with any of the above heap ideas makes the process less strenuous.
Pros:
- Makes manual labor much easier.
- Can help improve aeration significantly.
- Some multi-tools offer versatility for other garden tasks.
Cons:
- Can be a higher upfront cost than basic tools.
- May not be suitable for all composting methods (e.g., a tumbler doesn’t need turning tools).
Best for: Those who find physical turning difficult, want to maximise aeration efficiency, and appreciate multi-functional tools for yard work.
Building Your Compost Heap: Step-by-Step
No matter which heap idea you choose, the process of building the compost itself follows a similar pattern. Here’s a beginner-friendly approach:
Step 1: Choose Your Location
Find a convenient spot in your yard. It should be:
- Accessible: Easy to get to with kitchen scraps and yard waste.
- Level Ground: For stability, especially if using a bin or pallet structure.
- Partially Shaded: This will help prevent it from drying out too quickly in hot sun, but direct sun can help it heat up. A balance is good.
- Well-Drained: You don’t want your compost sitting in sogginess.
- Away from Water Sources: Keep it a reasonable distance from wells or streams.
Step 2: Start Layering
Begin with a base layer of “browns.” This helps with drainage and airflow. Think twigs, straw, or shredded cardboard. Aim for a layer about 4-6 inches thick.
Now, start adding your “greens” and “browns” in alternating layers, like making a layered cake. A good ratio to aim for is roughly 2-3 parts browns to 1 part greens by volume. Don’t stress about perfection; you can always adjust.
Layering Example:
- Browns: Twigs, dry leaves, shredded newspaper.
- Greens: Vegetable peels, coffee grounds.
- Browns: More leaves, cardboard scraps.
- Greens: Grass clippings (thin layer to avoid matting!).
- Browns: Straw.
Step 3: Add Water
Your compost pile needs to be moist, but not soaking wet. Give it a good sprinkle with water as you build your layers. The ideal moisture level is like a wrung-out sponge – damp to the touch, but no water should drip out when you squeeze it.
Step 4: Aerate and Turn
This is crucial for speeding up decomposition and preventing stinky, anaerobic conditions. Poke holes in your pile with a pitchfork or compost aerator periodically. At least once every few weeks, turn the pile to mix the outer materials into the center and vice versa. If you have a tumbler, just give it a spin!
Step 5: Be Patient and Observe
Composting takes time. Depending on the materials, temperature, and how often you turn it, your compost can be ready in anywhere from 2-3 months to a year. You’ll know it’s ready when it looks dark, crumbly, and smells earthy, like the forest floor. You shouldn’t be able to recognize the original materials.
Compost Heap Management: Tips for Success
Here are some common issues and how to tackle them:
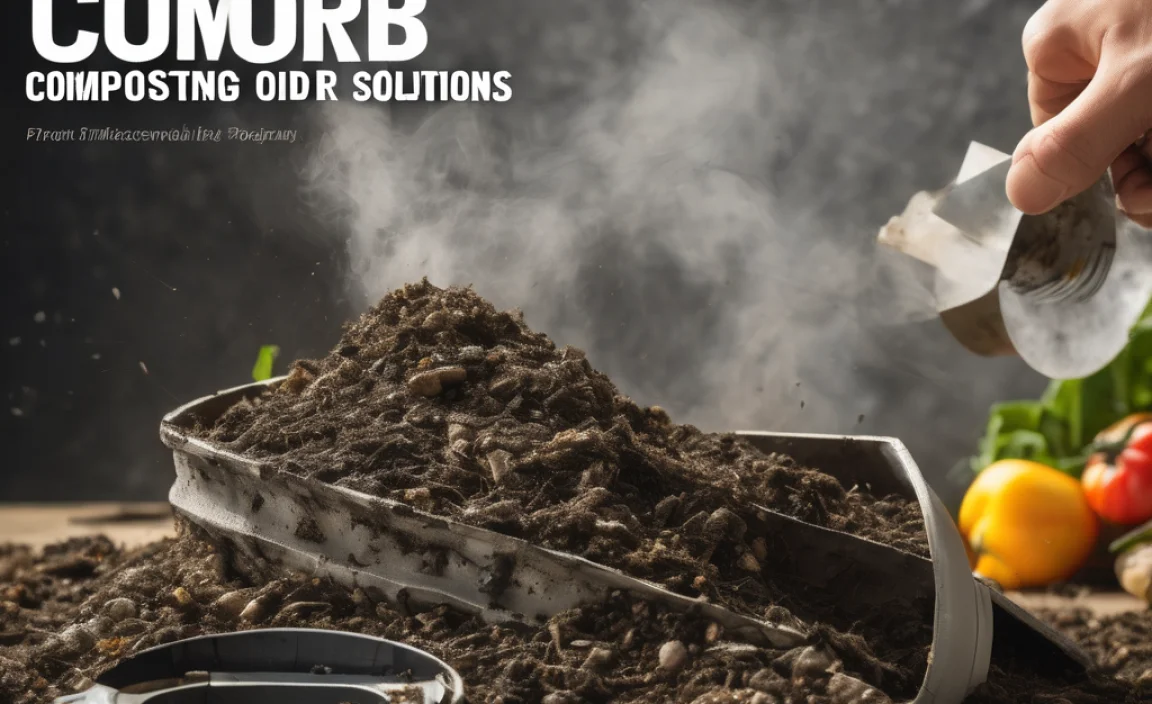
What if my compost smells bad?
A strong, foul odor usually means too many “greens” and not enough “browns,” or it’s too wet and compacted. Try adding more dry brown materials like shredded cardboard or leaves and turning the pile to introduce air.
What if my compost isn’t breaking down?
If it seems inert, it might be too dry, or it might lack enough “greens” (nitrogen). Add some water and mix in some nitrogen-rich materials like kitchen scraps or fresh grass clippings. Ensure it’s warm enough; composting slows down in cold weather.
How do I deal with pests?
To deter rodents and other critters, avoid adding meat, dairy, and oily foods. Bury kitchen scraps deep within the pile. Using enclosed bins or tumblers is also a great way to keep pests out. A well-managed, hot compost pile is also less appealing to pests.
For more detailed information on composting best practices, the U.S. Environmental Protection Agency (EPA) offers excellent resources on composting at home.
Composting Troubleshooting Table
Here’s a quick reference for common composting problems and their solutions: