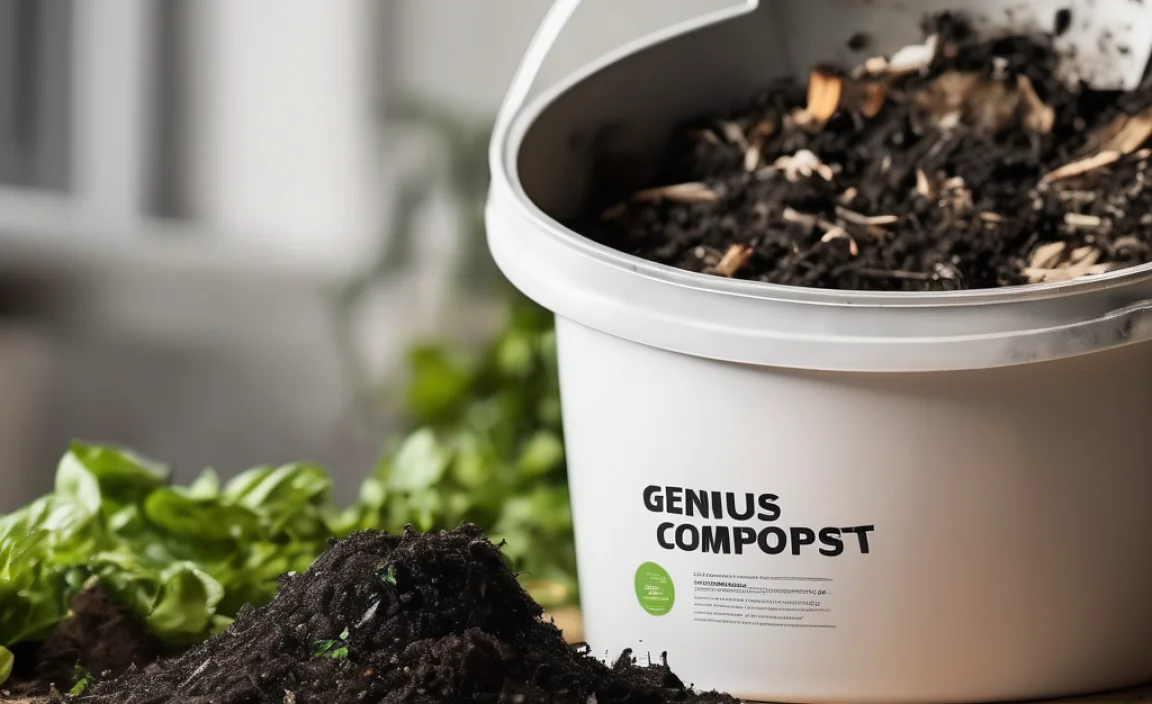
Hey there, fellow home improvers and garden enthusiasts! Troy D Harn here. If you’ve ever dabbled in composting, you know it’s a fantastic way to turn kitchen scraps and yard waste into garden gold. But let’s be honest, sometimes that compost pile can get a little… pongy. The thought of a smelly compost bin might even make you hesitate to start. Don’t worry, it’s a super common issue, and I’ve got your back with some seriously genius, beginner-friendly solutions to keep your compost fresh and your nose happy. We’ll walk through it step-by-step, so you can enjoy all the benefits of composting without the stink. Ready to banish those compost odors for good?
Compost Odor: The Nitty-Gritty and Why It Happens

So, what’s going on when your compost starts smelling less like a fresh forest floor and more like last week’s gym socks? It all comes down to an imbalance in your compost pile. Microorganisms, those tiny helpers that break down your waste, need a good mix of air, moisture, and different types of materials to do their job efficiently. When things go wrong, you can end up with anaerobic decomposition – that’s fancy talk for your bacteria working without enough oxygen. This is usually the culprit behind those unpleasant odors, especially that rotten egg smell.
The most common culprits for bad smells are too much ‘green’ material (like food scraps and grass clippings) or too much moisture. These create a dense, soggy environment where the wrong kinds of microbes thrive. But don’t throw in the towel just yet! Understanding this is the first step to fixing it and achieving that perfect, earthy compost smell.
The Two Main Types of Compost Smells (And What They Mean)
Let’s break down the common offenders. Knowing the smell can help you pinpoint the problem faster than a detective at a bakery!
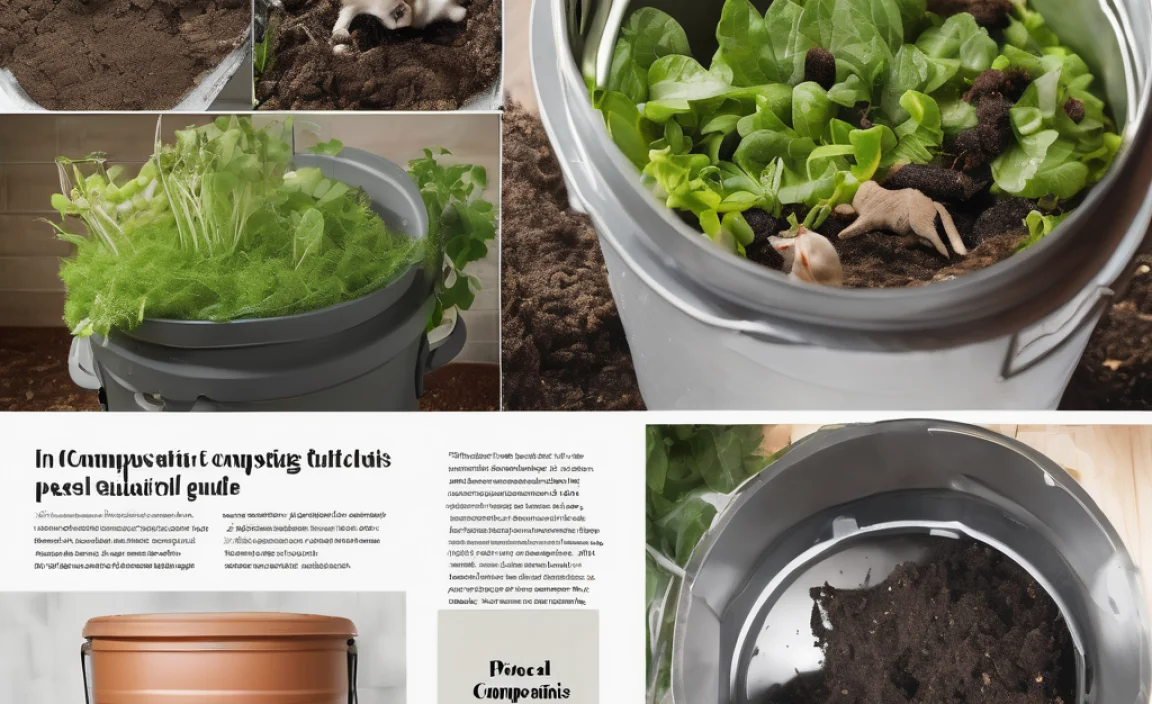
- Rotten Egg Smell (Hydrogen Sulfide): This is the classic anaerobic smell. It means your pile is too wet and/or doesn’t have enough air circulating. Think of it like a swamp – no air, lots of muck, and a distinct, unpleasant odor. Too many wet, leafy ‘greens’ without enough bulky ‘browns’ can cause this.
- Ammonia Smell (Like Cat Pee): This smell usually indicates too much ‘green’ nitrogen-rich material in your pile. While nitrogen is essential, too much of a good thing can lead to a pungent ammonia odor. It’s like when you put too much fertilizer on your lawn – that strong smell!
Genius Solutions for Essential Freshness: Your Step-by-Step Guide
Fear not, these issues are totally fixable! We’re going to tackle compost odor with simple, practical steps. Think of this as giving your compost pile a little spa treatment to get it back to its happy, healthy, and odorless state.
Step 1: Assess Your Greens and Browns Ratio
This is the golden rule of composting. Your compost pile needs a good balance of ‘greens’ (nitrogen-rich materials) and ‘browns’ (carbon-rich materials). A common starting point is a ratio of about 2 parts browns to 1 part greens by volume. This helps maintain the right moisture level and prevents the pile from getting too dense.
What are ‘Greens’?
- Fruit and vegetable scraps
- Coffee grounds and tea bags
- Grass clippings (in thin layers)
- Plant trimmings (non-woody)
- Manure from herbivores (cow, horse, rabbit, chicken)
What are ‘Browns’?
- Dry leaves
- Shredded newspaper or cardboard (uncoated)
- Straw or hay
- Wood chips or sawdust (untreated)
- Twigs and small branches
If your pile smells like ammonia, you likely have too many greens. Add more browns! If it smells rotten, it’s probably too wet and compacted, often a sign of not enough browns to soak up excess moisture and provide air pockets.
Step 2: Get Aeration in Order
Oxygen is crucial for the ‘good’ microbes that break down your compost without making it stink. If air can’t get in, anaerobic bacteria take over, and you get that foul odor. Here’s how to improve airflow:
- Turn Your Pile Regularly: This is the most effective way to introduce air. Aim to turn your compost at least once a week, or more if you notice odors developing. You can use a pitchfork, a compost aerator tool, or even just a sturdy shovel.
- Add Bulky Materials: Include coarser brown materials like twigs, straw, or wood chips. These create air pockets throughout the pile, allowing air to circulate naturally.
- Choose the Right Bin: Some compost bins are designed for better aeration with vents. Tumbling composters are also great because they’re easy to turn and promote airflow. If you’re using a simple pile or a bin without many vents, turning becomes even more critical.
Step 3: Manage Moisture Levels Like a Pro
Your compost pile should feel like a damp sponge, not a soggy mess. Too much moisture is a primary cause of anaerobic conditions and smells. Too little, and the decomposition process slows way down.
- Test the Moisture: Grab a handful of compost from the center of the pile. Squeeze it. If water drips out, it’s too wet. If it crumbles apart easily, it’s probably just right. If it feels dry and dusty, it needs more water.
- Add Browns to Absorb Moisture: If your pile is too wet, mix in a generous amount of dry brown materials like shredded cardboard, dry leaves, or straw. These act like sponges, soaking up excess water.
- Add Water When Dry: If your pile is too dry, add water gradually while turning. Aim for that damp-sponge consistency. A garden hose with a spray nozzle works well.
- Cover Your Pile: During heavy rains, a tarp or compost bin lid can prevent your pile from becoming waterlogged.
Step 4: Chop It Up! Smaller Pieces Decompose Faster
Think about it: a giant watermelon rind takes a lot longer to break down than a small piece of it. Breaking down your materials into smaller pieces, both greens and browns, before adding them to the pile significantly speeds up decomposition and helps maintain a better carbon-to-nitrogen ratio within larger items.
- Chop Food Scraps: Roughly chop larger fruit and vegetable scraps.
- Shred Cardboard and Paper: Tear or shred cardboard and newspaper into smaller pieces.
- Chip Twigs and Small Branches: Use a chipper or loppers for tougher materials.
This not only aids decomposition but also helps prevent large, wet clumps from forming, which can trap moisture and lead to odors.
Step 5: Bury Food Scraps
When adding kitchen scraps (your ‘greens’), try to bury them within the compost pile, beneath a layer of browns. This helps to:
- Deter Pests: Keeps flies and other critters away from the tempting food scraps.
- Speed Up Decomposition: The core of the pile is usually the warmest and most active, helping these items break down quickly.
- Prevent Odors: Covering them with browns helps to absorb any initial smells they might produce.
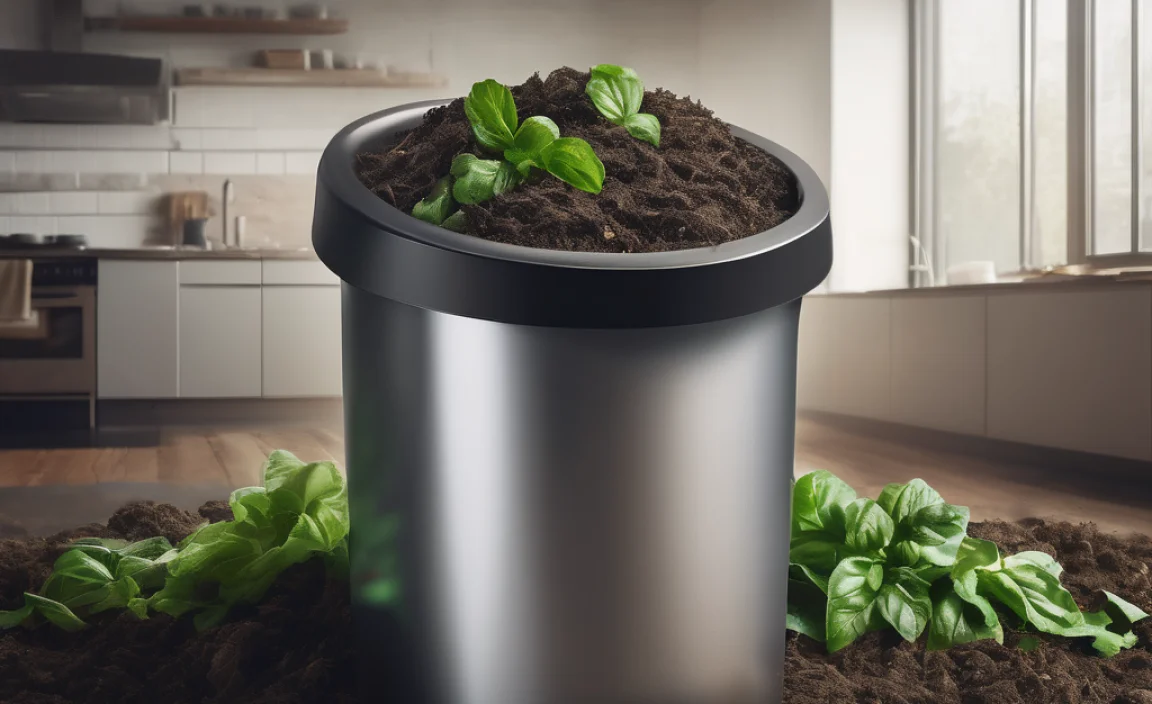
Step 6: Consider Your Compost Bin Type
The type of bin you use can significantly impact odor. Some are better at ventilation than others.
Compost Bin Pros and Cons for Odor Control
| Bin Type | Pros for Odor Control | Cons for Odor Control |
|---|---|---|
| Open Pile | Excellent airflow if managed with good layering and turning. Easy to add materials and turn. | Can dry out quickly. Might bake in direct sun. Can look messy. Open to pests if not managed well. |
| Closed Bin/Trash Can Style | Helps retain moisture and heat. Lids can deter pests and prevent rain saturation. More contained appearance. | Relies heavily on built-in vents or manual turning to prevent anaerobic conditions. Can become too wet if not managed. |
| Tumbler Composter | Very easy to turn for excellent aeration. Enclosed design deters pests and contains moisture/heat. Often has good ventilation. | Can be more expensive. Smaller capacity. Can sometimes retain too much moisture if not balanced. |
| Worm Bin (Vermicomposting) | Generally doesn’t produce strong odors if managed correctly. Worms are efficient decomposers. | Requires specific types of food scraps that worms eat. Sensitive to temperature fluctuations. Can smell if overfed or if the bedding is too wet. |
For beginners, a closed bin with good ventilation or a tumbler composter can offer the easiest path to odor-free composting. However, even an open pile can be managed effectively with attention to the principles we’ve discussed.
Step 7: Add Some ‘Activators’ (Optional)
Sometimes, a compost pile just needs a little kickstart from beneficial microbes. Compost activators can help speed up the decomposition process and create a healthier microbial balance, which can reduce odor.
- Finished Compost: A shovel or two of finished compost acts like a starter culture, introducing active microbes.
- Manure: A small amount of fresh manure from herbivorous animals (like cow or chicken manure) is packed with microbes.
- Commercial Compost Starters: These are readily available and contain beneficial bacteria and enzymes.
These aren’t strictly necessary if your green/brown balance and aeration are good, but they can be a helpful boost if you’re struggling with a slow or smelly pile.
Troubleshooting Common Compost Odor Scenarios
Let’s look at a couple of common smelly situations and how to fix them quickly.
Scenario 1: Your Compost Smells Like Rotten Eggs
Cause: Lack of oxygen (anaerobic conditions), likely too wet or compacted.
Solution:
- Turn the pile thoroughly: Break up any clumps and introduce air.
- Add dry brown materials: Mix in plenty of shredded cardboard, dry leaves, or straw to absorb excess moisture and create air pockets.
- Break up large items: Ensure materials are not clumped together into a dense mass.
Scenario 2: Your Compost Smells Like Ammonia
Cause: Too much nitrogen (‘green’ material).
Solution:
- Add brown materials: Mix in a substantial amount of carbon-rich browns like dry leaves or shredded newspaper. This will help balance the nitrogen.
- Turn the pile: This also helps to dissipate the ammonia gas.
- Avoid adding more ‘greens’ until the smell dissipates and the balance is restored.
Why is Good Aeration So Important? A Quick Look
It’s worth repeating: air is your best friend for odor-free composting. Aerobic microbes (the ones that need oxygen) are efficient decomposers that produce carbon dioxide, water, and heat as byproducts. They keep your compost pile healthy and fast-working. Anaerobic microbes, on the other hand, don’t need oxygen. They break down organic matter much slower and produce unpleasant gases like methane and hydrogen sulfide, which cause those rotten smells. Ensuring good airflow allows the aerobic microbes to dominate, keeping the anaerobic ones in check.
The U.S. Environmental Protection Agency (EPA) highlights the importance of balancing materials and moisture for successful composting, which implicitly includes aeration. You can learn more about the science of composting and its benefits on their EPA composting page.
Maintaining Freshness: Proactive Tips
The best way to deal with compost odor is to prevent it from happening in the first place! Here are some habits to get into:
- Layer as you go: Alternate layers of greens and browns as you add them to your bin.
- Chop and mix: Smaller pieces break down faster and blend better.
- Don’t let it get waterlogged: Use a lid or tarp during persistent rain.
- Turn it regularly: Make turning a routine, not a reaction.
- Bury fresh scraps: Always cover your kitchen waste.
- Monitor moisture: Give it a squeeze test weekly.
Conclusion: Enjoy Your Odor-Free Garden Gold!
Composting is a truly rewarding practice that benefits your garden and the environment. And as you can see, those pesky compost odors are entirely preventable and fixable with a little understanding and attention to the basics.
By keeping an eye on your green-to-brown ratio, ensuring good airflow, and managing moisture effectively, you can banish unpleasant smells and create nutrient-rich compost effortlessly. It’s all about finding that sweet spot where your compost ecosystem thrives. So go forth, fill those bins, turn them with confidence, and enjoy the wonderful smell of progress – the earthy, natural kind!
Frequently Asked Questions about Compost Odor
Q1: How often should I turn my compost pile?
A: For optimal odor control and faster composting, aim to turn your pile at least once a week. If you notice it getting overly wet or starting to smell, turn it more frequently.
Q2: Can I compost meat, dairy, or oily foods?
A: Generally, it’s best to avoid meat, dairy, and oily foods in a backyard compost pile. These can attract pests and create strong, unpleasant odors. They are best disposed of in your regular trash or through specialized composting services if available.
Q3: My compost smells like fish. What did I do wrong?
A: A fishy smell usually indicates too much protein-rich material or too much ‘green’ material, leading to anaerobic decomposition. The solution is to add more brown materials (like dry leaves or shredded cardboard) and turn the pile thoroughly to improve aeration.
Q4: Is it normal for compost to smell a little earthy?
A: Absolutely! Healthy, active compost should smell earthy, like a forest floor after rain. This is a sign of beneficial microbes doing their work. If it smells unpleasant, that’s when you need to take action.
Q5: My small compost bin smells. What can I do?
A: Small bins can sometimes overheat or become too wet more easily. Ensure smaller batches of materials are well-balanced with browns and that the bin has adequate ventilation. Turning it more often might be necessary.
Q6: Can I use store-bought compost activators? Are they worth it?
A: Yes, store-bought activators can be helpful, especially if your pile is slow or has odor issues. They introduce beneficial microbes to speed up decomposition. However, if your greens/browns ratio, moisture, and aeration are well-managed, they aren’t always necessary.
Q7: How do I know if my compost is “finished”?
A: Finished compost will be dark, crumbly, and smell like fresh earth. You shouldn’t be able to recognize the original materials you put in. It will also be cool to the touch, as the active decomposition has finished.

I am passionate about home engineering. I specialize in designing, installing, and maintaining heating, ventilation, and air conditioning systems. My goal is to help people stay comfortable in their homes all year long.