Dreaming of a greener garden and a lighter bin? Composting is your answer! It turns kitchen scraps and yard waste into rich soil food. But sometimes, getting started feels a bit confusing, especially with local nuances. You might wonder about the best materials, what kind of bin to use, or even if your neighbors will complain about smells. Don’t worry; it’s simpler than it sounds! We’ll walk through everything you need to know to create a successful compost pile, right here in Europe.
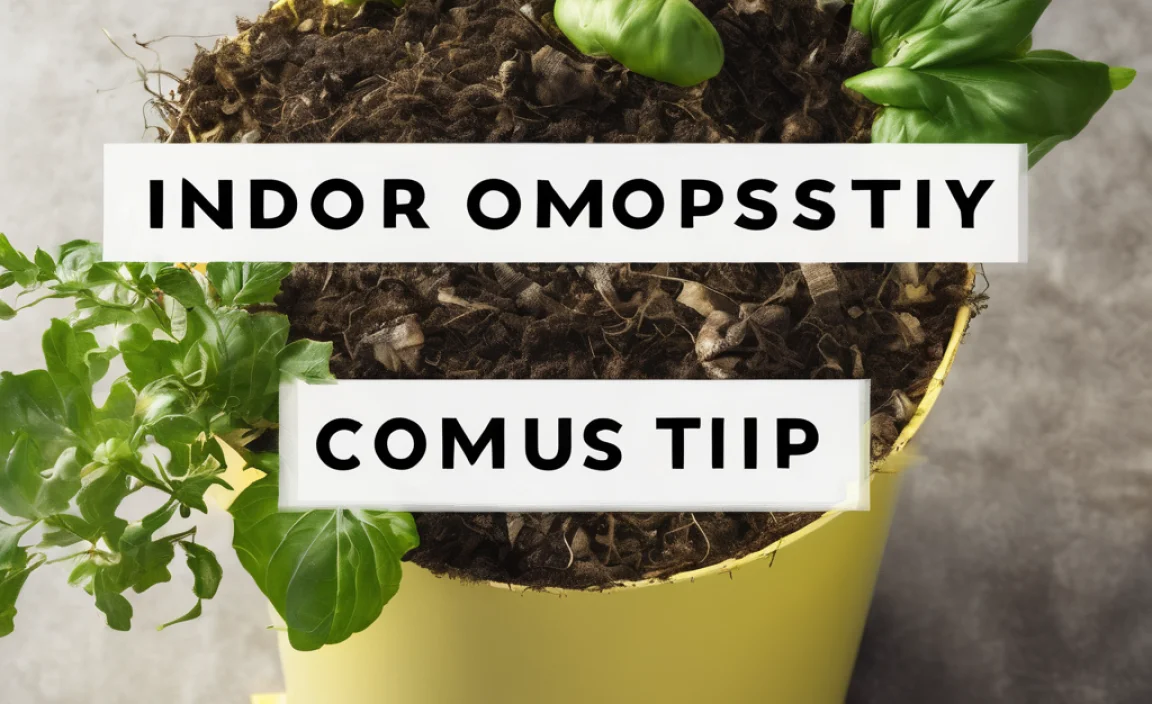
Compost Pile In Europe: Expert Tips for Beginners
Hello everyone, Troy D Harn here from TopChooser! If you’re looking to give your garden a boost and reduce waste, composting is one of the most rewarding things you can do. It’s like magic for your garden, but it’s actually just science and a little bit of patience. Many folks in Europe are embracing composting, and for good reason! It’s eco-friendly, saves you money on soil and fertilizer, and is surprisingly easy once you know the basics. We’ll cover everything from choosing a spot to turning your scraps into black gold.
Why Start a Compost Pile in Europe?
Composting is a fantastic way to contribute to a healthier planet. In Europe, with its diverse climates and strong environmental awareness, many communities are encouraging home composting. It significantly reduces the amount of waste sent to landfills, which in turn lowers methane gas emissions – a major greenhouse gas. Plus, homemade compost is the ultimate natural fertilizer for your plants, making your gardens flourish without the need for chemical alternatives.
- Reduces landfill waste and greenhouse gas emissions.
- Creates a nutrient-rich soil amendment for your garden.
- Saves money on store-bought fertilizers and soil conditioners.
- Improves soil structure, water retention, and aeration.
- Supports local biodiversity by feeding earthworms and beneficial microbes.
Choosing the Right Location for Your Compost Pile
The spot you choose for your compost pile is important. You want it to be accessible, but also not in the way.
- Accessibility: Make sure you can easily get to your compost bin with kitchen scraps and yard waste, and later, to turn it or collect the finished compost.
- Sunlight and Shade: A partly shaded spot is ideal. Too much direct sun can dry out the pile, while too much shade might keep it too wet. If you live in a very hot European region, more shade is better.
- Drainage: Your compost pile needs good drainage. Avoid areas that tend to puddle after rain. Placing it on bare soil is best, as it allows beneficial organisms from the soil to enter your pile and helps excess moisture drain away.
- Proximity to Water: It’s helpful to be somewhat near a water source, like a garden hose, in case you need to moisten your pile.
- Neighborly Considerations: While a well-maintained compost pile shouldn’t smell bad, it’s wise to place it away from property lines or neighboring houses to avoid any potential concerns.
Types of Compost Bins Suitable for European Homes
There are several excellent options for compost bins available in Europe, catering to different needs and garden sizes.
Open Piles or Heaps
This is the simplest and cheapest method. You just create a pile directly on the ground. It’s great for larger gardens with plenty of yard waste. However, it can look a bit messy, and it might be harder to manage moisture and heat.
Enclosed Bins
These are very popular and come in various materials like plastic, wood, or metal. They help retain heat and moisture, speed up decomposition, and keep pests out. Many European garden centers offer a wide range of these.
- Plastic Tumblers: These are excellent for making compost quickly. You simply add your materials, close the lid, and give it a turn every few days. They are great for smaller spaces and keep pests away effectively.
- Stationary Plastic Bins: These are common and affordable. They are often made from recycled plastic and have lids and doors for easy access.
- Wooden Bins: You can buy these or even build your own. Wooden bins look natural in the garden and can be made to fit any space. Ensure the wood is untreated to avoid leaching chemicals into your compost.
For those in urban areas or with limited space, consider a worm composting (vermicomposting) system. These use special composting worms to break down food scraps quickly and are perfect for balconies or small patios.
What to Compost: The “Greens” and “Browns”
Successful composting relies on a good balance of two types of materials: “greens” (nitrogen-rich) and “browns” (carbon-rich). Think of it like fuel for your compost creators – the microbes and worms!
“Greens” (Nitrogen-Rich Materials)
These are typically wet, fresh materials that provide nitrogen. They help heat up the compost pile.
- Fruit and vegetable scraps (peelings, cores, wilted produce)
- Coffee grounds and tea bags (remove staples/plastic)
- Grass clippings (in thin layers to avoid matting)
- Plant trimmings (fresh, non-woody cuttings)
- Manure from herbivores (e.g., rabbits, chickens, cows, horses – if properly aged)
“Browns” (Carbon-Rich Materials)
These are dry, woody materials that provide carbon. They add bulk and allow air to circulate.
- Dry leaves
- Straw and hay
- Cardboard (torn into small pieces, avoid glossy or heavily printed types)
- Paper (shredded newspaper, junk mail – remove plastic windows)
- Twigs and small branches (chopped or shredded)
- Wood chips or sawdust (use sparingly, from untreated wood)
- Eggshells (crushed)
What NOT to Compost
Certain items can cause problems, like foul odors, attract pests, or spread disease.
- Meat, fish, and bones (attract pests and can smell bad)
- Dairy products (can smell and attract pests)
- Oily or greasy foods
- Diseased plants or weed seeds (unless your pile gets very hot)
- Pet waste (from dogs and cats – can contain pathogens)
- Treated wood or coal ash
- Synthetic materials (plastics, synthetic fabrics)
Building Your Compost Pile: Step-by-Step
Ready to get started? Building your first compost pile is straightforward. We’ll aim for a good mix of greens and browns from the beginning.
The general rule of thumb for a healthy compost pile is to maintain a ratio of roughly 2 parts “browns” to 1 part “greens” by volume. This might sound tricky, but you’ll get a feel for it.
Step 1: Prepare Your Base
If you’re using an open pile or a bin on bare soil, start by loosening the soil. You can also place a layer of coarse materials like twigs or straw at the very bottom to help with drainage and aeration. This is especially helpful in wetter European climates.
Step 2: Add Your First Layer
Start with a layer of “brown” materials, about 10-15 cm (4-6 inches) thick. This could be dried leaves, straw, or shredded cardboard. This layer acts as a good base for air circulation.
Step 3: Add “Greens” and “Browns”
Now, begin layering your “greens” and “browns.” Add a layer of kitchen scraps or grass clippings (“greens”), then cover it thoroughly with a layer of dry leaves or shredded paper (“browns”). Always aim to cover your “greens” with “browns” to prevent smells and deter pests.
A simple layering approach:
- Base of coarse brown material.
- Layer of brown material (leaves, straw, cardboard).
- Layer of green material (kitchen scraps, grass clippings).
- Cover the green layer with brown material.
- Repeat these layers as you add new materials.
Step 4: Moisten the Pile
Your compost pile should feel like a wrung-out sponge – damp, but not dripping wet. As you build your layers, lightly water each layer if the materials seem dry. If you’re adding a lot of wet kitchen scraps, you might not need much water.
Step 5: Add Air
Compost needs oxygen to break down properly. Avoid compacting the materials too much. If you’re using an enclosed bin, this is less of an issue as most have vents. For open piles, you can use a garden fork to gently fluff up the layers occasionally.
Maintaining Your European Compost Pile
Once your pile is built, a little ongoing care will ensure it breaks down efficiently.
Turning Your Compost
The key to faster composting is turning the pile. This mixes the materials, aerates the pile, and speeds up decomposition. You don’t need to turn it every day. Aim to turn it every 1-4 weeks. If you have a tumblr bin, this is as simple as rotating it.
How to Turn: Use a garden fork or a compost aerator tool to move the outer layers of the compost to the inside, and the inner layers to the outside.
Monitoring Moisture
Check the moisture level regularly. If it feels dry, add some water. If it’s too wet (especially during rainy European seasons), add more “brown” materials like dry leaves, straw, or shredded cardboard.
| Compost Condition | Troubleshooting |
|---|---|
| Too Dry | Add water while turning the pile. Add more “green” materials. |
| Too Wet / Slimy | Add more “brown” materials (leaves, cardboard, straw). Turn the pile to aerate. Ensure good drainage underneath. |
| Smelly (Ammonia-like) | Usually means too much “green” material. Add more “browns” like straw or shredded paper and turn the pile. |
| Smelly (Rotten Egg) | Indicates anaerobic conditions (lack of air) and too much moisture. Turn the pile thoroughly and add brown materials. |
| Not heating up | May need more “greens” (nitrogen). Ensure materials are mixed. Check moisture levels; it may be too dry. |
Troubleshooting Common Issues
Don’t be discouraged if you encounter a few hiccups. Here’s how to solve them:
- Bad Odors: If your pile smells like ammonia, it’s likely too much “green” material. Add more “browns” (dry leaves, cardboard) and turn it. If it smells rotten, it’s probably too wet and compacted. Turn it to let air in and add dry “browns.”
- Pests: A well-managed, covered compost pile usually deters pests. Avoid adding meat, dairy, or oily foods. If rodents are an issue, consider a sturdy enclosed bin or a tumblr.
- Slow Decomposition: Ensure you have a good mix of greens and browns, adequate moisture, and that you’re turning the pile regularly. Chop larger items into smaller pieces to speed things up.
When is Compost Ready?
Compost is ready when it looks and smells like dark, crumbly soil. You won’t be able to identify the original materials anymore. It should have a pleasant, earthy aroma. This process can take anywhere from a few months to a year, depending on how actively you manage your pile and the weather conditions.
To harvest, you can either:
- Dig the finished compost from the bottom if you have a pallet bin or one with a bottom door.
- Sift through the entire pile and separate the unfinished material to put back into a new compost pile.
You can use a sieve to get finer compost for seed starting or potting mixes. Larger, unfinished pieces can go back into your active compost bin.
Composting Regulations and Practices in Europe
While home composting is widely encouraged across Europe, it’s good to be aware of local guidelines. In many countries, like the UK, it’s a standard practice allowed under most environmental regulations. Some municipalities might offer subsided compost bins or workshops.
Key Points for European Gardeners:
- Local Councils: Check with your local council or municipality for any specific guidelines regarding home composting, especially if you live in an apartment block or have a very small garden. Some areas might have rules about bin placement or size.
- Biodiversity: Composting generally supports local ecosystems by providing food for beneficial insects and soil organisms.
- Right to Rot: Many European countries have initiatives that promote reducing food waste, and home composting is a cornerstone of these efforts.
Conclusion
Starting a compost pile in Europe is a fantastic way to make a real difference for your garden and the environment. You’ve learned about choosing the right spot, selecting a bin, balancing your “greens” and “browns,” and the simple steps to build and maintain your pile. Remember, composting is a natural process, and a little experimentation goes a long way. Don’t be afraid to get your hands a little dirty – the reward of rich, homemade compost is well worth the effort. Happy composting!
FAQ: Your Compost Pile Questions Answered
Q1: How often should I turn my compost pile?
A: For faster composting, turn your pile every 1-4 weeks. If you’re patient, you can turn it less often, but it will take longer to decompose.
Q2: My compost smells “rotten.” What did I do wrong?
A: A rotten smell usually means your pile is too wet and lacks air. Add more dry brown materials (like cardboard or leaves) and turn the pile thoroughly to aerate it.
Q3: Can I compost citrus peels?
A: Yes, you can compost citrus peels! However, because they are acidic and take longer to break down, it’s best to add them in moderation and ensure you have plenty of other materials, especially browns (like cardboard), to balance them out.
Q4: Will a compost pile attract rats or other pests?
A: A well-managed compost pile usually doesn’t attract pests. Avoid adding meat, fish, dairy, or oily foods. Using an enclosed bin can also help deter unwanted visitors.
Q5: How do I know when my compost is ready to use?
A: Your compost is ready when it looks dark, crumbly, and smells earthy. You shouldn’t be able to recognize the original food scraps or yard waste.
Q6: Do I need to chop up my materials before adding them?
A: Chopping or shredding your materials, especially browns like twigs, into smaller pieces will help them break down much faster and make your compost ready sooner.

I am passionate about home engineering. I specialize in designing, installing, and maintaining heating, ventilation, and air conditioning systems. My goal is to help people stay comfortable in their homes all year long.