Ever wonder how to turn kitchen scraps and yard waste into garden gold? It might seem tricky, but creating your own compost soil is actually pretty simple. You’ll save money and give your plants a superfood boost. This guide breaks down everything you need to know, step by step, so you can start composting like a pro today. Get ready to transform your waste into wonderful, nutrient-rich soil!
Compost Soil Step By Step: Your Genius Guide to Garden Gold
Hey green thumbs and aspiring gardeners! Troy D Harn here, and I’m all about making home projects easy and rewarding. Today, we’re diving into something truly magical for your garden: compost! If you’ve ever looked at your leftover vegetable peels or fallen leaves and thought, “There has to be a better use for this,” you’re in the right place. Creating your own compost soil is one of the most eco-friendly and cost-effective ways to enrich your garden. It’s not complicated, and with this step-by-step guide, you’ll be turning ordinary waste into extraordinary plant food in no time.
Why bother with composting? Well, think of it as nature’s recycling program. Compost adds vital nutrients to your soil, improves its structure (making it easier for roots to grow and water to drain) and helps retain moisture. This means healthier, happier plants and a more vibrant garden, all while reducing what you send to the landfill. Ready to get started? Let’s break it down into simple, manageable steps.
What Exactly is Compost Soil?
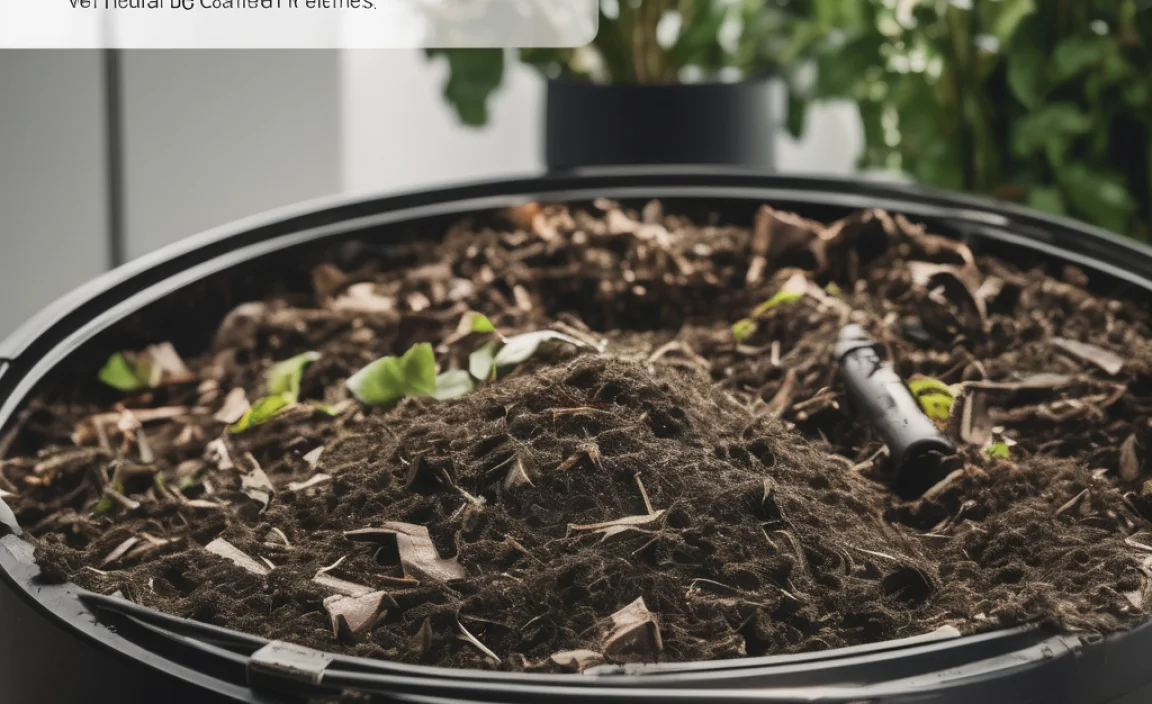
Before we dig in, let’s clarify what we’re aiming for. Compost soil, often just called compost, is decomposed organic material. It’s the result of breaking down things like food scraps, yard trimmings, leaves, and other natural matter into a dark, crumbly, and nutrient-rich substance. It’s sometimes called “black gold” by gardeners because of its incredible benefits for plant growth.
Think of it as a super-powered soil amendment. When you add compost to your garden beds, you’re not just adding fertilizer; you’re improving the very structure of your soil. It’s like giving your garden a healthy, delicious meal and a cozy bed all at once!
Why Should You Make Your Own Compost? The Top Benefits
Making your own compost is more than just a gardening hobby; it’s a smart move for your wallet and the planet. Here are some of the biggest reasons to get started:
- Boosts Soil Health: Compost adds essential nutrients and beneficial microorganisms to your soil, promoting stronger plant growth.
- Improves Soil Structure: Whether your soil is sandy and drains too quickly or clay-heavy and waterlogs easily, compost helps balance it out. It improves aeration and water retention.
- Reduces Waste: A significant portion of household waste is organic material that can be composted. Diverting this from landfills reduces methane emissions, a potent greenhouse gas. Learn more about reducing waste at the U.S. Environmental Protection Agency (EPA).
- Saves Money: You’ll spend less on commercial fertilizers and soil amendments. Plus, you’re recycling free materials!
- Environmentally Friendly: Composting is a natural process that supports a healthy ecosystem.
- Healthier Plants: Plants grown in compost-rich soil are often more disease-resistant and productive.
Gathering Your Composting Tools and Materials
You don’t need a lot of fancy equipment to start composting. The most important thing is where you’ll build your compost pile. You have a few options:
Compost Bins:
These are great for keeping things tidy and can be purchased or made. They come in all sorts of styles:
- Stationary Bins: These are typically bins that sit in one spot. They can be made of wood, plastic, or wire mesh. They’re good for containing the compost and looking neat.
- Tumblers: These are barrel-like bins that rotate. Tumblers make turning the compost much easier, speeding up the decomposition process.
- DIY Bins: You can create your own bin using pallets, chicken wire, or cinder blocks. It’s a great budget-friendly option!
Compost Piles:
If you have plenty of space, a simple open pile is perfectly fine. Choose a convenient, well-drained spot in your yard that gets some sun but isn’t in direct, scorching heat all day. Partially shaded areas are often ideal. Aim for a size of at least 3 feet by 3 feet by 3 feet to allow it to heat up properly.
Essential Tools:
You’ll want a few basic tools to make the process smoother:
- Pitchfork or Garden Fork: For turning and aerating your compost.
- Shovel: For moving compost and turning larger piles.
- Watering Can or Hose with a Sprayer: To keep your compost pile moist.
- Optional: A Thermometer: A compost thermometer can help you monitor the temperature, ensuring it’s heating up effectively.
The “Greens” and “Browns”: The Secret Recipe for Great Compost
The key to successful composting is balancing two types of organic materials: “greens” and “browns.” Think of these as the energy (greens) and the carbon (browns) your composting microorganisms need to thrive. Getting this ratio right is crucial for efficient decomposition and avoiding unpleasant odors.
What are “Greens”? (Nitrogen-Rich Materials)
“Greens” are materials that are typically moist and break down quickly. They provide nitrogen, which helps the microorganisms multiply and heat up the pile.
- Fruit and vegetable scraps (peels, cores, rinds)
- Coffee grounds and tea bags
- Grass clippings (in thin layers to avoid matting)
- Plant trimmings (fresh, non-woody)
- Eggshells (crushed)
- Lawn rake clippings (fresh)
What are “Browns”? (Carbon-Rich Materials)
“Browns” are usually dry and provide carbon, which is the main food source for the microorganisms. They also help with aeration and prevent the pile from becoming too soggy and dense.
- Dried leaves
- Straw or hay
- Shredded newspaper and cardboard (avoid glossy or colored paper)
- Wood chips or sawdust (use in moderation, from untreated wood)
- Twigs and small branches (chopped or shredded)
- Pine needles
- Dryer lint (from natural fibers like cotton)
What NOT to Compost:
It’s just as important to know what to keep OUT of your compost bin. These items can attract pests, create foul odors, or harbor diseases:
- Meat, fish, and bones
- Dairy products (cheese, yogurt, butter)
- Oils, fats, and greases
- Diseased plants or weeds that have gone to seed
- Pet waste (dog and cat feces)
- Treated wood
- Coal or charcoal ash
- Inorganic materials (plastic, metal, glass)
A good rule of thumb for the ratio is about two to three parts “browns” to one part “greens” by volume.
Step-by-Step: Building Your Compost Pile
Now that you know what you need and the key ingredients, let’s get composting!
Step 1: Choose Your Location
Select a spot that’s:
- Easily accessible for adding materials and turning.
- Well-drained so it doesn’t become waterlogged.
- Partially shaded is ideal to prevent drying out too quickly in summer, but some sun is good too.
- Away from structures if you’re using an open pile and don’t want the aesthetic or potential moisture issues.
Step 2: Start with a Layer of “Browns”
Begin by putting down a 4-6 inch layer of coarse “brown” materials like twigs, straw, or wood chips. This helps with aeration at the bottom of the pile.
Step 3: Alternate Layers of Greens and Browns
Add your materials in alternating layers. Aim for:
- A layer of “greens” (about 2-4 inches)
- A layer of “browns” (about 4-6 inches)
Continue layering greens and browns as you add materials. Chop or shred larger items to help them break down faster. Think of it like making a lasagna!
Step 4: Add Water
After adding each layer, lightly water it. The goal is for the compost pile to be as damp as a wrung-out sponge – not soggy, not dry. If it’s too dry, decomposition slows down. If it’s too wet, it can become anaerobic and smelly.
Step 5: Introduce Microorganisms (Optional but helpful!)
You can sprinkle a small amount of finished compost, garden soil, or a commercial compost starter on your layers. These introduce the helpful bacteria and fungi needed to kickstart the decomposition process.
Step 6: Keep Adding and Turning
Continue adding your kitchen scraps and yard waste as you generate them, always trying to cover your “greens” with a layer of “browns” to deter pests and odors. The most crucial step for faster composting is turning your pile regularly. Aim to turn it with your pitchfork or shovel every 1-2 weeks. This aerates the pile, distributes moisture and heat, and mixes the materials, speeding up decomposition. If you have a tumbler, give it a few spins every few days.
Table 1: Typical Compost Ingredients and Their Role
| Material Type | Examples | Primary Nutrient | Purpose |
|---|---|---|---|
| Greens | Fruit/Veggie Scraps, Coffee Grounds, Grass Clippings | Nitrogen | Provides energy for microbes, heats the pile |
| Browns | Dried Leaves, Straw, Shredded Paper, Cardboard | Carbon | Food source for microbes, provides structure and aeration |
Understanding the Composting Process: Heat, Air, and Moisture
Composting is essentially a controlled decomposition process driven by microorganisms. For these tiny workers to do their job efficiently, they need the right conditions:
Heat: The Hot Composting Method
A healthy compost pile can reach temperatures of 130-160°F (54-71°C). This high heat is beneficial because it kills weed seeds and pathogens. To achieve hot composting, you need a good balance of greens and browns, sufficient moisture, and regular turning. The pile needs to be at least 3x3x3 feet to generate enough heat.
Cool Composting: The No-Turn Method
If you don’t have the time or inclination to turn frequently, you can use a “cold” composting method. This involves simply piling up organic materials and letting nature take its course. It’s much slower (it can take a year or more to get finished compost) and won’t kill as many weed seeds or pathogens, but it still produces valuable soil amendment.
Air (Oxygen): Essential for Aerobic Decomposition
Composting is an aerobic process, meaning it requires oxygen. This is why turning is so important. When you turn the pile, you introduce fresh air, which the microorganisms need. Without enough air, the pile can become anaerobic, leading to slow decomposition and unpleasant smells.
Moisture: The Right Humidity
As we’ve mentioned, compost needs to be moist but not wet. Imagine squeezing a handful of compost; you should get a few drops of water, but it shouldn’t be dripping continuously. If it’s too dry, add water. If it’s too wet, add more “browns” and turn it to help it dry out.
You can monitor your compost’s progress. If it’s not heating up, it might be too dry, lack nitrogen (not enough greens), or need turning. If it’s smelling foul, it’s likely too wet or compacted, meaning it needs more browns and turning for aeration. The Royal Horticultural Society offers great advice for troubleshooting common composting issues.
When is Compost Ready?
Patience is key! Compost is ready when it looks and smells like dark, crumbly soil. You shouldn’t be able to recognize the original materials you put in. It will have a pleasant, earthy aroma. Depending on your method (hot vs. cold composting), turning frequency, and materials, this can take anywhere from a few months to over a year.
Signs your compost is ready:
- Dark brown or black color
- Crumbly texture
- Earthy smell (like a forest floor after rain)
- Original materials are no longer recognizable
- The temperature of the pile has cooled down to ambient temperature
Once it’s ready, you can sift it to remove any larger, undigested pieces (which can go back into a new compost pile) and spread it on your garden beds, around trees and shrubs, or mix it into potting soil.
Using Your Homemade Compost
Congratulations, you’ve made it! Your “black gold” is ready to transform your garden.
- Soil Amendment: Mix compost into your garden beds before planting. A layer of 2-4 inches worked into the top 6-8 inches of soil is common.
- Top Dressing: Spread a layer of compost (about 1-2 inches) around existing plants, shrubs, and trees. The nutrients will leach down into the soil.
- Potting Mix: Mix compost with perlite, vermiculite, or coir to create a nutrient-rich potting mix for containers and houseplants. A common ratio is 1/3 compost, 1/3 peat moss or coconut coir, and 1/3 perlite or coarse sand.
- Lawn Care: Spread a thin layer of compost over your lawn in the spring or fall to improve soil structure and fertility.
Troubleshooting Common Composting Problems
Even with the best intentions, you might run into a few snags. Here’s how to tackle them:
- Smelly Pile (Ammonia smell): Too many greens or too wet. Add more browns and turn.
- Smelly Pile (Rotten egg smell): Too wet and not enough air. Add browns and turn more frequently. Ensure good drainage.
- Pile Not Heating Up: Too dry, not enough nitrogen (greens), or too small. Add water, add more greens, or combine smaller piles. Ensure it’s at least 3x3x3 feet.
- Pests (Flies, Rodents): Exposed food scraps or inappropriate materials. Always cover food scraps with a layer of browns. Avoid adding meat, dairy, or oily foods. Consider a compost tumbler for better pest control.
- Too Dry: Add water and turn.
The Takeaway: Nurturing Your Garden, Naturally
Composting is a rewarding process that connects you more deeply with nature and your garden. It’s a simple yet powerful way to reduce waste, improve your soil, and grow healthier, more beautiful plants. By following these steps, understanding the balance of greens and browns, and keeping an eye on moisture and air, you’ll be well on your way to creating your own “black gold.”
Don’t be discouraged if your first batch isn’t perfect. Composting is a learning process, and every pile is a new opportunity to refine your technique. The benefits to your garden and the environment are well worth the effort. So, grab those kitchen scraps and yard clippings, start building your pile, and watch your garden thrive like never before. Happy composting!
Frequently Asked Questions About Compost Soil
What is the ideal ratio of greens to browns for composting?
For the best results, aim for a ratio of about 2 to 3 parts “browns” (carbon-rich materials) to 1 part “greens” (nitrogen-rich materials) by volume. This provides the right balance for the microorganisms to work efficiently.
How often should I turn my compost pile?
If you want faster compost (hot composting), turn it every 1 to 2 weeks. If you’re using a “cold” composting method or a tumbler, turning frequency can vary. For a tumbler, a few spins every few days is usually sufficient. If you don’t turn it at all (cold composting), it will still decompose, but much slower.
Can I compost diseased plants or weeds?
It’s best to avoid composting diseased plants or weeds that have gone to seed, especially in a home compost pile that might not reach high enough temperatures to kill them. These could spread problems to your garden. If you’re confident your hot composting pile reaches temperatures of 130-160°F consistently, it might kill them, but it’s generally safer to skip these.
Why does my compost smell bad?
Bad smells usually indicate an imbalance. An ammonia-like smell means too many “green” (nitrogen-rich) materials. A rotten egg or sour smell suggests the pile is too wet, too compacted, and lacking oxygen (anaerobic). Adding “browns” and turning the pile usually fixes these issues.
How long does it take to make compost?
The time it takes varies greatly. “Hot composting” with regular turning and the right mix can yield compost in as little as 1-3 months. “Cold composting” (no turning) can take 6 months to over a year. Factors like the size of the materials, moisture levels, and ambient temperature also play a role.
What kind of bin is best for a beginner?
For beginners, a stationary bin (either purchased or DIY) or a compost tumbler are excellent choices. Stationary bins are simple and effective for containing the pile. Tumblers are great because they make turning easy and can deter pests, speeding up the process.

I am passionate about home engineering. I specialize in designing, installing, and maintaining heating, ventilation, and air conditioning systems. My goal is to help people stay comfortable in their homes all year long.