Compost Starter in Asia: Your Essential Guide
Ever feel overwhelmed by kitchen scraps and yard waste? You’re not alone! Many of us want to compost but don’t know where to start, especially when thinking about ingredients and methods specific to our region. Getting compost going can seem tricky, but it’s actually quite simple. This guide will break down everything you need to know about kickstarting your compost pile the right way, right here in Asia.
We’ll cover what makes a good compost starter, common materials you can easily find, and simple steps to get nature working its magic. Ready to turn your waste into garden gold?
What Exactly is a Compost Starter?
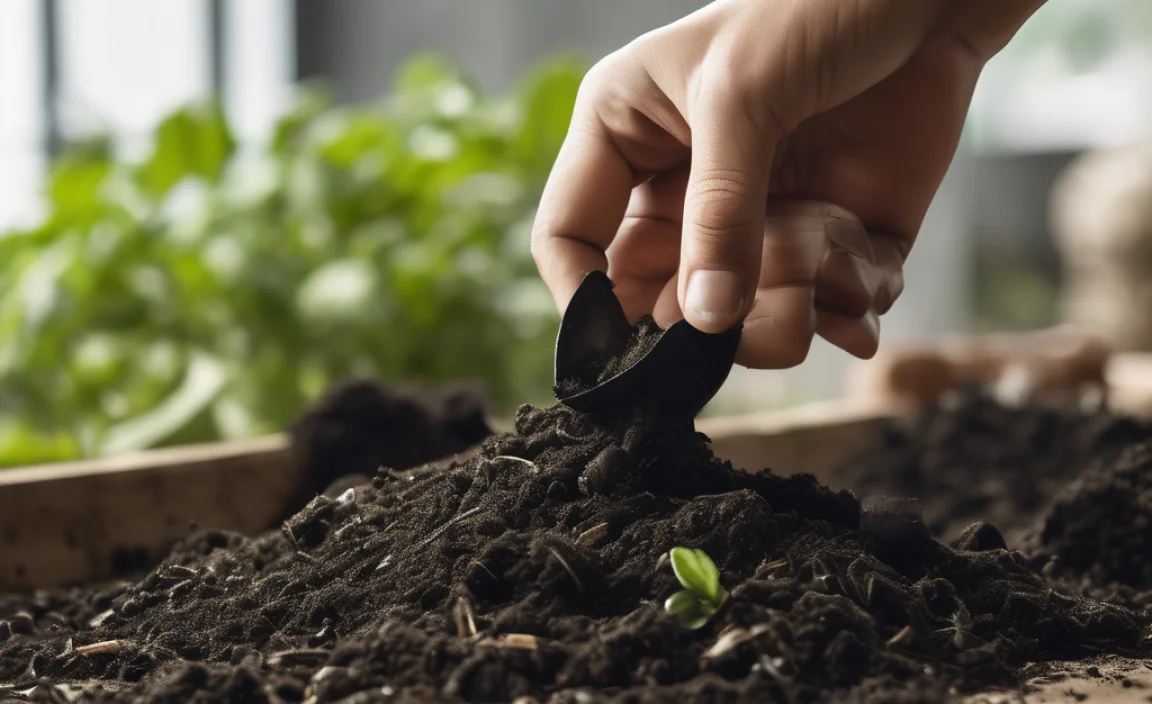
Think of a compost starter as a little boost for your compost pile. It’s not a magic potion, but rather a mix of materials that helps speed up the decomposition process. These starters introduce beneficial microbes – tiny living things like bacteria and fungi – to your compost bin. These microbes are the real workers, breaking down your food scraps and yard waste into rich, dark compost.
Without a good starter, your compost pile might sit there for a long time, smelling a bit off and breaking down very slowly. A starter helps your pile heat up gently, which speeds things up and helps reduce any unpleasant odors. It’s like giving your compost crew a head start!
Why You Need a Compost Starter in Asia
Different climates and common household items in Asia can influence how your compost pile behaves. For instance, warmer, humid weather can sometimes lead to piles getting too wet and smelly if not managed correctly. A good compost starter can help balance the moisture and aeration, ensuring a healthier process.
Plus, many traditional practices in Asia already involve breaking down organic matter. Understanding how to intentionally create compost can tap into this natural cycle and benefit your home garden or nearby green spaces. It’s a sustainable way to manage waste and enrich your soil, making your plants thrive.
Choosing Your Compost Starter: What Works Best?

The best compost starter is one that introduces a good mix of “greens” and “browns” along with active microbes. Greens are nitrogen-rich materials, and browns are carbon-rich. You need a balance of both for the microbes to work efficiently. For beginners, using readily available materials is key.
Essential Components of a Compost Starter Mix:
- Nitrogen (Greens): These provide the fuel for microbes. Think fresh grass clippings, fruit and vegetable scraps, coffee grounds, and tea leaves.
- Carbon (Browns): These provide energy and structure. Examples include dried leaves, shredded cardboard or paper, straw, and small twigs.
- Moisture: Your pile needs to be damp, like a wrung-out sponge.
- Microbes: These are already present in soil and on organic matter, but a starter helps introduce them in greater numbers or diversity.
DIY Compost Starter Recipes for Asian Homes
You don’t need to buy special products. Many effective compost starters can be made with things you likely have around the house or can easily get. Here are a few simple recipes:
Recipe 1: The “Kitchen Scraps & Garden Debris” Special
This is the most basic and effective starter. It leverages what you already generate.
- Gather “Greens”: Collect fresh additions from your kitchen like vegetable peels, fruit scraps (avoiding excess citrus), coffee grounds, and tea bags.
- Gather “Browns”: Source dried leaves from your yard, shredded newspaper (black and white ink only), or dry straw.
- Add a Handful of Soil: A small amount of garden soil or even finished compost from a neighbor is packed with beneficial microbes.
- Moisten Lightly: If your ingredients are dry, spritz them with water until damp.
- Layer It Up: Start your compost pile with a layer of browns, then add your greens, a bit of garden soil, and repeat.
Recipe 2: The “Coffee & Tea Lover’s” Kickstart
If you’re a big coffee or tea drinker, this is for you!
- Collect Coffee Grounds and Tea Leaves: Save the wet grounds from your coffee maker and used tea leaves.
- Mix with Shredded Paper: Shred some old newspapers or plain cardboard.
- Add Some Lawn Clippings (Optional): If you have fresh grass clippings, a small amount adds good nitrogen.
- Combine Well: Mix these ingredients thoroughly in a bucket.
- Add to Your Pile: Use this mix as the first layer or intersperse it within your compost bin.
Recipe 3: The “Old Compost Accelerator”
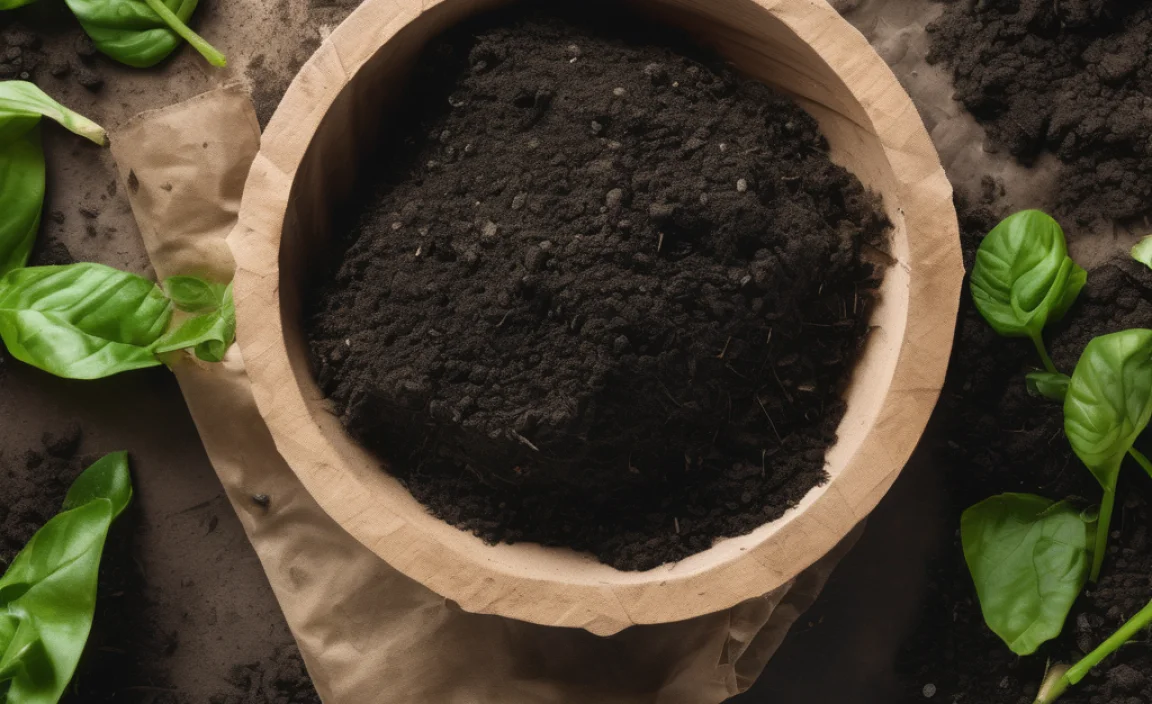
If you, or a friend, already have some finished compost, that’s the best starter!
- Find Finished Compost: This can be from a commercial source or from someone else’s well-rotted pile.
- Use a Generous Scoop: Take a large handful or even a small bucketful.
- Mix into Your New Pile: Spread this finished compost throughout your new batch of “green” and “brown” materials. It’s teeming with the microorganisms needed to break everything down quickly.
Key Ingredients and Their Role
Understanding what goes into your starter helps you adapt and improvise. The goal is to create a balanced environment for decomposers.
“Green” Materials (Nitrogen-Rich)
- Fruit and Vegetable Scraps: Excellent source of nitrogen and moisture. Avoid oily scraps or large amounts of citrus.
- Coffee Grounds and Tea Leaves: Provide nitrogen and also help absorb odors.
- Grass Clippings: High in nitrogen but can become matted if added in thick layers. Mix them well with browns.
- Manure (Herbivore): Chicken, cow, or horse manure (aged) is a fantastic nitrogen booster. Ensure it’s not from meat-eating animals.
“Brown” Materials (Carbon-Rich)
- Dried Leaves: A staple for carbon. Collect them in autumn or source them from parks.
- Shredded Cardboard and Newspaper: Excellent carbon sources. Ensure inks are vegetable-based or black and white. Remove any glossy stickers or tape.
- Straw and Hay: Provide good aeration and carbon.
- Wood Chips and Sawdust: Use in moderation, as they break down slowly. Ensure they are from untreated wood.
The Science Bit: Microbes and Aeration
The magic happens thanks to billions of tiny organisms. When you provide them with the right food (greens and browns), water, and air, they get to work!
- Bacteria: These are the primary decomposers, especially in the heat-generating phase of composting.
- Fungi: They help break down tougher materials like wood and stems.
- Actinomycetes: Give compost its earthy smell and help break down stubborn materials.
Lack of air (aeration) can lead to anaerobic decomposition, which produces foul smells and slows down the process significantly. Turning your compost pile regularly helps introduce oxygen, keeping your microbial community happy and productive. For more on the science of composting, the North Carolina State University Extension offers great insights.
Setting Up Your Compost Bin/Pile
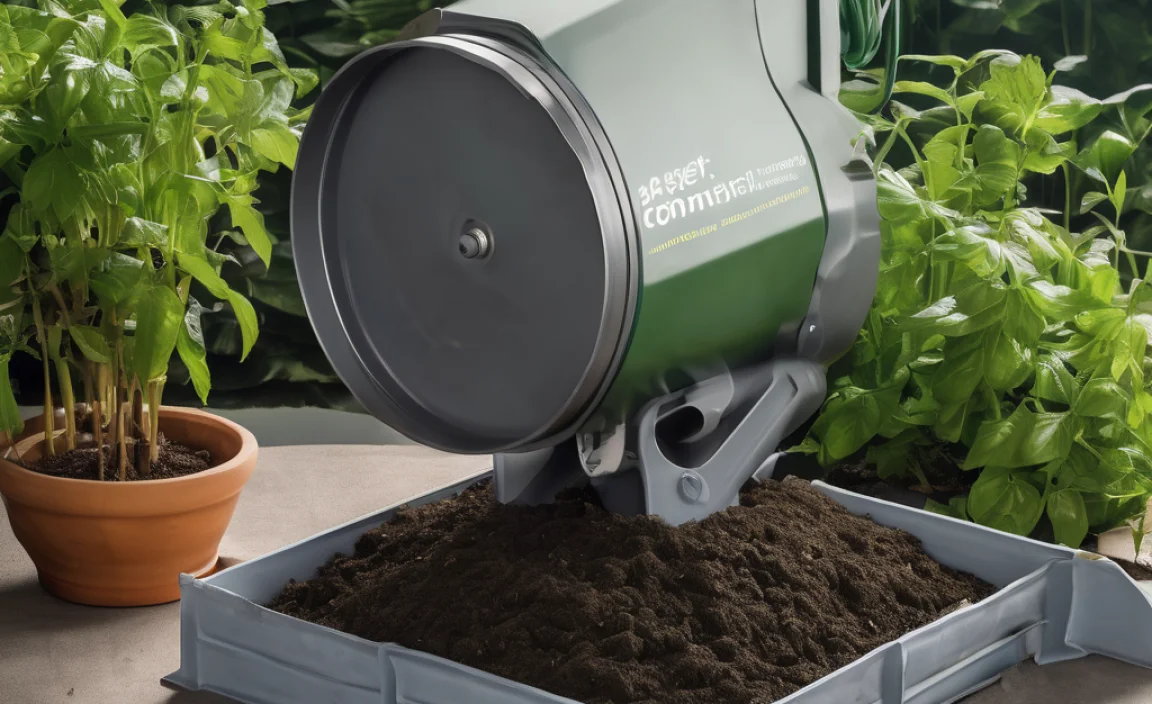
Where you compost matters. You can use a store-bought bin or build a simple pile. The key is to allow air circulation and manage moisture.
Choosing a Composting Method:
- Open Pile: Simple and requires no special container. Best suited for larger yards. Needs good turning.
- Compost Bin (Store-Bought): Convenient, often enclosed, and good for smaller spaces. Many have lids to keep pests out.
- DIY Compost Bin: Can be made from palettes, wire mesh, or old lumber. Offers flexibility in size and design.
- Worm Composting (Vermi-composting): Great for small apartments or for processing kitchen scraps quickly. Uses specific types of worms.
Regardless of the method, placement is important. Choose a spot that is accessible but not too conspicuous, preferably with some sun to help it heat up, but not so much that it dries out too quickly. Ensure good drainage so it doesn’t become waterlogged.
Your Step-by-Step Guide to Starting Compost
Ready to get your hands dirty? Follow these simple steps to create your first batch of compost using a starter.
Step 1: Choose Your Location and Container
Select a convenient spot in your garden or yard. Decide if you’ll use an open pile, a bin, or a DIY structure. Ensure it’s easily accessible for adding materials and turning.
Step 2: Build Your Base Layer (The Browns)
Start with a thick layer (about 4-6 inches) of “brown” materials like dried leaves, twigs, or shredded cardboard at the bottom. This allows for good airflow and drainage.
Step 3: Add Your Starter Material
Sprinkle a generous amount of your chosen compost starter over the brown layer. This could be garden soil, old compost, or a mix of kitchen scraps and garden debris.
Step 4: Add “Green” Materials
Layer your fresh kitchen scraps (vegetable peels, coffee grounds) and other nitrogen-rich materials on top of the starter. Aim for roughly a 50/50 mix of greens and browns over time.
Step 5: Add More “Browns”
Cover the green layer with another layer of brown material. This helps balance the nitrogen, retain moisture, and prevent odors. Think of it like tucking your compost in!
Step 6: Moisten the Pile
Lightly water the new layers. The goal is for the material to be moist but not soggy – like a wrung-out sponge. If you used very damp greens, you might not need much water.
Step 7: Continue Layering and Turning
As you accumulate more kitchen scraps and yard waste, continue adding them in layers, always topping with browns. Aim to turn (mix) your compost pile every 1-2 weeks. This introduces oxygen, which is crucial for the microbes to work efficiently and prevents the pile from becoming anaerobic and smelly.
Step 8: Patience and Observation
Composting takes time. Depending on the materials, temperature, and how often you turn it, it can take anywhere from a few months to a year. Your compost is ready when it’s dark, crumbly, and smells like fresh earth.
What NOT to Compost
While many organic wastes are great for compost, some items can cause problems. Avoid these to keep your compost healthy and safe.
| Items to Avoid | Reasons |
|---|---|
| Meat, fish, and dairy products | Can attract pests and create foul odors. Decompose slowly and can harbor pathogens. |
| Oily or greasy foods | Can slow down decomposition and attract pests. |
| Diseased plants or weeds with seeds | These can spread diseases or unwanted weeds back into your garden. |
| Pet waste (dog and cat feces) | Can contain pathogens harmful to humans. |
| Chemically treated wood or yard waste | Chemicals can leach into your compost and harm plants. |
| Large branches or very woody materials | They take a very long time to break down unless chipped. |
| Synthetic materials (plastic, metal, glass) | Do not decompose. |
Troubleshooting Common Composting Problems
Even with a good starter, you might run into a few snags. Here’s how to fix them:
Problem: The pile smells bad (like rotten eggs or ammonia).
- Cause: Too much nitrogen (too many greens) or too wet, leading to anaerobic conditions.
- Solution: Add more “brown” materials like shredded paper, dried leaves, or straw. Turn the pile thoroughly to aerate it. Ensure good drainage.
Problem: The pile isn’t heating up or is decomposing very slowly.
- Cause: Not enough nitrogen (too many browns), too dry, or pile too small.
- Solution: Add more “green” materials like kitchen scraps or grass clippings. Moisten the pile if it’s dry. Make sure your pile is at least 3x3x3 feet (1 cubic meter) for best results. Turn it to mix materials.
Problem: Pests (flies, rodents) are attracted to the pile.
- Cause: Exposed kitchen scraps or prohibited items like meat and dairy.
- Solution: Always bury fresh kitchen scraps deep within the pile and cover them with a layer of browns. Avoid composting meat, dairy, and oily foods. If using an open pile, consider a rodent-proof bin.
Problem: The material is too dry.
- Cause: Not enough moisture, or hot, dry weather.
- Solution: Water the pile thoroughly while turning it. You can add more moist green materials if available.
Compost Starters vs. Commercial Products
You might see commercial compost starter products at garden stores. These often contain specific strains of bacteria and enzymes designed to speed up decomposition.
| Feature | DIY Compost Starter | Commercial Compost Starter |
|---|---|---|
| Cost | Very low (uses existing materials) | Moderate to high |
| Availability | Readily available in most households/communities | Requires a purchase from a store or online |
| Effectiveness | Highly effective when balanced and aerated | Can be very effective, often provides a predictable boost |
| Simplicity | Simple to make with basic ingredients | Very easy to use, just follow package instructions |
| Environmental Impact | Low (reduces waste, uses natural resources) | Minimal, but involves packaging and transportation |
For beginners, a DIY starter is usually all you need. It’s cost-effective and teaches you the fundamental principles of composting. Once you’re comfortable, you can experiment with commercial products if you wish, but they are not essential for success. For more information on organic gardening practices, resources like the Royal Horticultural Society (RHS) offer excellent, reliable advice.
When is Compost Ready?
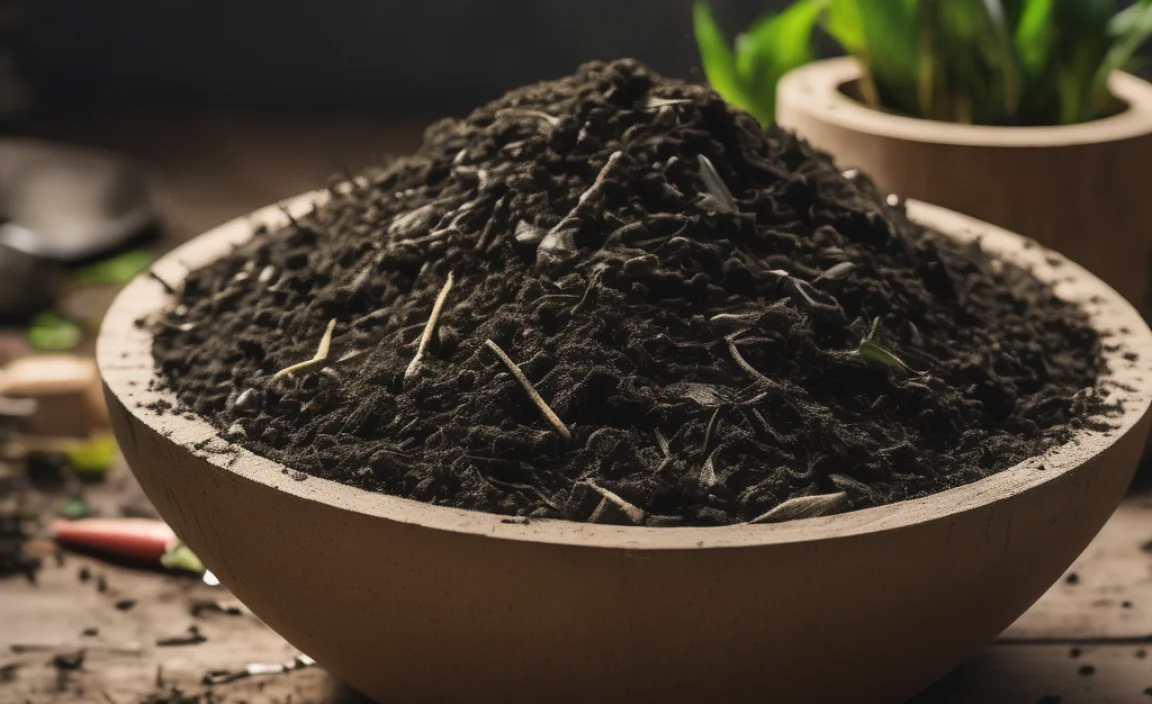
You’ll know your compost is ready when it:
- Looks dark brown and crumbly.
- Smells earthy and fresh, like the forest floor.
- You can no longer recognize the original materials you put in.
The texture should be uniform and loose, not slimy or clumpy. You can sieve it to remove any larger, un-decomposed bits, which can go back into a new compost pile.
FAQs About Compost Starters in Asia
Q1: Can I use the soil from my garden as a compost starter?
Yes! Garden soil is rich in the very microbes that your compost pile needs to get breaking down. Just a spadeful or two is enough to kickstart the process in a new pile.
Q2: What is the best “green” material to use from an Asian kitchen?
Most vegetable and fruit scraps are great. Think about common ingredients like rice (cooked or uncooked), vegetable peels, leftover cooked grains, and coffee grounds. Just avoid large amounts of oily or spicy food.
Q3: My compost pile is very wet and smells bad. What should I do?
This often means there’s too much nitrogen or not enough air. Try adding more “brown” materials like dried leaves, shredded newspaper, or straw. Turning the pile well will help it dry out and get oxygen. Make sure your bin has drainage holes.</p
Related Posts
- Does Apple Cider Vinegar Make You Urinate? Proven Facts
Aerobic Composting: Buy the Genius Method
Bokashi Composting Cheap: Effortless Eco-Win- Revolutionizing Composting: AI Shapes a Greener Future

I am passionate about home engineering. I specialize in designing, installing, and maintaining heating, ventilation, and air conditioning systems. My goal is to help people stay comfortable in their homes all year long.