Ever look at your kitchen scraps and garden waste and think, “There’s gotta be a better way to handle this than just tossing it away?” You’re not alone! Many of us want to compost, but the thought of messy bins or slow decomposition can be a bit overwhelming. The good news? A compost tumbler takes the hassle out of making that nutrient-rich soil booster. It’s like a magic barrel for your organic waste, speeding things up and keeping critters out. We’ll walk through everything you need to know to get your compost tumbler working like a charm, turning your trash into garden treasure. Let’s dig in!
Compost Tumbler How To: Your Essential Beginner’s Guide
Hey there, TopChooser friends! Troy D Harn here, ready to make composting as easy as pie – or should I say, as easy as turning your fruit peels into fantastic garden food! If you’re new to composting, or maybe you’ve tried before and found it a bit… well, smelly or slow, then a compost tumbler might just be your new best friend. These clever devices are designed to make the composting process faster, cleaner, and way less work than traditional piles. We’re going to break down exactly how to use one, from choosing the right one to spinning your way to perfect compost. Think of me as your neighborly guide, showing you the ropes. No complicated lingo, just practical steps to success!
Why Choose a Compost Tumbler?
Before we get our hands dirty (or, more accurately, keep them clean!), let’s quickly chat about why a compost tumbler is a really smart choice for beginners. Traditional compost piles can sometimes attract pests, take a long time to break down, and require a bit more effort to manage. Tumblers solve a lot of these issues:
- Faster Composting: The turning action introduces oxygen, which is vital for speeding up decomposition.
- Pest Control: Most tumblers are enclosed, keeping curious raccoons and neighborhood dogs out of your compost.
- Less Odor: Proper aeration and a balanced mix of compost materials significantly reduce unpleasant smells.
- Easier Turning: No need for a pitchfork! A simple spin of the tumbler does the work.
- Weather Protection: They can help protect your compost from getting too wet or dry.
Choosing Your Compost Tumbler
Not all compost tumblers are created equal. For beginners, here are some key things to look for when making your selection:
Types of Compost Tumblers
There are a few main styles, and they all have their pros and cons:
- Single-Chamber Tumblers: These are usually the most budget-friendly. You add materials, let them compost, and then empty the whole batch. This means you can’t add new scraps while the batch is cooking.
- Dual-Chamber Tumblers: These have two separate sides. You can fill one chamber while the other is actively composting. Once the first is full and you start filling the second, the first batch should be nearly ready or ready to harvest. This provides a continuous composting system.
- Multi-Chamber Tumblers: Similar to dual-chamber, but with more sections for staged composting. Often more complex and pricier, might be overkill for beginners.
Key Features to Consider
- Capacity: How much space do you need? Think about how much kitchen and yard waste you generate. Smaller households might be fine with a 40-60 gallon tumbler, while larger families or those with big gardens might need 70 gallons or more.
- Ease of Assembly: Most tumblers come partially assembled, but check reviews for how easy they are to put together. We want less frustration, right?
- Durability: Look for tumblers made from sturdy, UV-resistant plastic or metal. They’ll be sitting outside, exposed to the elements.
- Ease of Turning: Some tumblers have handles or are designed for easy spinning, while others might require a bit more muscle. If you have any physical limitations, consider a model that spins smoothly.
- Batch vs. Continuous: As mentioned, do you want to do one big batch at a time, or have a system that’s always “cooking”? For beginners, a dual-chamber might be the sweet spot for continuous output.
Getting Started: What You’ll Need
Once you’ve picked out your tumbler, you’re almost ready to go! Here’s a quick checklist of what you’ll want to have on hand:
- Your new compost tumbler
- A level spot for your tumbler (somewhere easily accessible)
- Your kitchen scraps (more on this below!)
- Your yard waste (leaves, grass clippings, etc.)
- A pair of gardening gloves (to keep your hands clean)
- A compost thermometer (optional, but helpful for beginners to monitor heat)
- A shovel or small pitchfork for emptying (depending on your tumbler design)
The “Greens” and “Browns” of Composting
This is the secret sauce to great compost! To break down your organic materials efficiently, you need a good balance of nitrogen-rich items (the “Greens”) and carbon-rich items (the “Browns”). Think of it like a diet for your compost pile. You want to aim for roughly a 2:1 or 3:1 ratio of Browns to Greens by volume. Don’t stress too much about perfection, just try to keep a good mix going.
What are Greens? (Nitrogen-Rich)
Greens are typically moist materials that provide nitrogen. They help heat up the compost pile, which speeds up decomposition. Your compost tumbler needs these!
- Fruit and vegetable scraps (peels, cores, rinds)
- Coffee grounds and tea bags (remove staples!)
- Grass clippings (in moderation, can get dense)
- Plant trimmings (non-woody, disease-free)
- Eggshells (crushed)
What are Browns? (Carbon-Rich)
Browns are drier materials that provide carbon. They add bulk, help with airflow, and balance out the “green” materials to prevent the compost from becoming too wet and smelly. These are essential for your compost tumbler to work properly.
- Dry leaves
- Shredded cardboard (unwaxed, no glossy print)
- Shredded newspaper (black and white ink only)
- Straw or hay
- Small twigs and branches (chopped up)
- Sawdust (from untreated wood only, use sparingly)
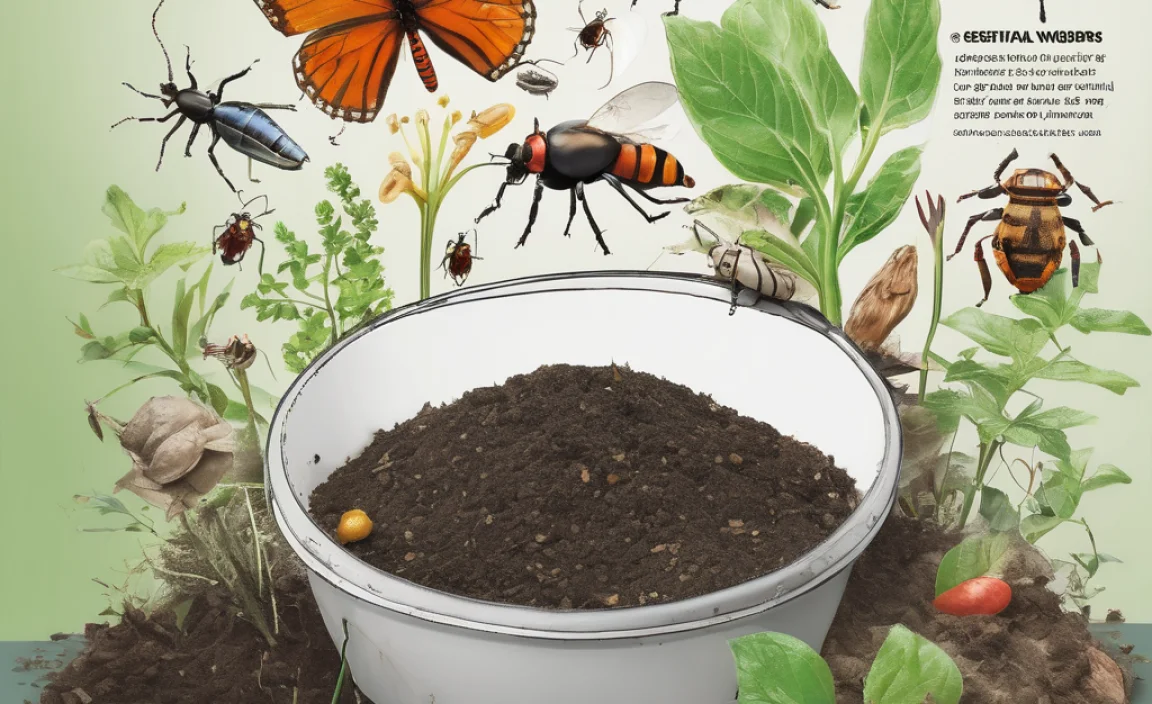
What NOT to Compost (Especially in a Tumbler)
Some things can cause problems in a compost tumbler, attracting pests or not breaking down well. It’s best to avoid these:
- Meat, fish, and bones (attract pests, can smell)
- Dairy products (attract pests, can smell)
- Oily or greasy foods
- Diseased plants or weeds that have gone to seed (unless you’re confident your tumbler gets hot enough to kill them)
- Pet waste (from dogs or cats – can contain pathogens)
- Chemically treated wood or yard waste
- Coal or charcoal ash
How to Use Your Compost Tumbler: Step-by-Step
Alright, the moment we’ve been waiting for! Let’s get this composting party started.
Step 1: Assemble Your Tumbler
Follow the manufacturer’s instructions carefully. Most tumblers are designed for straightforward assembly. Make sure all parts are secure for safe and effective turning.
Step 2: Position Your Tumbler
Find a good spot. Ideally, it should be on a level patch of ground in a location that gets some sunlight. Sunlight helps warm the compost, speeding up the process. Make sure it’s easily accessible so you can add scraps and turn it regularly. A spot near your garden is great, but not so close that potential (though unlikely with a tumbler) smells bother you. Some people place them on a concrete pad or pavers, which can help with stability and drainage.
Step 3: Add Your First Batch of Materials
Start by adding a good mix of Browns and Greens. A common beginner strategy is to fill the tumbler about one-third to one-half full with your initial materials. Add some Greens (like kitchen scraps) and then mix in a generous amount of Browns (like dry leaves or shredded cardboard) to balance them out. This initial layering is important for establishing good airflow and preventing a dense, wet mess.
Pro Tip: Chop or shred larger items into smaller pieces. This increases the surface area, allowing microbes to break them down faster. Think of it as giving the compost critters a head start!
Step 4: Start Turning!
This is where the magic happens. Once you’ve added your initial materials, close the lid securely. Now, give it a good spin! The goal is to mix everything together thoroughly. Most tumblers are designed to be turned a specific number of times or for a certain duration. A few good rotations in each direction should do it. You’ll be turning your compost regularly once it’s packed with materials.
How often should I turn? Aim to turn your tumbler every 2-3 days. More frequent turning (daily, if you can) will speed up the process even more. Less frequent turning will slow it down, but your compost will still eventually form.
Step 5: Keep Adding Materials (Batch or Continuous)
For Single-Chamber Tumblers: Once you’ve started your first batch, continue adding Greens and Browns as you generate them. Try to maintain that Brown-to-Green ratio. Chop up new additions and mix them in when you turn the tumbler. Keep filling it until it’s about two-thirds full. Once it’s full, stop adding new materials and focus on turning and letting it decompose. This process can take anywhere from 4 weeks to a few months, depending on the materials and how often you turn.
For Dual-Chamber Tumblers: Start filling one side. Once that side is about two-thirds full, start adding materials to the second side. By the time the second side is full, the first side should be well on its way—or ready—to being harvested. This continuous system ensures you always have compost being made and ready to use. It’s a fantastic setup for consistent yields.
Step 6: Monitor Moisture Levels
Your compost needs to be moist, like a wrung-out sponge. Not too wet, not too dry. If it looks dry, add a bit of water next time you turn it. If it looks too wet and smells a bit funky, add more Browns (like shredded cardboard or dry leaves) and give it a good turn. You can also use a compost thermometer to check the temperature. An active compost pile will heat up, ideally reaching between 130-160°F (55-70°C) for speedy decomposition. If it’s not heating up, you might need more Greens or more turning.
Step 7: Harvesting Your Compost
When is your compost ready? It will look dark, crumbly, and earthy-smelling. You shouldn’t be able to recognize the original materials you put in. It will often have a pleasant, earthy aroma, similar to a forest floor. For tumblers, you’ll typically open a door or hatch to empty the finished compost.
To harvest:
- Stop adding new materials to the chamber you are harvesting.
- Let it sit for a couple of weeks, turning occasionally, to finish curing.
- Empty the finished compost into a wheelbarrow or onto a tarp.
- Sift it if you want a finer texture, removing any larger unfinished pieces to put back into the active compost.
- Use your rich, homemade compost in your garden beds, containers, or lawn!
Troubleshooting Common Compost Tumbler Issues

Even with the best intentions, you might run into a snag. Here are some common compost tumbler problems and how to fix them:
Issue: It smells bad!
Cause: Usually too many Greens and not enough Browns, leading to anaerobic (oxygen-deprived) conditions. It can also be too wet.
Solution: Add more dry, carbon-rich materials (Browns) like shredded cardboard, dry leaves, or straw. Turn the tumbler thoroughly to mix everything and introduce air. If it’s very wet, add extra Browns and let it turn until it feels like a wrung-out sponge.
Issue: It’s not breaking down or heating up.
Cause: Too many Browns, not enough Greens, or not enough moisture. It could also be that the pile is too small to generate heat, or it’s not being turned enough.
Solution: Add more nitrogen-rich materials (Greens) like kitchen scraps or fresh grass clippings. Check the moisture level and add water if it’s dry. Ensure you’re turning it regularly (every 2-3 days). If it’s a new pile and still small, give it time or try to add more material.
Issue: There are fruit flies or other small bugs.
Cause: Exposed food scraps are a buffet for pests.
Solution: Bury fresh kitchen scraps under a layer of Browns in the tumbler. Make sure fruit flies aren’t coming from outside your tumbler (e.g., from a nearby trash can that contains them). Turning your compost regularly helps too, as it moves materials around and discourages surface dwelling pests.
Issue: The compost is too dry.
Cause: Not enough moisture, especially in hot or windy weather.
Solution: Add water. A good way to do this is to add water during a turning session. Let the water run in as you spin the tumbler. Don’t just dump a bucket in, as it can create soggy spots. Aim for that “wrung-out sponge” consistency.
Issue: The compost is too wet.
Cause: Too many wet Greens (like grass clippings or fruit scraps) added at once, or excessive rain if your tumbler isn’t fully weatherproof.
Solution: Add plenty of dry Browns (shredded cardboard, dry leaves, straw). Turn thoroughly to allow air to circulate and help the excess moisture evaporate. Keep adding Browns until the moisture level feels right.
Compost Tumbler vs. Traditional Compost Bin: A Quick Comparison
To really highlight the benefits for beginners, let’s look at how tumblers stack up against traditional bins or piles:
| Feature | Compost Tumbler | Traditional Compost Bin/Pile |
|---|---|---|
| Speed of Composting | Faster (weeks to months) due to easy aeration and turning. | Slower (months to a year) unless managed very actively. |
| Pest Attraction | Low; enclosed design deters rodents and pets. | Higher risk; open bins or piles can attract pests. |
| Odor Control | Generally low if balanced and aerated properly. | Can be significant if unbalanced or too wet. |
| Ease of Turning | Very easy; just spin the barrel. | Requires manual labor with a fork or shovel. |
| Initial Cost | Higher (tumblers can range from $100-$300+). | Lower (can be built from free materials or purchased for $50-$150). |
| Space Requirements | Compact, often around 3-4 sq ft footprint. | Can require larger footprint, especially for active piles. |
| Weather Impact | Minimizes direct exposure to heavy rain/sun. | More susceptible to becoming too wet or dry. |
For many beginners, a compost tumbler offers a less intimidating and more efficient way to start composting. While the initial cost is higher, the ease of use, speed, and reduced pest and odor issues often make it a worthwhile investment.
Tips for Better Composting in Your Tumbler
Here are a few extra pointers to ensure you’re getting the most out of your compost tumbler:
- Chop It Up: Smaller pieces = faster decomposition. Take a knife or gardening shears to larger scraps before tossing them in.
- Balance is Key: Always try to maintain that good mix of Greens and Browns. If you add a lot of wet kitchen scraps, always follow up with extra dry Browns.
- Don’t Overfill: Filling the tumbler more than two-thirds full can hinder airflow and make turning more difficult.
- Turn Regularly: Make it a routine! The more you turn, the faster you’ll get compost. Use it as an opportunity to add new materials and check moisture.
- Consider Temperature: If you want faster compost, aiming for that 130-160°F range is ideal. A compost thermometer will help you track this. Heat kills pathogens and weed seeds, making your compost safer and more effective.
- Patience, Grasshopper: Even with a tumbler, composting takes time. Don’t get discouraged if it doesn’t happen overnight.
For more in-depth, official guidance on composting best practices, the United States Environmental Protection Agency (EPA) offers a wealth of information on their website. They have great resources on what to compost and how to do it effectively.
Frequently Asked Questions About Compost Tumblers
Q1: How long does it take to make compost in a tumbler?
A: It can range from as little as 4-8 weeks to several months. Factors like the materials you add, how often you turn it, the weather, and the tumbler’s design all play a role. Consistent turning and a good Green-to-Brown balance speed things up significantly.
Q2: Can I put all my kitchen scraps in a tumbler?
A: Mostly yes! Focus on fruit and vegetable scraps, coffee grounds, and tea bags. Avoid meat, dairy, oils, and greasy foods, as these can attract pests and create odors. Always bury fresh food scraps under a layer of Browns.
Q3: What if my compost smells bad?
A: A bad smell usually means too much nitrogen (Greens) or not enough air (anaerobic conditions). Add more carbon-rich materials (Browns) like shredded cardboard, dry leaves, or straw, and turn the tumbler thoroughly to aerate it. Ensure it’s not too wet.
Q4: How do I know when the compost is ready?
A: Ready compost will be dark, crumbly, and have an earthy smell. It should look like rich soil, and you shouldn’t be able to identify the original scraps. You can sift it to remove any larger unfinished pieces.
Q5: Do I need to add water all the time?
A: You need to keep the compost moist, like a wrung-out sponge. Check it during turning. If it feels dry, add some water. If it’s soggy, add more Browns and turn. Moisture needs vary with weather conditions.
Q6: Can I compost grass clippings in a tumbler?
A: Yes, but in moderation! Fresh grass clippings are very rich in nitrogen (Greens) and can clump together, reducing airflow and causing odors. Mix them well with Browns, and add them in thinner layers to avoid matting.
Q7: My tumbler is hard to turn. What can I do?
A: Ensure the tumbler is balanced and not overfilled. Check that the wheels or turning mechanism are clean and free of debris. Some models are just a bit harder to turn than others; if it’s a consistent struggle post-assembly, check the manufacturer’s troubleshooting guide or contact them for assistance.
Conclusion
There you have it! Using a compost tumbler is a straightforward and highly effective way to turn your kitchen and yard waste into valuable compost for your garden. By understanding the balance of Greens and Browns, remembering to turn it regularly, and keeping an eye on moisture levels, you’ll be producing rich, black gold in no time. Don’t be afraid to experiment – composting is as much an art as a science! Whether you fill up a single chamber or manage a continuous flow with a dual-chamber system, your plants will thank you for the nourishment. Happy composting, TopChooser friends – you’ve got this!

I am passionate about home engineering. I specialize in designing, installing, and maintaining heating, ventilation, and air conditioning systems. My goal is to help people stay comfortable in their homes all year long.