Hey there, fellow home improvers and garden enthusiasts! Ever look at your kitchen scraps and yard waste and feel a bit of guilt throwing them away? You’re not alone. It’s a common frustration, thinking all that good stuff is just going to waste in a landfill. But what if I told you there’s a super simple way to turn that “waste” into black gold for your plants? Yep, we’re talking about composting! And I’m here to show you that it’s not some complicated science experiment. With a few genius, effortless tips, you’ll be a composting pro in no time.
Composting For Beginners DIY: Genius Effortless Tips

Welcome, DIYers! This is Troy D Harn from TopChooser, your go-to for making home projects, gardening, and yes, even composting, totally manageable. Forget those overwhelming guides; we’re diving into composting the easy way. We’ll cover everything from choosing your bin to knowing what goes in and what stays out, all with simple, practical advice. Ready to transform your kitchen scraps and yard trimmings into nutrient-rich fertilizer for your garden? Let’s get started!
Why Compost? The Big Picture
Composting isn’t just for hardcore gardeners or environmental superstars. It’s a smart, practical way for anyone to reduce waste and improve their soil. Think of it as nature’s recycling program, right in your backyard (or on your balcony!).
- Reduces Landfill Waste: A huge chunk of what we throw away is compostable organic material. Composting keeps this out of landfills, where it can produce harmful greenhouse gases.
- Creates Amazing Fertilizer: Compost, often called “black gold,” is packed with nutrients that your plants will absolutely love. It improves soil structure, drainage, and water retention.
- Saves Money: You’ll buy fewer bags of soil and store-bought fertilizers. Plus, you’re reducing your waste disposal needs.
- Environmentally Friendly: It’s a fantastic way to contribute to a healthier planet, one kitchen scrap at a time.
Getting Started: Your Composting Toolkit (Simple Edition)
The beauty of DIY composting is that you don’t need fancy gadgets. You can start with something as simple as a pile in the corner of your yard, or invest in a basic bin. Here’s a look at what you might need:
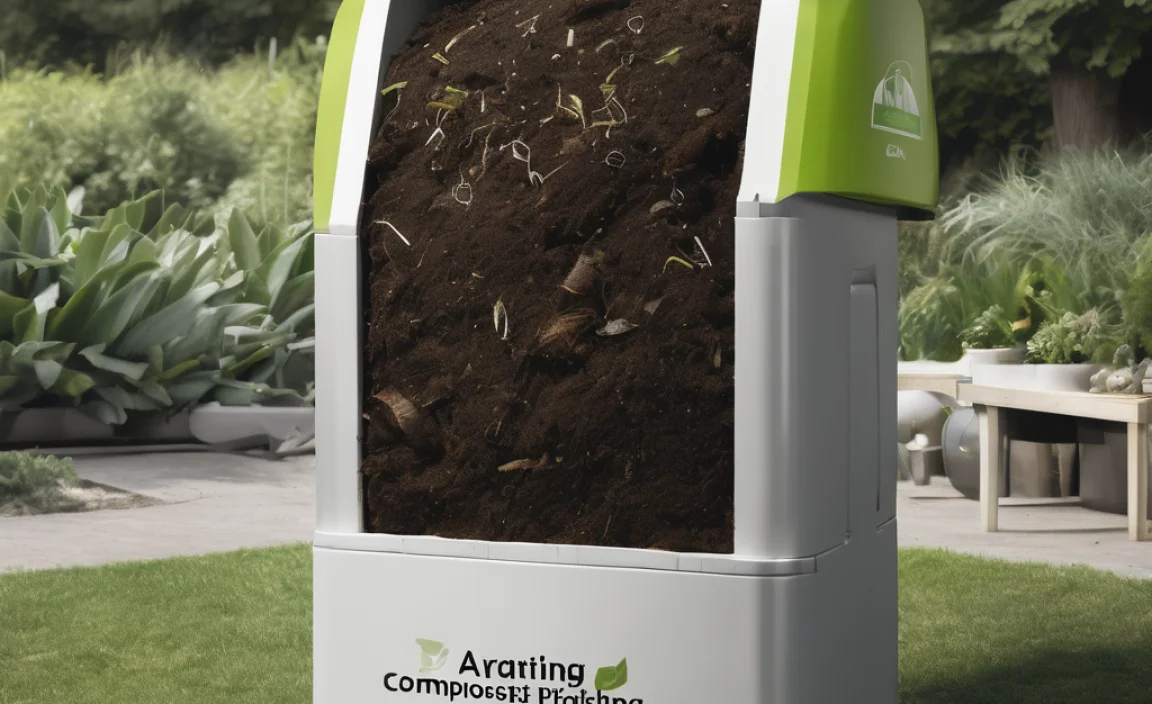
Composting Bin Options: Choose Your Adventure
Your bin is essentially the home for your compost. There are a few popular types, each with its own pros and cons for beginners:
| Bin Type | Description | Pros | Cons | Best For |
|---|---|---|---|---|
| Open Pile | Simply a heap of organic materials in a designated spot. | Easiest and cheapest to start. No cost for a bin. Large volume capacity. | Can look messy if not managed. Takes longer to break down. May attract pests if not handled correctly. Needs a good amount of space. | Larger yards, those with lots of yard waste, budget-conscious individuals. |
| Enclosed Bin (Plastic Tumbler or Stationary) | A manufactured container, often made of plastic or wood, with a lid. Tumblers can be rotated. | Neater appearance. Helps retain heat and moisture. May deter pests. Tumblers speed up the process. | Can be more expensive. Limited capacity compared to an open pile. Tumblers can get heavy when full. | Smaller yards, urban dwellers, those wanting a tidier look, faster composting. |
| Wire Mesh Bin | A cylinder or square made from wire fencing. | Good air circulation. Relatively inexpensive. Easy to build. | Materials can dry out faster. Not as aesthetically pleasing as some enclosed bins. | Anyone wanting a balance between cost and functionality, good air flow is a priority. |
For most beginners, a simple enclosed bin is a great starting point. You can often find affordable ones at garden centers or online. If you’re feeling crafty and have some scrap wire mesh, a DIY wire bin is also a fantastic, budget-friendly option.
Essential Tools (That You Probably Already Have)
You don’t need much, but a few things will make the job easier:
- Pitchfork or Garden Fork: For turning and aerating your compost.
- Shovel: For moving compost materials and finished compost.
- Watering Can or Hose: To keep your compost moist.
- Kitchen Compost Pail: A small lidded container for collecting scraps indoors before taking them out to the main bin.
- Gloves: For keeping your hands clean.
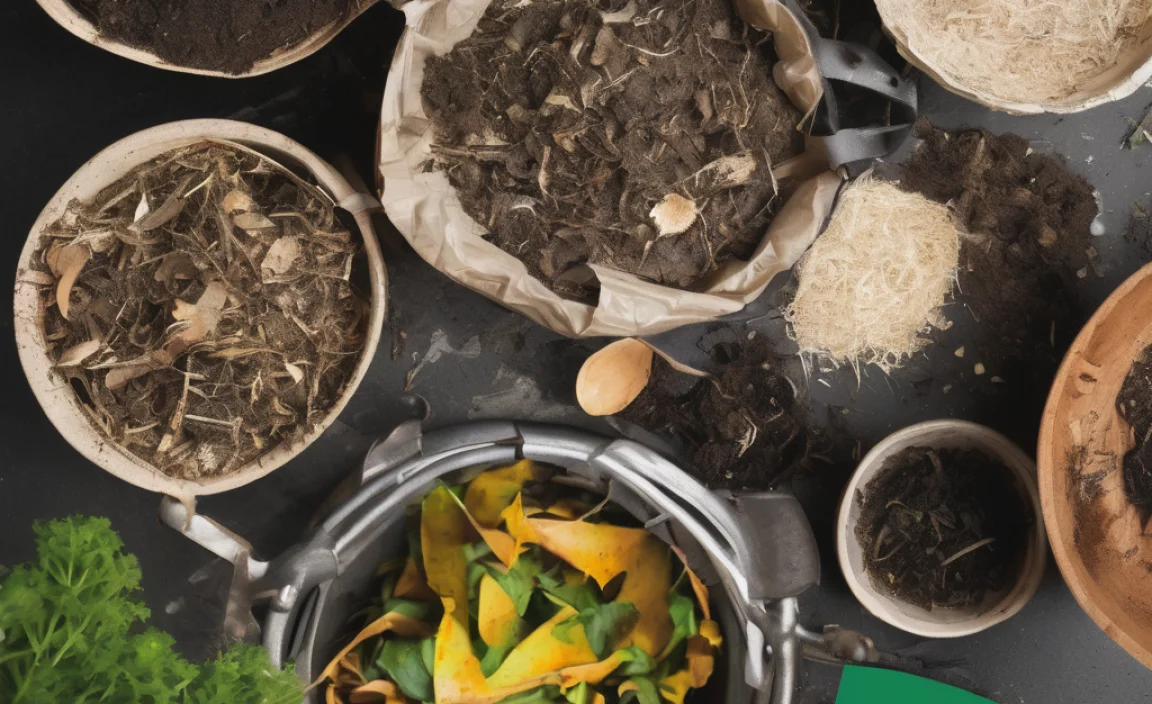
The Magic Recipe: What to Compost
Composting works by balancing “greens” (nitrogen-rich materials) and “browns” (carbon-rich materials). Getting this balance right is key to fast, effective composting. Think of it like a recipe for success!
Greens (Nitrogen-Rich): What to Add
These are typically wet, fresh materials that provide nitrogen to help the microorganisms break things down.
- Fruit and vegetable scraps (peels, cores, rinds)
- Coffee grounds and tea bags
- Grass clippings (in thin layers to avoid matting)
- Plant trimmings (fresh)
- Eggshells (crushed)
- Manure from herbivores (like rabbits, cows, horses – not dogs or cats)
Browns (Carbon-Rich): What to Add
These are dry, woody materials that provide carbon and help with air circulation.
- Dry leaves
- Shredded newspaper and cardboard (avoid glossy paper and colored inks)
- Straw and hay
- Sawdust and wood chips (from untreated wood)
- Twigs and small branches (chopped or shredded)
- Pine needles (use in moderation as they can be acidic)
The “No-Go” List: What to Avoid
Some things just don’t belong in your compost bin. This is super important for avoiding smells, pests, and pathogens.
- Meat, fish, and bones
- Dairy products (milk, cheese, yogurt)
- Oils, greases, and fatty foods
- Diseased plants
- Weeds that have gone to seed
- Dog or cat feces
- Coal or charcoal ash
- Treated wood products
- Synthetic materials (plastics, metals, glass)
Putting It All Together: The Effortless Composting Process
Now that you know what goes in, let’s get your compost pile cooking!
Step 1: Choose Your Location
Pick a spot that’s:
- Accessible: Easy to get to with your kitchen scraps and yard waste.
- Well-drained: You don’t want your compost sitting in a puddle.
- Partially Shaded: This helps retain moisture but prevents it from drying out too quickly in direct sun.
- Away from wooden structures: If you’re concerned about moisture.
Step 2: Start Layering
Begin with a layer of coarse brown materials at the bottom. This helps with aeration and drainage. Then, start alternating layers of greens and browns. A good rule of thumb is about two parts browns to one part greens. Don’t stress too much about perfect ratios initially; just aim for a mix.
For example, you might add:
- A 4-6 inch layer of twigs or straw.
- A 2-3 inch layer of kitchen scraps (greens).
- A 4-6 inch layer of dry leaves or shredded cardboard/newspaper (browns).
- Repeat!
Step 3: Keep It Moist
Your compost pile needs moisture to work. It should feel like a wrung-out sponge – damp, but not soggy. If it’s too dry, the decomposition process slows down. If it’s too wet, it can get smelly and anaerobic (lacking air). Water the pile when you add dry materials, or if it feels dry to the touch.
Step 4: Aerate (Turn It!)
Composting needs oxygen. Turning your compost pile regularly helps introduce air, speeds up decomposition, and prevents it from becoming a smelly, soggy mess. Aim to turn it every 1-4 weeks. If you have a tumbler, give it a spin every few days. If you have an open pile or stationary bin, use your pitchfork to mix everything up.
Pro Tip: If you notice a strong ammonia smell, it’s likely too many greens or too much moisture. Add more browns and turn it. If it smells like rotten eggs, it’s too wet and compacted. Add browns and turn to aerate.
Step 5: Be Patient!
Composting is a natural process, and it takes time. Depending on the materials you use, the size of your pile, and how often you turn it, compost can be ready anywhere from 2 months to a year.
Troubleshooting Common Composting Hiccups
Even with the best intentions, you might run into a snag. Don’t worry, these are common and easy to fix!
- Smelly Compost: Usually a sign of too much nitrogen (greens) or lack of air. Solution: Add more browns (leaves, cardboard) and turn the pile to aerate. Ensure it’s not too wet.
- Compost Isn’t Breaking Down: It might be too dry, too cold, or lack nitrogen. Solution: Add water if dry. Add more greens (food scraps, grass clippings) if it seems too carbon-heavy. Turn the pile to mix.
- Attracting Pests (Flies, Rodents): This is often due to exposed food scraps or the wrong materials being added. Solution: Bury food scraps deep within the pile. Avoid meat, dairy, and oily foods. Ensure your bin has a lid or is enclosed well.
- Too Much Wet Material: Excess moisture can lead to anaerobic conditions and smells. Solution: Add dry brown materials like shredded cardboard, leaves, or straw to absorb excess moisture and improve air circulation. Turn the pile.
When is My Compost Ready?
You’ll know your compost is ready when it:
- Looks dark and crumbly, like rich soil.
- Smells earthy and pleasant, not sour or rotten.
- The original materials are no longer recognizable.
When it’s ready, you can harvest it from the bottom of your bin (if it has a door) or by sifting your pile. Use it to enrich your garden beds, potting mixes, or around trees and shrubs. You can learn more about soil health from resources like the EPA’s composting guidelines.
Quick Composting Summary: The “Don’t Forget This” List
Here’s a quick rundown to keep your composting journey smooth sailing:
- Balance Greens and Browns: Aim for roughly 2 parts browns to 1 part greens.
- Maintain Moisture: Keep it damp like a wrung-out sponge.
- Aerate Regularly: Turn your pile or tumble it every week or two.
- Avoid the “No-Go” List: No meat, dairy, oils, or diseased plants.
- Be Patient: Nature works on its own timeline!
Advanced Tips for the Enthusiastic Beginner
Once you’ve got the basics down, here are a few things to take your composting to the next level:
- Chop It Up: Smaller pieces break down faster. Chop up those large vegetable stalks or cardboard boxes.
- Layer Strategically: Try to bury fresh kitchen scraps under a layer of browns to deter pests and reduce odors.
- Know Your Microbes: The magic happens with beneficial bacteria, fungi, and other microorganisms. Your goal is to create an environment they love: moist, airy, and with plenty of food sources.
- Use a Compost Thermometer: For those who like data, a compost thermometer can help you monitor the internal temperature, which indicates microbial activity. The pile should heat up significantly for a period, killing weed seeds and pathogens.
- Consider a Worm Bin (Vermicomposting): For apartment dwellers or those with very limited space, a worm bin is an excellent, contained composting method.
Composting in Small Spaces: Balconies and Smaller Yards
Don’t have a sprawling backyard? No problem! Composting is still achievable:
- Compact Bins: Look for smaller, sealed compost bins designed for patios or balconies.
- Worm Composting: As mentioned, worm bins are perfect for small spaces. They are contained, odorless (when managed correctly), and highly efficient. You can buy kits or easily build your own. Check out resources on DIY worm bin construction for guidance.
- Bokashi Composting: A fermentation process using inoculated bran. It can handle food scraps that traditional composting can’t (like meat and dairy) and is done in a sealed bucket. The fermented material then needs to be buried or added to a traditional compost pile to finish breaking down.
Compost Tea: A Liquid Gold Bonus
Once your compost is mature, you can even make “compost tea.” This is essentially a liquid fertilizer made by steeping finished compost in water. It’s a fantastic way to give your plants a nutrient boost.
Simple Compost Tea Method:
- Fill a bucket about a third full with finished compost.
- Fill the rest of the bucket with water.
- Let it steep for 24-48 hours, stirring occasionally.
- Strain out the solids (add them back to your compost pile).
- Dilute the “tea” with more water (about 1 part tea to 10 parts water) and use it to water your plants.
Conclusion: Your Composting Journey Begins!
See? Composting for beginners DIY doesn’t have to be daunting at all! By understanding the simple principles of balancing greens and browns, keeping adequate moisture, and providing aeration, you’re well on your way to creating your own nutrient-rich compost. You’re not just reducing waste; you’re actively enriching your soil, helping your plants thrive, and making a positive impact on the environment. Start small, be patient, and don’t be afraid to learn as you go.
FAQ: Your Composting Questions Answered
Q1: How long does it take to make compost?
A1: It varies greatly! Depending on the method, materials, aeration, and moisture, it can take anywhere from 2 months to over a year. Tumbling bins and actively managed piles tend to be faster.
Q2: My compost smells really bad. What did I do wrong?
A2: A bad smell, often like rotten eggs or ammonia, usually means the pile is too wet and/or lacks air. Add more “brown” materials (like dry leaves or shredded cardboard) and turn the pile to mix and aerate it.
Q3: Can I compost yard waste like _weeds_?
A3: Be cautious with weeds. It’s best to avoid composting weeds that have gone to seed, as the seeds might survive the process and sprout in your garden. Diseased plants should also be avoided.
Q4: Do I really need to turn my compost pile so often?
A4: Turning (aerating) your compost speeds up the process significantly. It introduces oxygen, which the microbes need to break down material efficiently and prevent foul odors. If you’re in no hurry, a less-frequently turned pile will still eventually compost, just much slower.
Q5: What are “greens” and “browns”?
A5: “Greens” are nitrogen-rich materials like fruit and vegetable scraps, grass clippings, and coffee grounds. “Browns” are carbon-rich materials like dry leaves, shredded paper, cardboard, and twigs. A good balance of both (roughly 2 parts browns to 1 part greens) is essential for healthy composting.
Q6: Can I compost _cooked food_?
A6: Generally, it’s best to avoid cooked food scraps, especially meat, dairy, and oily foods, in backyard compost piles. These can attract pests and create odors. However, some advanced methods like Bokashi can handle these items.
Related Posts

I am passionate about home engineering. I specialize in designing, installing, and maintaining heating, ventilation, and air conditioning systems. My goal is to help people stay comfortable in their homes all year long.