Hey there, fellow garden enthusiasts! Troy D Harn here. Ever look at your community garden and think, “Man, we could really use more good stuff for our soil”? Well, you’re in luck! Composting is like magic for your garden, and doing it together makes it even more awesome. It might sound a bit complicated, but trust me, it’s totally doable and will make your plants happier than a pig in mud. Let’s dive into some super smart ways to get composting going in your community garden. We’ll cover everything you need to know to turn your scraps into garden gold!
Why Composting Matters for Your Community Garden
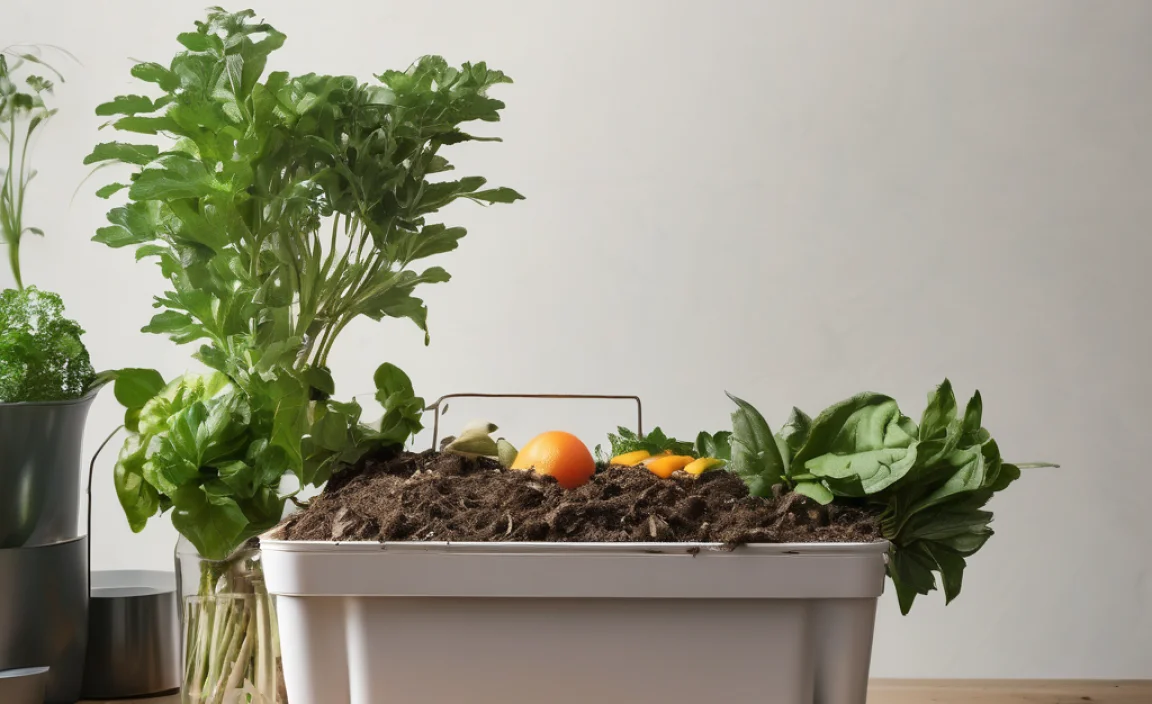
Think of your community garden as a big family. Everyone pitches in, right? Composting is just another way to work together for a common goal: healthier plants and less waste. When you compost, you’re creating nutrient-rich soil food from kitchen scraps and yard waste. This super stuff helps plants grow strong, fight off pests, and produce more tasty veggies and beautiful flowers. Plus, it’s a fantastic way to reduce what you send to the landfill. It’s a win-win for your garden and the planet!
Turn Waste into Garden Gold
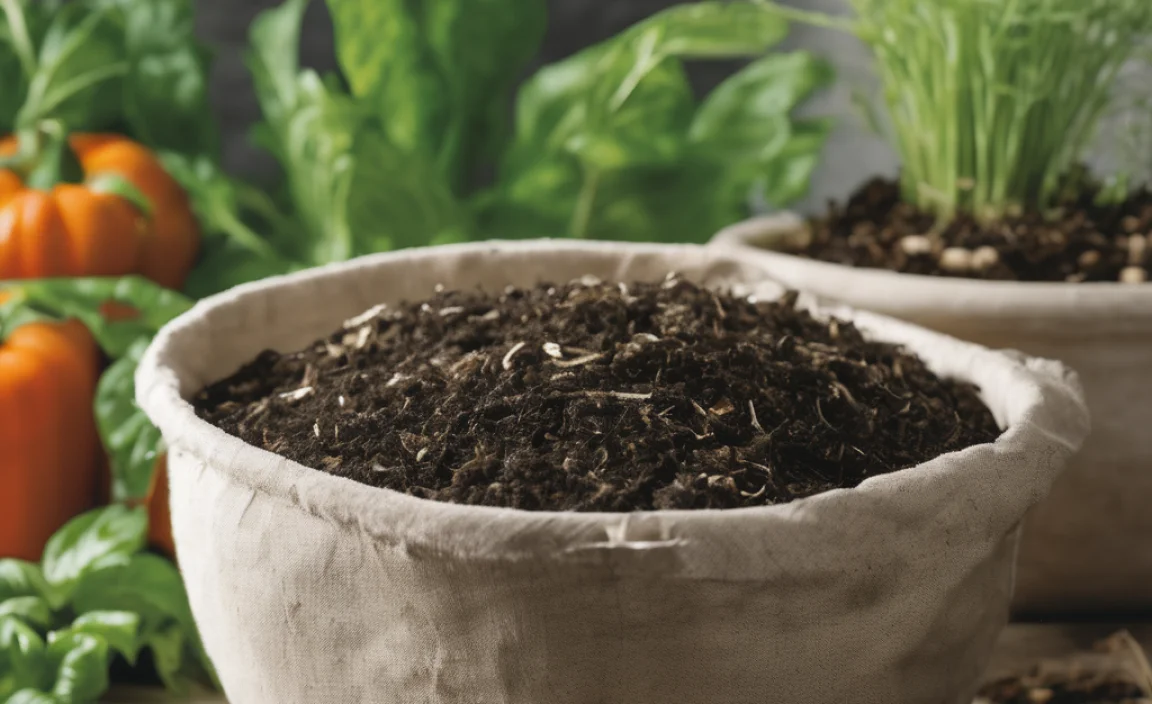
The basic idea is simple: organic matter breaks down over time and turns into a dark, crumbly, nutrient-packed material called compost. This compost then gets added back to your garden beds to enrich the soil. It’s like giving your plants a multivitamin! For a community garden, this means:
- Richer Soil: Compost improves soil structure, helping it hold moisture and air. This is great for plants, especially in raised beds common in community gardens.
- Fewer Weeds: Healthy, compost-amended soil means stronger plants that can outcompete weeds.
- Less Fertilizer Needed: Compost provides essential nutrients, so you can cut down on store-bought fertilizers, saving money and reducing chemical runoff.
- Waste Reduction: You’ll divert a lot of kitchen scraps and garden debris from the trash.
- Community Bonding: Working on a composting project together can be a fun and rewarding activity for garden members.
Genius Composting Ideas for Your Community Garden
Now, let’s get to the fun stuff! Here are some clever ways to set up and manage composting in your community garden:
1. The Classic Three-Bin System
This is a tried-and-true method that works wonders for larger amounts of compost. It’s perfect for a community setting because it allows for continuous composting.
How it Works:
You have three separate bins arranged side-by-side. Each bin serves a different stage of the composting process:
- Bin 1 (Adding New Material): This is where you’ll toss all your fresh kitchen scraps (“greens”) and yard waste (“browns”).
- Bin 2 (Actively Decomposing): Once Bin 1 starts filling up, you turn the contents into Bin 2. Here, the composting process really gets going, with heat building up.
- Bin 3 (Curing/Finished Compost): When Bin 2 has decomposed significantly, you move it to Bin 3 to finish curing. This bin holds the ready-to-use compost.
Why It’s Genius for Community Gardens:
- Continuous Flow: You can keep adding new materials in Bin 1 while others are actively breaking down or curing.
- Organization: It keeps different stages of compost separate and tidy.
- Scalability: You can adjust the size of the bins to match the amount of waste your garden produces.
- Education: It’s a visible way to teach members about the composting cycle.
Building a Three-Bin System:
You can build these bins from materials like untreated lumber, cinder blocks, or even repurposed pallets. Make sure each bin is at least 3x3x3 feet to allow for good air circulation and to build up enough material to generate heat. You’ll need a way to turn the compost, like a pitchfork or compost aerator tool.
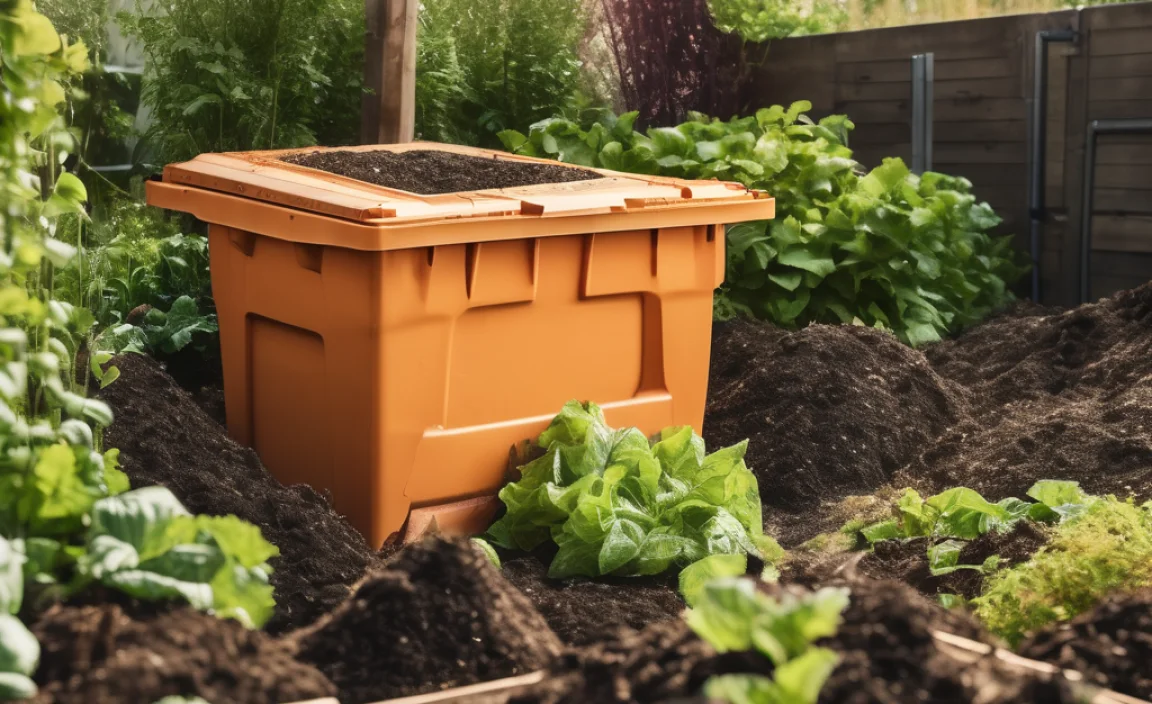
2. The Tumbler Solution
Compost tumblers speed up the process and keep things neat. They are essentially large drums that you rotate to mix the contents. This makes turning easy and can help deter pests.
How it Works:
You fill the tumbler with your greens and browns. Then, you simply rotate the drum every few days. This mixing introduces oxygen, which is crucial for decomposition, and helps break down the material faster.
Why It’s Genius for Community Gardens:
- Speed: Tumblers can produce compost much faster than static piles.
- Pest Control: The enclosed nature of tumblers helps keep rodents and other unwanted visitors out.
- Less Physical Labor: Rotating a tumbler is much easier than turning a large pile with a pitchfork.
- Tidy Appearance: They look much neater than open compost piles, which can be a plus in some community garden settings.
Considerations:
Tumblers are often more expensive upfront than DIY bins. They also have a limited capacity, so if your community garden produces a huge volume of waste, you might need multiple tumblers or a different system. You can find various types of compost tumblers online or at garden supply stores.
3. The “Hack” Compost Pile (Sheet Composting/Lasagna Gardening)
This is a fantastic, low-effort method that builds compost directly in your garden beds or in a designated area. It’s often called “lasagna gardening” because you layer different materials, much like making a lasagna.
How it Works:
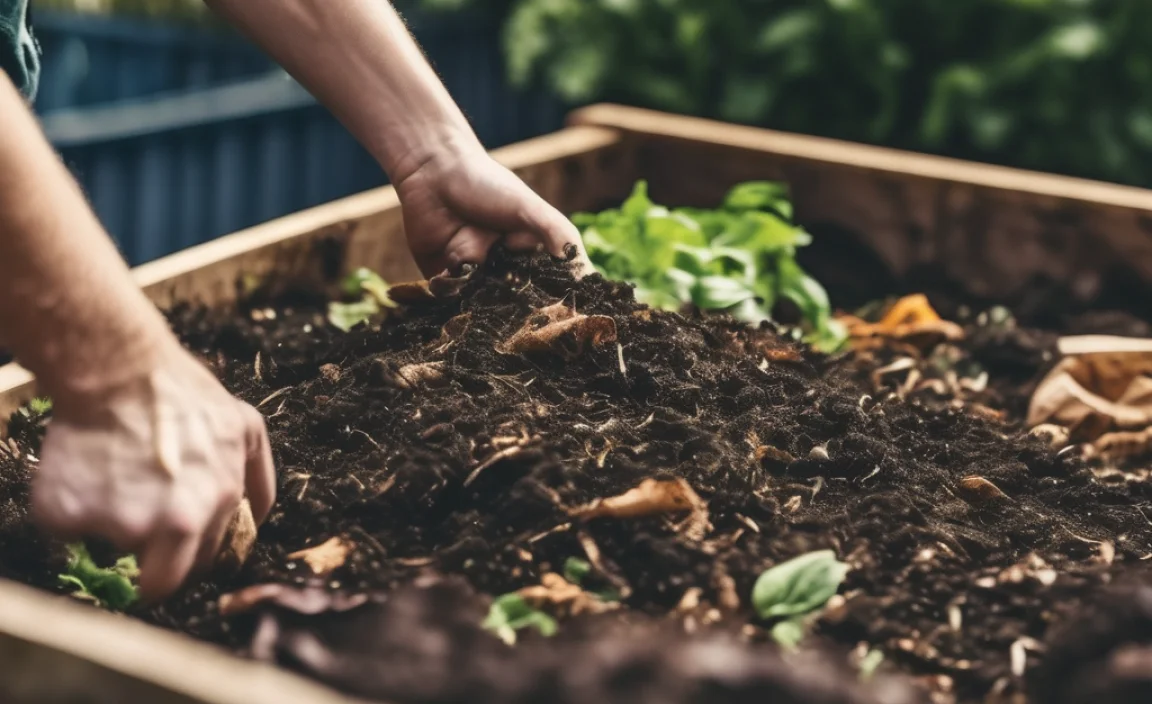
Start by laying down a base layer of “browns” (like cardboard or newspaper) if you’re building directly on the soil. This smothers grass and weeds. Then, alternate layers of “greens” (kitchen scraps, grass clippings, coffee grounds) and “browns” (dried leaves, straw, shredded paper). Water each layer as you go. Over time, the materials will break down into rich soil.
Why It’s Genius for Community Gardens:
- Easy Setup: Requires minimal construction. You can even start it in a corner of the garden and let it decompose in place.
- Builds Beds: You can build up new garden beds using this method.
- Low Maintenance: Once layered, it requires less active turning.
- Great for Beginners: Very forgiving and easy for new members to understand and contribute to.
Example Layering (Top to Bottom):
- Finished Compost (optional, to start planting quickly if adding to a bed)
- Layer of Green Material (e.g., kitchen scraps, grass clippings)
- Layer of Brown Material (e.g., shredded leaves, straw)
- Layer of Green Material
- Layer of Brown Material
- Cardboard or Newspaper (to suppress weeds if building a new bed on lawn)
4. Worm Composting (Vermicomposting) for Kitchen Scraps
This is a super-efficient way to break down kitchen waste, especially for smaller community gardens or for members who want to manage their own scraps. Red wiggler worms do the hard work!
How it Works:
You set up a special bin filled with bedding (like shredded newspaper or coconut coir). Add red wiggler worms, and feed them your kitchen scraps (avoiding meat, dairy, and oily foods). The worms eat the scraps and excrete a nutrient-rich material called worm castings, which is an amazing fertilizer.
Why It’s Genius for Community Gardens:
- Fast Decomposition: Worms are incredibly efficient at breaking down organic matter.
- High-Quality Compost: Worm castings are packed with nutrients and beneficial microbes.
- Odor-Free (if done correctly): When managed properly, vermicomposting bins don’t smell.
- Great for Small Spaces: Can be done in relatively small, contained bins.
- Educational Opportunity: Teaching members about vermicomposting can be really engaging.
Getting Started with Vermicomposting:
You can buy pre-made worm bins or build your own. The key is to get the right type of worms (red wigglers, not earthworms from your garden) and feed them appropriately. Resources like the EPA’s composting page offer great insights into composting methods.
5. Community Compost Hub & Drop-Off
This is less about a specific method and more about how you manage contributions. Designate a central area for composting, and create clear guidelines for what members can contribute.
How it Works:
Set up a clear composting system (like a three-bin system or large static pile) that the garden committee or designated volunteers maintain. Members can bring their eligible kitchen scraps and yard waste to this central hub. Clear signage is essential here!
Why It’s Genius for Community Gardens:
- Shared Responsibility: Everyone contributes, but a smaller group manages the active composting.
- Reduces Individual Burden: Members don’t have to manage their own compost piles at home.
- Ensures Proper Materials: Clear guidelines reduce the risk of contaminated compost.
- Efficient Use of Space: Consolidates composting efforts in one manageable area.
Key Elements for Success:
- Clear Signage: What goes in, what stays out.
- Designated Containers: Provide bins or designated areas for drop-offs.
- Regular Maintenance Team: Assign people to manage turning, watering, and harvesting.
- Educational Workshops: Host sessions on what can and cannot be composted.
What Can You Compost? The “Greens” and “Browns” Breakdown
Understanding the balance of “greens” (nitrogen-rich) and “browns” (carbon-rich) is super important for good compost. Think of greens as the activators and browns as the bulk and air providers.
“Greens” (High in Nitrogen)
- Fruit and vegetable scraps
- Coffee grounds and tea bags
- Grass clippings (in moderation)
- Plant trimmings (disease-free)
- Eggshells (crushed)
- Manure from herbivores (like rabbits, chickens, cows – aged is best)
“Browns” (High in Carbon)
- Dried leaves
- Straw and hay
- Shredded newspaper and non-glossy cardboard
- Wood chips and sawdust (from untreated wood)
- Paper towel tubes and egg cartons (unwaxed)
- Pine needles (use sparingly, can be acidic)
What to AVOID Composting in a Community Garden (Generally)
To keep your compost healthy and safe, and to avoid attracting unwanted pests or creating bad smells, it’s best to keep these out:
- Meat, fish, and bones
- Dairy products (milk, cheese, yogurt)
- Oily foods and grease
- Diseased plants or weeds gone to seed
- Pet waste (from cats and dogs)
- Treated wood or sawdust
- Glossy paper or magazines
- Weeds that have gone to seed (they might still sprout!)
- Inorganic materials (plastic, metal, glass)
It’s always a good idea to have a designated bin for “non-compostables” at your drop-off point to catch any oopsies. A quick rule of thumb for balance is roughly two to three parts browns to one part greens by volume.
Composting Tools Every Community Garden Needs
You don’t need a ton of fancy equipment, but a few key tools make the composting job much easier and more effective for your community garden.
| Tool | Purpose | Why it’s Helpful |
|---|---|---|
| Pitchfork or Compost Aerator | Turning and aerating the compost pile. | Essential for mixing materials, introducing oxygen, and speeding up decomposition. A compost aerator is a metal pole with a handle and loop that you plunge into the pile and twist. |
| Shovels | Moving compost and materials. | Useful for transferring finished compost to garden beds or moving bulk materials. |
| Buckets or Bins for Collecting Scraps | Gathering kitchen scraps from members or designated collection points. | Makes it easy for members to transport their scraps to the main compost area. Look for ones with lids to minimize odors and pests. |
| Garden Hose or Watering Can | Maintaining the right moisture level. | Compost needs to be about as damp as a wrung-out sponge. You’ll need to add water if it gets too dry. |
| Gloves | Protecting hands. | Keeps your hands clean and protected while handling compost and materials. |
| Signage | Clear instruction and labeling. | Crucial for educating members on what to compost and where to put it. Labeling bins (Greens, Browns, Compost) is very helpful. |
Troubleshooting Common Composting Issues
Even with the best intentions, you might run into a few hiccups. Don’t worry, these are usually easy fixes!
Problem: My compost pile smells bad (like rotten eggs or ammonia).
Cause: Too many “greens” or not enough air circulation. This means it’s likely anaerobic (lacking oxygen) and getting too wet.
Solution: Add more “browns” to absorb excess moisture and nitrogen. Turn the pile thoroughly to introduce air. If using a bin, ensure the vents are clear.
Problem: My compost pile isn’t heating up or decomposing.
Cause: It’s too dry, or the ratio of greens to browns is off (too many browns, or not enough greens).
Solution: Add water until it’s like a wrung-out sponge. If it’s mostly browns, add more nitrogen-rich “greens.” Gently turn the pile to mix things up.
Problem: There are so many flies and fruit flies buzzing around.
Cause: Exposed food scraps on the surface.
Solution: Always bury fresh kitchen scraps beneath a layer of compost or “browns” (like leaves or shredded paper). Ensure your compost bin has a lid that fits well.
Problem: I see rodents (rats, mice) visiting the compost pile.
Cause: The pile contains tempting food scraps like meat, dairy, or fats, or the compost is easily accessible.
Solution: Stop adding meat, dairy, and oily foods immediately. Use a compost tumbler or a fully enclosed bin with hardware cloth at the bottom to prevent burrowing. Ensure the pile is actively decomposing and heating up, as this is less attractive to rodents.
For more detailed information on composting science, you can check out resources from university extensions. For example, many university extension programs offer excellent, localized gardening and composting advice.
Making Compost Work for Everyone: Tips for Community Buy-In
Getting everyone in the community garden on board with composting is key. Here are some ideas:
- Start Small: Don’t try to implement ten new ideas at once. Pick one or two that seem most feasible for your garden.
- Education is Key: Host a simple workshop or create clear, visual guides on what to compost and why. Make it fun!
- Assign Roles: Have a “Compost Champion” or a small committee responsible for managing the compost bins. This prevents it from becoming a burden on one person.
- Make it Visible: Place your compost bins in an accessible, but not obtrusive, location. Clear signage helps.
- Celebrate Success: When you start harvesting finished compost, show everyone how it improves the garden beds. Share the results!
- Incentivize Participation: Perhaps members who contribute the most eligible scraps get a share of the finished compost for their own plots.
Conclusion
Composting for your community garden doesn’t have to be a chore; it can be a collaborative effort that yields amazing results. Whether you choose the organized flow of a three-bin system, the speedy convenience of a tumbler, the layered simplicity of lasagna gardening, or the efficiency of vermicomposting, there’s a method that can work for your group. By understanding the balance of greens and browns, using the right tools, and troubleshooting common issues, you’ll be well on your way to transforming your garden’s waste into nutrient-rich

I am passionate about home engineering. I specialize in designing, installing, and maintaining heating, ventilation, and air conditioning systems. My goal is to help people stay comfortable in their homes all year long.