Hey there, fellow farmers! Troy D Harn here from TopChooser. Ever feel like your farm waste is just… well, waste? Tired of seeing those plant scraps, manure, and kitchen leftovers pile up? You’re not alone. Managing farm waste can feel like a big, messy puzzle. But what if I told you there’s a simple, natural way to turn that “waste” into a farm superpower? That’s right, we’re diving into composting for farmers solutions! It’s easier than you think, and I’m going to walk you through it, step by step. Get ready to transform your farm’s byproducts into black gold that your soil will absolutely adore!
Composting For Farmers Solutions: Your Essential Guide to Turning Waste into Wealth
As farmers, we’re always looking for ways to boost our soil health, reduce our reliance on synthetic fertilizers, and operate more sustainably. Composting is a fantastic solution that ticks all these boxes. Think of it as nature’s recycling program, perfect for the farm scale. It’s not just about reducing waste; it’s about creating a nutrient-rich soil amendment that can improve crop yields, water retention, and overall farm productivity. This guide will break down everything you need to know, from the basics of what composting is to practical methods you can implement on your farm.
Why Composting is a Game-Changer for Farmers
Composting isn’t just a trendy buzzword; it’s a time-tested practice that offers tangible benefits for agricultural operations. By recycling organic materials on-site, you can significantly cut down on disposal costs and create a valuable resource right where you need it.
The Big Benefits of Farm Composting:
- Nutrient-Rich Soil Amendment: Compost adds essential macro and micronutrients to your soil, feeding your plants and reducing the need for costly synthetic fertilizers. It’s like giving your fields a supercharge!
- Improved Soil Structure: It enhances soil aeration, drainage, and water-holding capacity. This means healthier roots, less erosion, and better drought resistance.
- Waste Reduction: Less waste going to landfills or requiring special disposal means lower costs and a smaller environmental footprint.
- Disease Suppression: Healthy compost can introduce beneficial microorganisms that help suppress soil-borne diseases in your crops.
- Increased Microbial Activity: It boosts the population of beneficial microbes in your soil, leading to a more vibrant and resilient ecosystem.
- Cost Savings: By creating your own fertilizer, you slash expenses on commercial products.
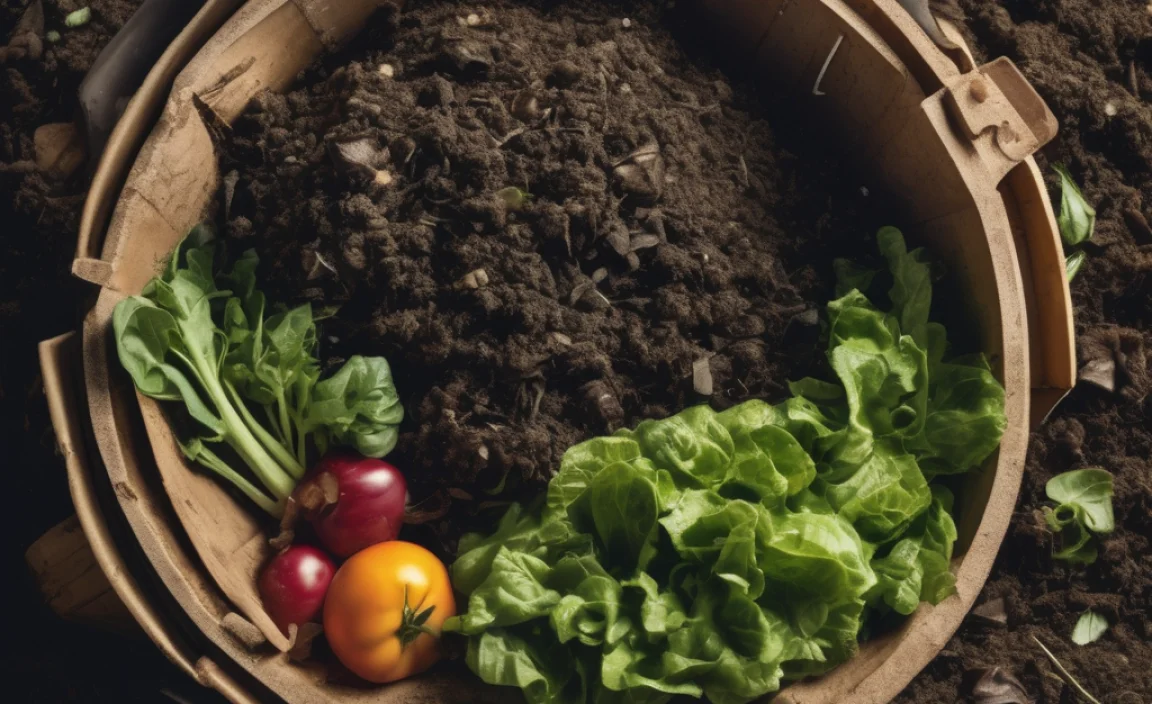
What Can You Compost on the Farm? The “Greens” and “Browns”

The secret to successful composting lies in balancing “greens” and “browns.” These are simply categories of organic materials based on their carbon and nitrogen content. Greens are nitrogen-rich, and browns are carbon-rich.
Getting the right mix is key. Too many greens can lead to a smelly, slimy pile. Too many browns and your compost might take ages to break down. Aim for a ratio of roughly 2 parts browns to 1 part greens by volume, though this can vary.
Common Farm “Greens” (Nitrogen-Rich):
- Animal manures (cow, horse, chicken, sheep – avoid pet waste from carnivorous animals)
- Food scraps from the farm kitchen or processing
- Grass clippings and fresh plant trimmings
- Coffee grounds and tea bags
- Seaweed
Common Farm “Browns” (Carbon-Rich):
- Straw and hay
- Dried leaves
- Wood chips and sawdust (use sparingly, especially if treated)
- Cardboard and paper (shredded, avoid glossy or colored inks)
- Crop residues (stalks, husks, stems)
- Pine needles
Essential Tools for Farm Composting
You don’t need a massive investment to start composting on a larger scale. Here are some essentials that will make the process much smoother:
- Pitchfork or Shovel: For turning the compost pile and mixing materials. A sturdy one is a must!
- Water Source: A hose, watering can, or even a rain barrel to keep the pile moist.
- Compost Bin or Area: This can range from a simple open pile to a more structured bin.
- Optional: A mechanical or tractor-towed compost turner for very large operations.
Composting Methods for Farmers: Choosing the Right System
There are several composting methods suitable for farms, depending on your scale, resources, and the types of waste you generate. Let’s explore some popular options!
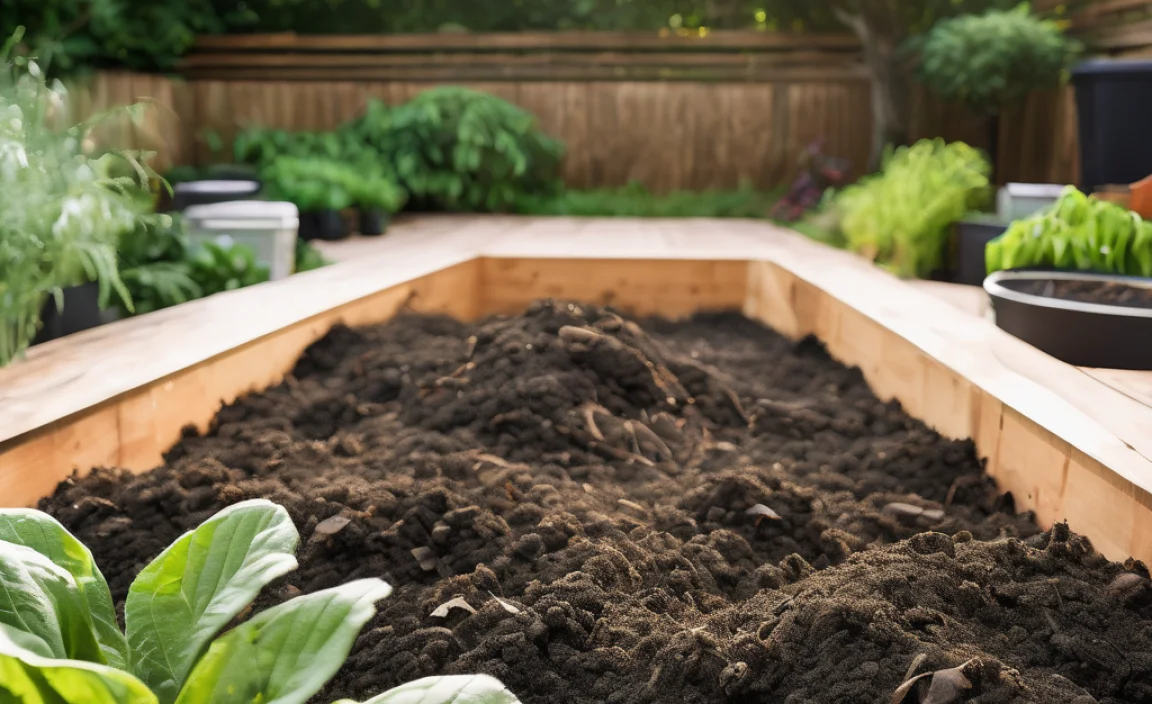
1. The Passive or Static Pile Method
This is the simplest approach. You basically create a large pile of organic materials and let nature do the work. It requires minimal turning, but it can take longer to decompose and might not reach the high temperatures that kill off weed seeds and pathogens.
How to Set Up a Static Pile:
- Choose a Location: Find a well-drained spot, ideally with some sun but not baking hot all day. Keep it accessible for adding materials and for eventual removal of compost.
- Build the Base: Start with a layer of coarse brown material (like straw or wood chips) for aeration.
- Layer Materials: Alternate layers of greens and browns, aiming for that 2:1 brown-to-green ratio. Chop or shred larger materials to speed up decomposition.
- Add Water: Moisten each layer as you build the pile. It should be damp like a wrung-out sponge, not soggy.
- Let it Sit: Cover the pile with a tarp or a layer of straw to retain moisture and heat. Leave it undisturbed for several months to over a year, depending on materials and climate.
2. The Active or Turning Pile Method
This method involves regular turning of the compost pile. Turning introduces oxygen, which is crucial for the aerobic bacteria that break down organic matter quickly and efficiently. This method produces compost much faster and at higher temperatures, which is great for killing weed seeds and pathogens.
How to Set Up and Maintain an Active Pile:
- Location & Base: Same as the static pile.
- Layer and Build: Build your initial pile with alternating layers of greens and browns, ensuring it’s moist. Aim for a minimum size of at least 3x3x3 feet (about 1 cubic yard) to help it heat up effectively.
- Monitor Moisture and Temperature: Check the moisture level regularly. If it’s too dry, add water. If too wet, add more browns and turn. Ideally, the pile should reach temperatures between 130-160°F (55-70°C) in the center, which you can monitor with a compost thermometer.
- Turn the Pile: Turn the pile every 1-3 weeks. The goal is to move material from the outside to the inside and vice-versa. This aerates the pile and ensures even decomposition.
- Continue Turning: Keep the pile moist and turn it until the materials are no longer recognizable and the compost is dark, crumbly, and smells earthy. This can take anywhere from 2 months to 6 months.
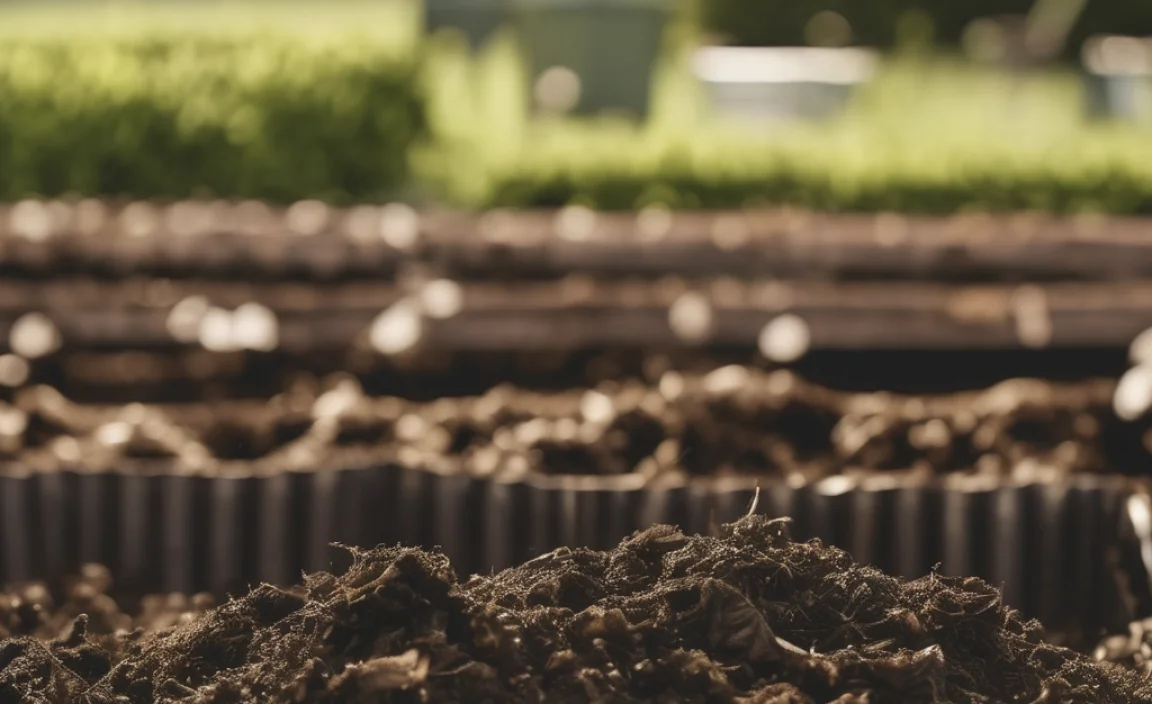
3. Windrow Composting
Windrows are long, elongated piles of organic material. This method is ideal for larger farms as it’s efficient for managing large volumes of material and can be easily turned with machinery like front-end loaders or specialized windrow turners. They allow for good aeration and can reach high temperatures.
Key Considerations for Windrows:
- Size: Typically 4-8 feet high, 10-20 feet wide, and as long as needed.
- Turning Schedule: Regular turning is essential, often done with large machinery. This is what drives the composting process at scale.
- Moisture Control: Important to maintain, especially in drier climates.
- Aeration: The shape and turning process inherently provide good aeration for the bulk of the material.
For many medium to large farms, investing in a tractor with a bucket or a dedicated compost windrow turner is a practical choice for managing large volumes of manure and crop residue efficiently.
4. In-Vessel Composting
This method involves composting organic materials inside an enclosed container, such as a drum, bin, or a large, specially designed silo. In-vessel systems offer greater control over temperature, moisture, and aeration, speeding up decomposition and ensuring pathogen kill-off. They are often more expensive upfront but can be very effective, especially for farms with specific waste streams or environmental concerns.
Types of In-Vessel Systems:
- Sealed Drums/Bins: Good for smaller farms or specific, clean waste streams.
- Tumbling Composters: Drums that can be rotated to mix and aerate the contents.
- Commercial Systems (Silos): Large, automated systems designed for high-capacity composting.
These systems are excellent for managing odors and preventing pest issues, making them suitable for farms located closer to residential areas. You can learn more about controlled composting processes from resources like the U.S. Environmental Protection Agency (EPA), which offers general composting principles applicable to various scales.
The Science Behind the Magic: What’s Happening in Your Compost Pile?
Don’t worry, we’re not going to get too technical! At its core, composting is a biological process. Microorganisms – bacteria, fungi, actinomycetes – are the hard workers. They consume the organic matter, breaking it down into simpler, stable compounds. These microbes need a few things to thrive:
- Food: The organic materials (greens and browns).
- Air (Oxygen): Essential for aerobic decomposition (the good, fast kind).
- Water: They need moisture to live and move.
- The Right Temperature: Microbes work best in a certain temperature range, and as they work, they generate heat!
When the pile generates enough heat (130-160°F / 55-70°C), it helps to kill off weed seeds and harmful pathogens. This is where active composting shines compared to just letting things break down slowly.
Troubleshooting Common Composting Problems
Even with the best intentions, sometimes compost piles present challenges. Here are a few common issues and how to fix them:
Problem: The Pile Smells Bad (Ammonia or Rotten Eggs)
Cause: Too many greens (nitrogen) or insufficient aeration (anaerobic conditions). The “rotten egg” smell indicates a lack of oxygen.
Solution:
- Add more brown, carbon-rich materials like straw, dried leaves, or wood chips.
- Turn the pile thoroughly to introduce air.
- If it’s too wet, add dry browns and turn.
Problem: The Pile Isn’t Heating Up
Cause: Not enough greens (nitrogen), pile is too small, pile is too dry, or it’s too cold outside.
Solution:
- Add a layer of fresh green material (like manure or grass clippings).
- Make sure the pile is at least 3x3x3 feet.
- Add water to moisten it.
- Turn the pile to mix existing materials.
- Consider using a compost activator if available.
Problem: The Pile is Too Dry
Cause: Not watered enough, too much sun, or too many brown materials.
Solution:
- Water the pile thoroughly. You can poke holes into the pile with a hose or pitchfork to get water to the center.
- Cover the pile with a tarp or a thick layer of straw to retain moisture.
- Add more green materials, which have a higher moisture content.
Problem: The Pile is Too Wet and Slimy
Cause: Too many greens, not enough browns, or excessive rainfall without adequate drainage or cover.
Solution:
- Add plenty of dry brown materials (straw, shredded paper, wood chips).
- Turn the pile well to improve aeration and mix in the browns.
- Ensure the pile is on well-drained ground or has good drainage features if in a bin. Consider covering it during heavy rain.
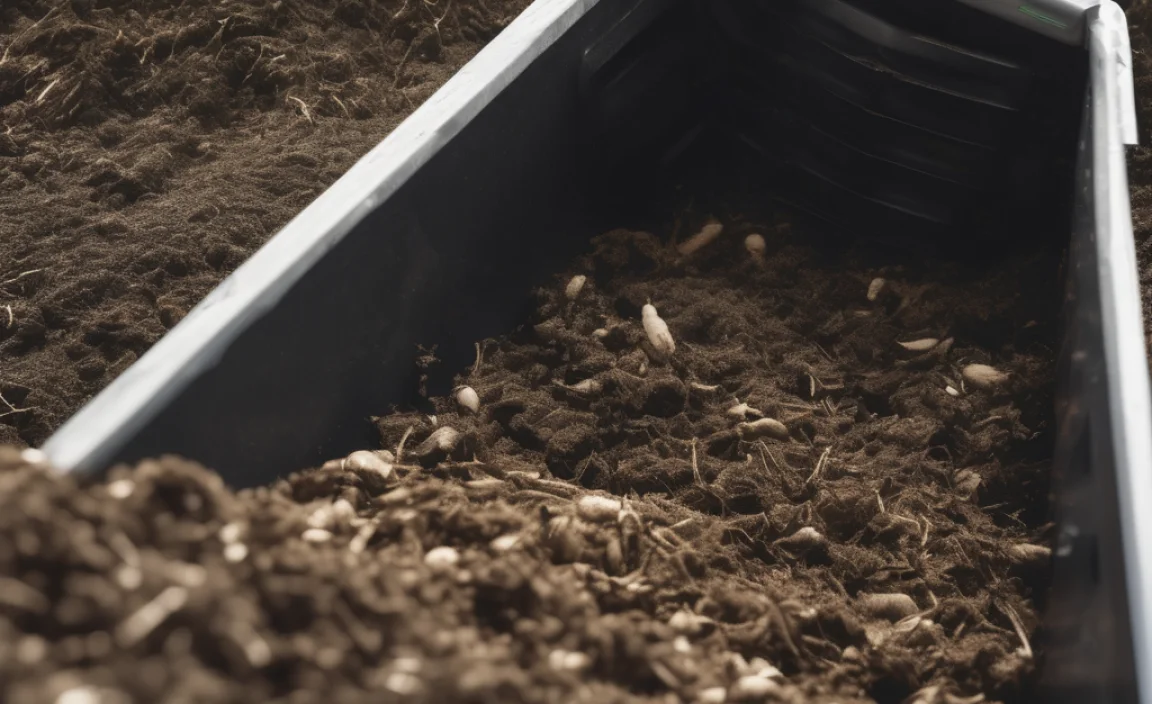
Problem: Pests (Rodents, Flies)
Cause: Exposed food scraps, meat/dairy in the pile, or pile not hot enough.
Solution:
- Bury food scraps deep within the pile, covering them with browns.
- Avoid adding meat, dairy, or oily foods if pests are a concern.
- Ensure the pile reaches and maintains high temperatures.
- Use well-constructed bins with secure lids if rodent issues persist.
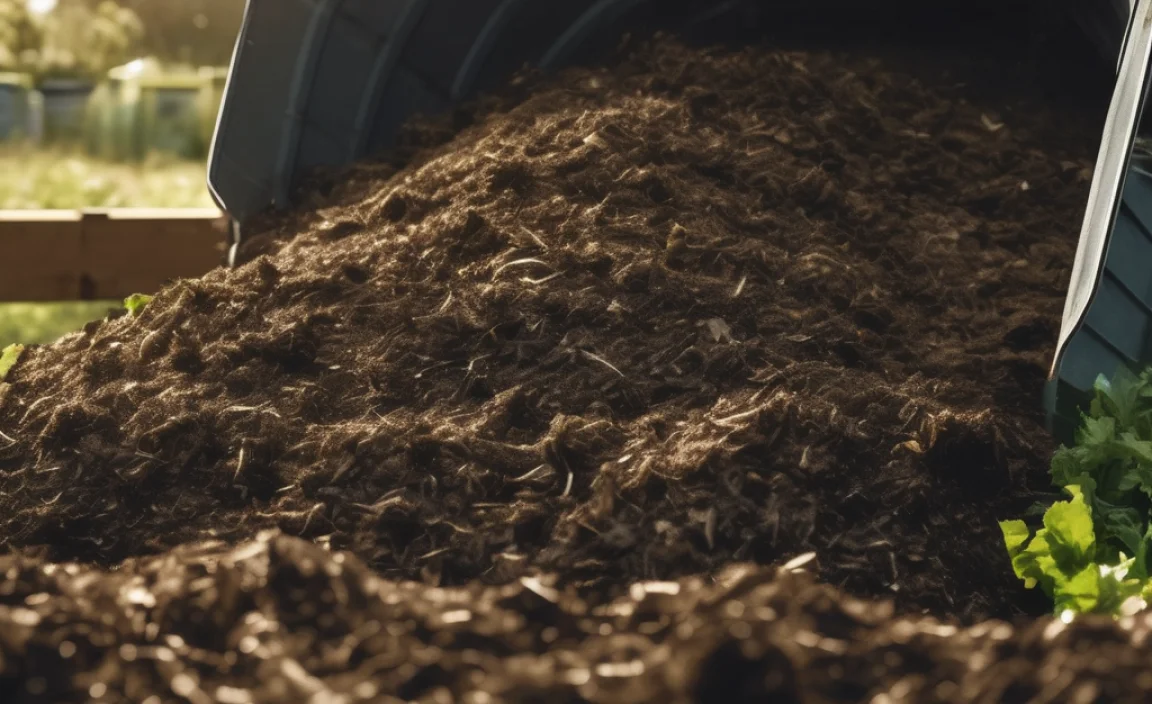
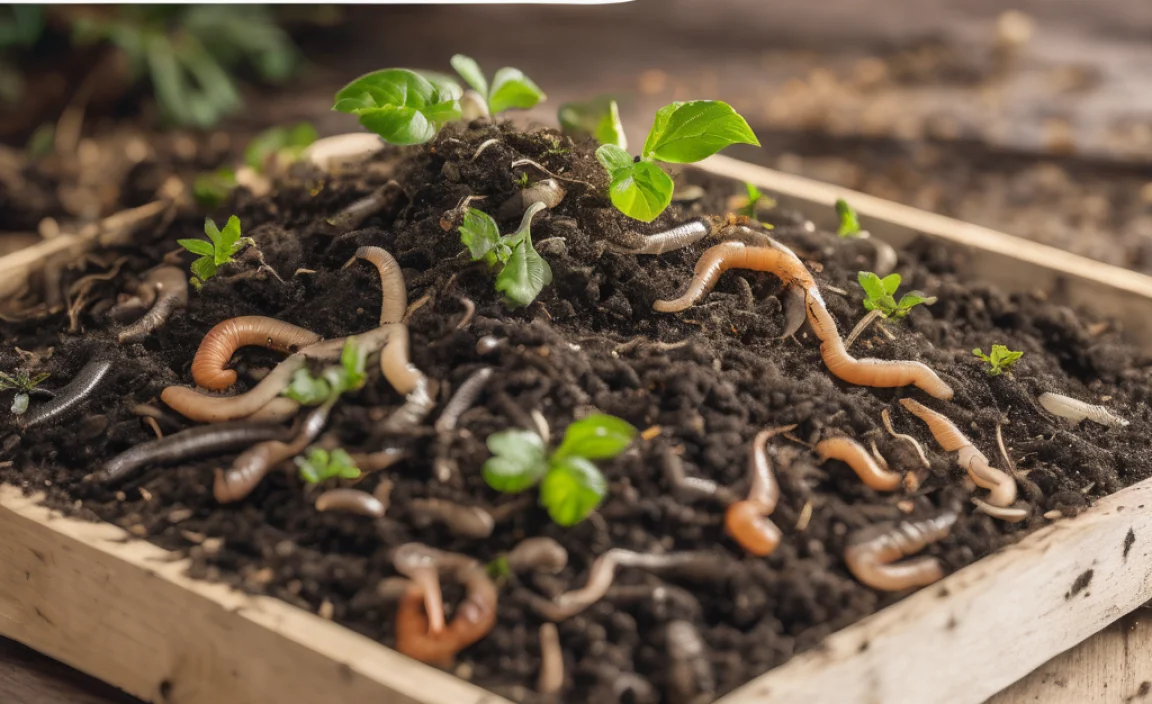
When is Compost Ready?
The magic of compost is that it transforms waste into a dark, crumbly, earthy-smelling material that’s a delight for your soil. Here’s how you know it’s ready:
- Appearance: It looks like rich soil, with recognizable original materials completely broken down.
- Smell: It has a pleasant, earthy aroma, not a sour or ammonia smell.
- Texture: It’s crumbly and loose, not slimy or clumpy.
- Temperature: A finished compost pile will have cooled down to ambient temperature.
Depending on your method and materials, this can take anywhere from 2 months (for hot, actively managed piles with the right balance) to a year or more (for cold, unturned piles).
How to Use Your Farm-Finished Compost
Once your compost is ready, its applications on the farm are virtually limitless!
Application Methods:
- Soil Incorporation: Spread a layer of compost over fields and till it into the soil before planting. This is excellent for building long-term soil health.
- Top Dressing: Apply a layer of compost around established crops, trees, or perennial plants. This provides nutrients and conserves moisture.
- Compost Tea: Brew compost in water to create a nutrient-rich liquid fertilizer that can be applied to foliage or soil.
- Seed Starting Mix: Screened compost can be a component of your own homemade seed starting mixes.
- Amending Potting Mixes: For any container gardening or nursery needs.
Using your own compost is a closed-loop system that truly benefits your farm’s ecosystem from the ground up. Resources from university extension offices, like those found at Oregon State University Extension, often provide detailed, region-specific advice for agricultural composting.
Composting For Farmers Solutions: A Quick Summary Table
Here’s a handy table to quickly compare some of the common composting methods.
| Method | Pros | Cons | Best For |
|---|---|---|---|
| Static Pile | Simple, low effort, low cost. | Slow decomposition, may not kill all pathogens/seeds, can have odor if not balanced. | Small to medium farms, individuals with time, lower waste volumes. |
| Active/Turning Pile | Faster decomposition, kills pathogens/seeds, good nutrient profile. | Requires regular turning (labor/equipment), needs attention to moisture/temp. | Medium to large farms, those who can dedicate time to turning. |
| Windrow Composting | Efficient for large volumes, easy mechanical turning, good aeration. | Requires significant space, specialized machinery, potential for odor if managed poorly. | Large commercial farms, high volume waste generators. |
| In-Vessel Composting | Fast, controlled, minimal odor, pest deterrence, pathogen kill assurance. | Higher initial equipment cost, requires consistent operation. | Farms with odor concerns, specific waste streams, need for rapid composting. |
Choosing the right method is all about matching your farm’s needs with your available resources and the types of organic materials you have. Don’t be afraid to start small and scale up as you gain experience!
Related Posts

I am passionate about home engineering. I specialize in designing, installing, and maintaining heating, ventilation, and air conditioning systems. My goal is to help people stay comfortable in their homes all year long.