Composting can seem like a big, complicated project. But guess what? It doesn’t have to be! Getting your little ones involved in composting is a fantastic way to teach them about nature and responsibility. We’ll break it all down, making it super easy to get started. You and your kids can create your own compost and help the planet. Let’s turn kitchen scraps into garden gold!
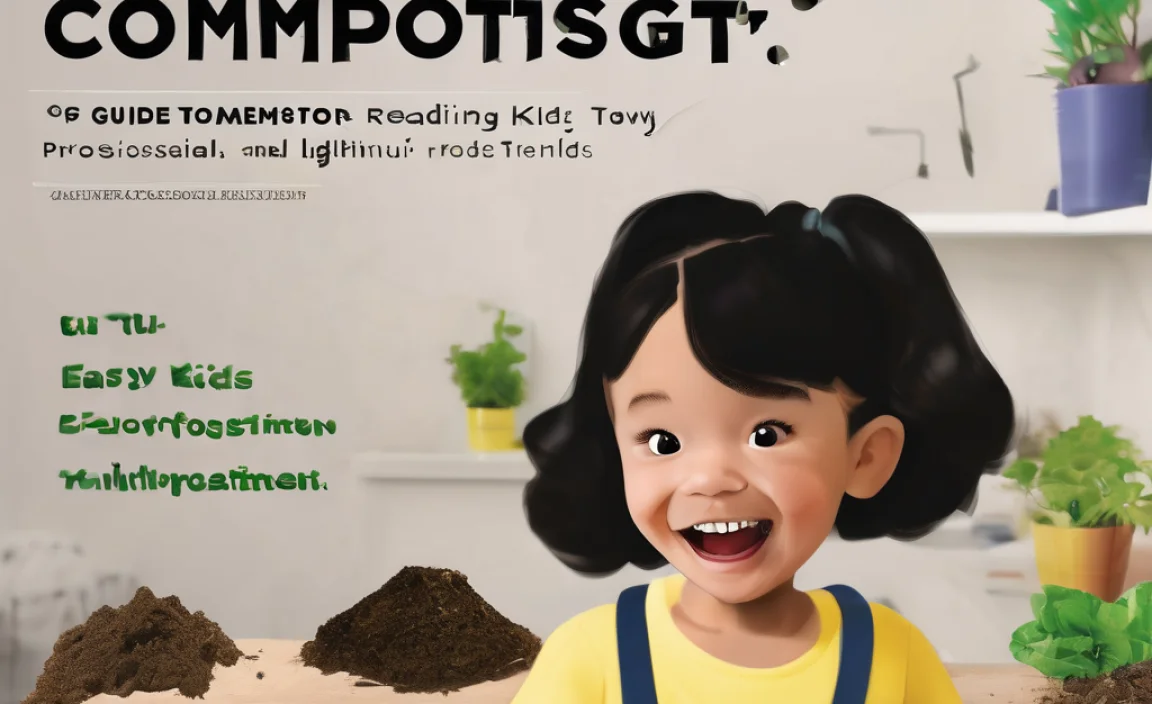
Composting For Kids DIY: Your Essential Guide to Backyard Gold
Hey there, fellow DIY enthusiasts and budding garden gurus! Troy D Harn here, your go-to guy for making home projects simple and fun. Today, we’re diving into something really special: composting for kids. Think of it as a super-powered science experiment happening right in your backyard (or on your balcony!).
Many of us hear “composting” and think of muddy piles and complicated bins. But what if I told you it’s actually quite straightforward, and even better, it’s an amazing learning opportunity for children? That’s exactly what we’re going to explore. We’ll make composting accessible, enjoyable, and definitely doable for families.
We’ll walk through everything you need to know, from picking the right bin to what goes in and what stays out. Get ready to transform your family’s food scraps into nutrient-rich soil that will make your garden sing. Let’s get composting!
Why Compost With Your Kids? More Than Just Dirt!
Composting isn’t just about reducing waste (though that’s a huge perk!). It’s a hands-on lesson in science, nature, and environmental stewardship. When kids get involved, they learn tangible lessons about where food comes from, how things decompose, and the importance of recycling organic matter.
Here’s why composting with children is such a brilliant idea:
- Educational Fun: It’s a living science lesson. Kids can observe the process of decomposition, identify helpful organisms (like worms and microbes), and understand nutrient cycles. It makes abstract concepts like ecology and sustainability concrete.
- Responsibility & Care: Caring for a compost bin teaches children responsibility. They learn to contribute to a process that benefits the environment and their plants.
- Connecting with Nature: It encourages a deeper appreciation for the natural world. Kids see firsthand how “waste” can be transformed into something valuable for growing new life.
- Reducing Waste: It’s a powerful way to teach children about reducing landfill waste. They can see the direct impact of their actions on the environment.
- Gardening Success: The compost produced is black gold for gardens! Kids will be proud to see their efforts nourish plants, vegetables, and flowers.
- Screen-Free Activity: It’s a wonderful outdoor, hands-on activity that gets kids away from screens and engaged with their surroundings.
Getting Started: Simple Steps to Your First Compost Bin
Setting up a compost system is easier than you might think. We’ll focus on beginner-friendly options that are safe and effective, even for small spaces.
Option 1: The Easy Tumbler Bin
Tumbler bins are great for families. They are enclosed, which keeps pests out, and they make turning (aerating) the compost very simple – just give it a spin! This speeds up the composting process.
- Pros: Keeps pests out, easy to turn, composts faster, tidier appearance.
- Cons: Can be more expensive initially, might have capacity limits.
When choosing a tumbler, make sure it’s a size that works for your space and that it’s easy enough for you and the kids to turn.
Option 2: The Basic Stationary Bin
These are often plastic bins with openings for aeration and a door at the bottom to access finished compost. They are a good middle-ground in terms of cost and ease of use.
- Pros: Good balance of cost and function, relatively neat, good capacity.
- Cons: Turning requires a pitchfork or aerator tool, might attract pests if not managed properly.
Look for bins with good ventilation and a lid to keep rain out and heat in.
Option 3: DIY Compost Pile (for Larger Yards)
If you have plenty of space, a simple, open compost pile is the most budget-friendly option. You can create a contained area using wood pallets or simply pile materials in a designated spot.
- Pros: Cheapest option, can handle large volumes, very accessible.
- Cons: Can look messy, more prone to pests, requires more effort to turn.
For a DIY pile, consider using chicken wire or wood pallets to create a contained area, making it neater and easier to manage.
What You’ll Need: Your Composting Toolkit
You don’t need a lot of fancy equipment. Here’s a simple list of what will make your composting journey smooth sailing:
- Your chosen compost bin or designated pile area.
- A small container with a lid for your kitchen: This is for collecting food scraps before taking them out to the main bin. A decorative countertop compost pail or even an old ice cream tub works perfectly.
- A pitchfork or compost aerator tool: Essential for turning the compost to introduce oxygen, which helps it break down faster and prevents odors. A sturdy garden fork can also work.
- Gardening gloves: To keep hands clean and protected.
- A watering can or hose: Compost needs to be moist, like a damp sponge.
- Optional: A thermometer: To check the internal temperature of the compost. A hot compost pile works faster and kills weed seeds and pathogens.
For kids, brightly colored gloves and small, easy-to-handle tools can make the experience more engaging.
The Golden Rules: What Goes IN Your Compost Bin
Composting is all about balance. You need a mix of “greens” (nitrogen-rich) and “browns” (carbon-rich) materials. Think of it as a balanced diet for your compost pile!
Greens (Nitrogen):
These are usually moist materials that provide nitrogen and help heat up the pile.
- Fruit and vegetable scraps
- Coffee grounds and tea bags (paper ones too!)
- Grass clippings (in thin layers)
- Plant trimmings (non-diseased)
- Eggshells (crushed)
Browns (Carbon):
These are usually dry materials that provide carbon and help with air circulation.
- Dry leaves
- Shredded newspaper or plain cardboard (no glossy ink)
- Straw or hay
- Small twigs and branches
- Sawdust (from untreated wood only)
What to Keep OUT: Compost NO-Nos
Just as important as knowing what to add is knowing what to avoid. These items can cause problems like attracting pests, creating foul odors, or not breaking down properly.
- Meat, fish, and bones
- Dairy products (cheese, yogurt, milk)
- Oily or greasy foods
- Diseased plants
- Weeds that have gone to seed
- Pet waste (dog or cat feces)
- Coal or charcoal ash
- Treated wood or sawdust
- Glossy paper or magazines
- Synthetic materials (plastics, metals, glass)
Explain to the kids why these items can’t go in. For instance, meat and dairy can invite unwanted critters, and diseased plants can spread sickness to new plants.
Building Your Compost Pile: Layer by Layer Fun
Here’s how to get your compost cooking! The key is layering your greens and browns.
- Start with a layer of browns: Begin with a 4-6 inch layer of twigs, straw, or shredded cardboard at the very bottom of your bin or pile. This helps with drainage and aeration.
- Add a layer of greens: Top the browns with a 2-4 inch layer of kitchen scraps (fruit and veggie peels, coffee grounds).
- Add another layer of browns: Cover the greens with a layer of dry leaves, shredded paper, or straw. This is crucial to prevent odors and discourage flies.
- Water lightly: Sprinkle some water on the layers. Your compost should be as moist as a wrung-out sponge, not soggy.
- Repeat: Continue alternating layers of greens and browns, always topping with a brown layer.
- Turn it! This is where the fun comes in. Once you have a good amount of material, use your pitchfork to turn and mix the contents, bringing the material from the outside into the center. Tumbler bins make this super easy – just a few spins!
It’s a good idea to aim for roughly a 50/50 mix of greens and browns over time. If your compost seems wet and smelly, add more browns. If it’s dry and not breaking down, add more greens and moisture.
Balancing Your Bin: The “Green” and “Brown” Chart
To help visualize the mix, here’s a handy chart. Think of it as a recipe for successful composting!
| “Green” Materials (Nitrogen-Rich) | “Brown” Materials (Carbon-Rich) |
|---|---|
| Fruit and vegetable scraps | Dry leaves |
| Coffee grounds and filters | Shredded newspaper (black and white ink) |
| Tea bags | Plain cardboard (torn into small pieces) |
| Grass clippings (thin layers) | Straw or hay |
| Plant trimmings (non-diseased) | Wood chips or sawdust (untreated wood only) |
| Eggshells (crushed) | Small twigs |
The goal is to achieve a good fluffy mix. Too much green can make it dense and smelly. Too much brown can slow down the decomposition process. This chart is a great reference for the kids to help them decide what to add.
How to Speed Up Composting
Want to get your compost ready faster? Here are a few tricks:
- Chop it up: The smaller the pieces of food scraps and yard waste, the faster they will decompose. Get the kids to help chop larger items.
- Aerate regularly: Turning your compost pile or tumbling your bin every week or two is key to providing oxygen for the microbes doing the work.
- Keep it moist: The compost needs the right moisture level. If it feels dry, add water. If it’s too wet, add more brown materials.
- Monitor the temperature: A hot compost pile (around 131-160°F or 55-70°C) breaks down much faster and kills weed seeds and pathogens. You can use a compost thermometer to check. For a beginner pile, this might be more advanced, but it’s a fun science element to introduce. The EPA provides excellent resources on composting science.
When is Compost Ready? The “Black Gold” Reveal!
You’ll know your compost is ready when it looks and smells like dark, crumbly soil. It should be uniformly brown and earthy-smelling, with no recognizable food scraps left. This usually takes anywhere from a few months to a year, depending on your method, materials, and how often you turn it.
To harvest your finished compost:
- Check the bottom: If you have a bin with a door, the compost at the bottom is usually the most mature.
- Sieve it (optional): You can use a sieve or screen to remove any larger, unfinished pieces. These can go back into the active compost bin to continue breaking down.
- Spread it! Your homemade compost is now ready to be used in your garden beds, around trees and shrubs, or mixed into potting soil for containers.
Troubleshooting Common Composting Problems
Even with the best intentions, you might run into a few snags. Don’t worry, these are usually easy to fix!
| Problem | Cause | Solution |
|---|---|---|
| Bad Odor (Ammonia/Rotten Eggs) | Too many “green” materials; not enough air. | Add more “brown” materials (leaves, cardboard). Turn the pile to aerate. Ensure good drainage. |
| Pile is Slimy/Matted | Too much moisture; not enough air. | Add dry “brown” materials. Turn the pile thoroughly to break up clumps and add air. |
| Pile is Dry and Not Decomposing | Not enough moisture; too many “brown” materials. | Add water gradually and mix well. Add more nitrogen-rich “green” materials. |
| Attracting Pests (Flies, Rodents) | Exposed food scraps; wrong materials added. | Always cover fresh kitchen scraps with a layer of brown material. Ensure the bin is secure. Avoid adding meat, dairy, or oily foods. For tumbler bins, make sure the lid is fully closed. Check out resources like The Old Farmer’s Almanac for more pest management tips. |
| Pile is not heating up | Too small a volume; insufficient nitrogen; too dry; too much air. | Add more materials (aim for at least 3x3x3 feet for hot composting). Add more “green” materials. Add water if dry. Reduce turning if too much air. |
This table is a great quick reference for you and the kids when something seems a bit off with your compost.
Composting Activities for Kids: Making it Engaging!
Keep the little ones excited about composting with these fun ideas:
- Compost Detective: Let kids be “compost detectives” who look for the hidden worms and other beneficial bugs that help the process.
- Scrap Sorting: Create a fun game where kids sort kitchen scraps into “GO” (compost) and “NO” (trash) categories.
- Compost Art: Use finished compost to plant some seeds in pots. Kids can decorate the pots and watch their plants grow with the “super soil.”
- Compost Layer Art: Use colored sand or craft materials in a clear jar to represent the layers of green and brown materials.
- Measure and Add: Let kids help measure out the layers of greens and browns, learning about ratios in a practical way.
- Journaling: Encourage older kids to keep a simple compost journal, noting what they add, when they turn it, and what changes they observe.
These activities turn a chore into an adventure and solidify the learning experience.
Conclusion: Happy Composting, Happy Home!
See? Composting with kids is an achievable, rewarding project that teaches valuable lessons. You’ve got the tools, the know-how, and the encouragement to get started. By following these simple steps, you’ll be well on your way to reducing waste, creating amazing fertilizer for your plants, and fostering a love for nature in your children.
Remember, every little bit counts. Don’t aim for perfection from day one. Just start, experiment, and have fun with it! Your family’s composting journey is an adventure, and the benefits – both environmental and educational – are truly priceless. Happy composting!
Frequently Asked Questions About Composting for Kids
Q1: How much space do I really need for a compost bin?
You can compost in a small backyard with a bin, or even on a balcony with a specialized worm bin (vermicomposting). A typical stationary bin needs about 3×3 feet of space. Tumbler bins can fit in smaller footprints.
Q2: Is it safe for kids to touch compost?
Yes, with supervision and proper hygiene. Always ensure kids wear gloves and wash their hands thoroughly afterwards. Finished compost is safe and beneficial. Partially decomposed compost is less of a concern than raw sewage, but good hygiene is always key.
Q3: How often should we turn the compost?
For faster composting and better aeration, aim to turn it every 1-2 weeks. If you have a tumblers, a few spins every few days is great. If you’re less hands-on, it will still break down, just slower.
Q4: My compost smells bad. What did I do wrong?
A “rotten egg” or ammonia smell usually means there’s too much nitrogen (“green” material) or not enough air. Try adding more brown materials (like dry leaves or shredded cardboard) and turn the pile to introduce oxygen.
Q5: Can I compost food scraps if I don’t have a yard?
Absolutely! You can use a tumbler bin, or explore indoor vermicomposting (worm composting) which is very efficient and can even be done under a sink. Many communities also have municipal composting programs.
Q6: Will composting attract rodents or other pests?
It can, if not managed properly. Always cover fresh kitchen scraps with brown material, and avoid adding meat, dairy, or oily foods. Enclosed bins like tumblers or well-managed stationary bins are less likely to attract pests than open piles.
Q7: How long does it take to make compost?
It varies greatly, but typically 3-12 months. Factors include the size of your materials, how often you turn it, the moisture level, and the temperature. Hot composting can yield finished compost in as little as 4-8 weeks, but requires more active management.

I am passionate about home engineering. I specialize in designing, installing, and maintaining heating, ventilation, and air conditioning systems. My goal is to help people stay comfortable in their homes all year long.