Thinking about composting? It’s a fantastic way to cut down on kitchen waste and create nutrient-rich soil for your garden. But sometimes, what seems simple can get a little… smelly. Or sometimes, nothing happens at all! Don’t worry if your first few attempts aren’t perfect. Many beginners run into the same common composting mistakes. I’m here to help you avoid them. We’ll walk through the easy fixes so you can create beautiful compost with confidence. Ready to turn your scraps into garden gold?
Why Compost?
Composting is nature’s way of recycling. When you compost, you take organic materials—like food scraps and yard waste—and let them break down naturally. This process creates a dark, crumbly, nutrient-rich material called compost, or humus. It’s like black gold for your garden!
Tossing food scraps and yard waste into a compost bin or pile diverts a significant amount of material from landfills. In the U.S., food scraps and yard waste make up more than 30% of what we throw away. Composting this material instead reduces methane emissions from landfills, a potent greenhouse gas. Plus, the finished compost is an incredible soil amendment. It improves soil structure, helps retain moisture, and provides essential nutrients, reducing the need for chemical fertilizers. It’s good for your garden, good for your wallet, and good for the planet!
Common Composting Mistakes to Avoid
Getting your compost pile right is all about balance. Too much of one thing, or not enough of another, can lead to slow decomposition or unpleasant odors. Let’s break down the most common composting mistakes and how to fix them.
Mistake 1: Not Managing the “Greens” and “Browns” Ratio
This is probably the most common pitfall for new composters. Compost piles need a good mix of nitrogen-rich materials (the “greens”) and carbon-rich materials (the “browns”).
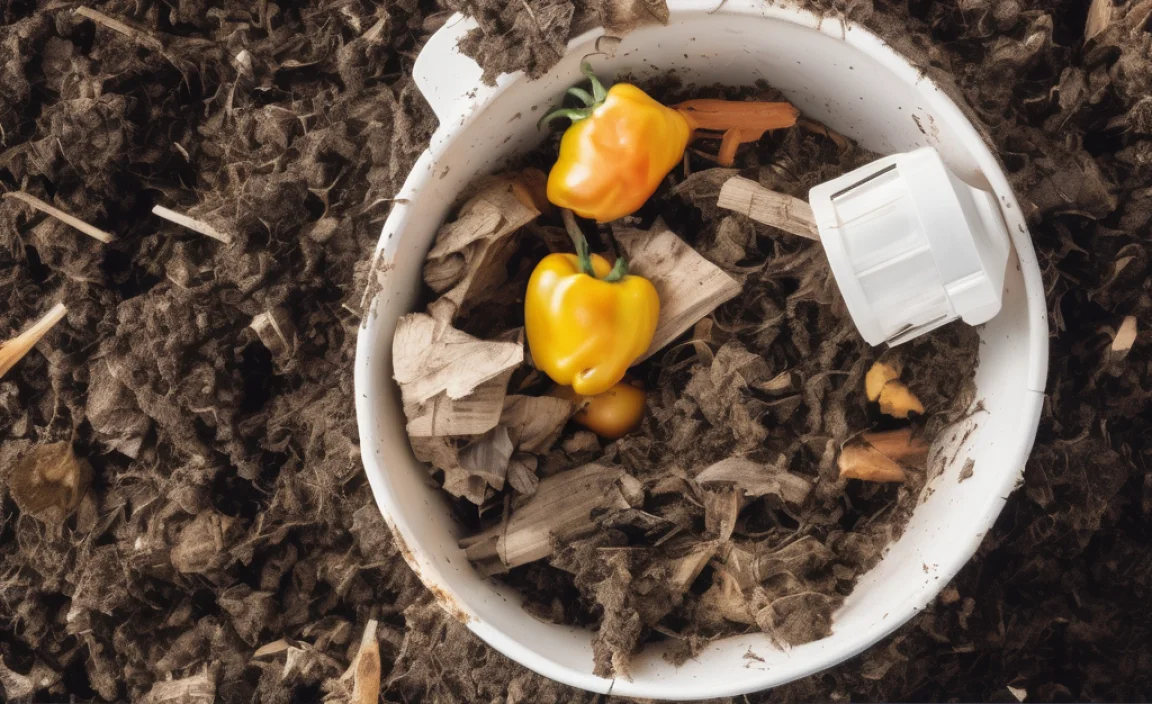
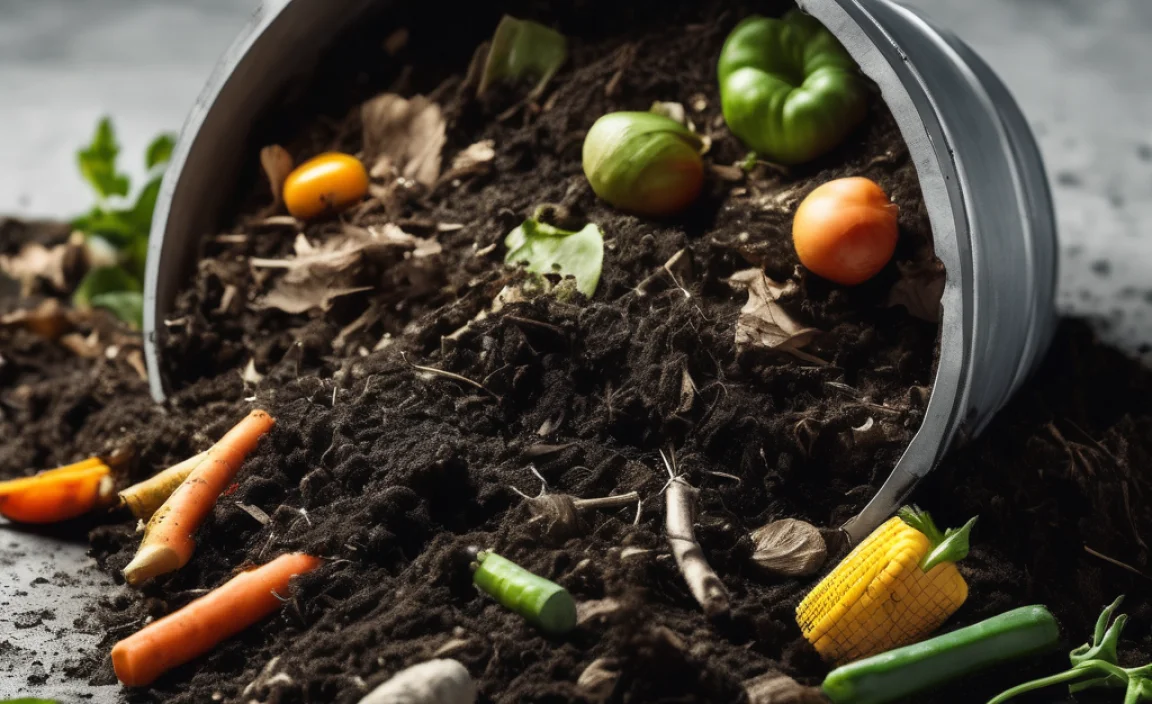
- Greens: These are wet, nitrogen-heavy materials that provide the “fuel” for decomposition. Think fruit and vegetable scraps, coffee grounds, tea bags, grass clippings, and plant trimmings.
- Browns: These are dry, carbon-heavy materials that provide “bulk” and allow air to circulate. Examples include dry leaves, straw, shredded newspaper, cardboard (torn into small pieces), twigs, and sawdust.
Why it’s a mistake: If you have too many greens, your pile can become dense, wet, and slimy, leading to anaerobic conditions (lack of oxygen) and a sour smell. If you have too many browns, the decomposition process will slow down significantly because there isn’t enough nitrogen to “feed” the microbes. The ideal ratio is generally around 2-3 parts browns to 1 part greens by volume.
The Fix: Aim for a balance. When you add kitchen scraps (greens), try to add a similar volume or more of dry yard waste or shredded paper (browns). Layering is key: add a layer of browns, then greens, then browns again. If your pile smells like ammonia or rotten eggs, it’s likely too wet and has too many greens. Add more browns and turn the pile to aerate it.
Mistake 2: Not Enough Airflow (Turning)
Microbes need oxygen to do their work efficiently. If your compost pile is too compacted or hasn’t been turned, it can become anaerobic. This is when rot and bad smells set in.
Why it’s a mistake: Anaerobic decomposition is much slower and produces unpleasant odors because it relies on different types of bacteria that don’t need oxygen. A well-aerated pile gets warm, breaks down faster, and smells earthy.
The Fix: Turn your compost pile regularly. How often depends on your method and how fast you want compost. For faster results, turning every 1-2 weeks is great. For a more hands-off approach, turning once a month or even less can still work, it will just take longer. You can use a pitchfork or a compost aerator tool. If you have a tumbling composter, turning is as simple as spinning the barrel.
Mistake 3: Adding the Wrong Materials
Not everything belongs in a compost bin. Some items can attract pests, introduce diseases, or simply won’t break down properly.
Table 1: What to Compost and What to Avoid
| Good to Compost (Greens & Browns) | Avoid Composting |
|---|---|
| Fruit and vegetable scraps | Meat, fish, and bones (attract pests, can smell) |
| Coffee grounds and paper filters | Dairy products (milk, cheese, yogurt – attract pests, smell) |
| Tea bags | Oils, grease, fatty foods (slow decomposition, can attract pests) |
| Eggshells (crushed) | Diseased plants (can spread disease) |
| Grass clippings (in moderation) | Weeds that have gone to seed (may spread seeds) |
| Dry leaves and straw | Pet waste (cat or dog feces – can contain pathogens) |
| Shredded newspaper and cardboard (uncoated) | Chemically treated wood or yard waste |
| Wood chips and sawdust (from untreated wood) | Coal or charcoal ash (can contain sulfur) |
| Yard trimmings (non-woody) | Glossy paper or magazines |
Why it’s a mistake: Adding prohibited items can contaminate your compost, attract unwanted visitors like rodents and insects, and create odors. Some items, like meat and dairy, can harbor harmful bacteria.
The Fix: Stick to the basics! Focus on plant-based materials. If you’re unsure, it’s usually best to err on the side of caution and leave it out. For a comprehensive guide, resources like the EPA’s composting page offer extensive lists.
Mistake 4: Forgetting About Moisture
Compost microbes need moisture to thrive, just like any living organism. A compost pile that’s too dry will decompose very slowly, if at all.
Why it’s a mistake: Dryness halts the microbial activity that breaks down materials. Think of it like trying to start a campfire with damp wood – it just won’t catch or burn well.
The Fix: Your compost pile should feel like a damp sponge – moist but not soaking wet. If it feels dry, add water. When turning the pile, especially if it’s been dry, periodically sprinkle water on it. If your pile is too wet, add more dry brown materials and turn it to help it dry out and incorporate air.
Mistake 5: Not Chopping Materials Small Enough
Larger items take much longer to break down than smaller ones. If you toss whole vegetable peelings or large twigs into your compost bin, they’ll be there for a long time.
Why it’s a mistake: The larger the pieces, the less surface area is available for microbes to work on. This significantly slows down the composting process.
The Fix: Chop, shred, or tear larger items into smaller pieces. Kitchen scraps like melon rinds or corn cobs can benefit from being cut up. Brown materials like cardboard and large leaves should also be reduced in size. This increases the surface area for decomposition and speeds things along nicely.
Mistake 6: Composting Too Slowly (or Not at All)
Sometimes, compost piles just sit there. This can be due to a lack of ingredients, poor aeration, or dryness.
Why it’s a mistake: A stagnant pile isn’t doing you any good. You want active decomposition to turn waste into valuable compost. If your pile is too small, it might not generate enough heat to speed up decomposition.
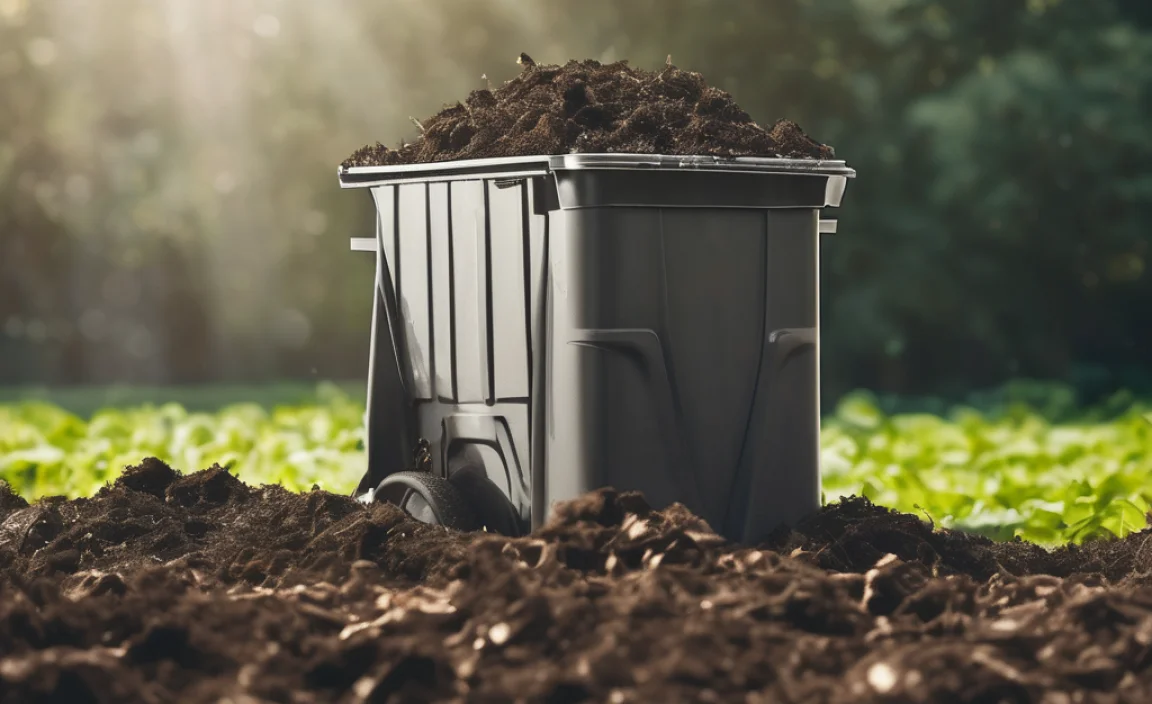
The Fix: Ensure you have a healthy mix of greens and browns, adequate moisture, and good airflow. For a compost pile to heat up effectively, it needs to be at least 3 feet by 3 feet by 3 feet (about 1 cubic yard). This “hot composting” method generates heat that speeds up decomposition and kills weed seeds and pathogens. If your pile is too small, consider adding more materials or combining it with a neighbor’s scraps.
Mistake 7: Not Protecting Your Pile from Pests
If you notice critters like rodents getting into your compost, it’s likely because you’re adding things you shouldn’t, or your bin isn’t secure.
Why it’s a mistake: Unwanted visitors can be a nuisance and a health concern. Meat, dairy, and fatty foods are particularly attractive to pests.
The Fix: Stick to the “avoid” list in Table 1. Burying fresh kitchen scraps (greens) deep within the pile, especially under a layer of browns, can also help deter pests. If you’re having persistent problems, consider using a compost bin with a secure lid and solid sides, or one designed specifically to keep pests out. For more tips on pest management, check out resources from university extension offices, such as these from Oregon State University Extension.
Choosing the Right Composting System
The best composting system for you depends on your space, how much waste you generate, and how active you want to be. Here are a few popular options:
Table 2: Types of Compost Bins
| Type of System | Pros | Cons | Best For |
|---|---|---|---|
| Open Piles | Simple, no cost, easy to turn, can handle large volumes. | Can look messy, may attract pests if not managed well, takes up more space. | Larger yards, those with plenty of yard waste, budget-conscious gardeners. |
| Stationary Bins (Enclosed) | Neater appearance, good at retaining heat, can deter pests, various materials (wood, plastic, wire mesh). | Can be harder to turn, adding materials can be tricky, limited capacity. | Suburban yards, those who want a tidier look, moderate waste volume. |
| Tumblers | Fastest composting method, easy to turn, contained and neat, deters pests effectively. | Can be expensive, limited capacity, can get too wet if not positioned correctly, may require more frequent adding of moisture. | Smaller yards, those who want compost quickly, people who want to avoid manual turning. |
| Worm Composting (Vermicomposting) | Excellent for small spaces (apartments, balconies), produces high-quality compost (worm castings), no odor. | Cannot handle large volumes of waste, requires specific types of worms (red wigglers), sensitive to extreme temperatures. | Apartment dwellers, small households, those focused on kitchen scraps. |
Quick Tips for Composting Success
Here are some bonus tips to help you on your composting journey:
- Start small: Don’t feel like you need a massive setup. A small bin or even a simple pile can work wonders.
- Location, location, location: Place your compost bin in a convenient spot that gets some sun but also some shade. Easy access for adding materials and turning is key.
- Size matters (for the pile): For efficient hot composting, aim for a pile that’s at least 3x3x3 feet.
- Patience is a virtue: Composting is a natural process. Depending on your method, it can take anywhere from a few months to a year to get finished compost.
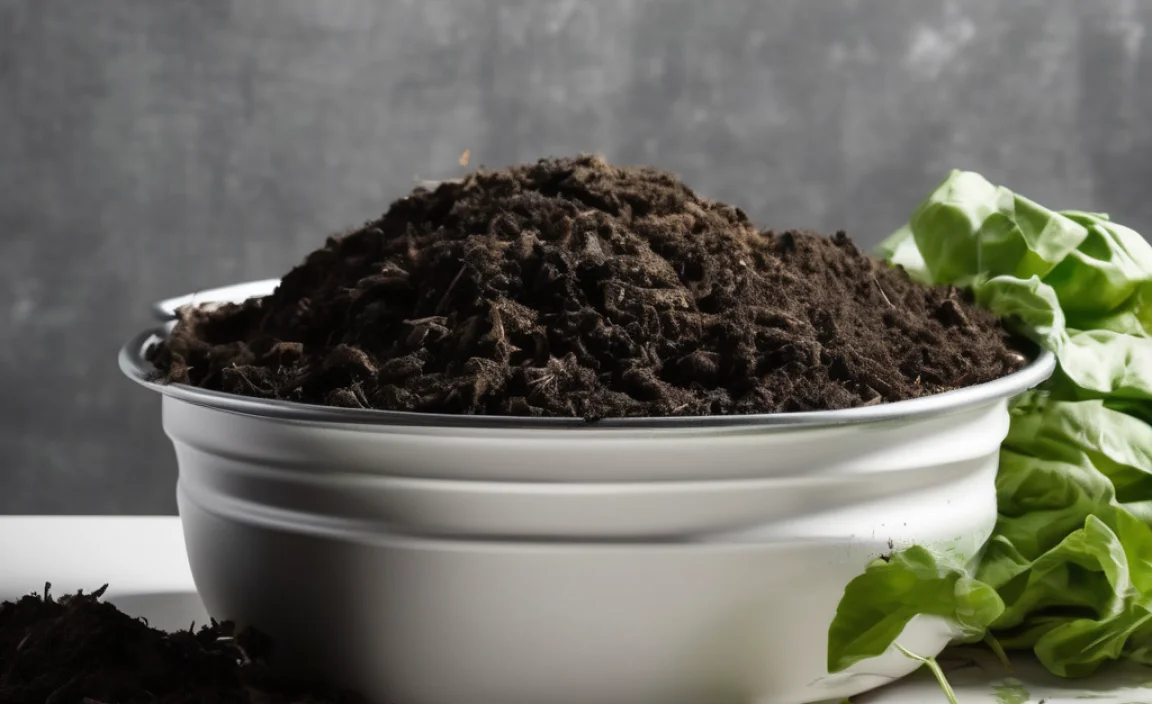
- Know when it’s ready: Finished compost will be dark, crumbly, and smell like fresh earth. You shouldn’t be able to identify the original materials.
The Takeaway: Patience and Practice
Composting is a rewarding process that benefits your garden and the environment. While it might seem daunting at first, understanding these common composting mistakes is half the battle. By paying attention to the balance of greens and browns, ensuring good airflow and moisture, and only adding appropriate materials, you’ll be well on your way to creating fantastic compost.
Don’t get discouraged if your first attempt isn’t perfect. Every compost pile is a learning experience! With a little practice and by following these tips, you’ll soon be harvesting your own nutrient-rich goodness for your plants. Happy composting!
Frequently Asked Questions (FAQ)
Q1: My compost smells bad. What did I do wrong?
A: A bad smell, often like ammonia or rotten eggs, usually means your pile is too wet and has too many “greens” (nitrogen-rich materials) and not enough “browns” (carbon-rich materials). To fix it, add more dry brown materials like shredded leaves or cardboard, and turn the pile to aerate it. This helps balance the greens and browns and lets oxygen in.
Q2: I don’t have a yard. Can I still compost?
A: Absolutely! Worm composting (vermicomposting) is a fantastic option for apartments or small spaces. You can also find smaller, enclosed compost bins suitable for balconies or patios. Many communities also offer municipal composting programs.
Q3: How long does it take to make compost?
A: The time it takes varies greatly depending on your composting method, the materials you use, and how often you turn your pile. “Hot” composting, with regular turning and the right balance of ingredients, can produce compost in 1-3 months. “Cold” composting, which is more passive, can take 6 months to a year or even longer. Worm composting typically yields compost in 3-6 months.
Q4: Can I compost pet waste from my dog?
A: It’s generally not recommended to compost dog or cat feces in a home compost system. Pet waste can contain pathogens that may not be killed by typical home composting temperatures, posing a risk of disease transmission. Commercial composting facilities that reach very high temperatures can process this material safely, but it’s best to avoid it at home.
Q5: Should I worry about fruit flies or other insects in my compost?
A: A few small insects are normal and actually a good sign that your compost is active. However, excessive fruit flies or other pests might indicate issues. Make sure you’re not adding sugary or overly ripe fruit scraps uncovered, and bury kitchen scraps deep within the pile under a layer of brown material. Covering your bin can also help.
Q6: What are “greens” and “browns” in composting?
A: “Greens” are nitrogen-rich, moist materials like fruit and vegetable scraps, grass clippings, and coffee grounds. They provide the “fuel” for decomposition. “Browns” are carbon-rich, dry materials like dry leaves, shredded newspaper or cardboard, twigs, and straw. They provide the “bulk” and allow air to circulate. Getting the right balance (about 2-3 parts browns to 1 part greens by volume) is key for effective composting.
Q7: My compost is just sitting there. What’s wrong?
A: If your compost isn’t breaking down, it could be due to several reasons: it might be too dry, lack sufficient nitrogen (greens), not enough air (needs turning), or the pile might be too small. Ensure you have a good mix of greens and browns, keep it as moist as a wrung-out sponge, turn it regularly, and make sure your pile is at least 3x3x3 feet for efficient decomposition.

I am passionate about home engineering. I specialize in designing, installing, and maintaining heating, ventilation, and air conditioning systems. My goal is to help people stay comfortable in their homes all year long.