Ever feel like your kitchen scraps and yard waste are just… waste? It’s a common feeling, but what if I told you those things can actually become a gardener’s best friend? It sounds a bit like magic, but it’s just composting! Don’t worry if you’ve never done it before. We’re going to break it down into super simple steps. You’ll be creating nutrient-rich compost in no time. Ready to turn trash into treasure for your garden?
Composting Sustainable: Genius Eco-Tips for Beginners
Hey there, neighbor! Troy D Harn here from TopChooser. I know starting something new, especially when it involves dirt and decomposition, can seem a little daunting. But trust me, composting is one of the most rewarding and eco-friendly things you can do for your home and garden. It’s not just about reducing landfill waste; it’s about enriching your soil naturally, saving money on fertilizers, and getting your hands a little dirty in the best way possible.
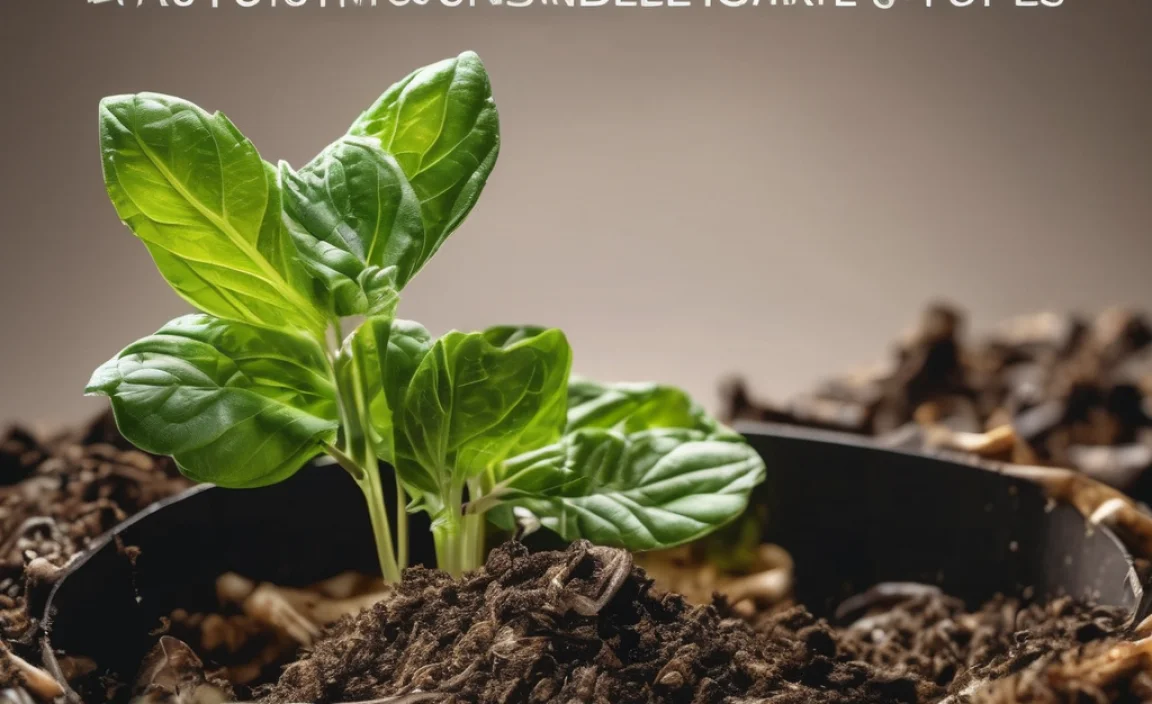
Think of compost as superfood for your plants. It’s packed with nutrients that help them grow strong, resist diseases, and produce more flowers or veggies. And the best part? You probably already have most of what you need to start right in your home. We’re going to dive into some genius tips to make your composting journey not just easy, but totally sustainable and effective. Let’s get this done, one kitchen scrap at a time!
Why Compost? It’s More Than Just Waste Reduction
Composting is a fantastic way to shrink your trash output. A huge chunk of what we throw away is actually organic material that can be repurposed. When this organic waste sits in a landfill, it decomposes anaerobically (without oxygen), producing methane, a potent greenhouse gas. Composting, on the other hand, is an aerobic process (with oxygen) that breaks down organic matter into a valuable soil amendment called humus.
Here’s a quick look at the amazing benefits:
- Reduces Landfill Waste: Less trash going to the dump means less methane production and a healthier planet.
- Enriches Soil: Compost adds essential nutrients to your soil, improving its structure, drainage, and moisture retention. This means healthier, happier plants!
- Saves Money: You’ll buy fewer synthetic fertilizers and soil conditioners, saving you cash in the long run.
- Boosts Plant Health: Compost helps plants develop stronger root systems and makes them more resistant to pests and diseases.
- Conserves Water: Compost acts like a sponge, helping your soil hold onto water longer, so you’ll need to water less often.
- Sustainable Practice: It’s a natural cycle of returning nutrients to the earth.
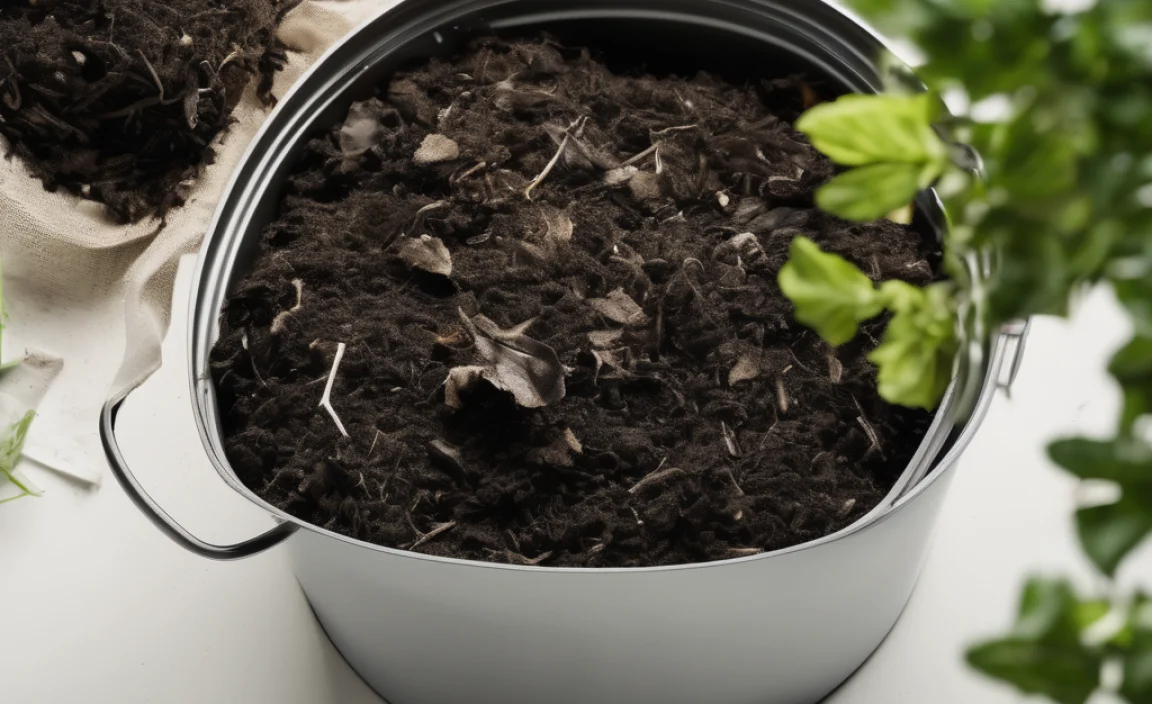
Getting Started: Your Composting Toolkit
You don’t need fancy gadgets to start composting. The most important thing is a good balance of “greens” and “browns.” Think of greens as nitrogen-rich materials and browns as carbon-rich materials.
The “Greens” (Nitrogen-Rich)
- Fruit and vegetable scraps
- Coffee grounds and tea bags
- Grass clippings (in thin layers to avoid matting)
- Plant trimmings and fresh leaves
- Eggshells (crushed)
The “Browns” (Carbon-Rich)
- Dry leaves
- Shredded newspaper and cardboard (avoid glossy paper)
- Straw and hay
- Wood chips and sawdust (from untreated wood)
- Pine needles
- Twigs and small branches
A good rule of thumb is to aim for a ratio of about 2 parts browns to 1 part greens. This helps the compost pile heat up properly and break down efficiently without getting smelly or attracting pests.
Choosing Your Composting Method: Simple and Sustainable Options
There are several ways to compost, and the best one for you depends on your space, time, and how much organic material you generate. Here are a few popular and beginner-friendly options:
1. The Open Pile Method
This is the simplest and most basic method. You just start piling your compostable materials in a corner of your yard.
- Pros: No cost, easy to start, can accommodate large volumes of material.
- Cons: Can look messy, may take longer to break down, might attract critters if not managed well.
How to do it:
- Choose a level spot in your yard that gets some sun and is easily accessible.
- Start layering your greens and browns. A good starting point is a layer of browns, then greens, then more browns.
- Aim to turn the pile with a pitchfork every few weeks to introduce air, which speeds up decomposition.
- Keep the pile moist, like a wrung-out sponge.
For more on landfill diversion and its impact, check out the EPA’s composting guidance.
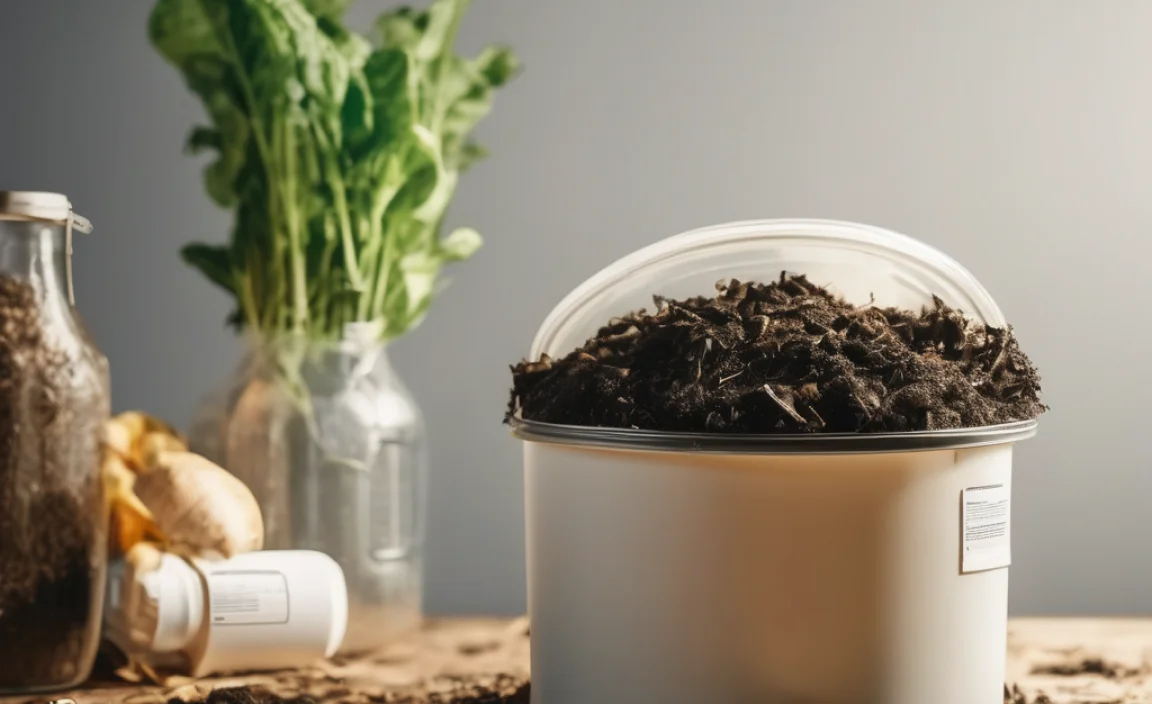
2. The Compost Bin Method
Compost bins are a neat and tidy way to compost. You can buy commercially made bins or build your own. They come in various forms, from simple enclosed tumblers to static bins.
- Pros: Tidier appearance, helps retain moisture and heat, deters pests better than open piles.
- Cons: Can be an upfront cost, some bins have limited capacity.
Types of Bins:
- Stationary Bins: These are often wire mesh or plastic enclosures that stay put. You add material to the top and remove finished compost from the bottom.
- Tumbler Bins: These are sealed drums that you can rotate. Tumbling mixes the materials, aerates them, and speeds up the composting process. They are excellent for keeping pests out.
How to do it:
- Assemble or set up your bin according to the manufacturer’s instructions or your DIY plan.
- Start layering your greens and browns inside the bin.
- For stationary bins, turn the contents with a pitchfork every week or two.
- For tumbler bins, give them a few turns every few days.
- Keep the contents moist.
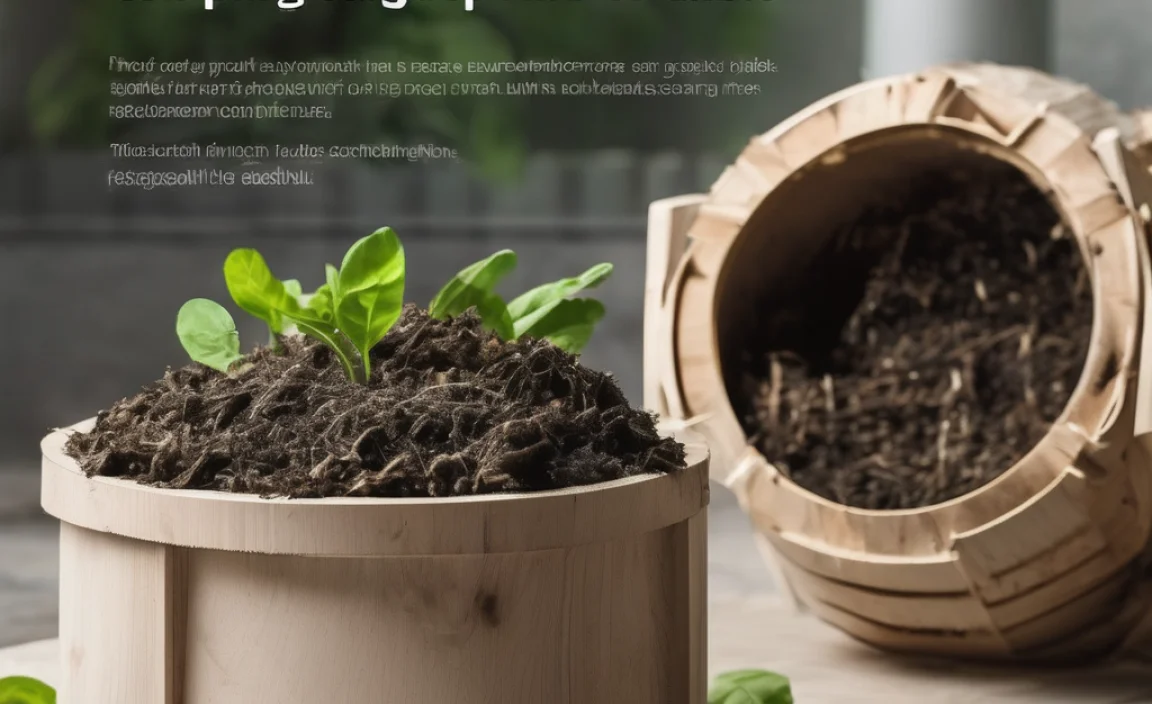
When building your own, consider materials like untreated lumber or repurposed pallets for a sustainable approach.
3. The Worm Composting (Vermicomposting) Method
This is a fantastic option for apartment dwellers or those with limited outdoor space. Red wiggler worms do the heavy lifting, breaking down your food scraps into nutrient-rich worm castings.
- Pros: Great for small spaces, produces high-quality compost (worm castings), quick decomposition of food scraps.
- Cons: Requires specific types of worms, can’t handle large volumes of material, needs specific temperature and moisture conditions.
How to do it:
- Get a worm bin (you can buy or make one). It needs to be a dark, enclosed container with ventilation.
- Add bedding material, such as shredded newspaper, coco coir, or peat moss, dampened with water.
- Introduce your composting worms (red wigglers are ideal, not earthworms!) to the bin.
- Start feeding them your kitchen scraps (avoiding meat, dairy, oily foods, and citrus). Bury the scraps under the bedding.
- Harvest the worm castings every few months from the bottom of the bin.
For more on vermicomposting, the North Carolina State University Extension offers excellent resources.
What Can You Compost?
It’s a question that catches many beginners. The good news is, a lot! Most common kitchen and yard waste can be composted. Remember that balance of greens and browns we talked about.
Compostable Materials (The “Do’s”)
When you’re collecting your scraps, think about these items:
- Kitchen Scraps: Fruits, vegetables, coffee grounds, tea bags, eggshells (crushed), bread, pasta, rice.
- Yard Waste: Grass clippings, leaves, small twigs, garden trimmings.
- Other: Paper towels and napkins (not greasy), shredded newspaper, cardboard (no glossy or plastic coating).
What to Avoid (The “Don’ts”)
Some things can cause problems, attract pests, or contaminate your compost.
- Meat, Fish, and Bones: Attract pests and can smell bad.
- Dairy Products: Also attract pests and can create odors.
- Oily or Greasy Foods: Slow down decomposition and can cause odors.
- Diseased Plants: Can spread diseases to your garden once composted.
- Pet Waste (Dog and Cat): Can contain harmful pathogens.
- Treated Wood: Chemicals can leach into your compost.
- Weeds Gone to Seed: You might end up with more weeds!
- Synthetic Materials: Plastics, styrofoam, etc., will not break down.
- Glossy or Coated Paper: The coatings won’t break down.
The Genius Composting Process: Step-by-Step
Let’s get down to the nitty-gritty. Here’s how to build and maintain a healthy compost pile or bin.
Step 1: Choose Your Location and Container
As discussed, pick a spot (for open piles or static bins) that’s accessible, has some sun, and is relatively close to your kitchen or garden. For bins, assemble or build them according to your chosen method.
Step 2: Start Layering (The Foundation)
Begin with a base of coarse brown materials like twigs or straw. This helps with drainage and aeration. Then, alternate layers of greens and browns. A good starting ratio is about 2-3 inches of browns for every 1 inch of greens. Think of it like building a lasagna!
Approximate Material Balance:
| Greens (Nitrogen) | Browns (Carbon) |
|---|---|
| Fruit & Vegetable Scraps | Dry Leaves |
| Coffee Grounds | Shredded Newspaper/Cardboard |
| Fresh Grass Clippings | Straw/Hay |
| Plant Trimmings | Wood Chips |
Step 3: Maintain Moisture Levels
Your compost pile should be as moist as a squeezed-out sponge. If it’s too dry, decomposition slows down. If it’s too wet, it can become stagnant and smelly. Water your pile if it feels dry, especially during hot weather. If it seems too wet, add more brown materials.
Step 4: Aerate Your Pile
Composting is an aerobic process, meaning it needs oxygen. This is crucial for breaking down materials and preventing foul odors.
- For open piles and static bins: Turn the pile regularly (every 1-4 weeks) with a pitchfork or compost aerator. This mixes everything and introduces air.
- For tumbler bins: Simply rotate the bin every few days.
The more you turn and aerate, the faster your compost will be ready.
Step 5: Monitor Temperature (Optional but Recommended)
A hot compost pile (130-160°F or 55-70°C) breaks down materials much faster and kills weed seeds and pathogens. You can check this with a compost thermometer. If your pile isn’t heating up, it might need more greens, more moisture, or more aeration. If it’s too hot, add more browns or turn it more frequently.
Step 6: When is it Ready?
Compost is ready when it’s dark, crumbly, and smells earthy, like forest soil. You shouldn’t be able to identify the original materials anymore. Depending on your method, temperature, and material mix, this can take anywhere from a few months to a year.
Step 7: Harvest and Use!
Once ready, you can screen the compost to remove any larger, unfinished pieces (which can go back into a new compost pile) and then spread it onto your garden beds, mix it into potting soil, or use it as a top dressing for lawns and plants. Your plants will thank you!
Genius Eco-Tips for Sustainable Composting
Ready to take your composting game to the next level of sustainability?
- Chop It Up: Smaller pieces decompose much faster. Give your fruit scraps, veggie peels, and yard waste a quick chop before adding them.
- Balance is Key: Constantly aim for that 2:1 ratio of browns to greens. Too many greens can make it slimy and smelly; too many browns slow things down.
- Avoid “Compost Crimes”: Stick to the “Do’s” and “Don’ts” list to prevent attracting pests and producing unpleasant odors.
- Cover Your Compost: If you’re using an open pile, a simple tarp can help retain moisture and heat, and keep out excess rain.
- Location, Location, Location: While a bit of sun helps heat the pile, a spot that’s not in harsh, direct sun all day can prevent it from drying out too quickly.
- Layer Like a Pro: Evenly distribute your greens and browns. Avoid dumping large amounts of one thing at once. Mix them in as you add them.
- Embrace the Microbes: Don’t be afraid of a little bit of mold or fungus – that’s a sign of active decomposition!
- Reintroduce Unfinished Bits: Any large chunks that haven’t broken down after a cycle can be tossed back into your next batch. It’s all about closing the loop.
- Use What You Make: The ultimate sustainable act is using your finished compost to nourish your garden. It reduces the need for commercial fertilizers and improves soil health!
For more information on soil health and sustainable practices, the USDA Natural Resources Conservation Service has valuable insights.
Troubleshooting Common Composting Problems
Even with the best intentions, you might run into a few snags. Here’s how to fix them:
Problem: My compost pile smells bad (like rotten eggs or ammonia).
Cause: Too many greens, too much moisture, or lack of oxygen.
Solution: Add more brown materials (leaves, shredded cardboard) to absorb excess moisture and nitrogen. Turn the pile thoroughly to aerate it. If it’s very wet, try to drain off excess liquid.
Problem: My compost pile isn’t heating up or decomposing.
Cause: Too many browns, not enough greens, too dry, or not enough aeration.
Solution: Add more green materials (kitchen scraps, grass clippings). Check moisture levels and add water if dry. Turn the pile more frequently to introduce air and mix materials.
Problem: I see a lot of fruit flies or other annoying insects.
Cause: Exposed food scraps.
Solution: Bury your kitchen scraps deeper within the pile. Ensure you have enough green material to cover the food scraps, or add a layer of browns on top. Keep the pile moist but not soggy.
Problem: My compost is too wet and slimy.
Cause: Too much green material, too much moisture, or poor drainage.
Solution: Add a generous amount of dry brown materials like shredded cardboard, dry leaves, or straw. Turn the pile thoroughly to incorporate the browns and improve airflow. Ensure your bin or pile isn’t sitting in standing water.
Frequently Asked Questions About Composting
Q1: How long does it take to make compost?
A: It can vary widely! Depending on your method, materials, and how often you turn it, compost can be ready anywhere from 2-3 months to a year or more. Hot composting methods are faster than cold ones.
Q2: Do I need a special bin to compost?
A: No, you don’t! You can start an open pile in your yard. However
Related Posts

I am passionate about home engineering. I specialize in designing, installing, and maintaining heating, ventilation, and air conditioning systems. My goal is to help people stay comfortable in their homes all year long.