Living in a city doesn’t mean you can’t be a part of the composting revolution! Many folks think composting is only for sprawling backyards, but that’s just not true. If you’re dealing with food scraps and yard waste piling up, feeling a bit guilty about what’s going into the trash, you’re not alone. The good news is, there are super simple ways to compost, even in a small apartment or a modest urban yard. We’re going to break it all down, step-by-step, so you can turn that kitchen waste into garden gold. Stick around, and let’s get your compost pile cooking!
Why Compost in the City? More Than You Think!
Composting might sound like a big undertaking, especially when space is limited, but the benefits are huge. For starters, it’s fantastic for the environment. When food scraps and yard waste end up in landfills, they produce methane, a potent greenhouse gas. Composting, on the other hand, breaks down organic matter aerobically, significantly reducing these emissions.
Beyond the planet, think about your wallet and your plants! Compost is literally black gold for your soil. It enriches the earth, helps retain moisture (meaning less watering!), and reduces the need for chemical fertilizers. If you’re growing even a small herb garden on a balcony, or have a few potted plants, compost will make them happier and healthier. Plus, you’ll be amazed at how much waste you divert from the garbage bin, which can sometimes even lower your waste disposal fees.
What Can You Actually Compost? The “Browns” vs. “Greens”
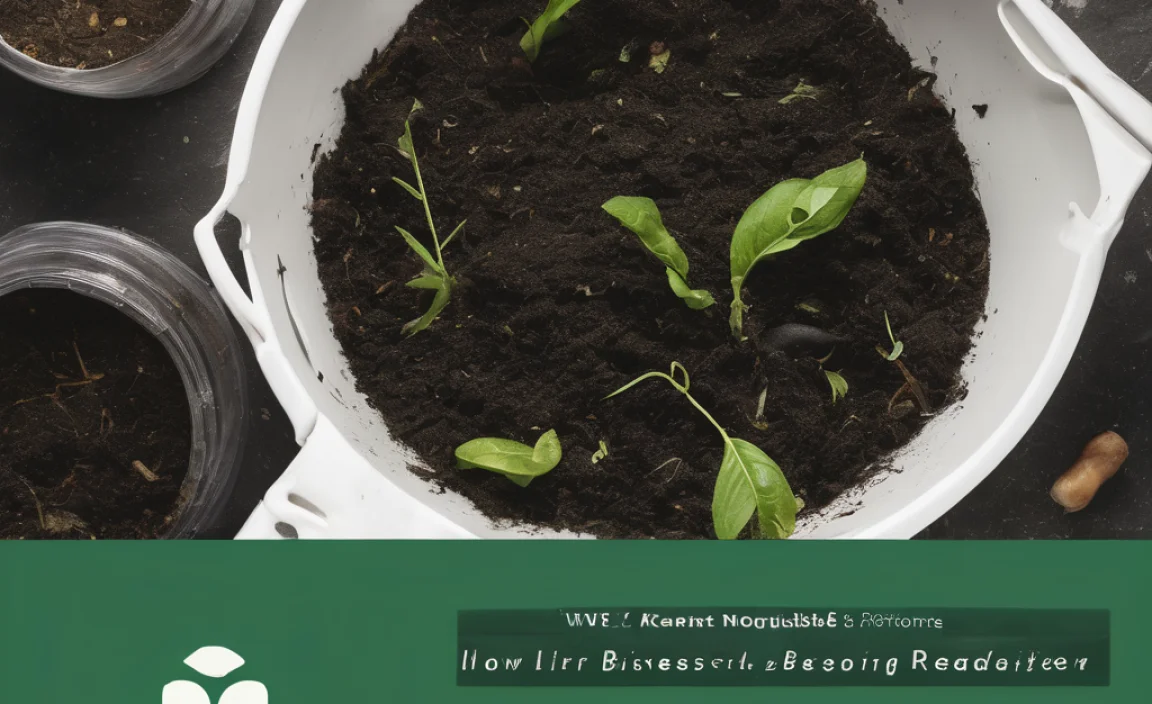
The key to successful composting, no matter your space, is understanding the balance of “greens” and “browns.” Think of these as your composting building blocks.
Compostable “Greens” (Nitrogen-Rich)
- Fruit and vegetable scraps (cores, peels, tops)
- Coffee grounds and filters
- Tea bags (remove any staples)
- Grass clippings (use in moderation to avoid matting)
- Plant trimmings (disease-free)
- Eggshells (crushed)
Compostable “Browns” (Carbon-Rich)
- Dry leaves
- Shredded newspaper and cardboard (non-glossy)
- Paper towels and napkins (unsoiled by grease or chemicals)
- Straw and hay
- Sawdust (from untreated wood)
- Wood chips and small twigs
What to Skip (The “Don’ts”)
Not everything belongs in your compost bin. Certain items can attract pests, create unpleasant odors, or introduce harmful pathogens. For urban composting, it’s especially important to be mindful of what goes in.
- Meat, fish, and bones
- Dairy products (cheese, yogurt, milk)
- Oily or greasy foods
- Diseased plants or weeds that have gone to seed
- Pet waste (dog and cat feces)
- Chemically treated wood or yard waste
- Synthetic materials (plastics, metal, glass)
Choosing Your Urban Composting Method: Finding the Right Fit
The best composting method for you in an urban area depends on your space, your lifestyle, and how much effort you want to put in. Many innovative solutions are designed for city dwellers!
1. The Tumbler Composter: The Speedy Spinner
Tumblers are enclosed, rotating bins. They’re great because they speed up the composting process, keep pests out, and look neater than an open pile. You simply add your materials, close the lid, and give it a spin every few days to aerate the contents. This is a fantastic option for small yards or even balconies.
Pros:
- Faster composting time (can be ready in weeks)
- Keeps pests and odors contained
- Neat and tidy appearance
- Easy to mix and aerate
Cons:
- Can be more expensive upfront
- Batch composting – you usually fill it up before you start, so might need a separate “holding” bin for fresh scraps.
- Can get heavy when full
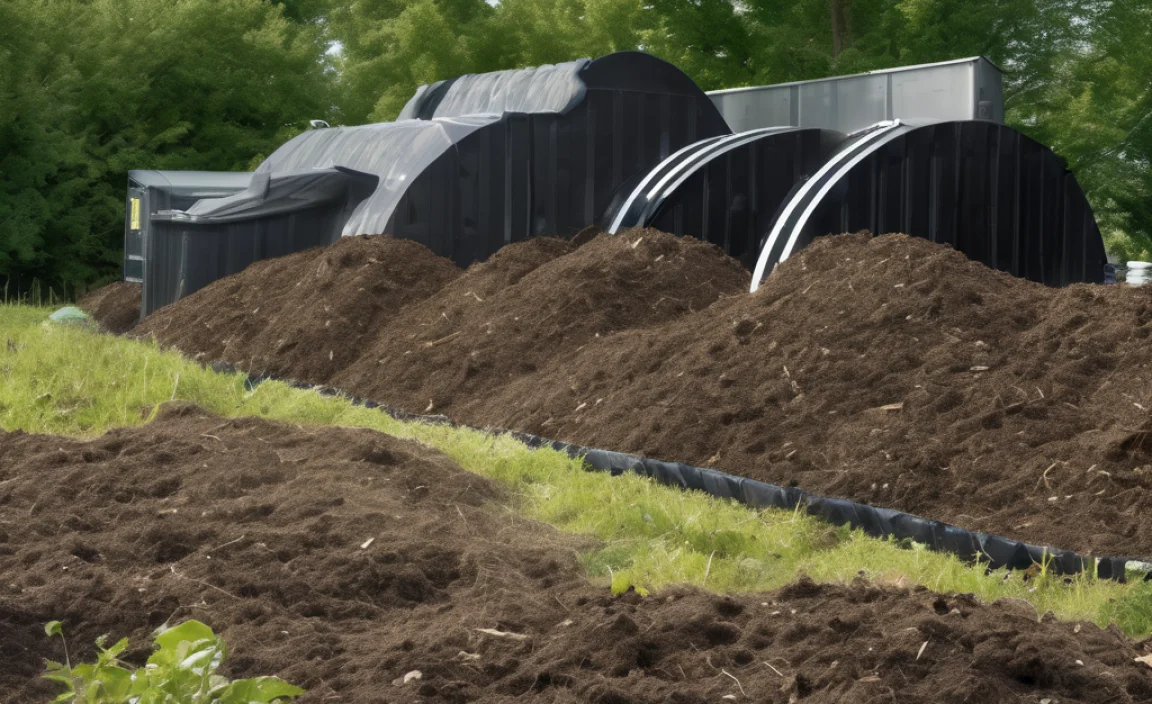
2. The Stationary Bin Composter: The Classic Choice
These are typically plastic or wooden bins with open or slatted sides, designed to sit in one place. They allow for good airflow and are a popular choice for yards. While they might take a bit longer than tumblers, they can hold a larger volume of material.
Pros:
- Relatively affordable and widely available
- Can hold a good amount of compostable material
- Simple to use
Cons:
- Can be slower than tumblers
- Might attract pests if not managed properly
- Requires manual turning for aeration
3. Worm Composting (Vermicomposting): For the Indoor Gardener
This is a game-changer for apartment dwellers or those with zero outdoor space. Vermicomposting uses special composting worms (like red wigglers) in a contained bin to break down food scraps. It’s incredibly efficient and produces nutrient-rich worm castings (worm poop!), which are amazing fertilizer.
Pros:
- Perfect for small spaces, including indoors
- Produces nutrient-rich compost (worm castings)
- Relatively odorless if managed correctly
- Great way to process a lot of kitchen scraps quickly
Cons:
- Requires specific types of worms
- Can be sensitive to temperature extremes
- Initial setup might seem a bit unusual
- Cannot process large amounts of yard waste
4. Bokashi Composting: The Fermenting Friend
Bokashi is a bit different; it’s an anaerobic (without oxygen) fermentation process. You use a special airtight bin and an inoculant (often bran with beneficial microbes). It ferments food waste, including meat and dairy, which then needs to be buried or added to a traditional compost pile to finish breaking down. It’s great for pre-processing scraps and reducing odor even before it goes elsewhere.
Pros:
- Can compost meat, dairy, and oils
- Airtight system, minimizing odors
- Can be done indoors
- Quick initial processing (fermentation)
Cons:
- Requires a special Bokashi bin and inoculant (ongoing cost)
- The fermented material needs further processing (burying or adding to compost)
- Produces a liquid “tea” that needs to be drained
5. Community Composting Programs: Share the Load
Many cities have community gardens or composting facilities that accept food scraps from residents. This is an excellent option if you have very little space or time, but still want to compost. You collect your scraps and drop them off at a designated location. Check with your local municipality or neighborhood garden groups to see what’s available.
Pros:
- No need for equipment at home
- No management effort required from you
- Supports local green initiatives
Cons:
- Requires transporting your scraps
- You don’t get the finished compost back (usually)
- Availability varies by location
Step-by-Step: Getting Your Urban Compost Started
Let’s assume you’ve chosen a method that works for you. Here’s a general guide to get you going. We’ll focus on a basic bin/tumbler approach, as it’s a common starting point.
Step 1: Choose Your Location
- For bins/tumblers: Find a spot that gets some sun but isn’t in direct, scorching heat all day. If using a tumbler, a paved surface is ideal. If using a bin, placing it directly on soil or grass can help with aeration and drainage. Aim for convenience – you’ll be adding to it regularly.
- For worm bins: Keep them in a place with a stable temperature, ideally between 55-77°F (13-25°C). A cool basement, garage, or even under a sink can work. Avoid direct sunlight.
Step 2: Gather Your Materials
You’ll need your chosen compost bin or tumbler. You’ll also want a small container for your kitchen scraps (a lidded pail or an old ice cream tub works great). And, of course, your “greens” and “browns”!
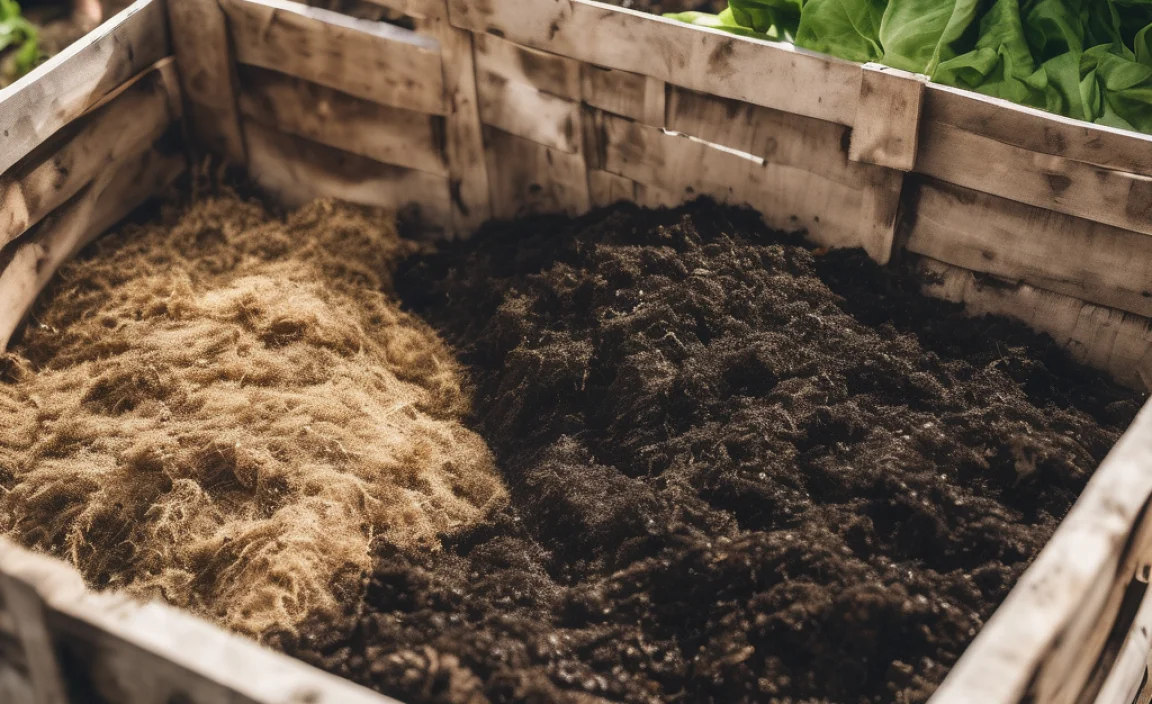
Step 3: Start Layering (The “Lasagna” Method)
Begin by putting a layer of coarse brown material (like twigs or straw) at the bottom of your bin. This helps with drainage and airflow. Then, start alternating layers of “greens” and “browns.” A good ratio to aim for is roughly 2 parts browns to 1 part greens.
Hot Tip: Chop or shred larger items. Smaller pieces break down much faster. So, tear up that cardboard, chop those veggie peels, and crush those eggshells!
Step 4: Add Water
Your compost pile needs to be about as damp as a wrung-out sponge. Too dry, and it won’t decompose. Too wet, and it’ll get slimy and smelly. As you add materials, think about moisture. If your greens are very leafy, they add moisture. If you’re adding a lot of dry leaves, you might need to add a bit of water.
Step 5: Aerate Regularly
Oxygen is crucial for successful, odor-free composting. This is where tumblers make it easy – just spin them! For stationary bins, you’ll need to turn the pile. Use a pitchfork or a compost aerator tool to mix the materials every week or two. This brings fresh air to the center and helps everything break down evenly.
Tool Spotlight: The Compost Aerator
A compost aerator is a long, T-shaped tool. You basically push it into the pile and twist or pull it up, which helps lift and mix the materials without having to completely dig through everything. They are lightweight, easy to store, and very effective for bin composting.
Step 6: Maintenance and Troubleshooting
Keep adding your greens and browns as you generate them. Bury fresh kitchen scraps under a layer of browns to deter pests and odors. If your pile becomes too wet or starts to smell foul, add more brown materials and turn it well. If it seems too dry and progress has stopped, add some water and more green materials.
What Makes “Finished” Compost?
How do you know when your compost is ready to use? Finished compost looks and smells like rich, dark soil. It should be crumbly, with no recognizable food scraps or yard waste left. The temperature of the pile will have cooled down to ambient temperature. This usually takes anywhere from a few months to a year, depending on your method, climate, and how often you turn it.
Quick Summary Table: Urban Composting Made Easy
| Method | Best For | Pros | Cons | Effort Level |
|---|---|---|---|---|
| Tumbler | Small yards, balconies | Fast, pest-proof, tidy | Batch process, cost | Medium |
| Stationary Bin | Small to medium yards | Affordable, large volume | Slower, pest risk, manual turning | Medium |
| Worm Composting | Apartments, indoors, small spaces | Nutrient-rich castings, fast with food scraps, odor-free | Worm-specific, temperature sensitive | Medium |
| Bokashi | Apartments, pre-processing | Handles meat/dairy, odor-controlled | Requires special bin/inoculant, needs finishing | Medium |
| Community Program | Any urban dweller with no space/time | No effort/equipment at home | Transporting scraps, availability | Low |
Tips for Success in Tight Spaces
Urban composting is all about efficiency and managing what you have. Here are a few extra tricks:
- Chop It Up: Seriously, the smaller the pieces, the faster they compost. Invest in a cheap pair of kitchen shears to snip scraps, or use a food processor for larger amounts if you have one.
- Bury Your Scraps: When adding new kitchen waste to an open bin or pile, dig a little hole in the existing material and place the scraps in, then cover them up with compost material. This helps prevent odors and discourages flies.
- Use a Kitchen Caddy: A lidded caddy on your counter makes collecting scraps easy and neat. Many have filters to reduce odors.
- Balance is Key: Continually aim for that balance of greens and browns. If it smells ammoniaky, you have too many greens. If it’s not heating up and is very slow, add more greens. If it’s wet and slimy, add browns.
- Don’t Overfill: Especially with tumblers, leave a little headspace for mixing. For worm bins, don’t add more food than your worms can eat in a few days.
Conclusion: Your Green Thumb Awaits, Even in the City!
See? Composting for urban areas isn’t some impossible feat. You have options, from neat tumblers to indoor worm farms, and even local drop-off programs. By understanding the balance of greens and browns, choosing the right method for your space, and giving it a little regular attention, you can transform your kitchen scraps and yard waste into incredibly valuable compost.
Not only are you helping the planet by reducing landfill waste and methane emissions, but you’re also creating the best possible food for your plants. You’ve got this! So, grab a bin, start collecting those apple cores and coffee grounds, and get ready to nurture both your garden and the environment.
Frequently Asked Questions About Urban Composting
Q1: Will my compost bin attract pests like rats or raccoons?
A1: If you use a sealed bin or tumbler, or if you properly bury your kitchen scraps under browns in an open bin, pests are rarely an issue. Avoiding meat, dairy, and oily foods also greatly reduces pest attraction.
Q2: My compost smells bad! What did I do wrong?
A2: A bad smell usually means your compost is too wet and/or lacks oxygen. Add more “brown” materials (like dried leaves or shredded cardboard) and turn the pile thoroughly to introduce air. Make sure you’re only adding approved items.
Q3: How often do I need to turn my compost?
A3: Ideally, turn your compost pile about once a week to ensure good aeration. If you have a tumbler, giving it a few spins every few days is sufficient. Less frequent turning will still work, but it will take longer.
Q4: Can I compost all my food scraps, including meat and dairy?
A4: Traditional composting methods (bins, tumblers) generally recommend avoiding meat, dairy, and oily foods because they can attract pests, smell bad, and take a long time to break down. However, Bokashi can handle these items, and some smaller hot composting systems might also be able to. Worm composting is best with just fruit and veggie scraps.
Q5: How long does it take for urban compost to be ready?
A5: This varies greatly! A fast-acting tumbler might produce compost in 4-6 weeks under ideal conditions. A patiently managed stationary bin could take 3-12 months. Worm composting can yield usable castings in a few months.
Q6: Do I need special worms for vermicomposting?
A6: Yes, you do! Regular earthworms from your garden won’t thrive or reproduce well in a worm bin. You should get composting-specific worms like Red Wigglers (Eisenia fetida) or European Nightcrawlers from a reputable supplier.

I am passionate about home engineering. I specialize in designing, installing, and maintaining heating, ventilation, and air conditioning systems. My goal is to help people stay comfortable in their homes all year long.