Generally, no. Fel-Pro gaskets are designed to seal properly without additional sealant. Their advanced materials and construction create a tight seal when installed correctly. However, in certain situations, like older or damaged surfaces, a thin coat of sealant may be beneficial. Always refer to the specific instructions included with your Fel-Pro gasket for the best results.
Replacing gaskets can seem tricky, right? You want to get it done quickly and correctly, without making a mess or causing leaks later on. Many people wonder if they need to add extra sealant to Fel-Pro gaskets. After all, a leaky gasket can lead to big problems, like engine damage or wasted fluids.
Don’t worry, you’re not alone! In this guide, we’ll walk you through whether or not you need to use sealant with Fel-Pro gaskets. We’ll cover when it’s okay to skip the sealant, and when it’s a good idea to add a little extra protection. By the end, you’ll know exactly what to do, step-by-step, for a reliable, leak-free seal. Let’s get started!
Understanding Fel-Pro Gaskets
Fel-Pro is a well-known and trusted brand in the automotive industry, known for producing high-quality gaskets and sealing solutions. Their gaskets are designed with advanced materials and construction techniques to provide a reliable seal between engine components and other parts.
What Makes Fel-Pro Gaskets Special?
Fel-Pro gaskets are made to create a tight seal without needing extra sealant. Here’s what makes them stand out:
- Advanced Materials: Fel-Pro uses materials like high-density fiber, rubber, and silicone that can handle high temperatures and pressures.
- Precise Engineering: These gaskets are designed to fit perfectly, ensuring even pressure distribution across the sealing surface.
- Coating Technology: Many Fel-Pro gaskets come with special coatings that improve sealing and prevent leaks.
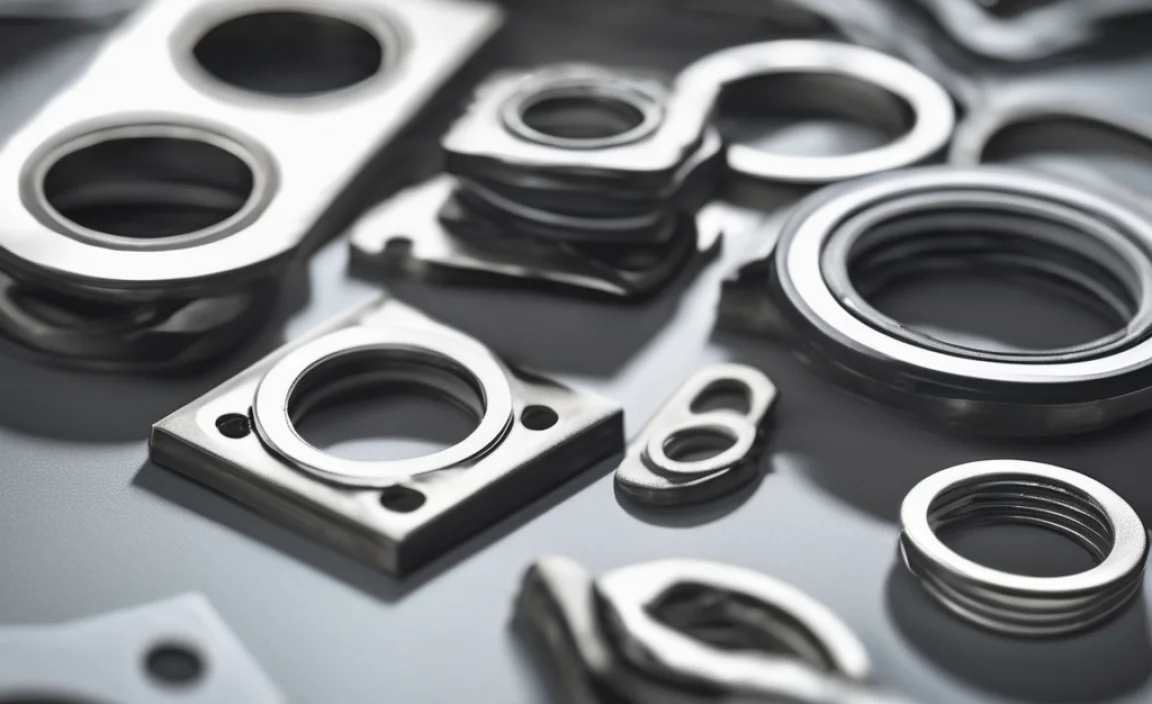
Types of Fel-Pro Gaskets
Fel-Pro offers a wide range of gaskets for various applications. Here are a few common types:
- Head Gaskets: Seal the cylinder head to the engine block, handling high combustion pressures.
- Intake Manifold Gaskets: Seal the intake manifold to the cylinder head, ensuring proper air and fuel mixture.
- Exhaust Manifold Gaskets: Seal the exhaust manifold to the cylinder head, withstanding high exhaust temperatures.
- Valve Cover Gaskets: Seal the valve cover to the cylinder head, preventing oil leaks.
- Oil Pan Gaskets: Seal the oil pan to the engine block, keeping oil from leaking.
Do You Really Need Sealant?
The big question: Do Fel-Pro gaskets need sealant? In most cases, the answer is no. Fel-Pro designs its gaskets to seal properly without extra sealant. However, there are certain situations where using sealant can be beneficial.
When to Skip the Sealant
In many cases, you can skip the sealant when using Fel-Pro gaskets. Here’s when it’s usually safe to do so:
- New or Clean Surfaces: If the surfaces you’re sealing are new, clean, and undamaged, the gasket should seal perfectly on its own.
- Gaskets with Pre-Applied Coatings: Many Fel-Pro gaskets come with a pre-applied coating that enhances sealing. Adding more sealant can actually interfere with this coating.
- When Instructions Say No: Always follow the manufacturer’s instructions. If the instructions specifically say not to use sealant, don’t use it.
When to Use Sealant
There are times when using sealant with Fel-Pro gaskets can be a good idea. Here’s when you might consider it:
- Older Surfaces: If the surfaces you’re sealing are old, scratched, or slightly damaged, a thin layer of sealant can help fill in imperfections.
- Rough Surfaces: If the surfaces are rough or uneven, sealant can create a better seal by filling in gaps.
- Specific Instructions: Some Fel-Pro gaskets may require sealant in certain areas, as specified in the instructions.
- Extra Protection: In high-stress applications, like racing engines, a little sealant can provide extra insurance against leaks.
Choosing the Right Sealant
If you decide to use sealant, it’s important to choose the right type. Using the wrong sealant can cause problems, like leaks or damage to the gasket. Here are some common types of sealants and when to use them:
- RTV Silicone Sealant: A versatile sealant that’s good for many applications. It’s heat-resistant and flexible, making it ideal for engine components.
- Anaerobic Sealant: This type of sealant cures in the absence of air, making it great for sealing machined surfaces.
- Gasket Sealant Compounds: These are specifically designed for use with gaskets and can improve sealing performance.
Tips for Choosing Sealant
Here are some tips to help you choose the right sealant:
- Check the Gasket Instructions: The gasket instructions will often recommend a specific type of sealant.
- Consider the Application: Think about the temperature, pressure, and type of fluid the sealant will be exposed to.
- Read Reviews: Look for reviews from other users to see how well a sealant performs in real-world conditions.
- Choose a Reputable Brand: Stick with well-known brands like Permatex, Loctite, or Fel-Pro for reliable performance.
Step-by-Step Guide: Installing Fel-Pro Gaskets with or Without Sealant
Now, let’s get into the practical steps. Here’s how to install Fel-Pro gaskets, with guidance on when and how to use sealant.
Step 1: Gather Your Tools and Materials
Before you start, make sure you have everything you need. This will save you time and frustration later on. Here’s a list of essential tools and materials:
- New Fel-Pro gasket
- Appropriate sealant (if needed)
- Socket set
- Wrench set
- Torque wrench
- Scraper or cleaning tool
- Clean rags
- Safety glasses
- Gloves
- Cleaning solvent or degreaser
Step 2: Prepare the Surfaces
Proper surface preparation is crucial for a good seal. Here’s how to prepare the surfaces:
- Clean the Surfaces: Use a scraper or cleaning tool to remove any old gasket material, dirt, or debris from the surfaces.
- Degrease the Surfaces: Use a cleaning solvent or degreaser to remove any oil or grease from the surfaces.
- Inspect the Surfaces: Check the surfaces for any damage, such as scratches or cracks. If there’s damage, you may need to use sealant to fill in the imperfections.
- Dry the Surfaces: Make sure the surfaces are completely dry before installing the new gasket.
Step 3: Apply Sealant (If Needed)
If you’ve decided to use sealant, here’s how to apply it correctly:
- Apply a Thin Layer: Use a small brush or your finger to apply a thin, even layer of sealant to the surface. Avoid using too much, as this can squeeze out and cause problems.
- Focus on Problem Areas: Pay special attention to areas that are rough, scratched, or uneven. Make sure to fill in any gaps or imperfections.
- Follow Instructions: Always follow the sealant manufacturer’s instructions for application and curing time.
Step 4: Install the Gasket
Now it’s time to install the gasket. Here’s how to do it:
- Position the Gasket: Carefully position the gasket onto the surface, making sure it lines up correctly with the bolt holes.
- Press the Gasket into Place: Gently press the gasket into place, ensuring it’s seated properly.
- Install Fasteners: Install the bolts or nuts that hold the components together.
Step 5: Torque the Fasteners
Proper torque is essential for a good seal. Here’s how to torque the fasteners:
- Follow Torque Specifications: Use a torque wrench to tighten the bolts or nuts to the manufacturer’s specified torque.
- Use a Torque Pattern: Follow the recommended torque pattern to ensure even pressure distribution. This pattern is usually provided in the vehicle’s repair manual.
- Re-Torque (If Necessary): Some gaskets may require re-torquing after a certain period of time or after the engine has been run. Check the gasket instructions for details.
Step 6: Clean Up
Finally, clean up any excess sealant or debris. This will help prevent future problems and keep your engine bay looking tidy.
- Remove Excess Sealant: Use a clean rag to wipe away any excess sealant that has squeezed out.
- Dispose of Old Gasket: Properly dispose of the old gasket and any used materials.
- Check for Leaks: After starting the engine, check for any leaks around the gasket. If you see any leaks, you may need to re-torque the fasteners or replace the gasket.
Troubleshooting Common Issues
Even with careful installation, you might run into some issues. Here’s how to troubleshoot common problems with Fel-Pro gaskets.
Leaks After Installation
If you notice leaks after installing a Fel-Pro gasket, here’s what to do:
- Check Torque: Make sure the fasteners are torqued to the correct specification. Use a torque wrench to verify.
- Inspect the Surfaces: Look for any damage or imperfections on the sealing surfaces. If you find any, you may need to use sealant or replace the components.
- Replace the Gasket: If the gasket is damaged or not sealing properly, replace it with a new one.
Gasket Failure
If a Fel-Pro gasket fails prematurely, here are some possible causes:
- Improper Installation: Make sure the gasket was installed correctly, following the manufacturer’s instructions.
- Overheating: Overheating can damage gaskets, causing them to fail. Check your engine’s cooling system to make sure it’s working properly.
- Contamination: Contamination from oil, coolant, or other fluids can damage gaskets. Keep the sealing surfaces clean and free of contaminants.
Sealant Issues
Using the wrong sealant or applying it incorrectly can cause problems. Here’s how to address sealant issues:
- Choose the Right Sealant: Make sure you’re using the correct type of sealant for the application.
- Apply Sealant Sparingly: Use a thin, even layer of sealant. Avoid using too much, as this can cause problems.
- Follow Instructions: Always follow the sealant manufacturer’s instructions for application and curing time.
Tips for a Successful Gasket Installation
Here are some extra tips to help you achieve a successful gasket installation:
- Read the Instructions: Always read and follow the manufacturer’s instructions for both the gasket and the sealant.
- Use Quality Tools: Invest in quality tools, such as a torque wrench, to ensure accurate and consistent results.
- Take Your Time: Don’t rush the installation process. Take your time and pay attention to detail.
- Double-Check Your Work: Before starting the engine, double-check your work to make sure everything is properly installed and torqued.
Gasket Material Comparison
| Gasket Material | Pros | Cons | Typical Applications |
|---|---|---|---|
| Cork | Good compressibility, inexpensive | Low temperature resistance, prone to shrinking and cracking | Valve covers, oil pans (older vehicles) |
| Rubber | Good sealing properties, flexible | Limited temperature resistance, can degrade over time | Water pumps, thermostat housings |
| Silicone | High temperature resistance, excellent sealing | More expensive than rubber, can be difficult to remove | Valve covers, intake manifolds |
| Fiber | Good chemical resistance, durable | Less compressible than cork or rubber | Exhaust manifolds, cylinder heads |
| Composite | Combines properties of multiple materials, versatile | Can be more expensive than single-material gaskets | Head gaskets, intake manifolds |
Sealant Types and Uses
| Sealant Type | Description | Pros | Cons | Typical Applications |
|---|---|---|---|---|
| RTV Silicone | Room Temperature Vulcanizing silicone sealant | High temperature resistance, flexible, good adhesion | Can be messy, may not be compatible with all materials | Valve covers, oil pans, water pumps |
| Anaerobic Sealant | Cures in the absence of air between close-fitting metal surfaces | Excellent sealing, resists loosening from vibration | Requires clean surfaces, not suitable for large gaps | Machined surfaces, threaded fittings |
| Thread Sealant | Designed to seal threaded connections | Prevents leaks, resists vibration | Can make disassembly difficult | Pipe fittings, threaded fasteners |
| Gasket Adhesive | Used to hold gaskets in place during assembly | Simplifies assembly, prevents gasket slippage | May not provide a complete seal on its own | Valve covers, intake manifolds |
FAQ: Fel-Pro Gaskets and Sealant
1. Can I reuse a Fel-Pro gasket?
No, it’s generally not recommended to reuse a Fel-Pro gasket. Once a gasket has been compressed, it may not seal properly again. Always use a new gasket for a reliable seal.
2. What happens if I use too much sealant?
Using too much sealant can cause it to squeeze out and block oil passages or interfere with the gasket’s ability to seal properly. It’s best to use a thin, even layer of sealant only when necessary.
3. How do I know if my gasket is leaking?
Signs of a leaking gasket include oil or coolant leaks, hissing sounds, or a burning smell. You may also notice a drop in engine performance or overheating.
4. What is the best way to clean old gasket material?
The best way to clean old gasket material is to use a scraper or cleaning tool to carefully remove the old material. You can also use a solvent or degreaser to help loosen the material. Be careful not to damage the sealing surfaces.
5. Can I use a different brand of sealant with a Fel-Pro gasket?
Yes, you can use a different brand of sealant with a Fel-Pro gasket, as long as it is compatible with the gasket material and the application. Always follow the sealant manufacturer’s instructions.
6. What does “torque to yield” mean?
“Torque to yield” (TTY) means tightening a bolt to a specific torque and then turning it a specific number of degrees. This stretches the bolt to its yield point, creating a very strong and precise clamping force. TTY bolts should always be replaced after being used.
7. Where can I find the torque specifications for my vehicle?
You can find the torque specifications for your vehicle in the vehicle’s repair manual or online databases. Make sure to use the correct torque specifications for your specific vehicle and engine.
Conclusion
So, do Fel-Pro gaskets need sealant? In most cases, no! Fel-Pro gaskets are designed to seal effectively on their own. But, knowing when to add a little sealant can be a game-changer, especially with older or less-than-perfect surfaces.
By following the steps and tips we’ve covered, you can confidently install Fel-Pro gaskets and ensure a reliable, leak-free seal. Remember to always read the instructions, prepare the surfaces properly, and use the right tools. With a little patience and attention to detail, you can tackle this task like a pro!