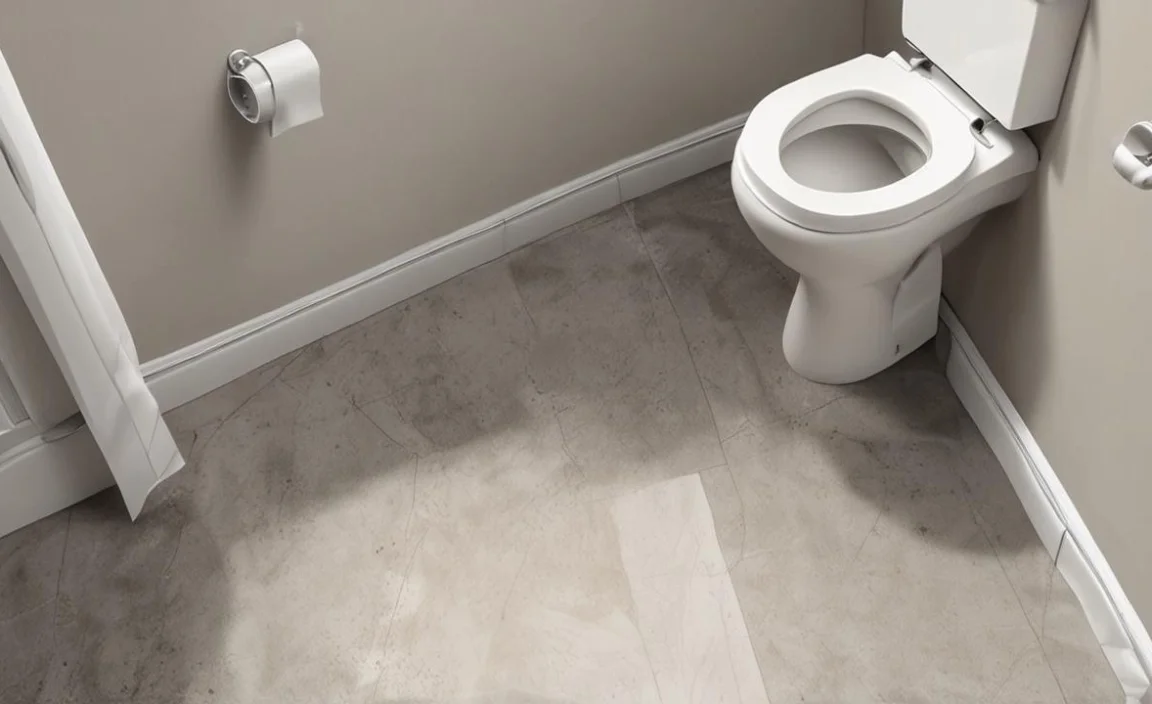
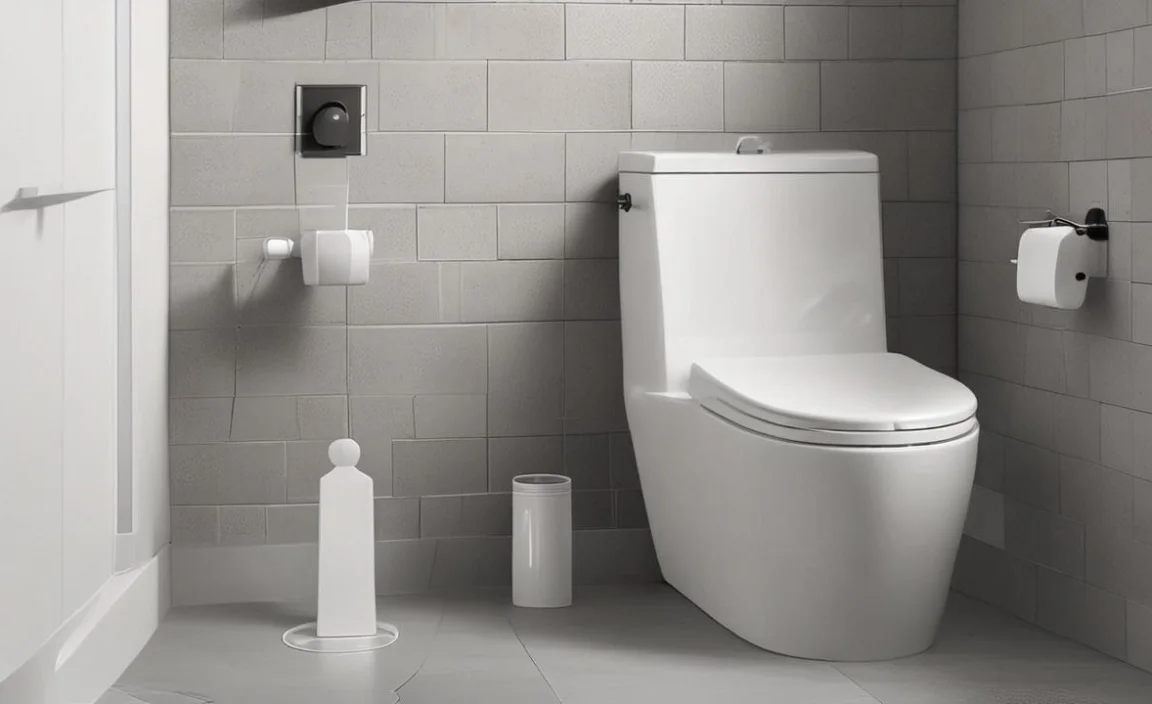
Bolting a toilet to the floor is a crucial step in the installation process. It involves securing the toilet bowl firmly to the bathroom floor using bolts and nuts.
This not only ensures stability and prevents any wobbling or movement of the toilet but also creates a watertight seal between the toilet and the floor flange. Bolting toilet to floor is typically done after placing a wax ring or gasket on top of the flange, which helps create a secure and leak-proof connection.
Properly bolting the toilet to the floor is essential for a functional and long-lasting bathroom fixture. We will walk you through replacing the bolts and securing your toilet properly. We’ve got you covered, from preparing for the replacement to installing new anchor bolts and tightening them securely. We’ll also discuss the different types of bolts you can use and provide tips to prevent bolt failure during the replacement.
5 Easy Ways To Replace Bolting Toilet To Floor
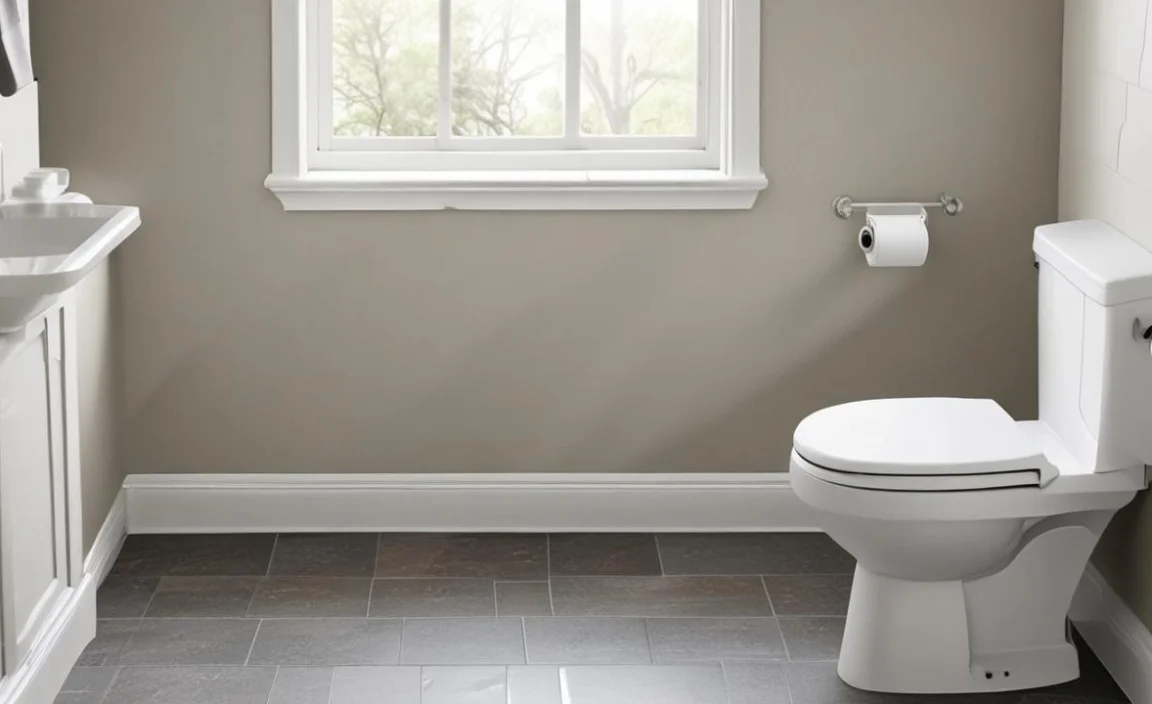
Bolting toilet to floor is an essential step in the installation process. This ensures the toilet remains securely in place and prevents movement or wobbling. Replacing the bolts on a toilet and securing it to the floor is a relatively simple DIY project that can help prevent leaks and provide stability.
Here are 7 easy steps to replace and secure the toilet bolts to the floor. Following these steps, you can easily replace and secure your toilet to ensure proper functionality and prevent future issues.
1. Preparing To Replace The Bolts
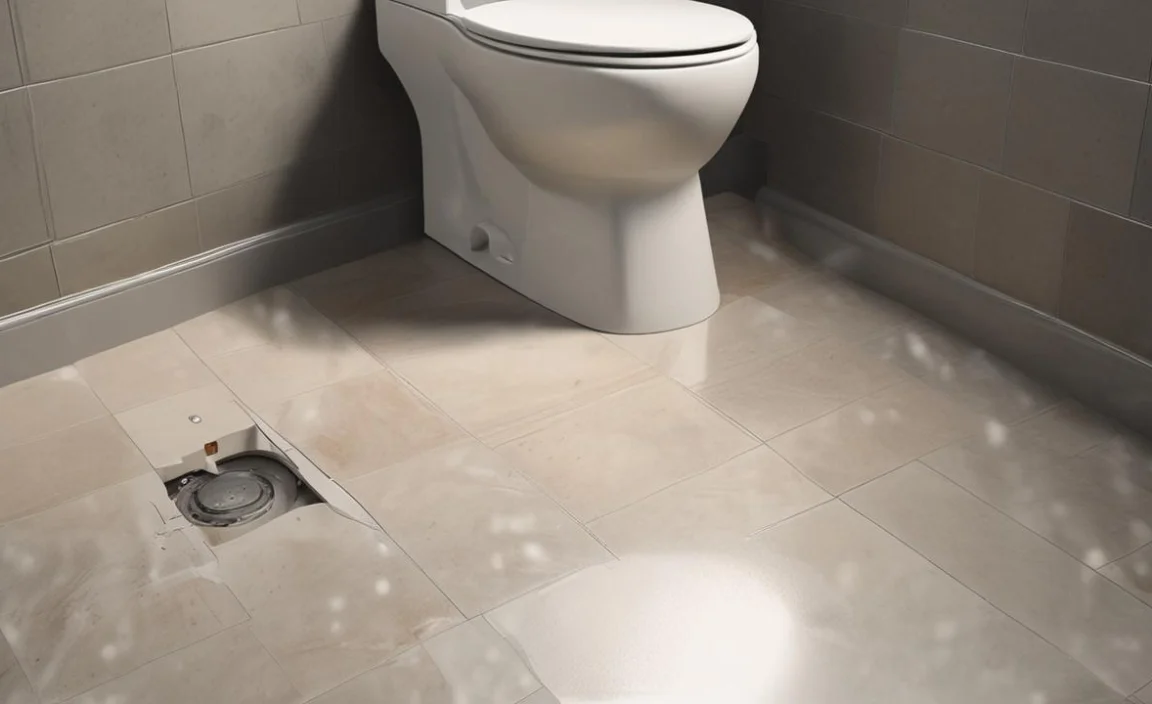
To prepare for replacing the bolts, begin by turning off the water supply and draining the toilet’s tank and bowl. Use a putty knife to remove caulk or sealant around the toilet’s base.
Disconnect the water supply line from the tank and use a wrench or pliers to remove the nuts or bolts securing the toilet to the floor. Carefully lift the toilet off the floor and set it aside. Use a scraper or putty knife to scrape away any remaining wax or caulk from the flange on the floor.
2. Removing The Old Bolts
To remove the old bolts, turn off the water supply to the toilet and flush it to drain any remaining water. Using a wrench or pliers, loosen and remove the nuts that hold the bolts in place at the toilet’s base. Carefully lift the toilet off the floor and set it aside.
Remove any old wax or sealing material from around the flange on the floor. Insert new bolts into the flange, ensuring they are securely in place. Apply a new wax ring onto the flange, ensuring it is centred and properly seated.
3. Installing New Anchor Bolts
To install new anchor bolts for your toilet, shut off the water supply and flush the toilet to drain any remaining water. Remove the nuts from the existing anchor bolts that secure the toilet to the floor using a wrench. Remove the old anchor bolts and clean any debris or wax seal from the floor flange.
Position the new anchor bolts evenly and securely into the flange. Use a wrench to tighten the nuts onto the anchor bolts, ensuring they are snug but not overtightened. Finally, place a new wax seal centred over the flange opening.
4. Securing And Tightening The Bolts
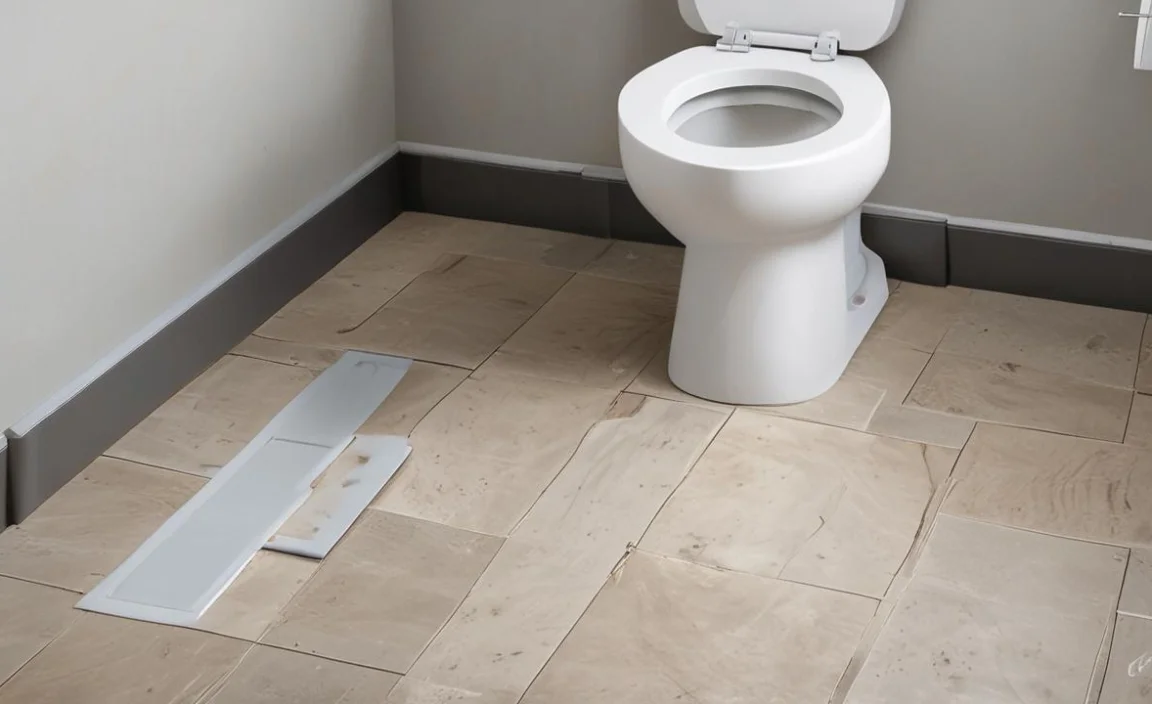
To secure and tighten the bolts, begin by turning off the water supply to the toilet and flushing it to drain any remaining water in the tank and bowl. Then, remove the plastic caps covering the bolts at the base of the toilet and use a wrench or pliers to loosen and remove the nuts securing the bolts to the floor.
Lift the toilet straight up and carefully set it aside. Clean any old wax or sealing material from the flange on the floor and inspect it for damage. Finally, you should insert new bolts into the flange, ensuring that you position them properly and securely.
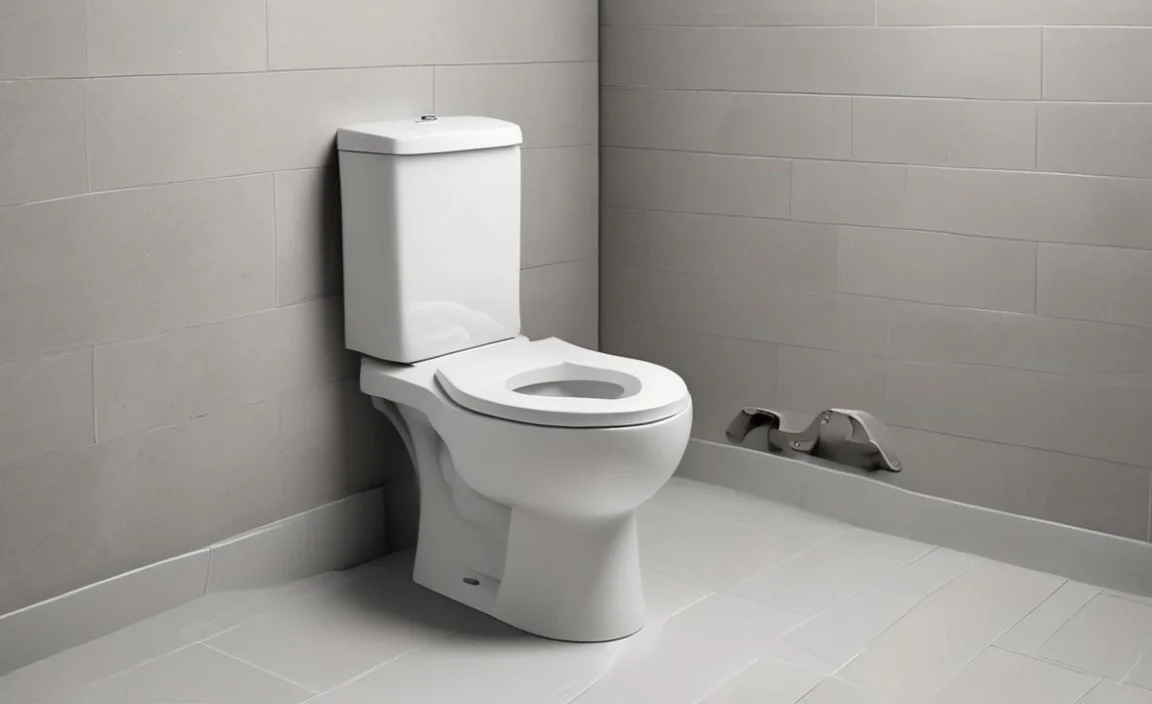
5. Finishing Up
After securely fastening the toilet to the floor, tighten the nuts on the bolts using a wrench. Take the time to check for any wobbling or movement of the toilet, and adjust the position if necessary. Make sure you tighten the bolts further to ensure stability.
Once the toilet is securely in place, reconnect the water supply line to the bottom of the tank. Turn on the water supply and carefully inspect for leaks around the toilet’s base or connection points. If no leaks are present, flush the toilet multiple times to verify proper functionality. Don’t forget to give your newly installed toilet a finished look by replacing any decorative caps or covers over the bolts.
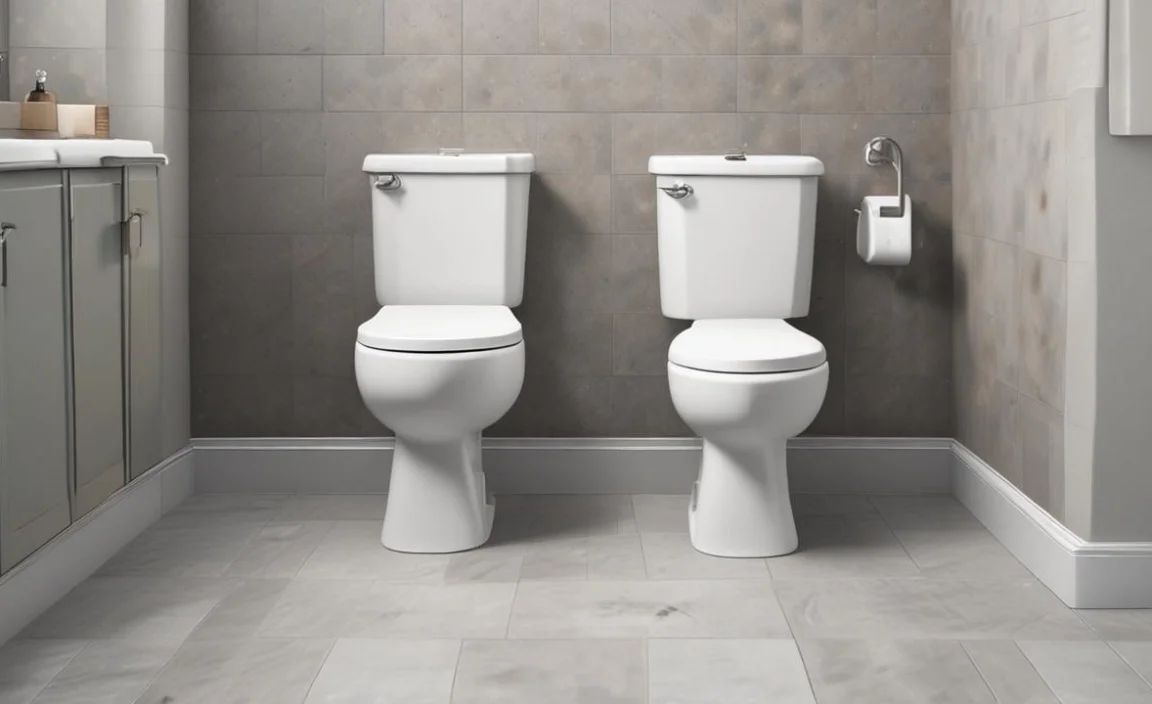
Which Bolt Type To Use For Replacing A Bolted Toilet?
When replacing a bolted toilet, choosing the right type of bolt for a secure installation is important. People commonly use closet bolts and flange bolts to secure toilets to the floor. Closet bolts are typically brass or stainless steel, with a flat head with threads on one end and a square-shaped base on the other.
On the other hand, flange bolts have a hexagonal head and are designed to fit into the flange at the base of the toilet. When choosing which type of bolt to use, consider factors such as the size and shape of the existing flange and personal preference. A wax ring or toilet seal is also recommended in conjunction with the bolts for a watertight seal.
Tips For Preventing Bolt Failure During Replacement
When replacing a toilet, it is important to take steps to prevent bolt failure. Bolt failure can occur when the bolts that secure the toilet to the floor become loose or break, causing the toilet to wobble or leak. To prevent bolt failure during replacement, consider the following tips. Following these tips can help prevent bolt failure and ensure your newly replaced toilet remains securely attached to the floor for years.
- Use quality bolts: Invest in high-quality bolts designed specifically for securing toilets. These bolts are typically made of durable materials like brass or stainless steel, which can help prevent corrosion and breakage.
- Tighten the bolts properly: When installing the new toilet, make sure to tighten the bolts securely but not overly tight. Over-tightening can lead to bolt failure or damage to the toilet’s base.
- Use a washer: Place a rubber or neoprene washer between the bolt head and the toilet base. This helps create a watertight seal and prevents leaks.
- Check for stability: Check for any wobbling or movement after installing the toilet. If you notice any instability, try tightening the bolts slightly to ensure a secure fit.
Conclusion
Replacing the bolts of a toilet to the floor is a DIY project that can save you money and prevent further damage. Following our step-by-step guide on replacing the bolting toilet to floor, you can easily complete the task without professional help.
Prepare beforehand by gathering all necessary tools and materials, remove the old bolts carefully, install new anchor bolts securely, and tighten them properly. Finish up by ensuring everything is in place and functioning correctly. Additionally, it’s crucial to choose the right type of bolt for replacement and follow tips to prevent bolt failure during the process.
Properly securing the toilet to the floor can prevent leaks and damage to your bathroom flooring. Whether installing a new toilet or replacing an old one, taking the time to bolt it down correctly will provide peace of mind and ensure a long-lasting and functional fixture in your bathroom.
Frequently Asked Questions
[rank_math_rich_snippet id=”s-30b60457-e0e4-4c0a-a06c-f73641b52d69″]
